Paper tulips are the kind of spring decor that instantly makes a space feel cheerful. They look cute in a vase on your kitchen counter, tucked into a wreath, or lined up as a table centerpiece. The best part? You can make a whole bunch with simple supplies, and you can choose your style—template tulips for fast batches, crepe tulips for realistic texture, or an easy no-glue version for kids.
This guide walks you through a realistic-but-still-easy method that works for bouquets and decor. Once you make one tulip you like, you’ll be able to repeat it quickly and build a full spring bundle.
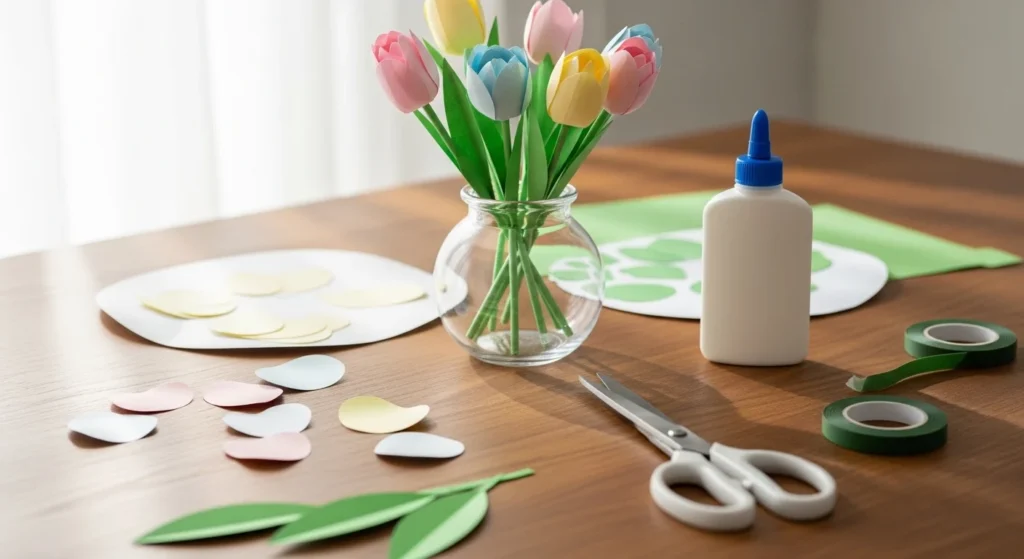
Supplies You’ll Need (Keep It Simple)
You probably have most of this already.
Paper options
- Colored cardstock (best for clean, sturdy tulips)
- Craft paper (good for softer-looking petals)
- Crepe paper (best for realistic ruffles)
Other supplies
- Scissors
- Glue stick or craft glue (hot glue also works)
- Floral wire or wooden skewers (for stems)
- Green floral tape (or green paper strips)
- Green paper or cardstock (for leaves)
- Pencil (for tracing templates)
Budget stem option
- Barbecue sticks or bamboo skewers work perfectly and cost very little.
Step 1: Choose Your Tulip Style
Pick one approach based on the look you want and how many tulips you’re making.
Option A: Template tulips (fast for multiples)
- Great for bouquets, party decor, and quick batches
- Easy to repeat with consistent shapes
Option B: Crepe paper tulips (most realistic)
- Stretch and ruffle gives that real tulip cup look
- Looks amazing in photos and wreaths
Option C: No-glue folded tulips (kid-friendly)
- Quick folding with fewer tools
- Best for classroom crafts or quick decor
If you’re decorating a vase for spring, start with the template method. You can still add curl and shaping so it looks more lifelike.
Step 2: Cut Petals and Build the Tulip Cup
For one tulip, cut 6 petals. You’ll layer them in two rounds: 3 inner + 3 outer.
Easy petal shape
- Rounded top
- Slight taper at the bottom
- About the size of your thumb for a small tulip, or palm-size for a larger one
Cup-shape trick
- Curl the top edges slightly outward using a marker, paintbrush handle, or your fingers.
- Gently pinch the bottom of each petal to create a tiny “cup” curve.
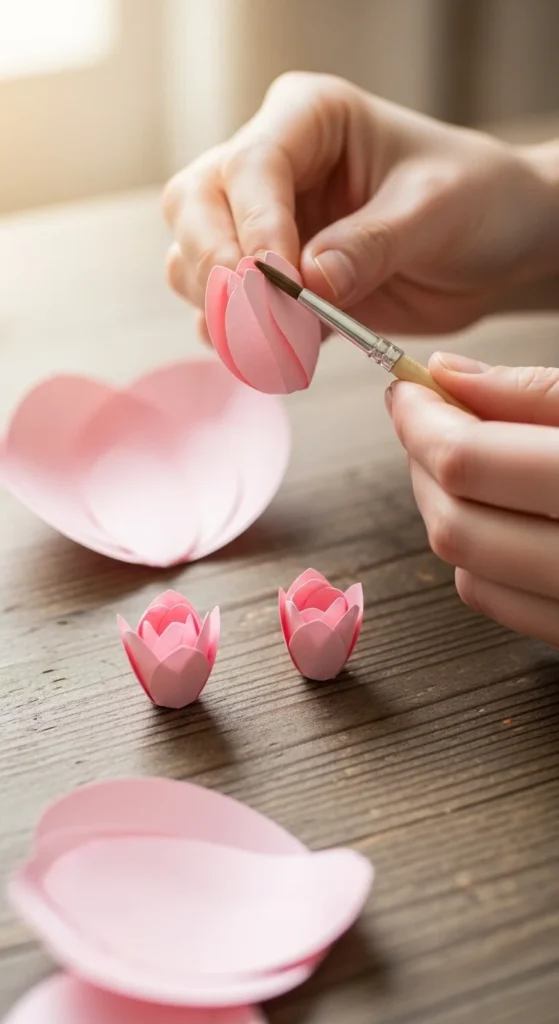
Assembly
- Take 3 petals and overlap them in a triangle shape to form the inner cup.
- Glue only at the bottom edge so the top stays open and natural-looking.
- Add the other 3 petals around the outside, slightly lower than the first layer.
- Press the base firmly for a few seconds so it holds.
Quick tip: If your tulip looks too open, overlap petals a bit more. If it looks too tight, space them slightly wider.
Step 3: Make a Strong Stem (Two Easy Methods)
A good stem makes the tulip look “finished,” especially in a bouquet.
Method A: Wire stem (sturdy for larger tulips)
- Insert floral wire into the base of the tulip.
- Add a small dab of glue to secure.
- Wrap the wire with green floral tape from top to bottom.
Method B: Stick stem (budget-friendly and fast)
- Use a bamboo skewer or barbecue stick.
- Glue the tulip base to the top of the stick.
- Wrap the top portion with green tape so it blends into the flower base.
Clean base trick
- Cut a small green strip and wrap it around the tulip base like a collar.
- It hides glue seams and makes the flower look tidy.
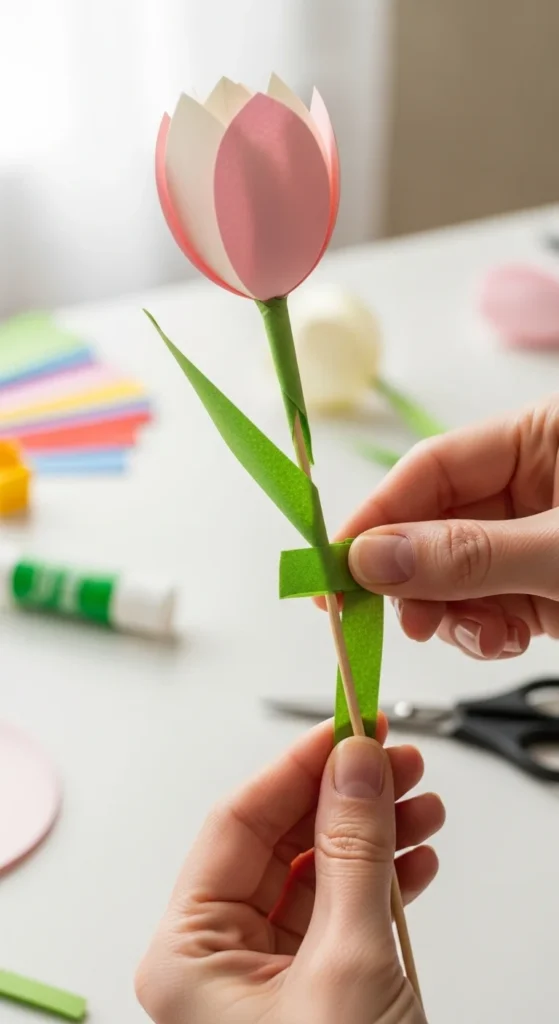
Step 4: Add Leaves That Look Real (Without Extra Work)
Tulip leaves are long, smooth, and slightly curved. That’s the whole look.
Leaf steps
- Cut 2 leaf shapes per tulip (long oval with a pointed tip).
- Fold each leaf vertically down the center.
- Pinch the base slightly so it curves outward.
Attach leaves
- Glue the leaf base to the stem about 2–3 inches below the flower.
- Wrap a small strip of green tape around that spot to secure.
Detail trick (optional)
- Lightly score a few vein lines using the back of scissors. Don’t cut through. Just press gently.
This small leaf detail makes tulips look more natural in photos.
Optional: Crepe Paper Tulips for Extra Realism
If you want a more realistic tulip, crepe paper is your best friend.
How it works
- Crepe stretches and gathers, which creates a natural tulip cup shape.
Simple crepe method
- Cut 6 crepe petals.
- Stretch each petal gently (about a small pull) across the middle to round it.
- Ruffle the bottom edge slightly and glue it down in layers.
Curl directions help a lot
- Outer petals curl slightly outward.
- Inner petals curl slightly inward.
That tiny contrast adds depth, especially in close-up photos.
Styling Ideas for Spring Decor
Once you’ve made 5–7 tulips, you’ll start thinking in “bouquets.” Here are simple ways to style them.
Easy decor ideas
- A small vase bundle on a kitchen counter
- A long row of tulips as a table centerpiece
- A front-door wreath with tulips mixed into greenery
- A gift topper: one tulip + twine bow
- A window ledge display in recycled jars
Color combos that always look good
- Pink + cream + green
- Yellow + white + soft green
- Purple + pale pink + white
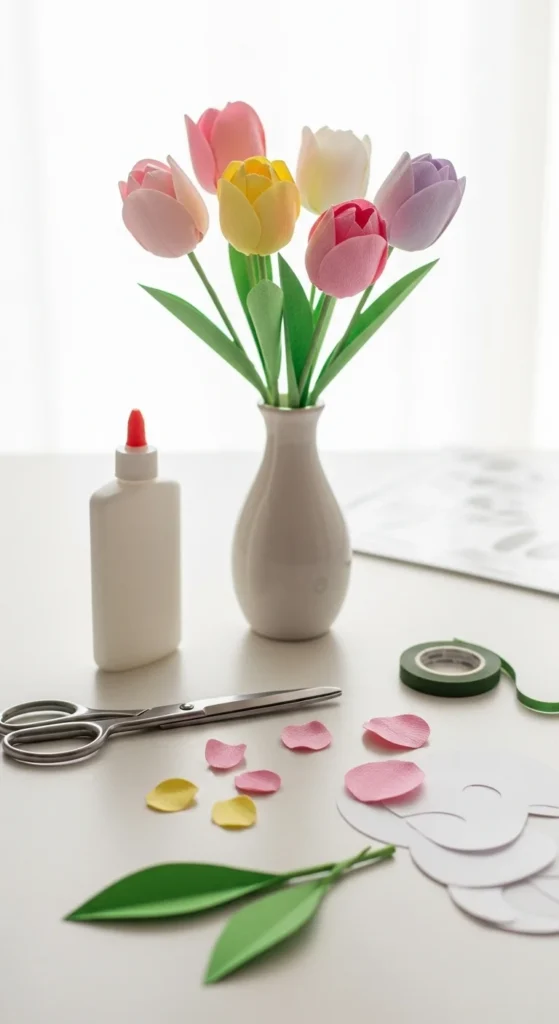
[Image Prompt] A finished bouquet of paper tulips in pastel pink, yellow, and white with green leaves arranged in a clear glass vase on a wooden table, bright spring daylight, Pinterest-style high-end photo, no text
Quick Fixes for Common Tulip Problems
- Tulip looks flat: Curl petal edges more and pinch the base tighter.
- Flower won’t hold shape: Use stronger paper or add a tiny collar strip at the base.
- Stem feels weak: Switch to floral wire or double your skewer.
- Glue looks messy: Apply glue only at the base and cover seams with green tape.
Takeaway
Paper tulips are a fun, budget-friendly way to bring spring decor into your home without worrying about wilting flowers. Start with the simple template method, then try crepe paper once you want extra realism. Make a small batch, mix colors, and style them in a vase or wreath.
Save this tutorial for later, and make a bouquet this week—your spring decor will look instantly brighter.


