DIY wreaths are one of the easiest ways to refresh your home without redecorating an entire space. One small wreath can completely change the feel of a door, wall, or shelf—and the best part is that you can make them yourself with simple supplies. With a flexible base and a few seasonal swaps, one wreath style can work all year long.
Let’s walk through easy, beginner-friendly ways to create wreaths you can adapt for every season.
Start With a Versatile Wreath Base
Your wreath base is the foundation, so choosing the right one makes everything easier.
Good base options:
- Grapevine wreaths
- Wire wreath frames
- Wooden hoop rings
- Straw wreath forms
Neutral bases are the most flexible because you can layer almost anything on top of them. Choose a size that fits your space without overwhelming it.
Use a Simple Color Palette First
Before adding seasonal elements, decide on a base color palette. This keeps your wreath looking cohesive instead of busy.
Easy color ideas:
- Neutrals with greenery
- Soft whites and beige
- Natural wood tones
Starting simple lets seasonal accents shine without clashing.
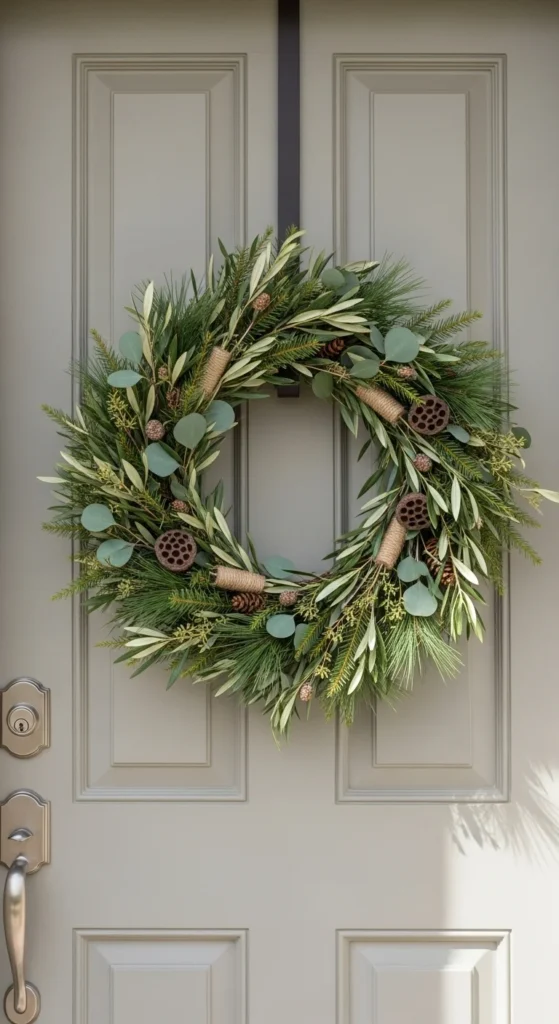
Build the Base Layer With Greenery
Greenery works year-round and creates instant fullness.
You can use:
- Faux eucalyptus or leafy stems
- Real greenery (if you plan to refresh often)
- A mix of textures for depth
Attach greenery loosely so it looks natural and not overly packed.

Add Seasonal Accents the Easy Way
Seasonal details are what transform one wreath into many looks.
Simple accent ideas:
- Small decorative elements tied with twine
- Fabric bows or ribbon
- Lightweight ornaments or shapes
Attach accents in a way that’s easy to remove so you can reuse the base again and again.
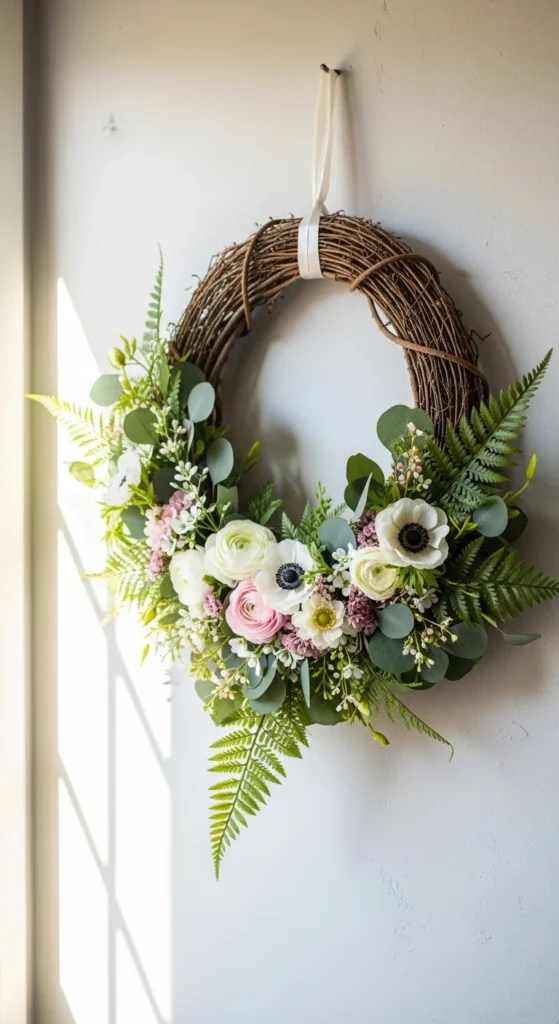
Create Spring and Summer Wreath Looks
Lighter seasons call for softer textures and brighter touches.
Ideas that work well:
- Florals mixed with greenery
- Light fabric bows
- Simple shapes like circles or hoops
Keep spacing airy so the wreath feels fresh and not heavy.
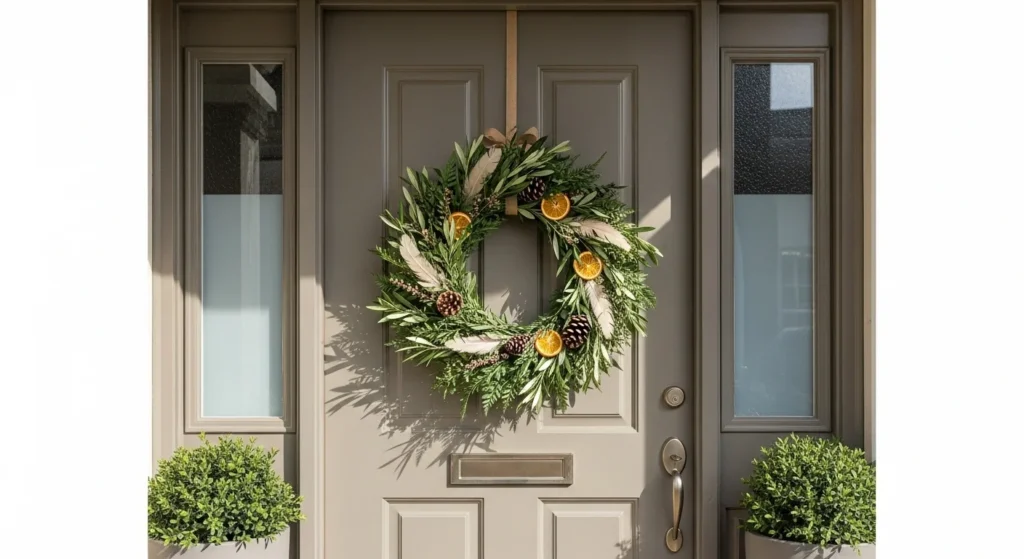
Style Cozy Wreaths for Cooler Seasons
For cooler months, texture is key.
Try adding:
- Dried elements
- Thicker ribbon
- Layered greenery
Keep the base the same and simply swap accents to match the season’s mood.
Use Asymmetry for a Modern Look
Wreaths don’t need to be perfectly balanced. Slight asymmetry often looks more stylish and natural.
Tips for asymmetrical wreaths:
- Cluster decor on one side
- Leave part of the base exposed
- Vary textures instead of filling every space
This approach also uses fewer materials, making it budget-friendly.

Secure Everything Without Overdoing It
You don’t need heavy-duty tools to assemble wreaths.
Easy attachment methods:
- Floral wire
- Twist ties
- Hot glue for lightweight pieces
Use just enough to hold items in place. Over-attaching makes future updates harder.
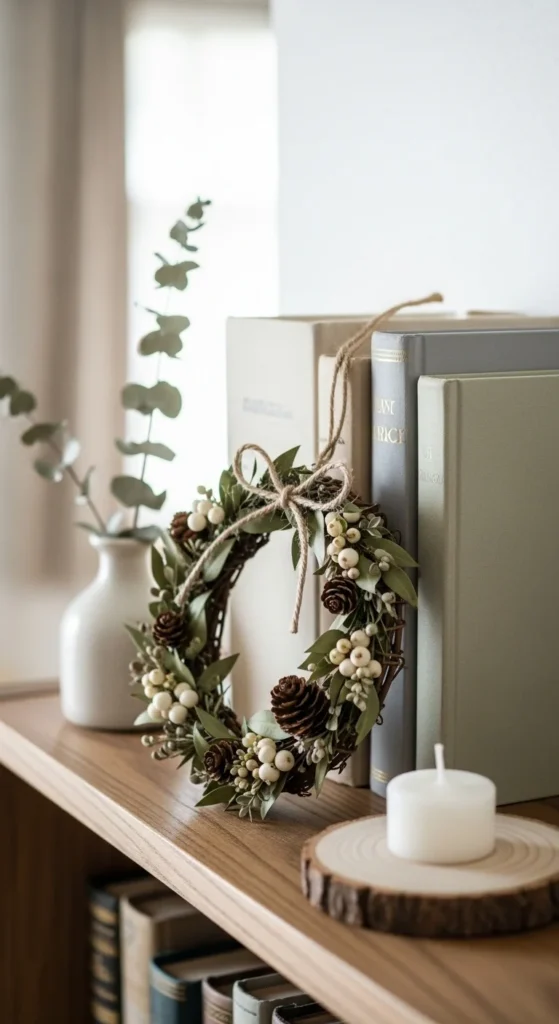
Display Wreaths Beyond the Front Door
Wreaths aren’t just for doors. They work beautifully indoors too.
Try styling them:
- Above a mantel
- On shelves
- Leaning against a wall
- On interior doors
Smaller wreaths are perfect for indoor spaces and easy to move around.
Store Wreaths for Easy Reuse
Proper storage keeps your wreaths looking good year after year.
Helpful storage tips:
- Hang wreaths on hooks
- Store in large boxes
- Remove delicate accents before storing
Keeping bases intact saves time and money in the long run.
Final Takeaway
DIY wreaths are one of the most flexible decor projects you can make. With a simple base, neutral greenery, and easy seasonal swaps, you can create wreaths that work beautifully all year long.
Save this guide for later, and next time the seasons change, update your wreath instead of starting from scratch 🌿✨

DiyVisual is a DIY ideas resource for makers of every level. Our small editorial team researches and curates easy, budget-friendly craft, home decor, and handmade gift projects — explained step by step so anyone can recreate them at home with simple materials.


