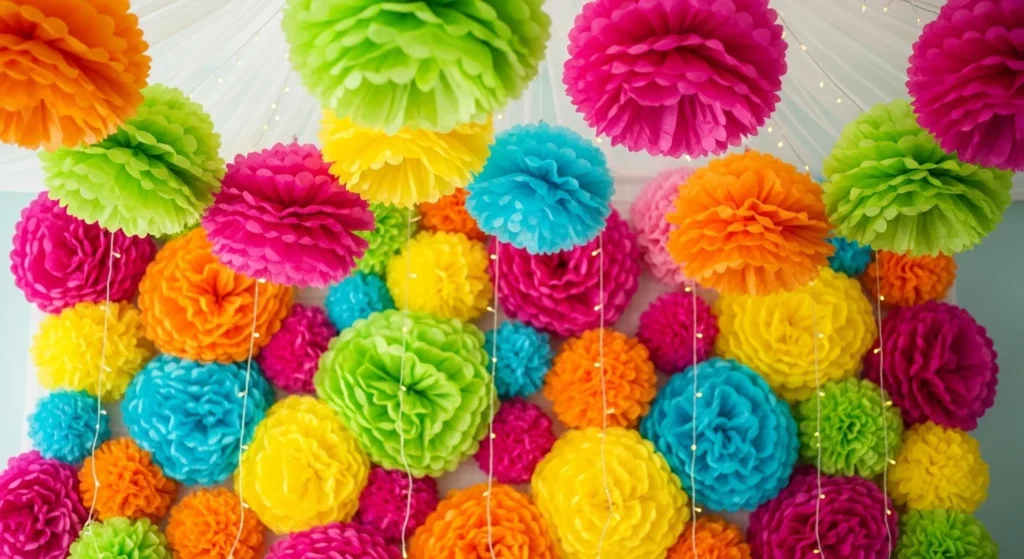
Want a party decoration that’s bold, beautiful, and budget-friendly? Tissue paper flowers are your secret weapon. With just a few sheets of colorful Tissue paper, you can create fluffy pom-pom blooms that instantly transform a room—perfect for birthdays, weddings, baby showers, and classroom celebrations.
They’re lightweight, customizable, and surprisingly easy to make. Once you learn the classic accordion fold and fluff technique, you’ll be making them in every color imaginable.
Let’s walk through the step-by-step method and all the little tricks that make your flowers look full and professional.
What You’ll Need
Keep your supply list simple:
- 4–12 sheets of Tissue paper (same or mixed colors)
- Stapler
- Scissors
- Pipe cleaners (for stems or hanging loops)
- Optional: Floral wire for extra-strong centers
- String or fishing line (for hanging)
How Many Sheets?
- 4–5 sheets = smaller flowers (under 7 inches)
- 8 sheets = medium full blooms
- 10–12 sheets = large 12-inch party pom-poms
More layers = fuller flower.
Step 1: Stack and Accordion Fold
This is the heart of the classic method.
- Stack your tissue sheets neatly.
- Fold the stack back and forth like a fan (accordion style).
- Each fold should be about 1–2 inches wide.
- Narrow folds = more delicate look
- Wider folds = bold, dramatic petals
Try to keep your folds even for a symmetrical bloom.
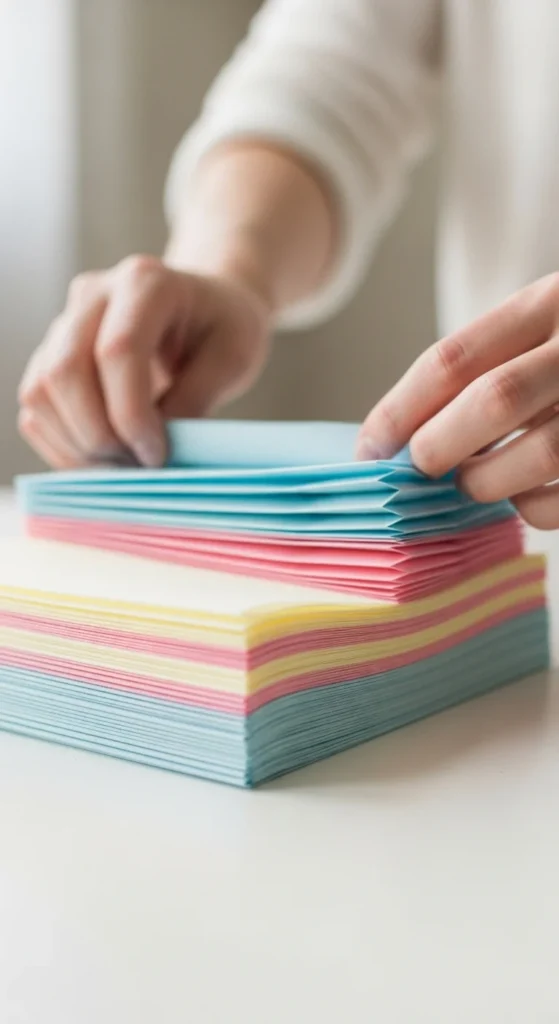
Tip: Press each fold firmly with your fingers to keep the layers aligned.
Step 2: Secure the Center
Once folded, pinch the center of the accordion stack.
You have two options:
- Staple the middle (quick and secure)
- Wrap and twist a pipe cleaner around the center
Using Pipe cleaners allows you to:
- Create a built-in stem
- Add a loop for hanging
- Twist tightly for stability
If you’re making large display flowers, Floral wire provides extra hold.
Step 3: Shape the Petal Edges
Before fluffing, trim the ends of the folded stack. This determines your flower style.
Popular Petal Edge Cuts
- Rounded/scalloped → soft rose-like look
- Pointed → dahlia-style bloom
- Fringed → carnation texture
- Flat edge → classic pom-pom
Use sharp scissors and cut both ends evenly.
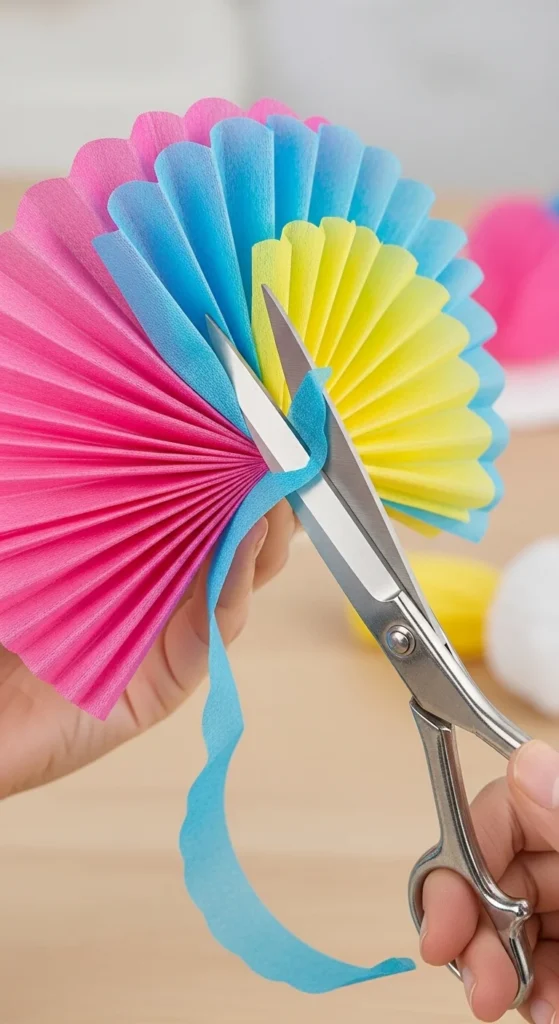
Pro Tip: Cutting through all layers at once ensures consistency.
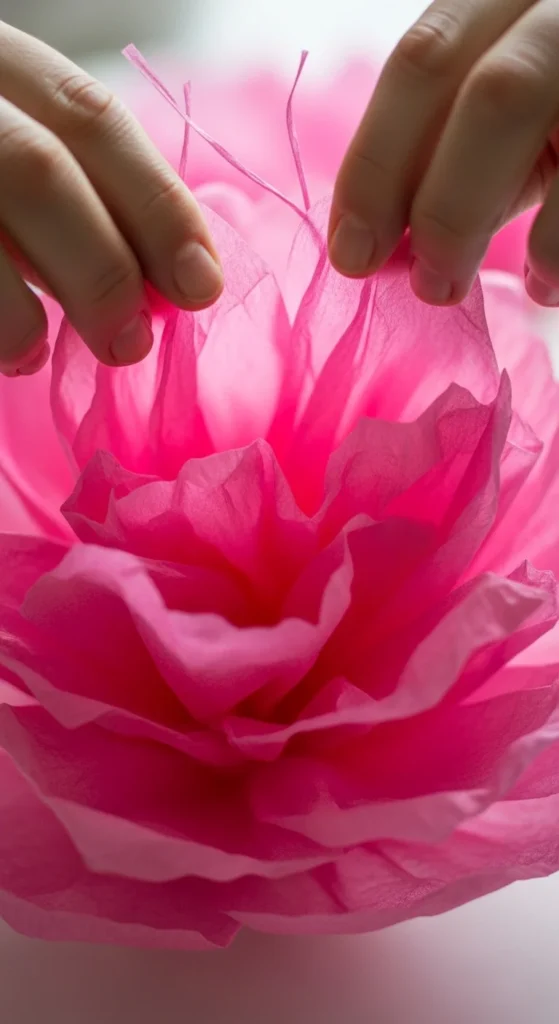
Step 4: Fluff the Layers (The Magic Moment)
Now for the transformation!
- Gently separate the top layer.
- Pull it upward toward the center.
- Continue separating each layer one by one.
- Alternate sides as you go.
This alternating technique prevents the flower from looking flat.
Avoid Tearing
Tissue paper is delicate. To prevent rips:
- Pull slowly and inward, not outward.
- Start with fewer layers if you’re a beginner.
- Hold the base firmly while lifting each sheet.
Once fully fluffed, your flower should form a round, airy pom-pom.
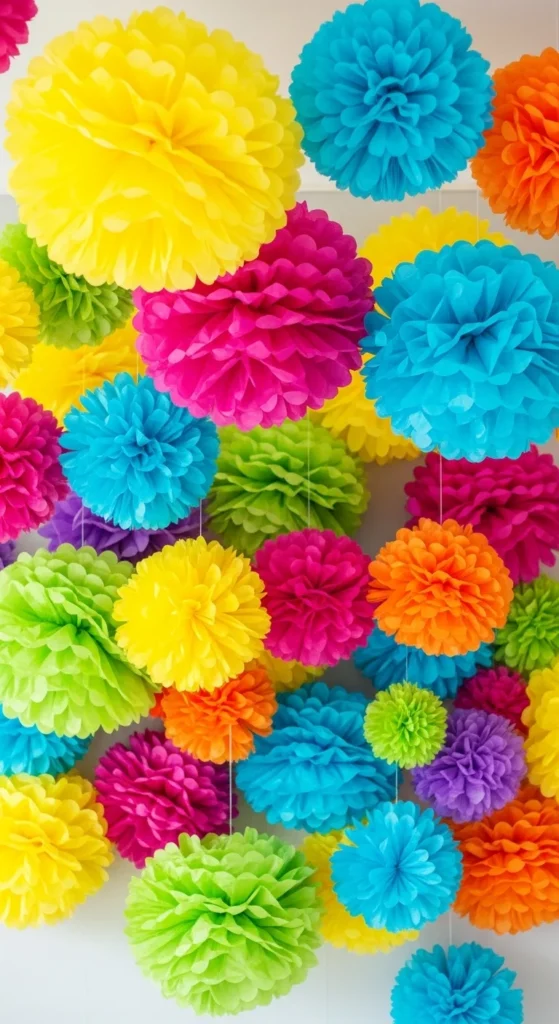
Customization Ideas for Party Themes
This is where tissue paper flowers shine. They’re incredibly customizable.
🎉 Color Combos
- Stack 2–3 colors for an ombré effect.
- Place darker shades in the center for depth.
- Use alternating colors for striped blooms.
🌸 Mini Classroom Flowers
Use just 3 sheets for smaller, kid-friendly versions. These are perfect for:
- Classroom crafts
- Party table scatter
- Gift toppers
💐 Vase-Ready Bouquets
Leave the twisted pipe cleaner long to act as a stem. Wrap it with green tissue for a polished look and arrange several blooms in a jar.
Scaling for Large Displays
Planning a backdrop or ceiling installation?
Here’s how to scale:
- Use 10–12 sheets per flower.
- Make accordion folds about 2 inches wide.
- Use strong floral wire for the center.
- Hang with fishing line for a floating effect.
Large tissue flowers are lightweight but dramatic—ideal for photo walls and dessert tables.
Common Problems (And Easy Fixes)
Problem: Flower Looks Flat
Fix: Alternate sides when fluffing and gently round the petals outward.
Problem: Tearing During Fluff
Fix: Pull inward toward the staple or twist center, not sideways.
Problem: Center Feels Loose
Fix: Add an extra twist with pipe cleaner or reinforce with a staple.
Problem: Bulk Cutting Feels Slow
Fix: Trim multiple folded stacks at once for assembly-line crafting.
Why Tissue Paper Flowers Are Perfect for Parties
They’re:
- Affordable
- Lightweight
- Easy to match any theme
- Quick to make in bulk
- Kid-friendly and group-project approved
Plus, they store flat. Just fluff them again before your event.
Final Thoughts
Tissue paper flowers are one of those crafts that deliver big visual impact with minimal effort. Master the accordion fold, secure the center tightly, trim creative petal edges, and fluff gently for a full, professional-looking bloom.
Whether you’re decorating for a birthday bash, a wedding reception, or a classroom celebration, these vibrant pom-poms instantly brighten any space.
Grab a stack of tissue paper, pick your favorite colors, and start folding. Once you make one, you’ll want to fill the whole room.
Save this tutorial for your next party—and pin it for later inspiration! 🌸🎉

DiyVisual is a DIY ideas resource for makers of every level. Our small editorial team researches and curates easy, budget-friendly craft, home decor, and handmade gift projects — explained step by step so anyone can recreate them at home with simple materials.


