If you’ve ever pulled your polymer clay creation out of the oven only to find brown spots, dark edges, or a slightly burnt smell—yeah, it’s frustrating. The good news? Scorching is totally preventable with a few simple tweaks… especially one clever “shield trick” that beginners love.

Let’s walk through exactly how to bake polymer clay the right way—so your pieces come out smooth, strong, and perfectly cured every time.
Why Polymer Clay Scorches in the First Place
Before fixing the problem, it helps to know what’s actually going wrong.
Most scorching happens because:
- Your oven runs hotter than it says
- The clay is too close to the heating element
- There’s direct radiant heat hitting the surface
Here’s the key insight:
👉 Polymer clay usually burns only when temperatures climb close to 350°F (175–190°C).
That means the real issue isn’t baking—it’s temperature accuracy.
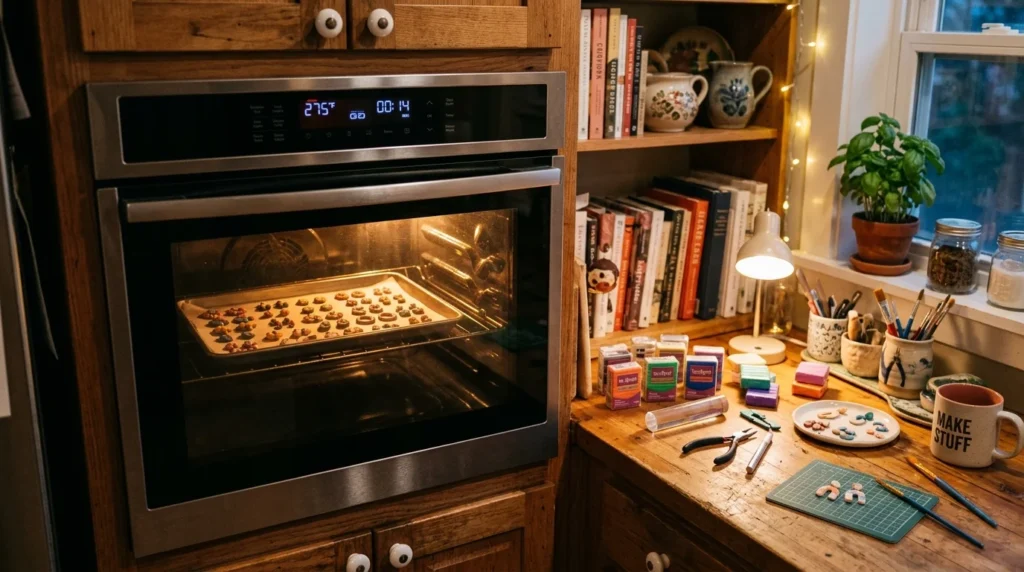
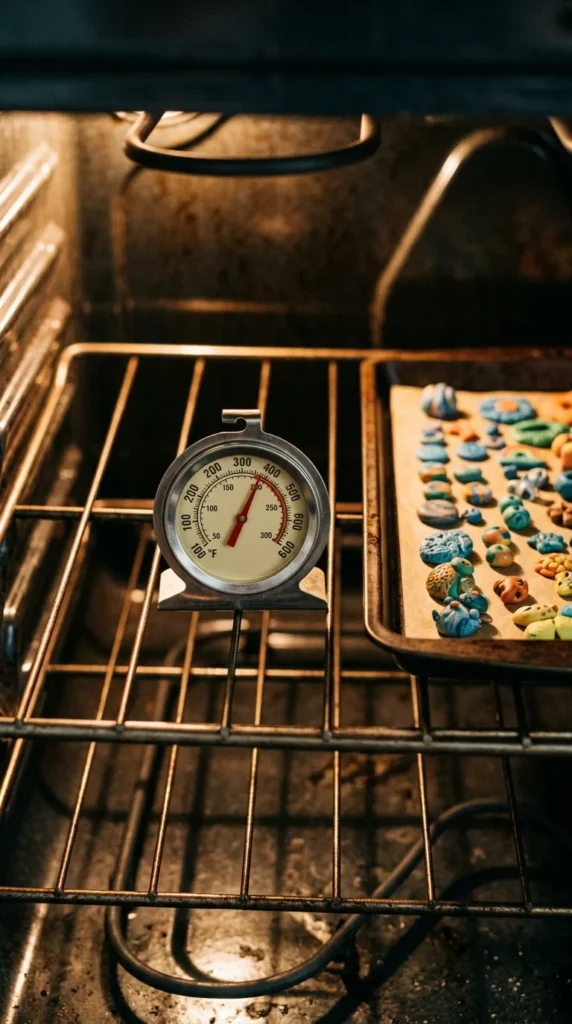
Step 1: Always Verify Your Oven Temperature
This is the #1 rule across every expert guide.
Don’t trust your oven dial. Instead:
- Use an oven thermometer
- Place it on the center rack
- Let the oven fully preheat before baking
Why this matters:
- Many ovens are off by 10–25 degrees
- Even small spikes can cause discoloration
- Accurate heat = stronger, safer curing
Step 2: Follow the Package (Not Guesswork)
Different brands = different instructions.
Popular examples:
- Sculpey / Premo: ~275°F (135°C)
- Fimo: ~230–265°F (110–130°C)
- Kato: often slightly higher temps
👉 Always check your clay’s packaging.
Quick rule:
- Bake at the correct temperature
- Not lower “to be safe”
Lower temps = underbaked, crumbly clay (a bigger problem than slight overbaking).
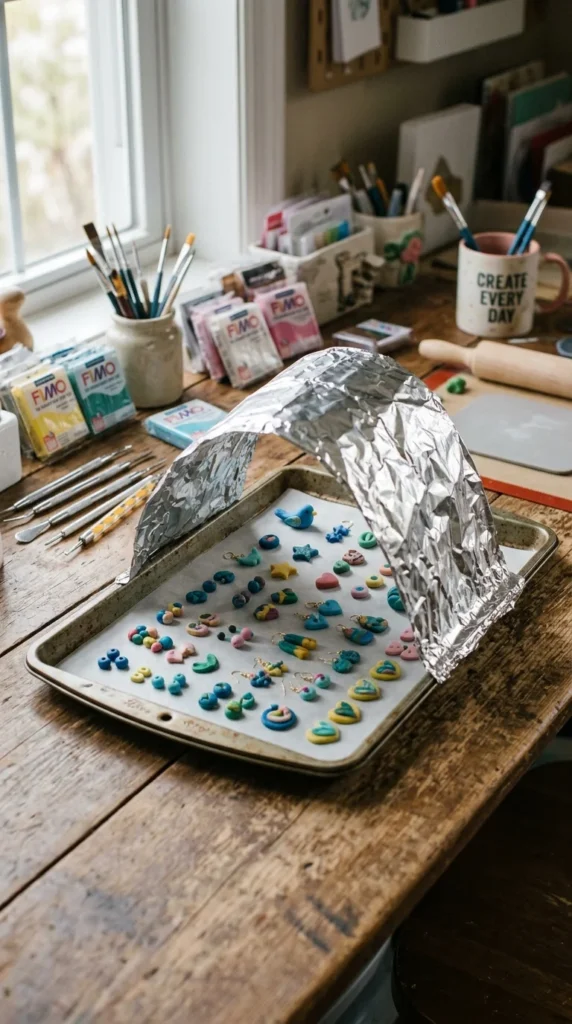
Step 3: Use the Simple Shield Trick (Foil Tent!)
This is the game-changer.
A foil tent protects your clay from direct heat—especially helpful for:
- Light-colored clay
- Detailed surfaces
- Small ovens or toaster ovens
How to make a foil tent:
- Tear a piece of aluminum foil
- Loosely fold it into a tent shape
- Place it over your clay (without touching it)
That’s it!
Why it works:
- Blocks direct radiant heat
- Reduces hot spots
- Prevents browning and scorching
Step 4: Position Your Clay Correctly
Placement inside the oven matters more than people think.
Best setup:
- Use the center rack
- Keep distance from top and bottom elements
- Avoid placing clay too close to walls
Extra tip for toaster ovens:
- Raise your tent slightly higher
- Use an extra tray underneath as a heat buffer
Step 5: Bake Longer—Not Hotter
Here’s a myth worth busting:
👉 Longer baking at the correct temperature is safer and stronger.
Typical guideline:
- 15–30 minutes per ¼ inch (6 mm) thickness
- Many pros go even longer for durability
Why longer is better:
- Fully cures the clay
- Prevents brittleness
- Doesn’t burn (if temperature is correct)
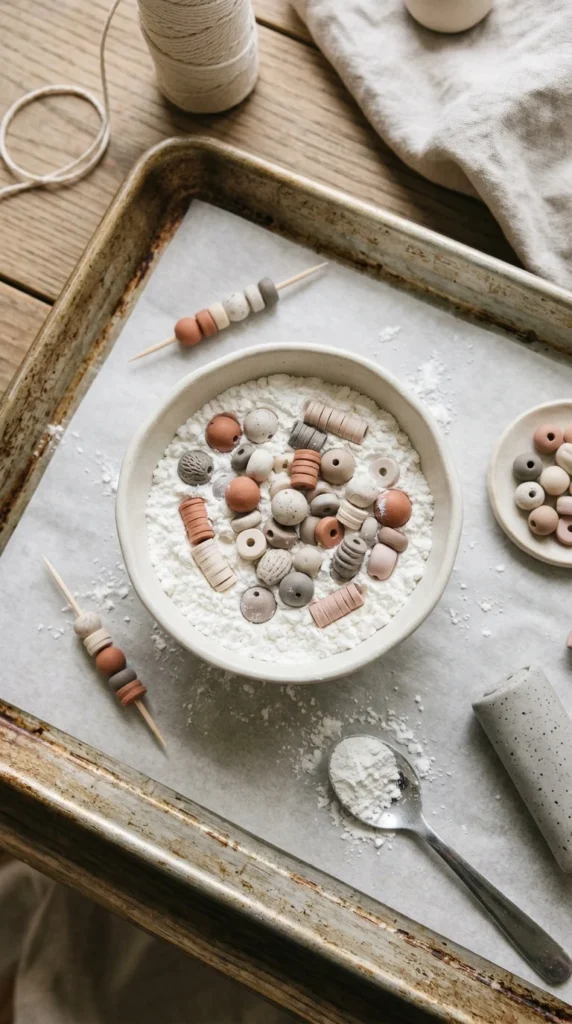
Step 6: Try Alternative Heat Shields (Optional)
Foil tents are the most popular—but not the only option.
You can also use:
- Cardstock tents (great for even diffusion)
- Parchment paper covers
- Upside-down baking pans
Less common but useful:
- Cornstarch or baking soda beds
→ Good for beads or delicate shapes
Step 7: Let It Cool Completely
Once baking is done:
- Turn off the oven
- Let pieces cool slowly inside or on a rack
Why cooling matters:
- Clay firms up as it cools
- Moving it too soon can cause warping
Quick Troubleshooting Guide
Brown spots?
- Oven too hot
- Add a foil tent
Clay is brittle?
- Underbaked
- Increase time (not temperature)
Uneven color?
- Heat exposure uneven
- Reposition on center rack
Burning smell?
- Temperature spike
- Double-check thermometer immediately
Mini Setup Checklist (Save This!)
Before baking, run through this:
- ✅ Oven thermometer in place
- ✅ Correct temp from package
- ✅ Center rack positioning
- ✅ Foil tent ready
- ✅ Timer set for full bake time
Final Thoughts: Your Scorch-Proof Routine
Baking polymer clay doesn’t have to feel risky. Once you combine:
- Accurate temperature
- Proper placement
- A simple foil tent
…you’ll get clean, professional results every time.
The biggest takeaway?
👉 Don’t lower the temperature—control the heat instead.
Save This for Later!
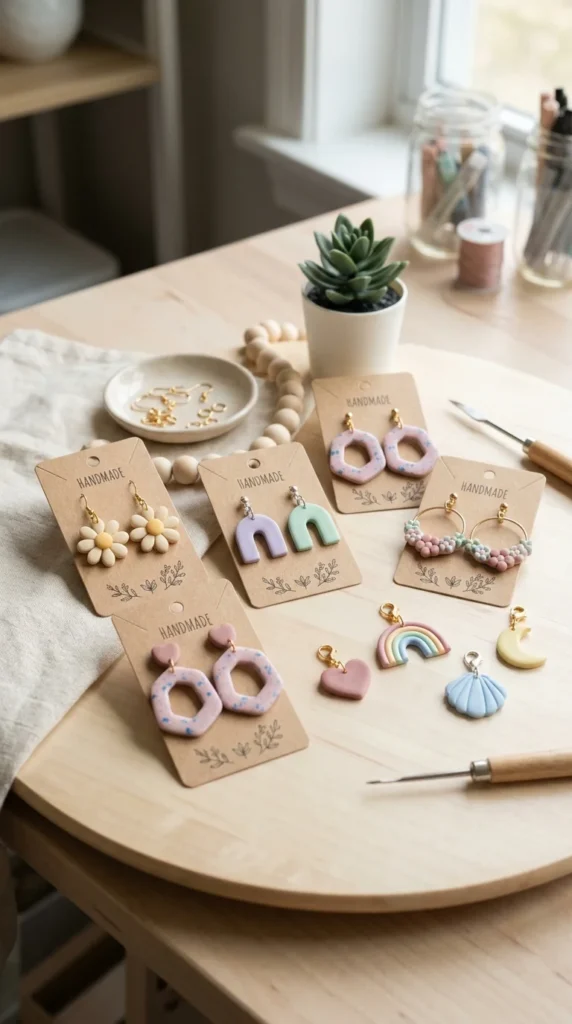
If you’re working on earrings, charms, or small crafts, this method will seriously level up your results. Bookmark it, pin it, or keep it near your workspace—you’ll thank yourself on your next bake.

DiyVisual is a DIY ideas resource for makers of every level. Our small editorial team researches and curates easy, budget-friendly craft, home decor, and handmade gift projects — explained step by step so anyone can recreate them at home with simple materials.


