If you’ve ever pulled polymer clay out of the oven and thought, “Is this done… or ruined?”—you’re not alone. Timing and temperature can feel confusing at first. Bake too long and you worry about burning. Too short, and your piece snaps later.
Here’s the truth: polymer clay is more forgiving than you think—as long as you follow a few simple rules.
This guide breaks it down into a clear cheat sheet so you can bake with confidence every time.
The Basic Rule: Time + Temperature
Let’s keep it simple. Most polymer clay follows this standard:
- Temperature: 110°C–135°C (230°F–275°F)
- Time: 15–30 minutes per 6 mm (¼ inch) thickness
That’s it. Everything builds from this rule.
Quick examples:
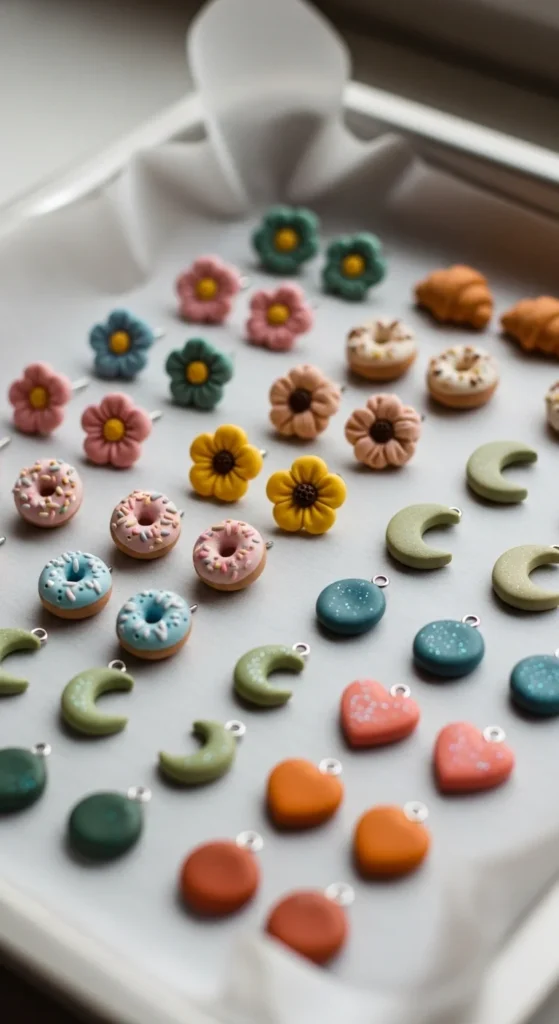
- Thin earrings → 15–20 minutes
- Medium charms → 25–30 minutes
- Thick sculptures → 45+ minutes
The key is thickness, not size. A wide flat piece may bake faster than a small but thick one.
Why Thickness Matters More Than Time
Many beginners guess baking time based on size. That leads to weak or broken pieces.
Instead, always check:
- The thickest part of your clay
- Even if most of the piece is thin
If one area is thicker, the entire piece must bake long enough for that section.
Tip:
- Use a ruler or eyeball the thickest point
- Round up your baking time instead of cutting it short
Underbaking is the #1 reason clay breaks later.
Use a Reliable Temperature Setup
Your oven dial may not be accurate. Even small temperature differences can affect results.
Here’s what helps:
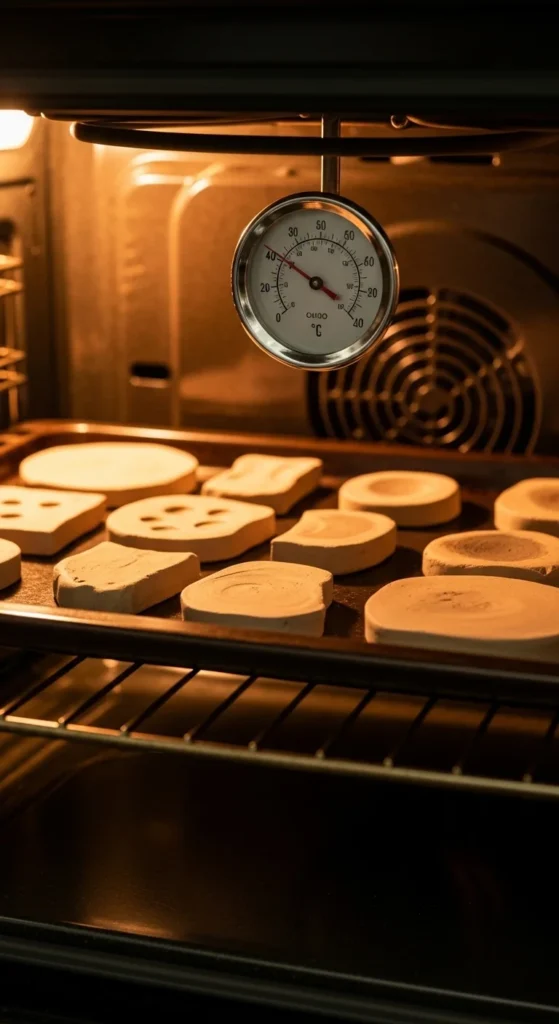
- Use an oven thermometer
- Preheat fully before baking
- Keep the tray in the center rack
If the temperature is too high, clay may darken or burn. Too low, and it won’t cure properly.
Consistency matters more than guessing.
Polymer Clay Time + Temp Cheat Sheet
Save this section—it’s your quick reference.
Thin pieces (under 6 mm):
- 230°F–250°F (110°C–120°C)
- 15–20 minutes
Medium pieces (6–12 mm):
- 250°F–265°F (120°C–130°C)
- 25–35 minutes
Thick pieces (12 mm+):
- 265°F–275°F (130°C–135°C)
- 35–60 minutes
Important:
- Always follow your clay brand’s instructions if listed
- When in doubt, bake longer at the correct temperature
Longer baking at the right heat makes clay stronger—not weaker.
Best Baking Setup for Even Results
How you bake matters just as much as time and temperature.
Use these simple steps:
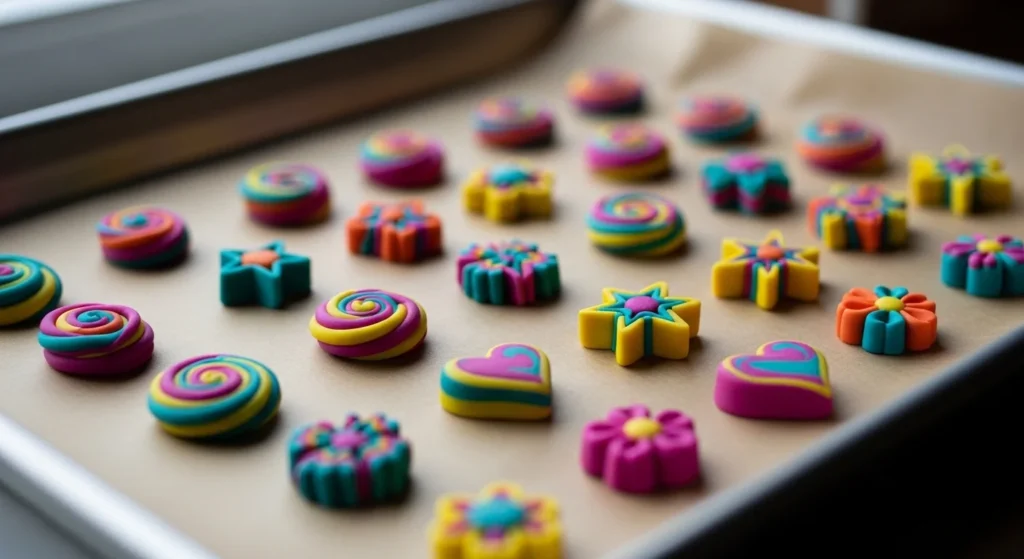
- Line your tray with parchment paper
- Avoid direct contact with metal
- Place clay evenly spaced
Optional:
- Use a ceramic tile for even heat
- Cover loosely with foil to prevent browning
This setup helps avoid shiny spots and uneven curing.
How to Tell When Clay Is Fully Baked
Polymer clay doesn’t harden instantly in the oven. It finishes curing as it cools.
Here’s what to look for:
- Slight flexibility when warm
- Firm once fully cooled
- No chalky or crumbly texture
Do not test it right away. Let it cool for at least:
- 20–30 minutes before touching
If it snaps easily after cooling, it likely needed more time.
Common Baking Mistakes (And Fixes)
Even small mistakes can affect results. Here’s how to fix them:
Burning or dark edges
- Lower oven temperature slightly
- Use foil cover
Clay breaks after baking
- Bake longer next time
- Check thickness
Soft or rubbery feel
- Underbaked
- Return to oven and bake longer
Shiny spots
- Use parchment instead of direct metal
Pro Tips for Perfect Results
Want smoother, stronger pieces? Try these:
- Rotate your tray halfway through baking
- Keep thickness even when shaping
- Bake test pieces before large projects
- Use a separate oven for crafting if possible

These small steps can improve your results fast.
Final Thoughts
Getting polymer clay baking right comes down to three things:
correct temperature, enough time, and patience.
Don’t rush the process. It’s better to bake a little longer than not enough.
Keep this cheat sheet nearby and use it for every project.
Save this guide for later—and your next batch of clay will turn out stronger, smoother, and ready to last.

DiyVisual is a DIY ideas resource for makers of every level. Our small editorial team researches and curates easy, budget-friendly craft, home decor, and handmade gift projects — explained step by step so anyone can recreate them at home with simple materials.


