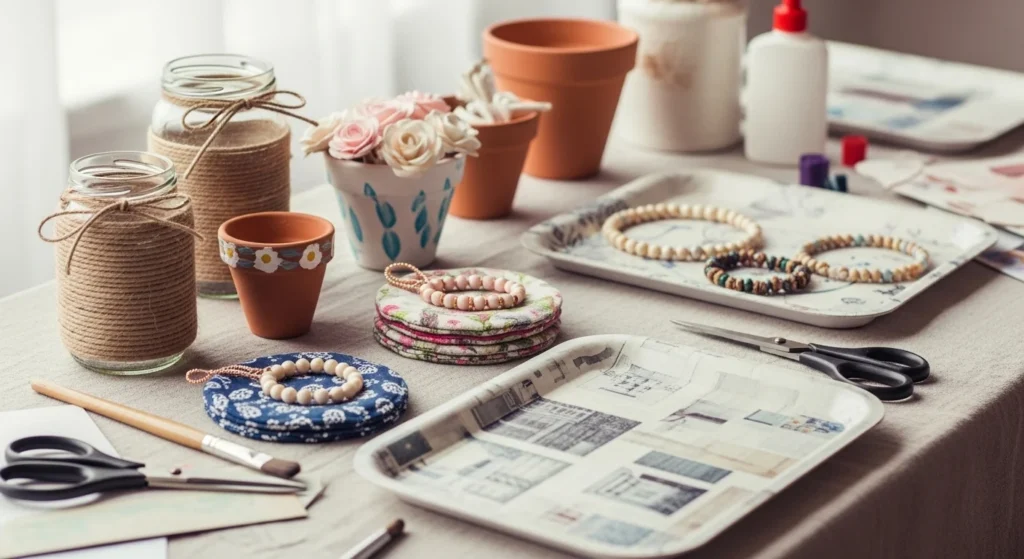
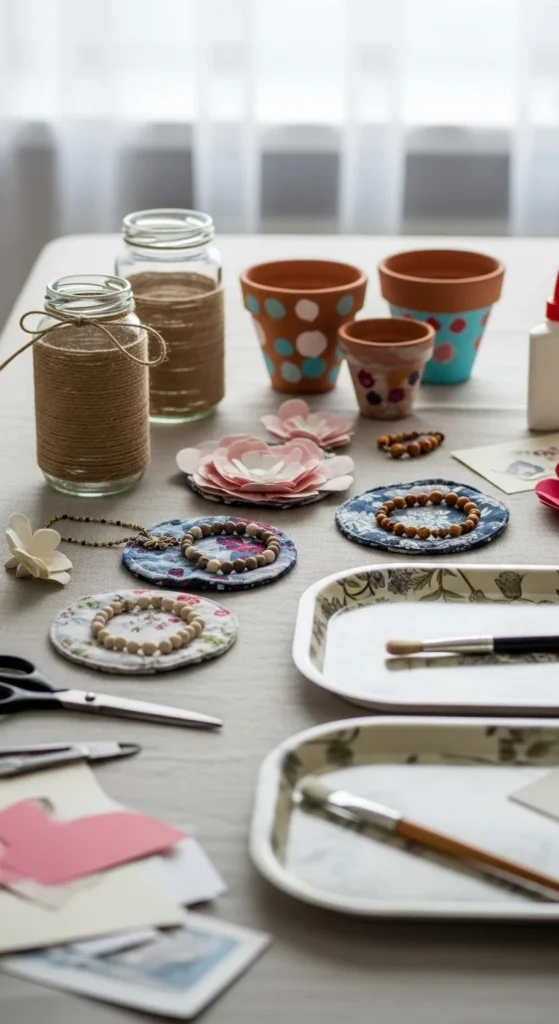
Crafting does not have to be expensive to look beautiful. Many budget-friendly crafts for adults use simple supplies such as jars, paper scraps, fabric pieces, twine, and thrifted items. With a bit of creativity, everyday materials can turn into home décor, handmade gifts, or useful organizers that feel far more refined than their cost.
Low-cost DIY projects are also relaxing. Small crafts allow you to slow down and enjoy creating something with your hands. Many can be finished in one evening and require only basic supplies you may already have at home.
The ideas below focus on affordable crafts that still look polished and stylish. From decoupage trays to upcycled storage and simple paper art, each project shows how inexpensive materials can create something special.
1. Decoupage Dollar Store Tray
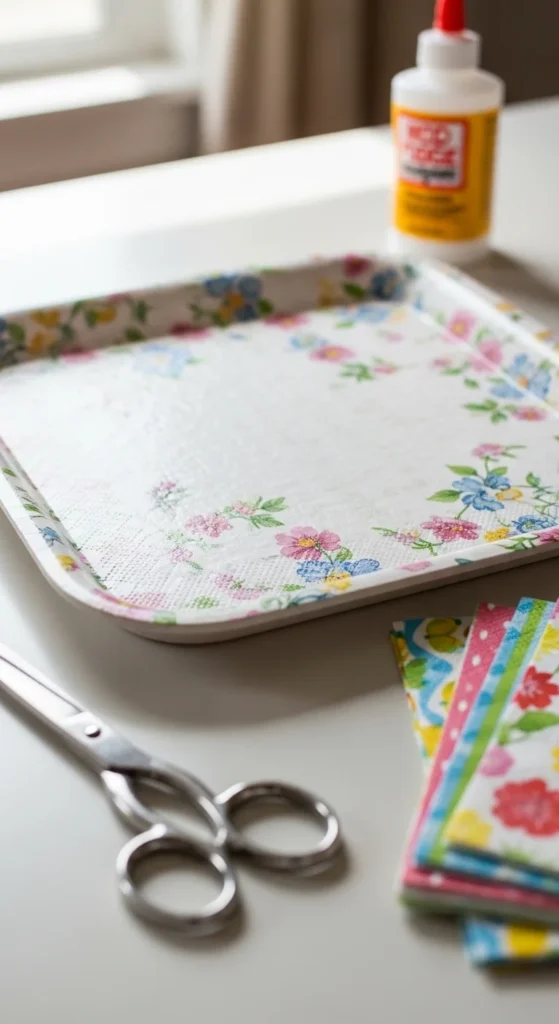
A simple tray can become beautiful décor with a bit of decoupage. This project takes a plain tray and gives it a decorative surface using patterned napkins.
Choose a tray from a discount shop and select napkins with a design you enjoy. Separate the thin printed layer of the napkin and gently place it onto the tray surface.
Apply a thin coat of glue sealer beneath and over the napkin to secure it. Smooth the paper carefully so it lies flat.
Once dry, the tray develops a soft decorative finish that almost resembles painted art. Floral and botanical prints work especially well.
Use the finished tray on a coffee table to hold candles or decorative objects. It can also sit on a dresser for jewelry and perfume bottles.
This project uses inexpensive supplies but produces a decorative piece that looks thoughtful and stylish.
2. Scrap Fabric Coasters
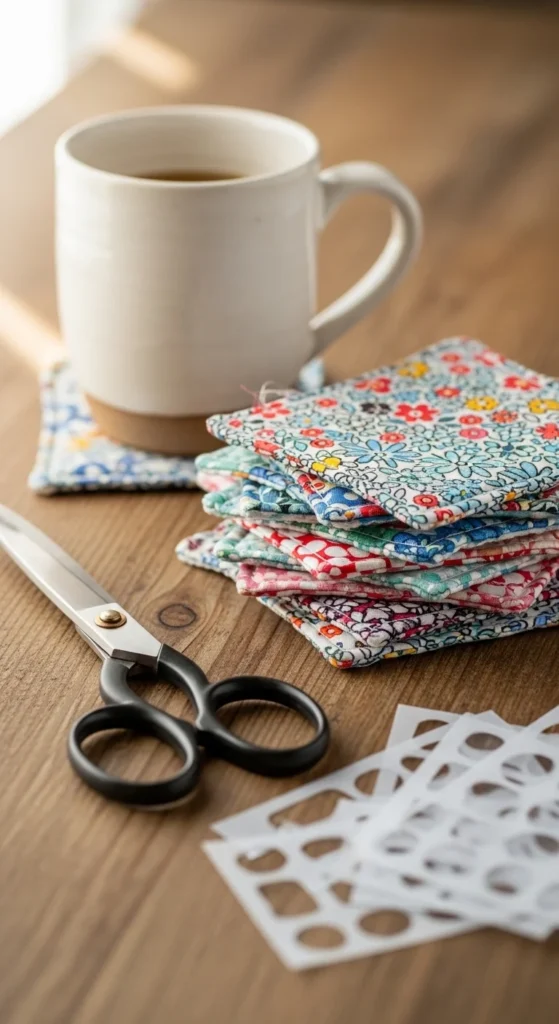
Fabric scraps from clothing or sewing projects can easily become coasters.
Cut fabric squares around four inches wide. Place iron-on adhesive between two pieces of fabric.
Press the layers with an iron until they bond together. Trim the edges so the shape looks even.
Choose coordinating fabrics so the set looks intentional. Soft florals, checks, or neutral prints work well.
These coasters protect tables from heat and moisture while adding texture to your décor.
A set tied together with ribbon makes a thoughtful handmade gift.
Because the project uses leftover materials, the cost remains very low while still producing something useful.
3. Cork Trivet
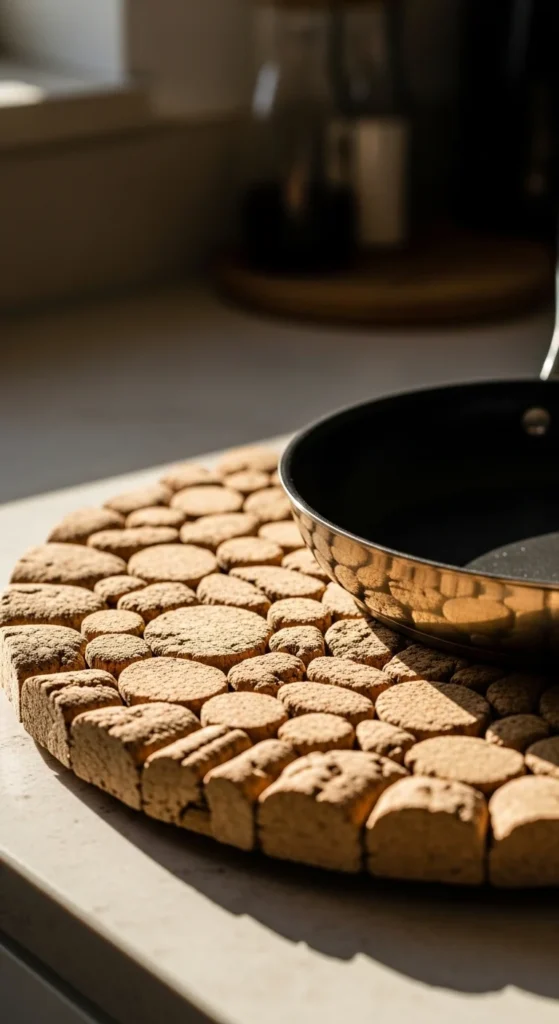
Cork trivets are practical kitchen crafts that also look attractive.
Arrange cork pieces into a circular or square pattern. Glue them onto a cork sheet or sturdy cardboard base.
Allow the glue to dry completely before placing hot dishes on top.
The natural cork texture fits well with rustic or minimalist kitchen styles.
You can paint the edges or add a simple border if you want extra detail.
This project uses inexpensive cork pieces but produces a durable kitchen accessory.
4. Recycled CD Mosaic Frame
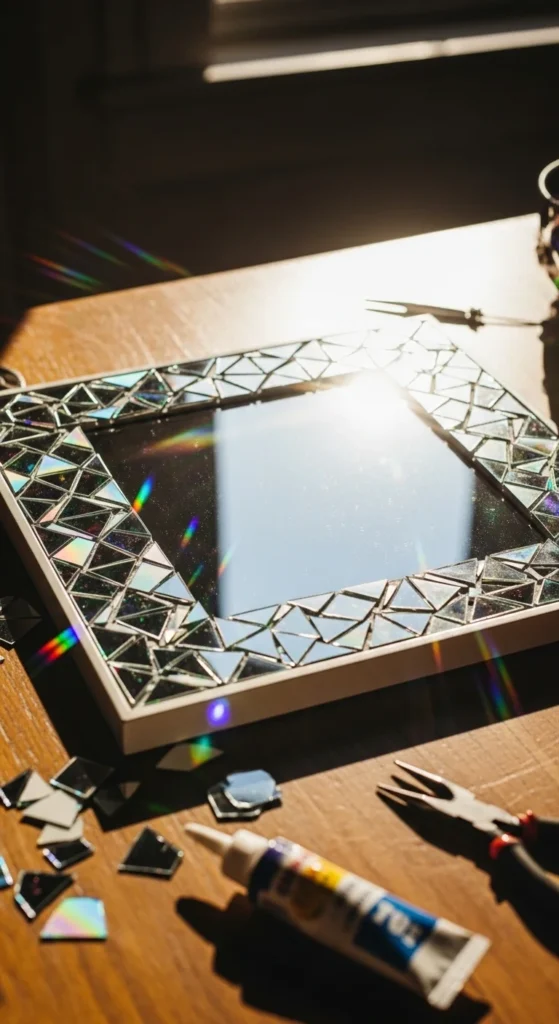
Old CDs can create striking mosaic designs.
Cut the discs into small fragments. Glue the pieces onto the edges of a plain mirror or picture frame.
Leave tiny spaces between pieces so the pattern feels balanced.
The reflective surfaces catch light and produce colorful highlights.
This craft turns unused items into decorative wall pieces with a modern appearance.
5. Painted Jar Lid Magnets
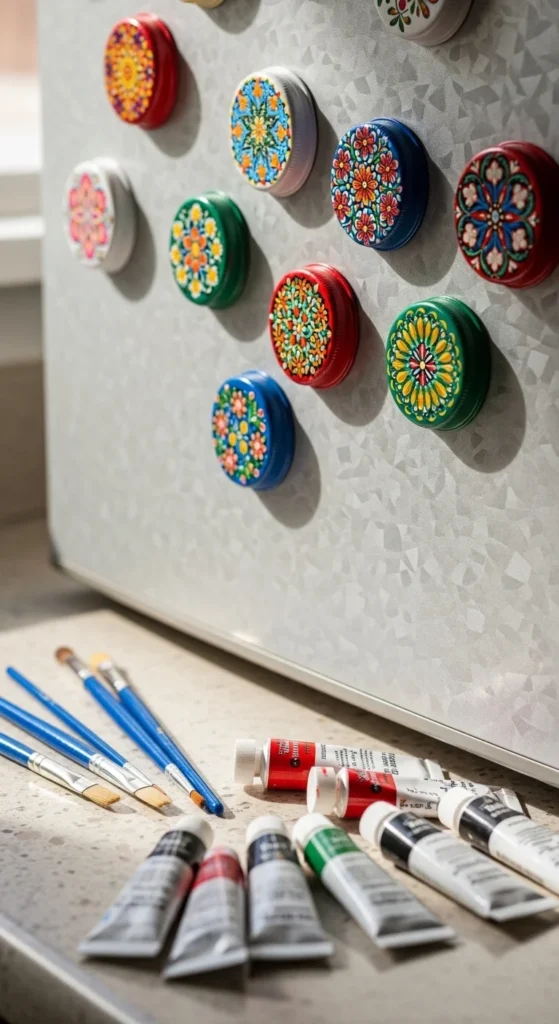
Jar lids make excellent bases for small decorative magnets.
Clean the lids thoroughly. Paint the top surface with acrylic paint using simple patterns.
Dots, stripes, or tiny flowers look neat and easy to create.
After the paint dries, glue a magnet to the back.
These magnets add color to your kitchen and help hold notes or photos.
The project uses very little paint and takes only a short time to finish.
6. T-Shirt Yarn Storage Bowl
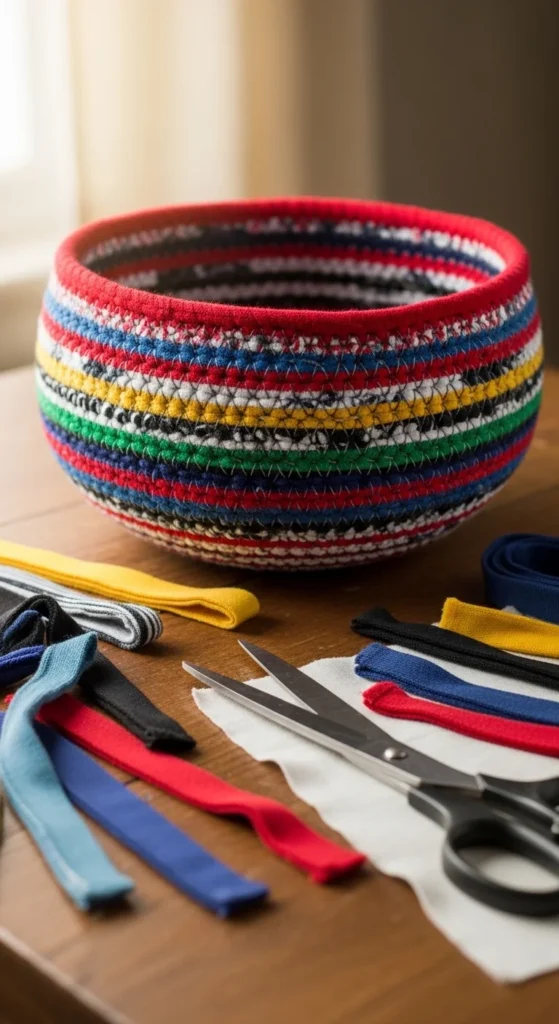
Old T-shirts can transform into soft fabric yarn.
Cut the shirts into long strips and stretch them gently so they curl into yarn shapes.
Coil the strips into a spiral bowl and secure them with glue or stitching.
The finished bowl can hold keys, jewelry, or craft tools.
This project reuses clothing that might otherwise be discarded.
7. Coffee Filter Wreath
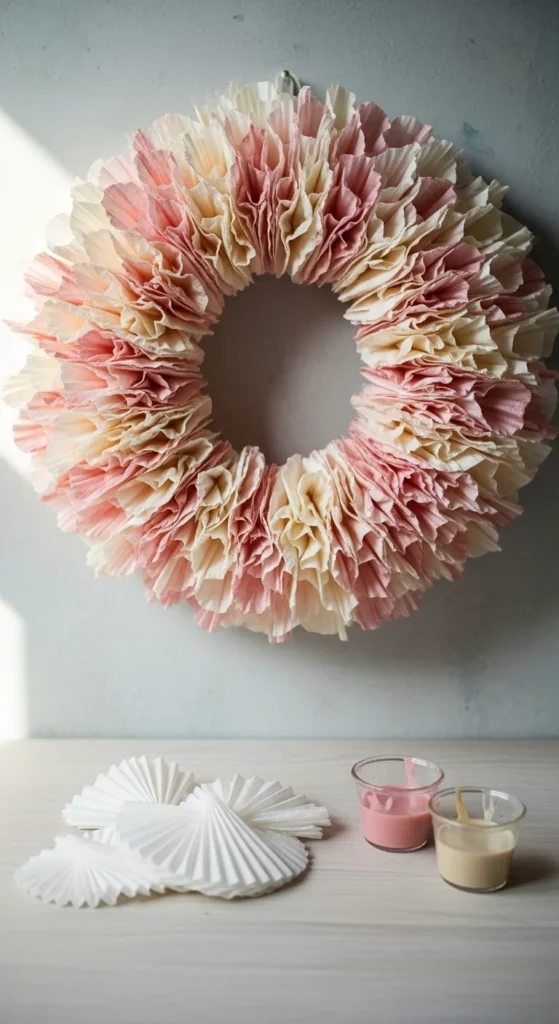
Coffee filters create full decorative wreaths with very little cost.
Lightly dye the filters using diluted paint or food coloring.
After drying, pinch the center of each filter and glue it onto a circular base.
Layer the filters closely so the wreath appears soft and full.
Neutral colors often give the wreath an elegant look.
8. Twine-Wrapped Can Planters
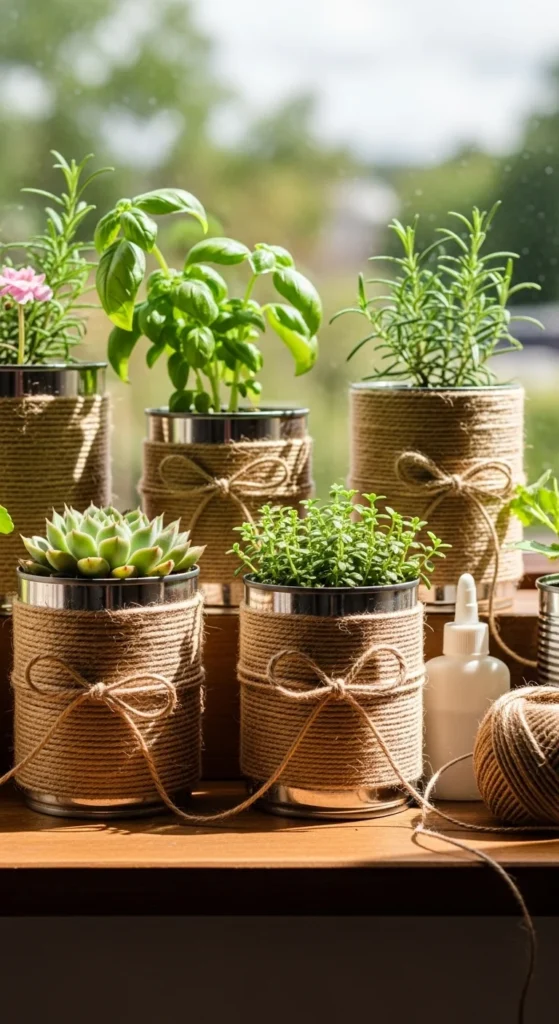
Empty cans can easily become decorative planters.
Remove labels and wash the cans carefully. Wrap twine around the outside while applying glue to hold it in place.
The natural texture gives the containers a rustic feel.
Use them for herbs, succulents, or even desk storage.
9. Magazine Roll Coasters
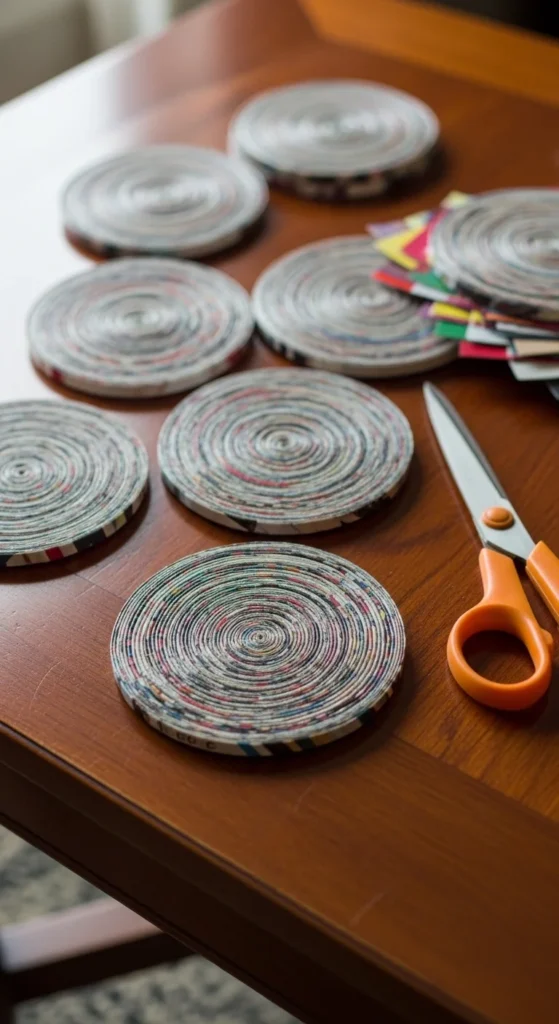
Old magazines can transform into colorful coasters.
Cut the pages into narrow strips and roll them into tight tubes.
Coil the tubes into circles and glue them together.
Press the coaster flat while drying.
These coasters reuse printed paper while creating functional table accessories.
10. Painted Rock Paperweights
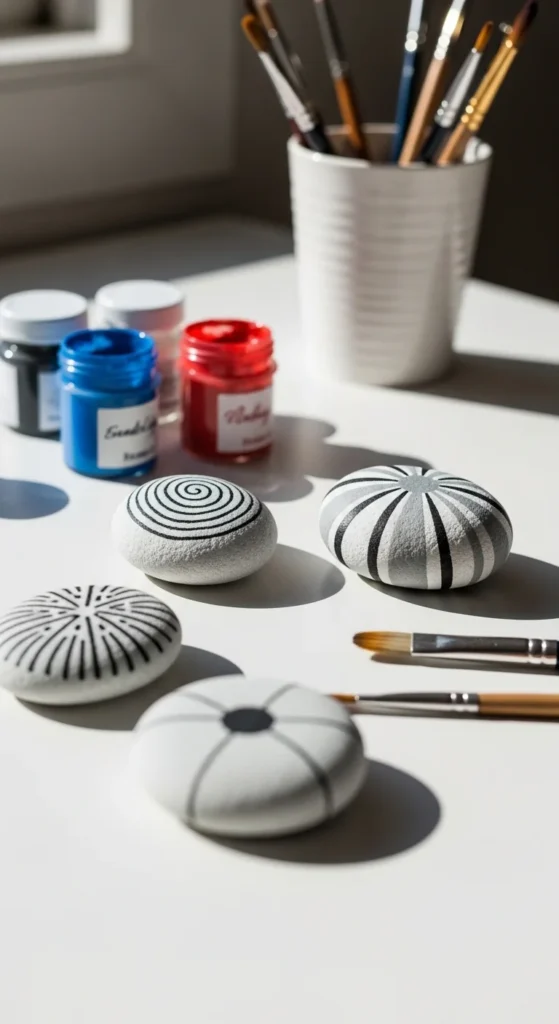
Painted stones make simple decorative desk items.
Clean smooth rocks and apply acrylic paint designs.
Minimal patterns such as dots, stripes, or small geometric shapes look neat.
After drying, the rocks become paperweights or decorative shelf pieces.
11. Button Bowl Jewelry Holder
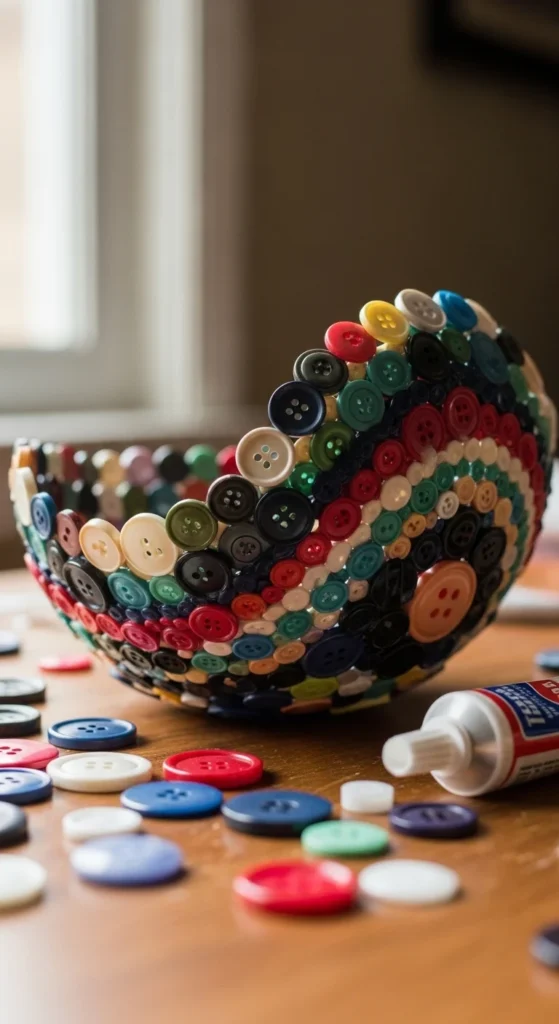
A button bowl turns spare sewing supplies into decorative storage.
Gather buttons in similar colors or mixed shades for a playful look. Line a small bowl with plastic wrap to create a temporary mold.
Apply craft glue to the buttons and arrange them along the inside of the bowl shape. Continue layering until the entire surface is covered.
Allow the glue to dry overnight. Once dry, gently remove the button shell from the mold.
The result is a colorful bowl perfect for jewelry, coins, or small craft tools.
You can also make smaller versions to hold rings on a dresser.
Using leftover buttons keeps the cost extremely low while producing a decorative piece that feels unique.
12. Leaf Print Clay Dish
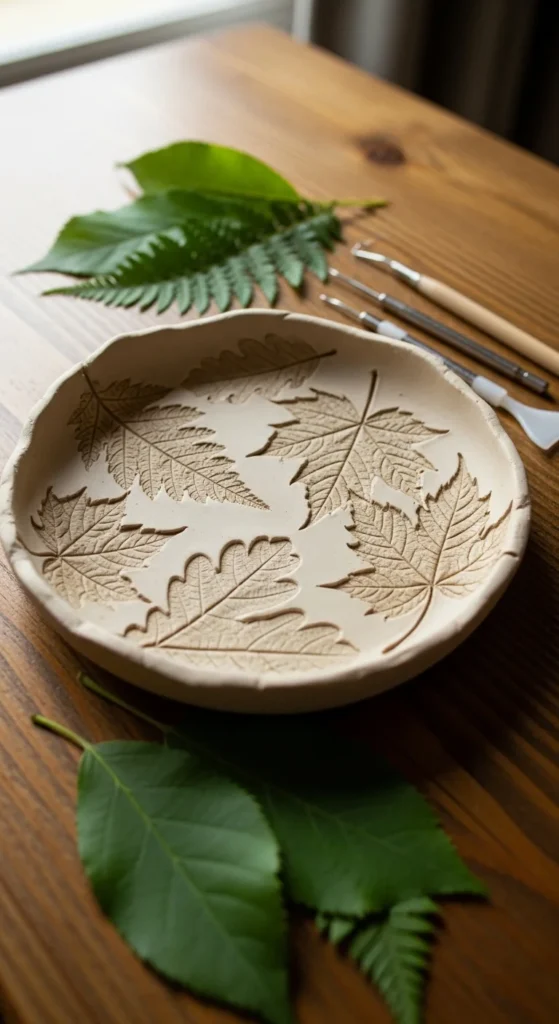
Clay dishes with leaf prints create elegant nature-inspired décor.
Roll out air-dry clay into a flat sheet about a quarter inch thick.
Place a real leaf on the clay and gently press with a rolling pin so the veins imprint into the surface.
Cut the clay into a circle or organic shape and place it inside a bowl to dry into a curved form.
Once hardened, paint the dish with neutral colors like white, sage, or beige.
These small trays work beautifully for rings, keys, or desk accessories.
Because leaves come from outdoors and air-dry clay is inexpensive, the craft stays budget friendly.
13. Twine-Wrapped Glass Vases
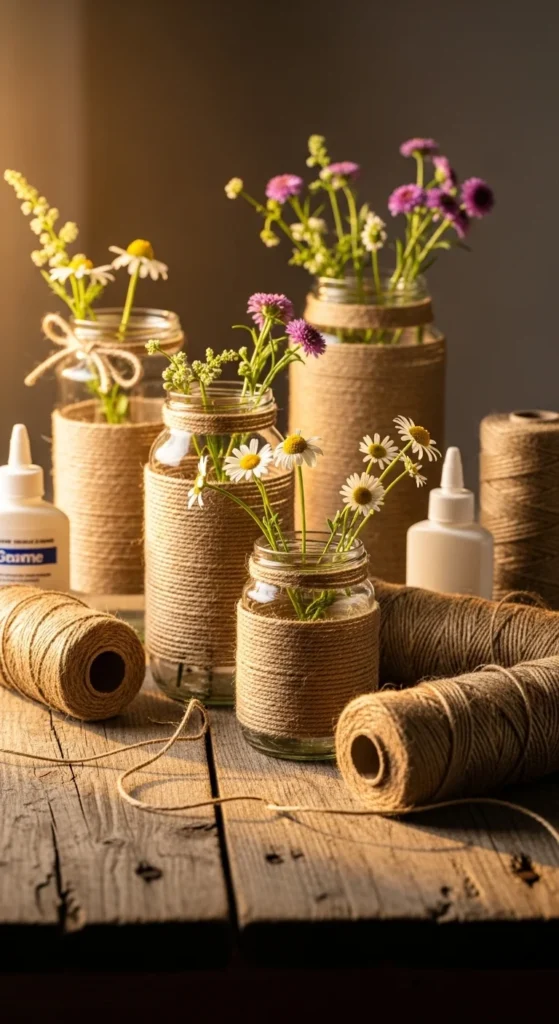
Glass jars make perfect bases for rustic décor.
Clean the jars thoroughly and remove labels. Apply glue around the surface and wrap twine in even rows from bottom to top.
You can cover the entire jar or create bands of twine for a lighter look.
Once finished, place small flowers or dried stems inside.
These vases look beautiful on shelves, dining tables, or window ledges.
Twine is inexpensive and jars are often already available at home, making this a simple but stylish craft.
14. Paper Flower Wall Art
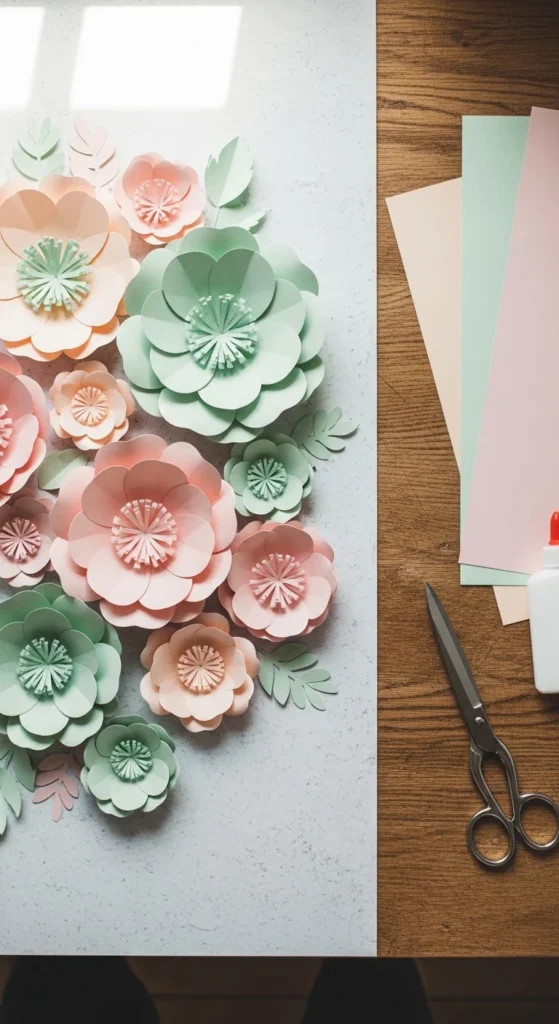
Paper flowers create decorative wall pieces that stay beautiful year-round.
Cut flower shapes from colored craft paper and layer them to create depth.
Glue the layers together and attach them to a canvas board or wall frame.
Use soft color palettes such as blush, cream, or pale green for a clean look.
These flowers work nicely in bedrooms, craft rooms, or reading corners.
Paper crafts remain inexpensive while producing decorative results.
15. Painted Terracotta Pots
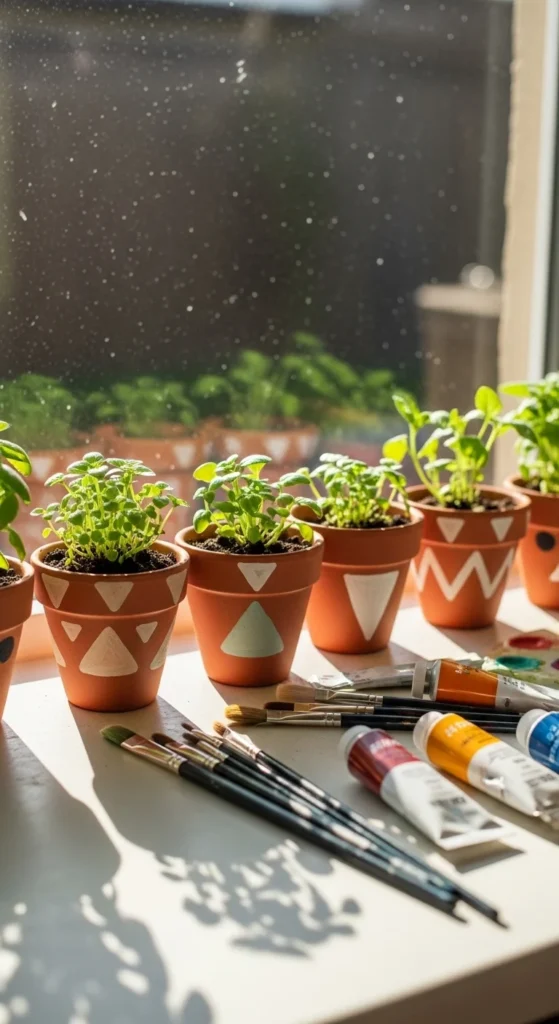
Terracotta pots are inexpensive and easy to decorate.
Start with small clay pots from a garden shop. Paint simple shapes such as stripes, dots, or half circles.
Acrylic paint works well and dries quickly.
Use neutral colors for a minimalist look or bright shades for playful décor.
Once dry, add small plants or herbs.
Painted pots brighten windowsills and shelves while staying budget friendly.
16. Fabric Scrap Garland
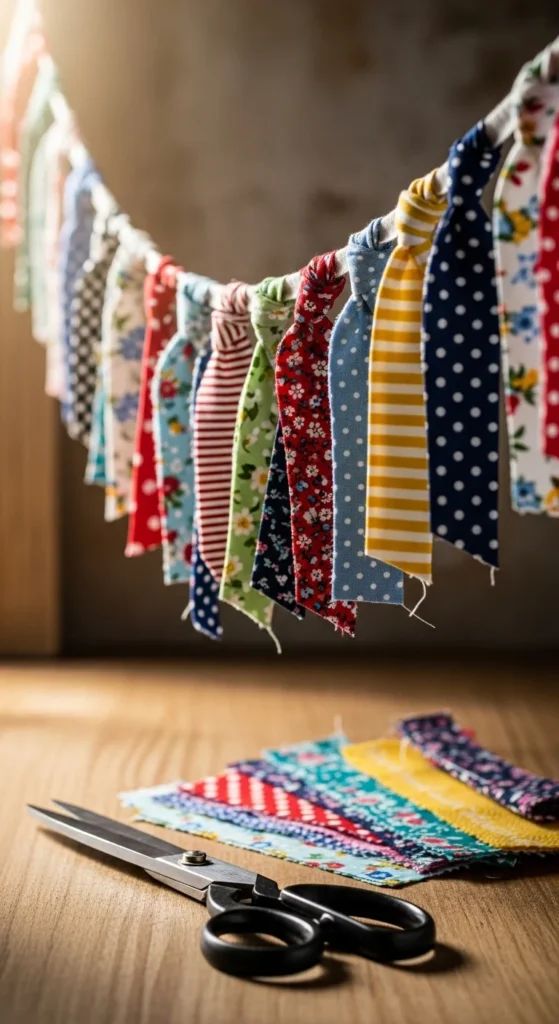
Fabric scraps easily turn into decorative garlands.
Cut fabric pieces into strips about six inches long.
Tie each strip around a long piece of string or twine.
Alternate colors or patterns to create a balanced look.
These garlands work well for party décor, craft rooms, or bedroom walls.
Because the fabric comes from scraps, the craft costs very little.
17. Jar Lid Candle Holders
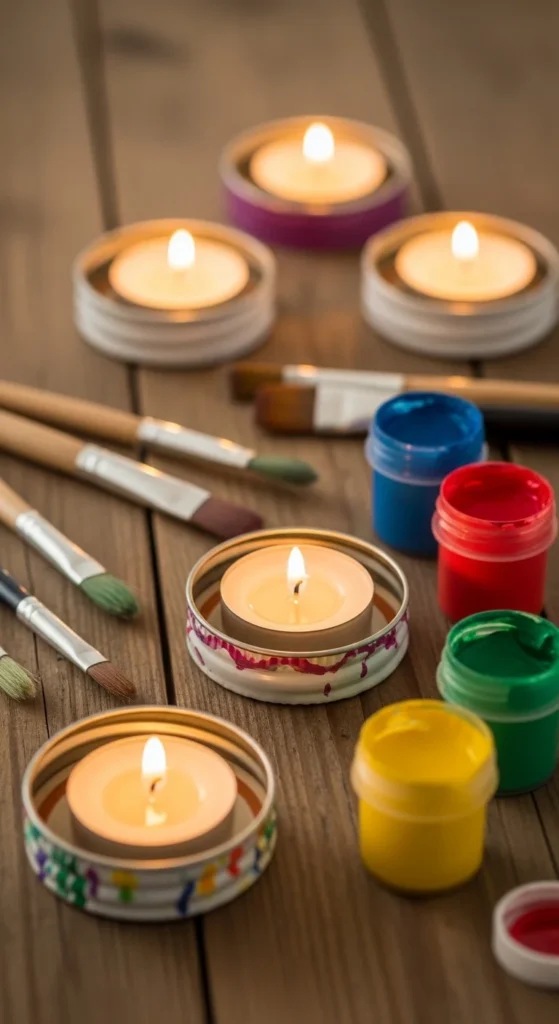
Jar lids can become charming candle holders.
Clean the lids and paint them with metallic or neutral shades.
Place small tea lights in the center.
Arrange several together on a tray for table décor.
The finished holders add warmth to shelves or dining tables.
18. Popsicle Stick Photo Frames

Craft sticks are inexpensive and easy to assemble.
Glue the sticks into square frames and allow them to dry.
Paint the frame in soft colors or natural wood tones.
Insert printed photos once finished.
These frames make thoughtful handmade gifts.
19. Painted Rock Garden Markers
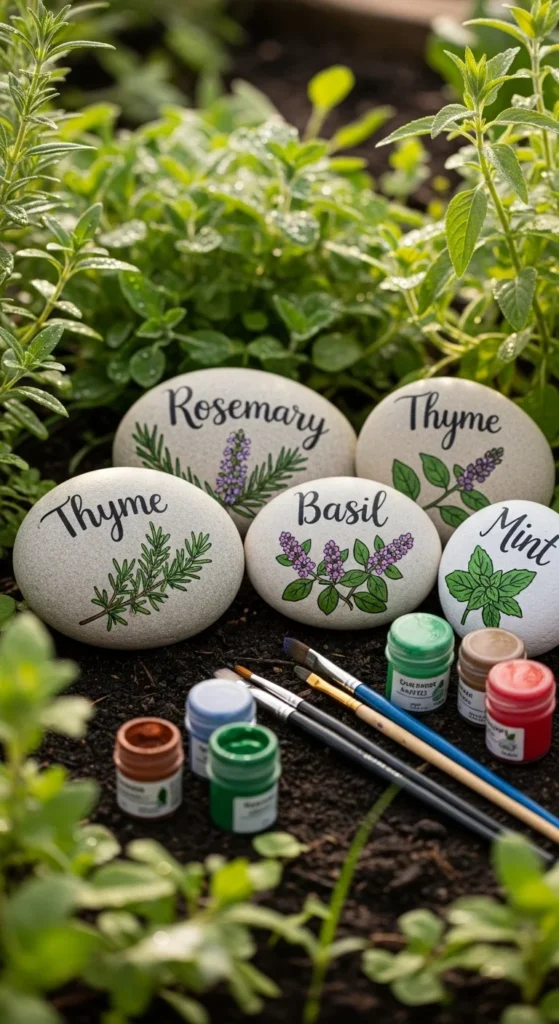
Garden stones add charm to outdoor spaces.
Choose smooth rocks and paint simple plant symbols or patterns.
Place them near herbs or flowers to mark each plant.
The stones also work as decorative accents in garden beds.
20. Bottle Cap Wind Chimes
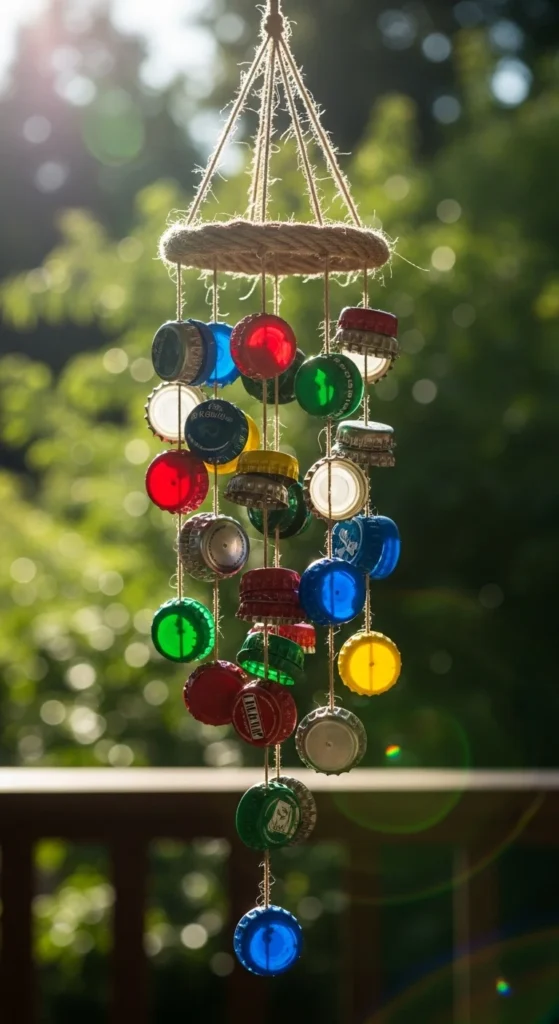
Bottle caps can turn into playful outdoor décor.
Punch small holes in the caps and thread them onto twine.
Attach several strings to a small wooden ring.
Hang the chime outside where gentle breezes move the caps.
The sound is light and decorative.
21. Magazine Paper Wall Art

Magazine pages contain bright colors and interesting textures.
Cut shapes such as triangles or circles and arrange them on canvas.
Glue them carefully to create patterns or abstract designs.
The result is colorful wall art made from recycled paper.
22. Painted Wooden Bead Garland
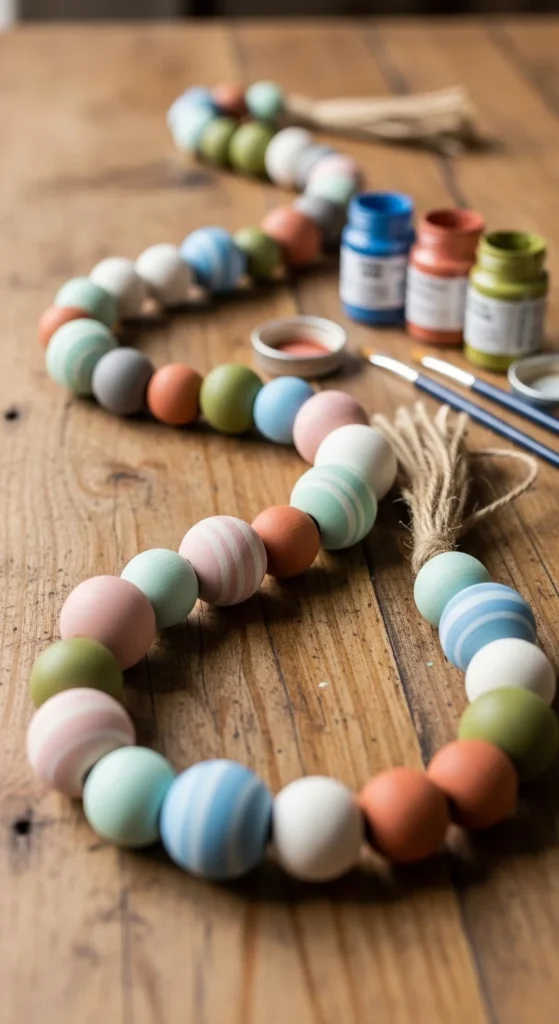
Wooden bead garlands create stylish home décor.
Paint the beads with neutral shades or soft pastels.
Thread them onto twine and tie knots between groups.
Place the garland on trays, shelves, or books.
This project requires very few supplies.
23. Fabric Wrapped Notebooks
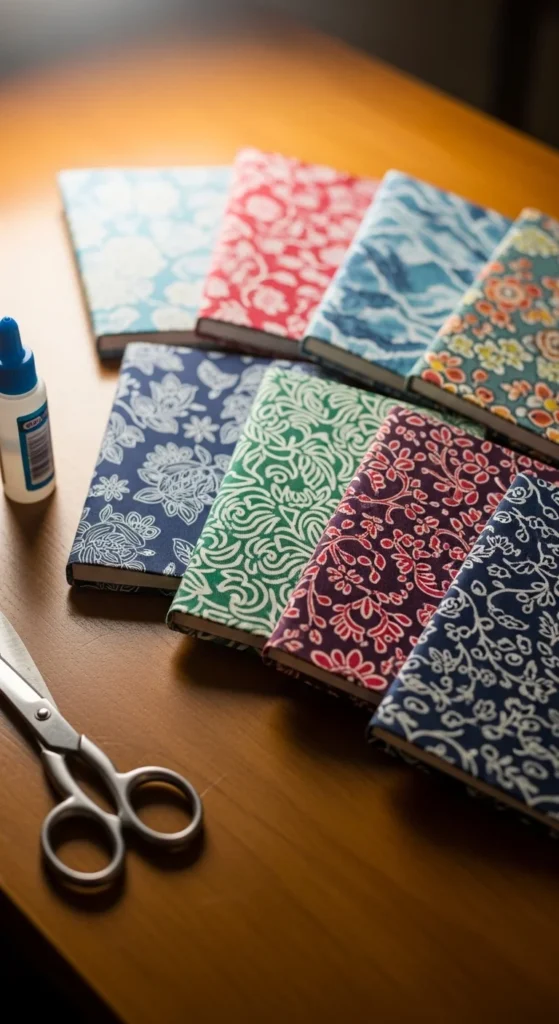
Plain notebooks can look beautiful with fabric covers.
Cut fabric slightly larger than the notebook.
Glue the fabric around the cover and fold the edges neatly.
Allow it to dry before use.
These notebooks make great gifts or personal journals.
24. Painted Wooden Spoons Décor

Wooden spoons can become decorative kitchen accents.
Paint the handles with simple patterns or color blocks.
Leave the spoon heads natural for contrast.
Display them in a jar on the counter.
They look stylish and handmade.
25. Paper Quilling Wall Shapes
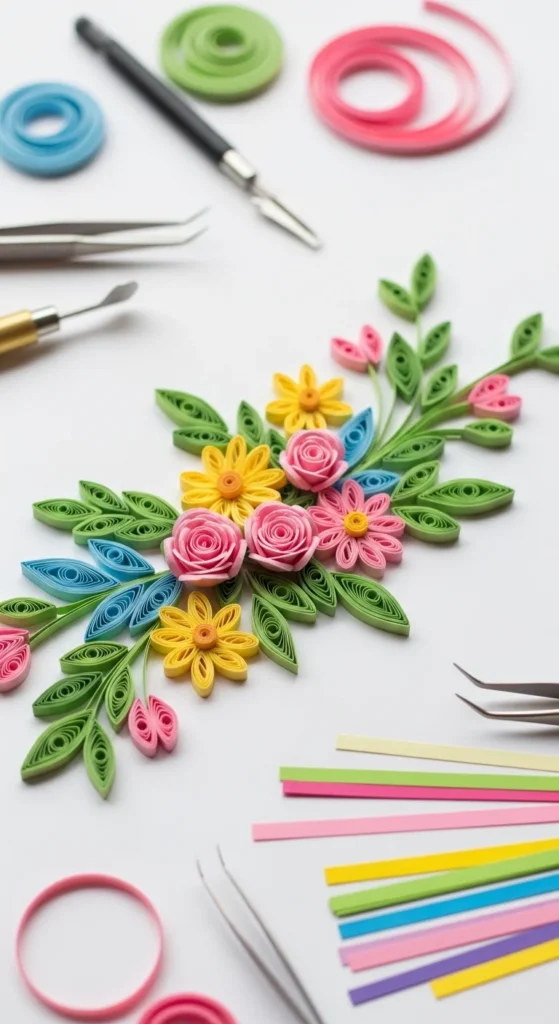
Paper quilling uses thin paper strips rolled into shapes.
Glue the shapes onto a canvas to create flowers or geometric designs.
The layered paper creates delicate texture.
This craft uses only paper, glue, and patience.
26. Mason Jar Lanterns
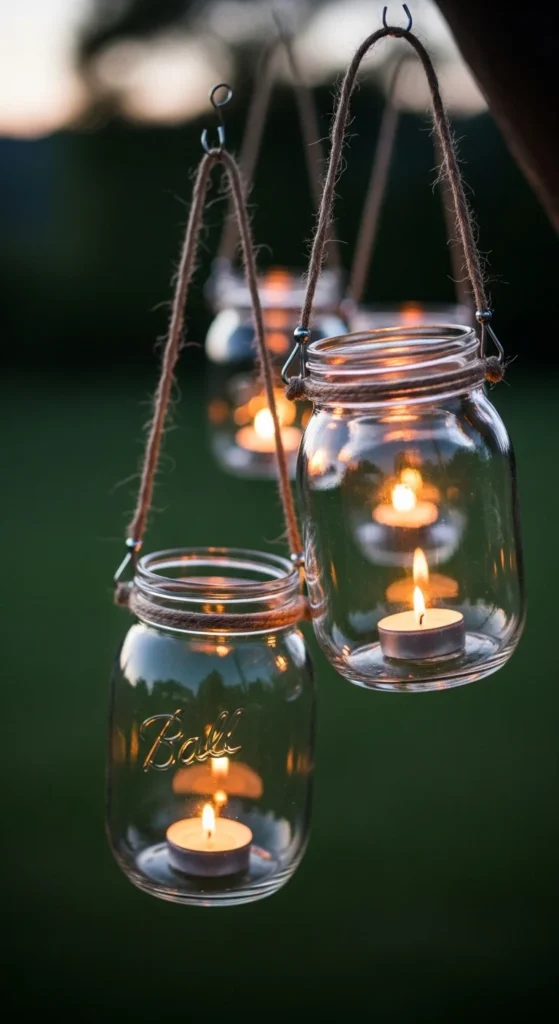
Mason jars make charming lanterns.
Wrap wire or twine around the jar neck to create a handle.
Place a candle inside and hang the jar outside.
These lanterns add warm light to patios or gardens.
27. Washi Tape Picture Frames
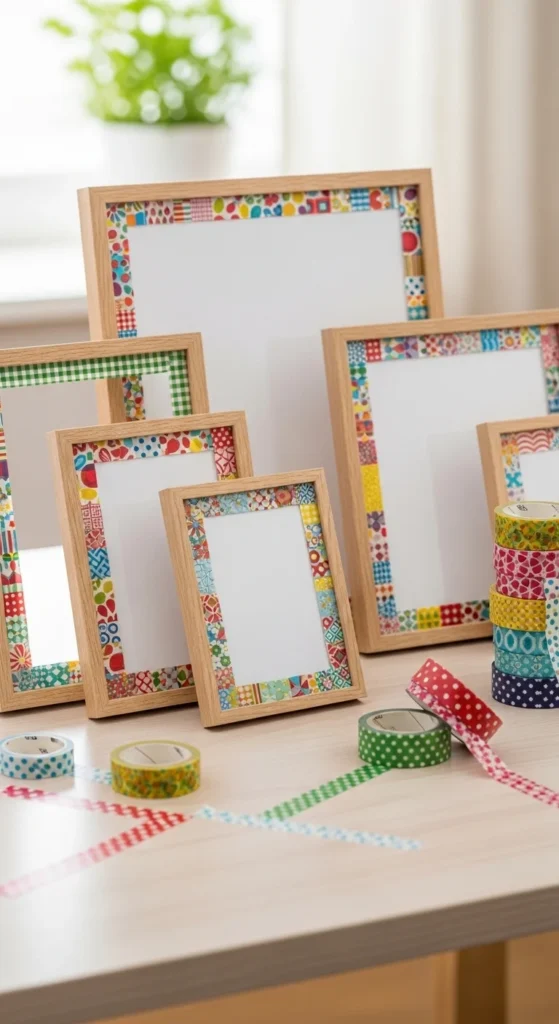
Washi tape adds color without permanent paint.
Apply strips of tape around plain frames.
Mix patterns for a playful design or use one color for simplicity.
The frames can change easily if you switch the tape later.
28. Decorative Rope Coasters
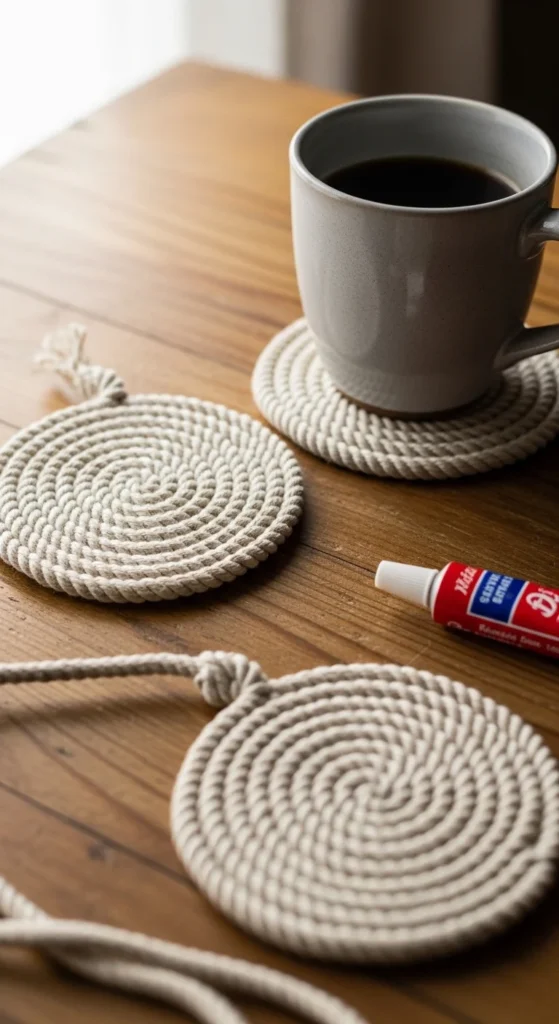
Rope coasters create thick and durable table protectors.
Coil cotton rope into a spiral and glue each layer together.
Press the coaster flat while drying.
Natural rope colors match many décor styles.
The finished coasters look neat and handmade.
Conclusion
Affordable crafts show that creativity does not depend on expensive materials. Items like jars, corks, paper scraps, fabric pieces, and recycled objects can easily become décor, gifts, or organizers.
These projects offer relaxing creative time while producing items that look polished and intentional. With thoughtful color choices and simple designs, even inexpensive materials can turn into beautiful handmade pieces that feel high-end while staying friendly to your budget.

DiyVisual is a DIY ideas resource for makers of every level. Our small editorial team researches and curates easy, budget-friendly craft, home decor, and handmade gift projects — explained step by step so anyone can recreate them at home with simple materials.


