
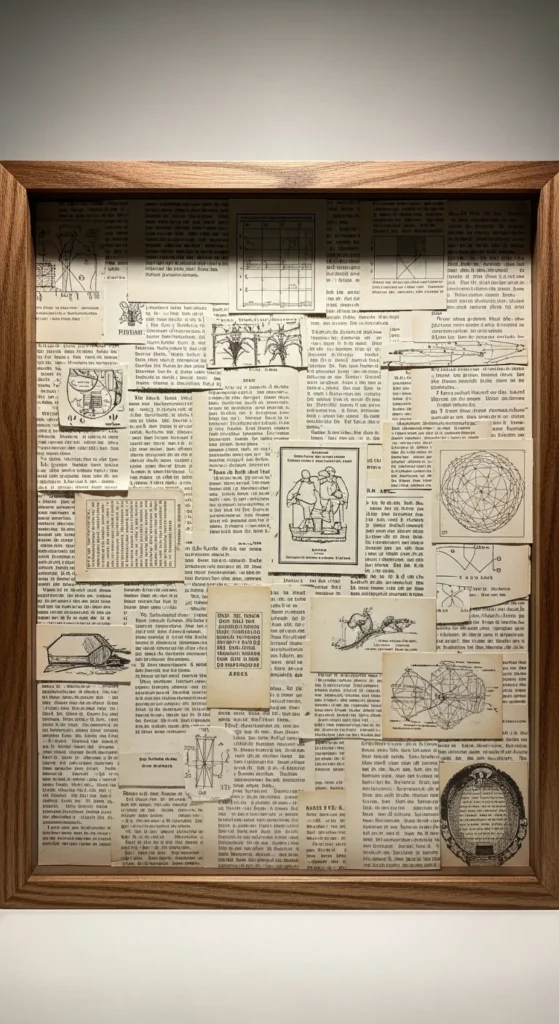
Book page shadow box art combines layering, texture, and storytelling in one simple project. It turns old pages into something that feels meaningful and visually interesting. Many people enjoy this style because it mixes paper craft and display art in a way that feels personal. You can keep it minimal or build detailed scenes inside the frame.
This guide shares practical shadow box ideas you can try without expensive supplies. Most projects use things you already have. A basic frame, glue, and a few pages are enough to start. Some ideas focus on clean layouts. Others add depth with layers or small objects. If you want wall decor that stands out without costing much, these ideas will help you get started.
1. Layered Page Background Shadow Box
Start with a simple base. Glue full book pages to the back panel.
Layer a second set slightly offset. This creates depth.
Keep edges uneven for texture.
Use light glue so pages don’t wrinkle.
You can stop here or add small elements on top.
This is one of the easiest ways to begin.
It gives a soft layered look without much effort.
2. Book Page Silhouette Scene
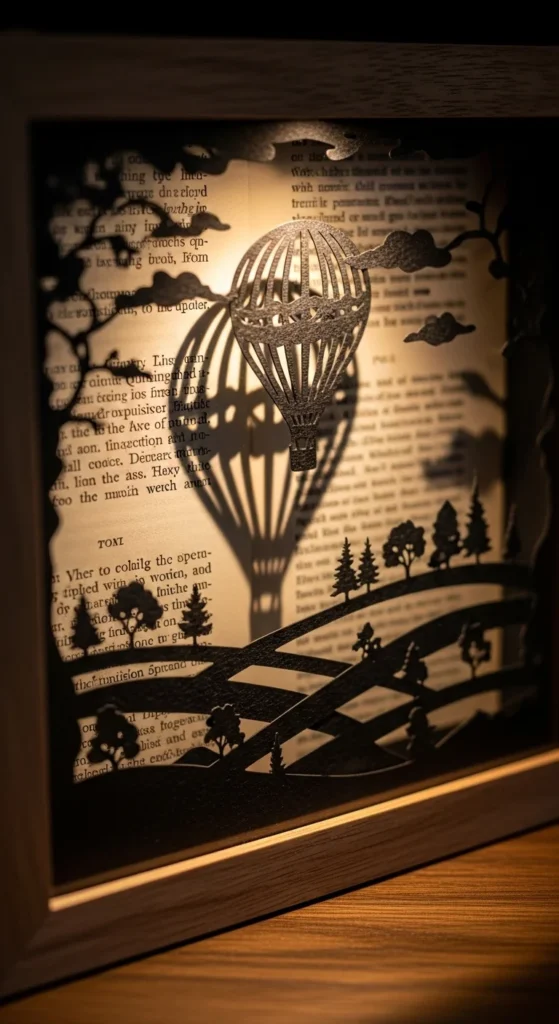
Cut a simple shape from paper. Place it over book pages.
Glue only the edges so it lifts slightly.
This creates a shadow effect.
Keep shapes simple like trees or houses.
The contrast makes it stand out.
3. Mini Room Shadow Box
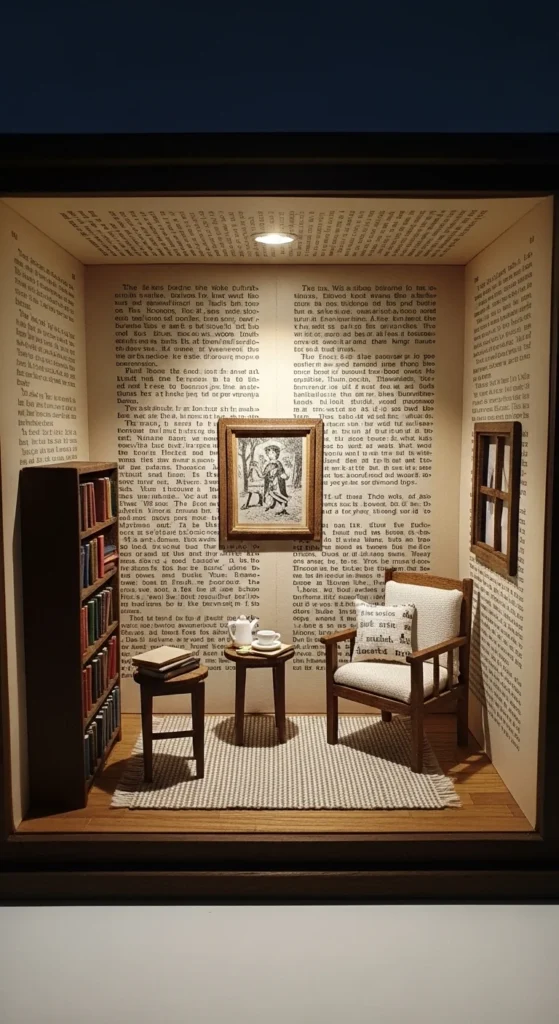
Divide the box into sections.
Use cardboard pieces as walls.
Cover them with book pages.
Add small objects inside.
This creates a scene with depth.
4. Book Page Heart Shadow Box
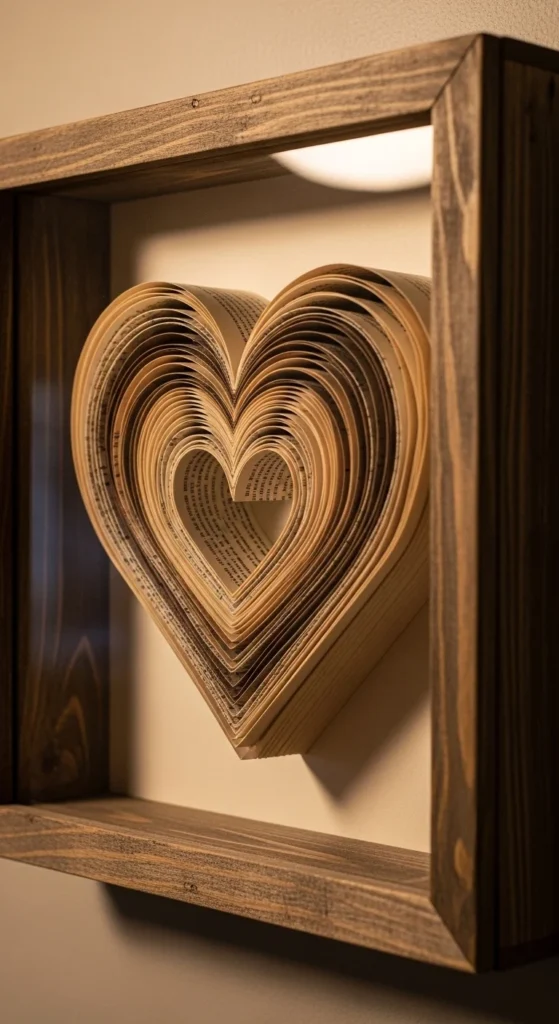
Cut small pieces and shape them into a heart.
Layer them slightly.
Glue carefully.
Keep the background simple.
Works well as a gift idea.
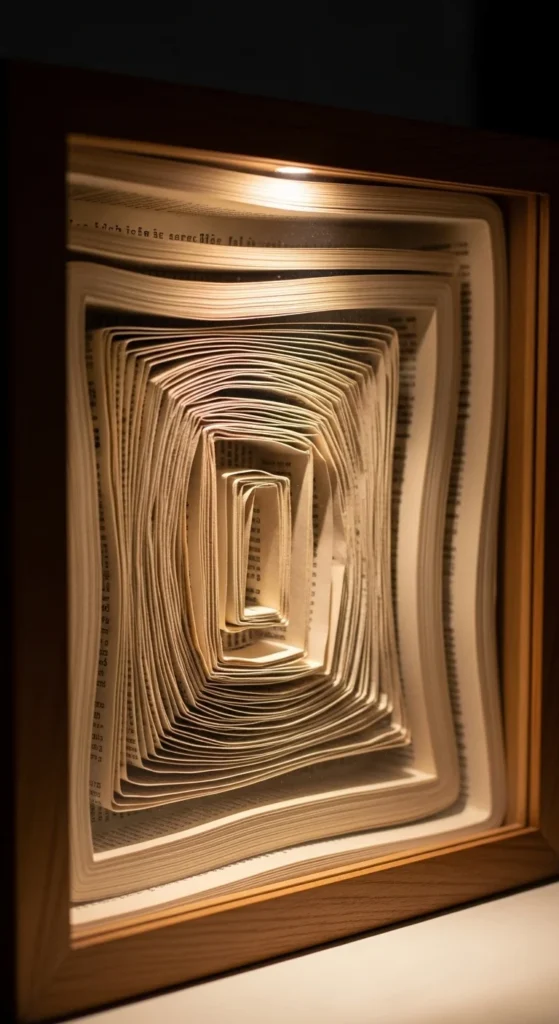
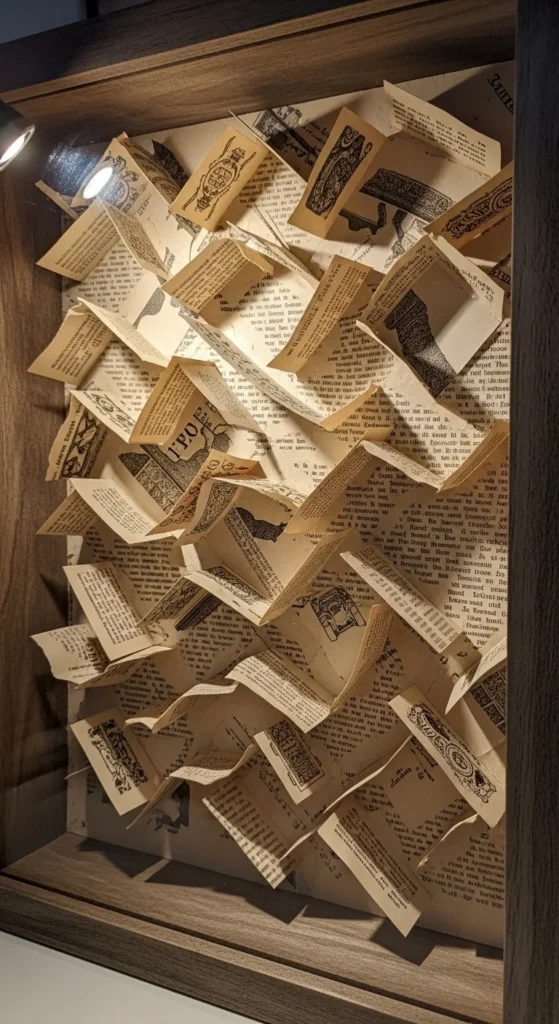
5. Floating Paper Layers
Use foam tape or cardboard pieces behind paper.
This lifts layers forward.
Create space between each layer.
It adds depth without complexity.
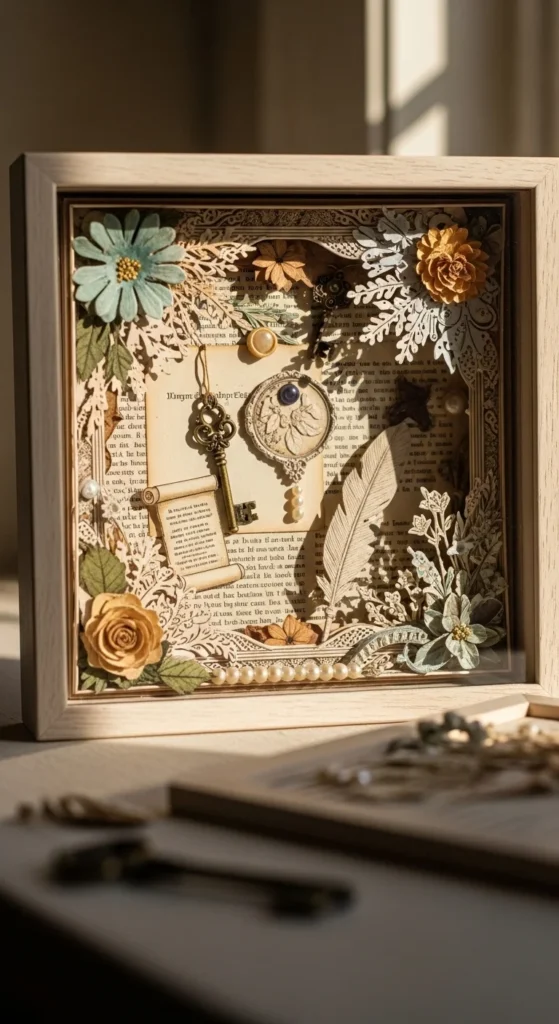
6. Collage + Object Mix
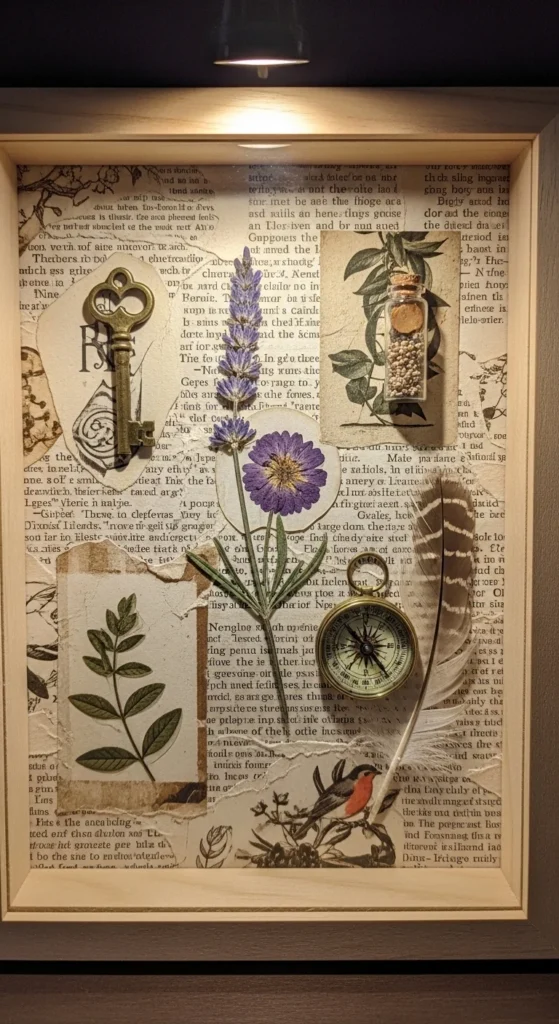
Glue pages as a base.
Add small items like buttons or twine.
Keep it simple.
Mixing materials adds interest.
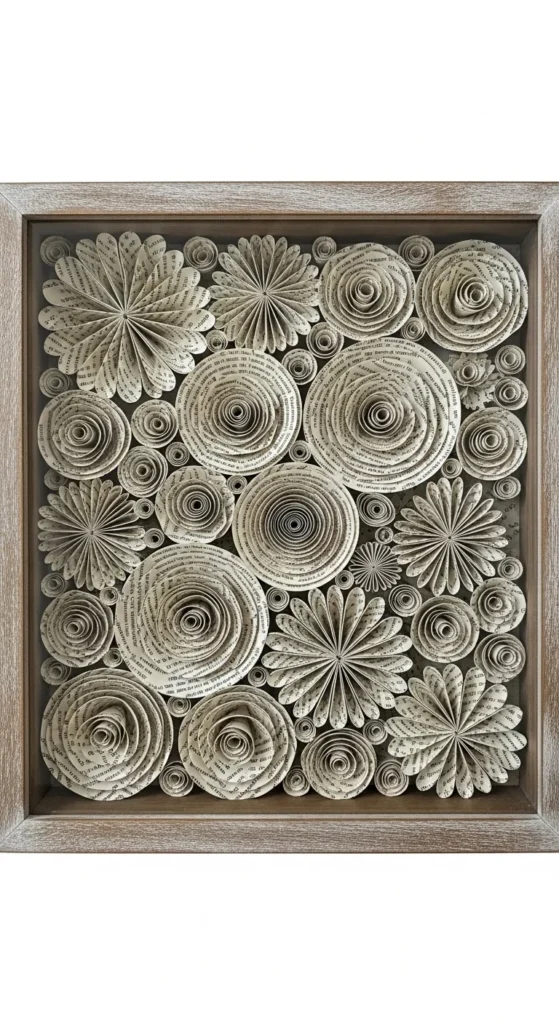
7. Book Page Flower Display
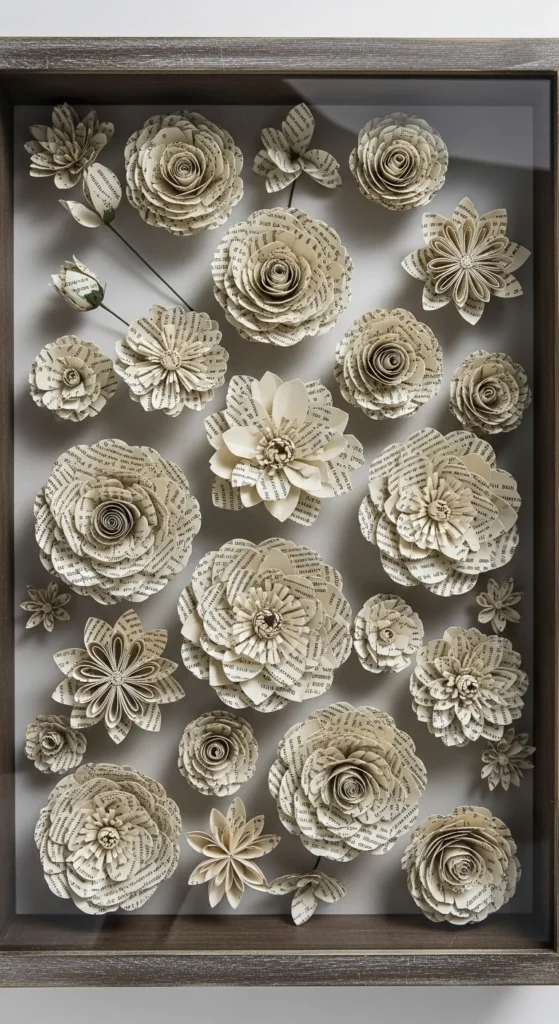
Create small paper flowers.
Arrange them neatly.
Glue to the background.
Keep spacing even.
Adds a soft decorative touch.
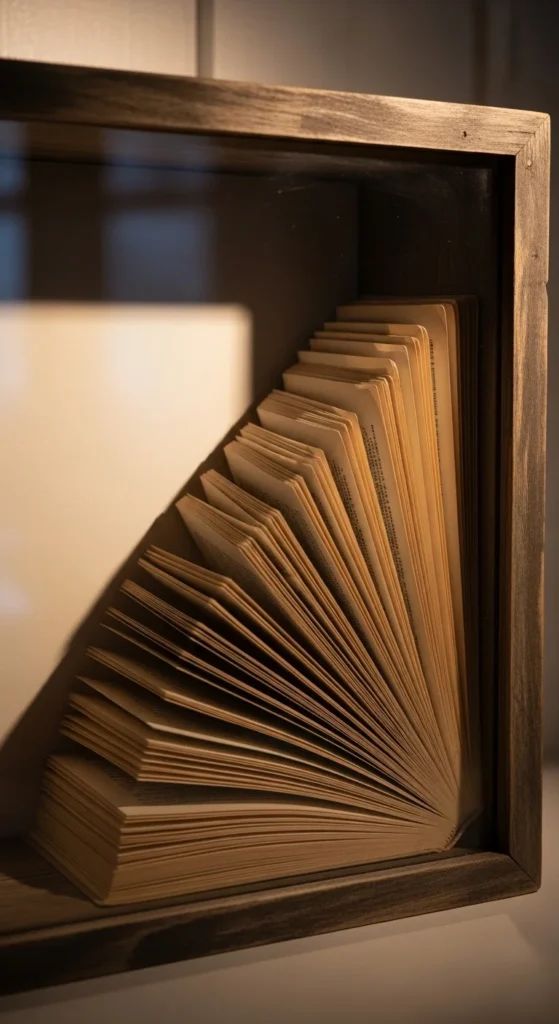
8. Minimal Center Focus Box
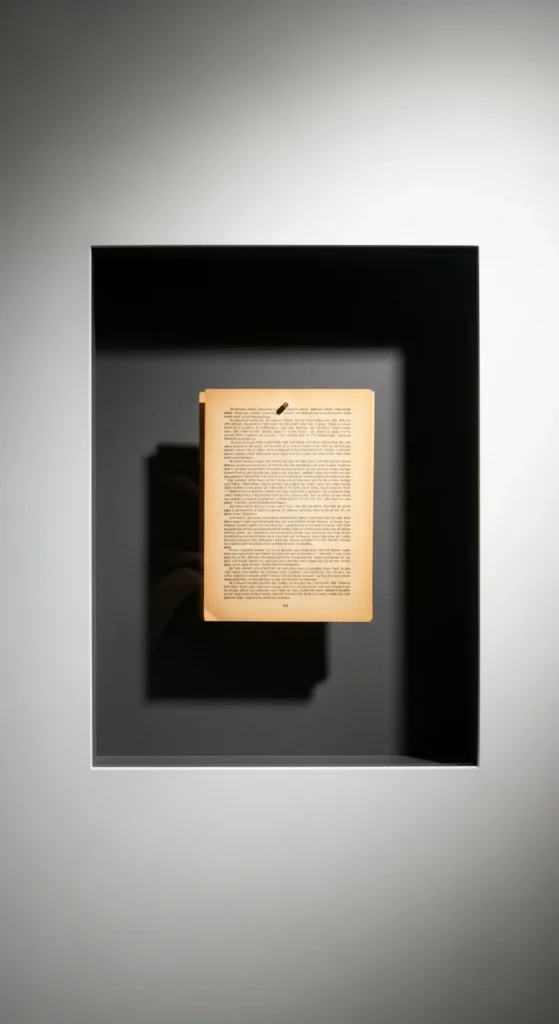
Keep most of the box empty.
Place one main piece in the center.
This creates a clean look.
Works well for modern decor.
9. Raised Edge Texture Design
Glue only the middle of each piece.
Let edges lift slightly.
Creates soft texture.
Easy and effective.
10. Book Page Star Shadow Box
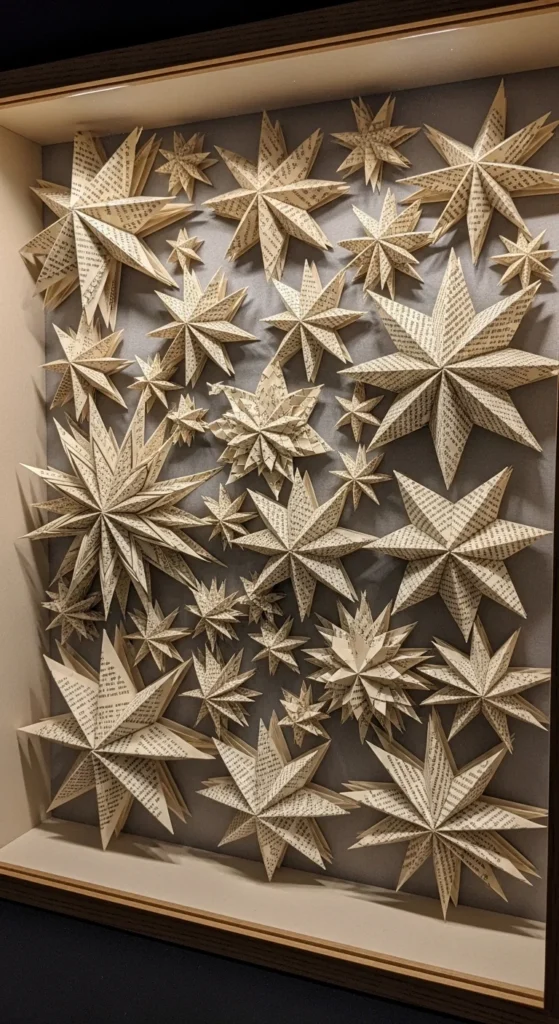
Cut star shapes.
Layer them for depth.
Arrange evenly.
Simple and decorative.
11. Border Frame Collage Box
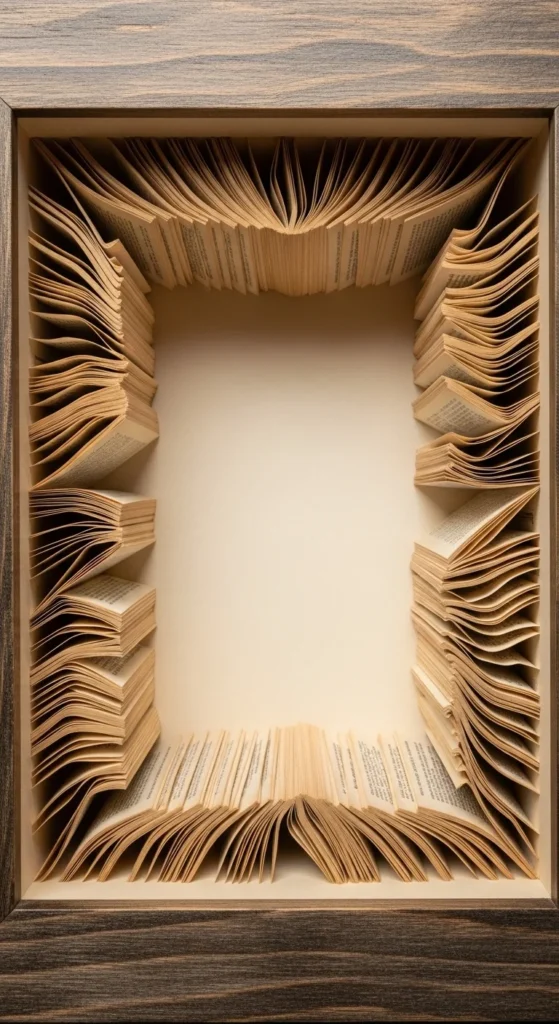
Glue pages along the borders.
Leave the center open.
Creates a frame effect inside the box.
12. Vertical Strip Layers
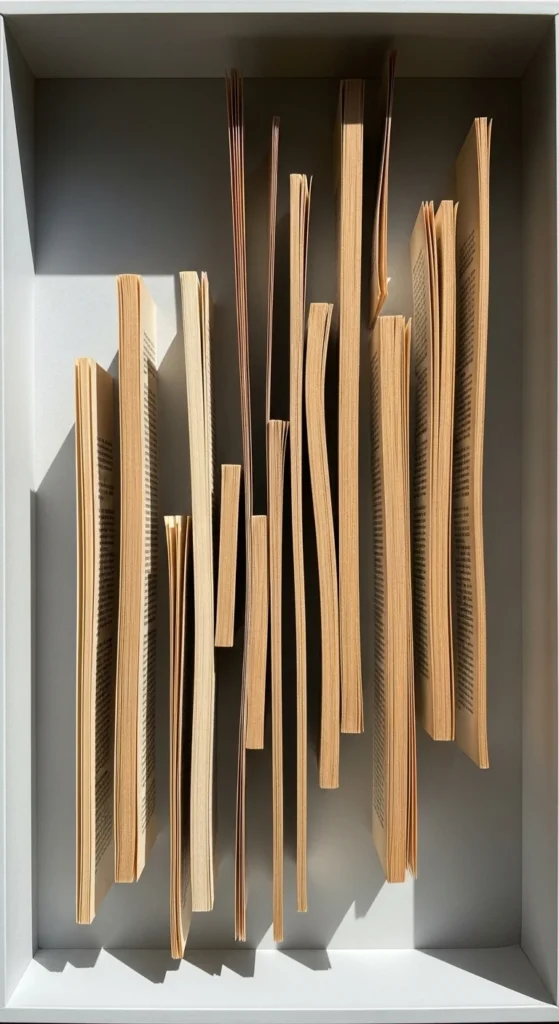
Cut strips of paper.
Layer them vertically.
Keep spacing even.
Adds clean structure.
13. Book Page Grid Design
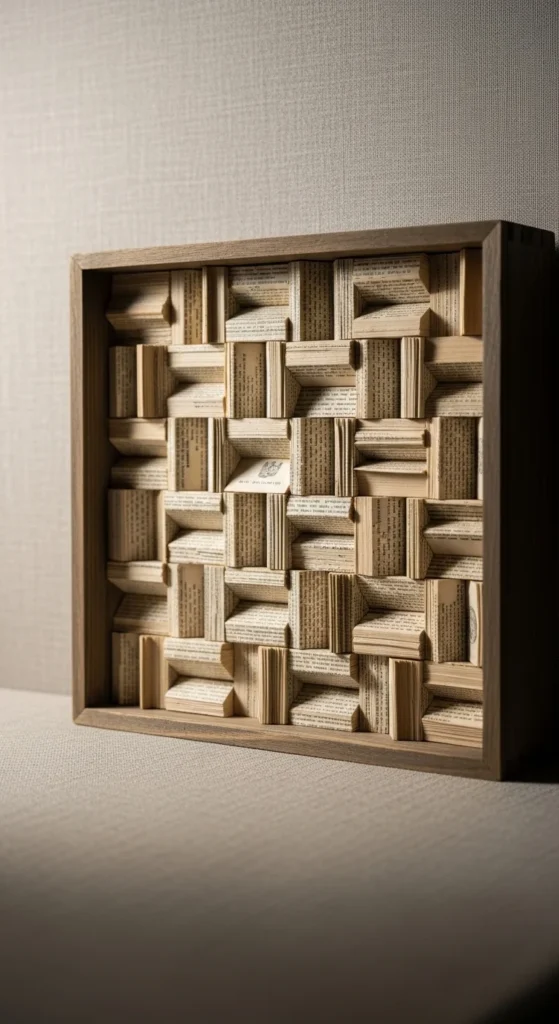
Cut equal rectangles.
Arrange in a grid.
Glue carefully.
Clean and simple.
14. Mixed Paper Shadow Box
Mix book pages with plain paper.
Keep tones soft.
Adds balance.
15. Layered Corner Design
Focus layers in one corner.
Let them spread slightly.
Creates a balanced look.
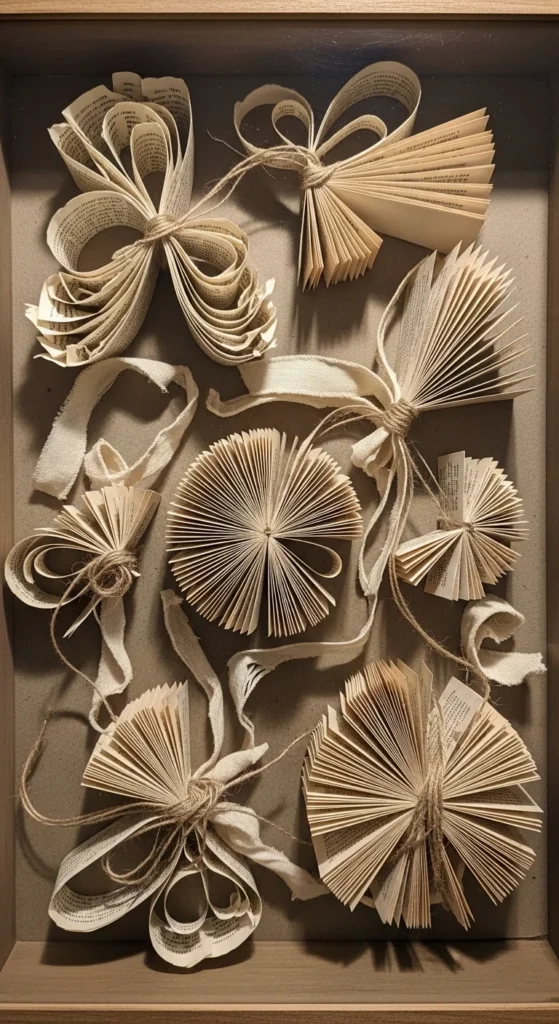
16. Book Page Rosette Box
Fold pages into rosettes.
Glue centers.
Arrange side by side.
Adds texture.
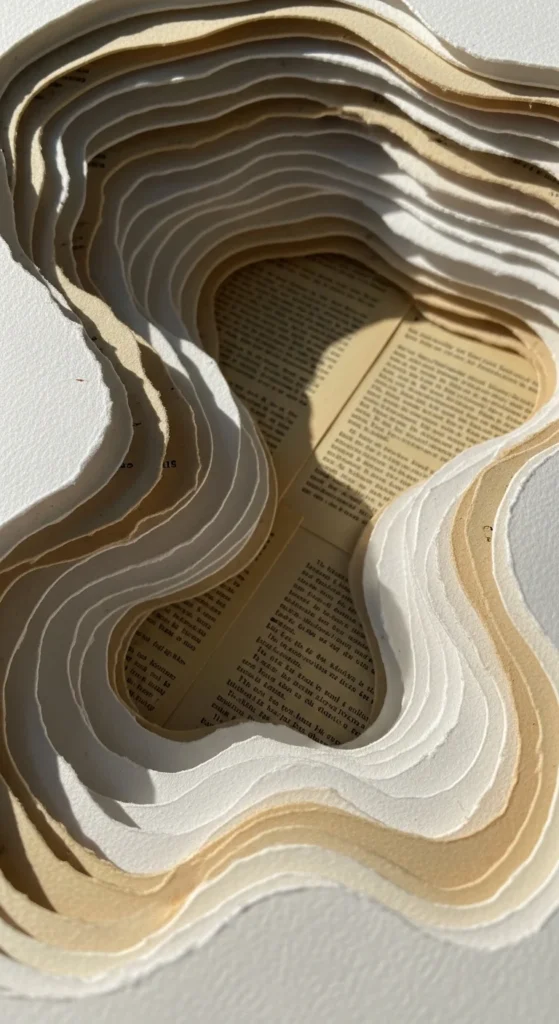
17. Curved Layout Shadow Box
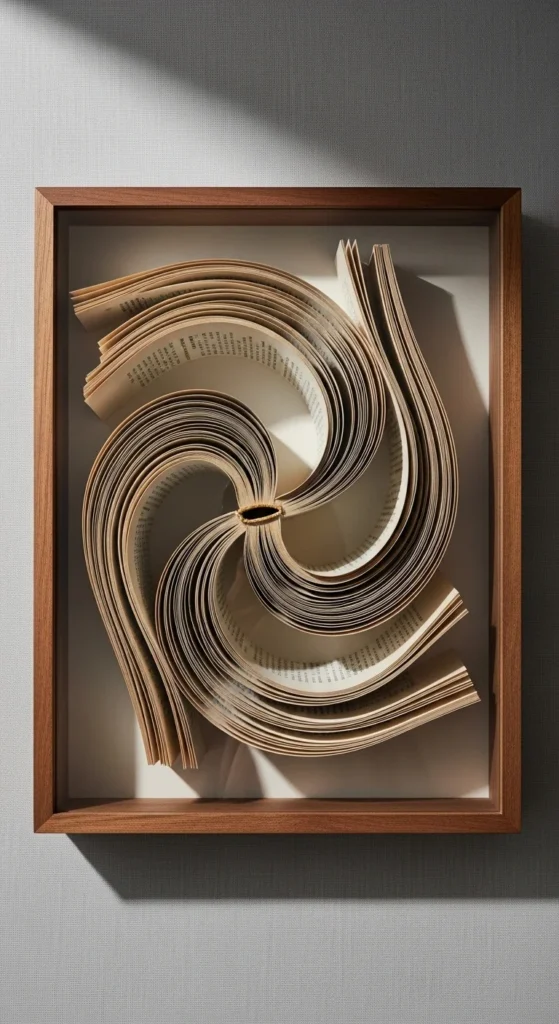
Arrange pieces in a curve.
Keep flow smooth.
Adds movement.
18. Scrap Patch Shadow Box
Use leftover scraps.
Arrange freely.
Glue evenly.
Very budget-friendly.
19. Double Layer Background
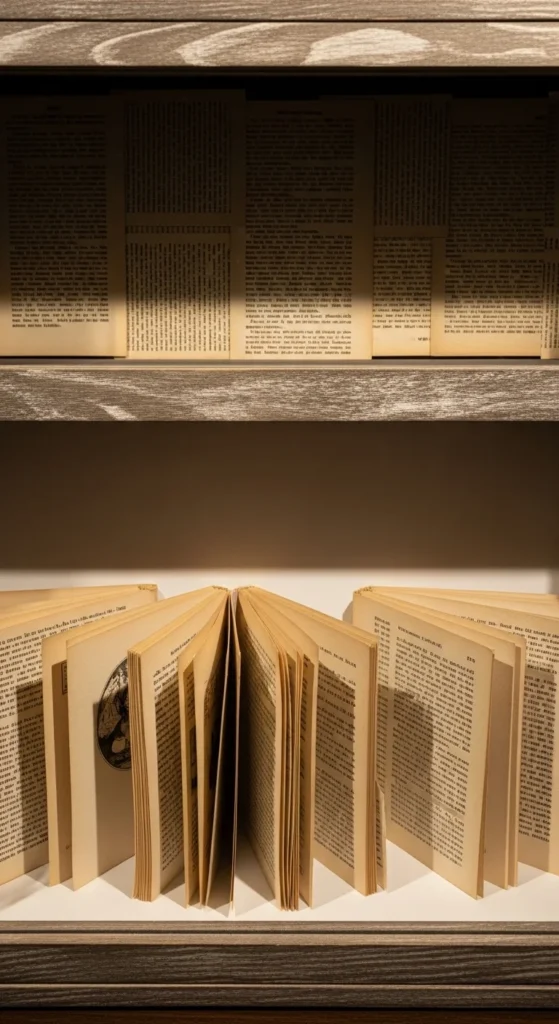
Add one full layer.
Then another on top.
Offset slightly.
Adds depth.
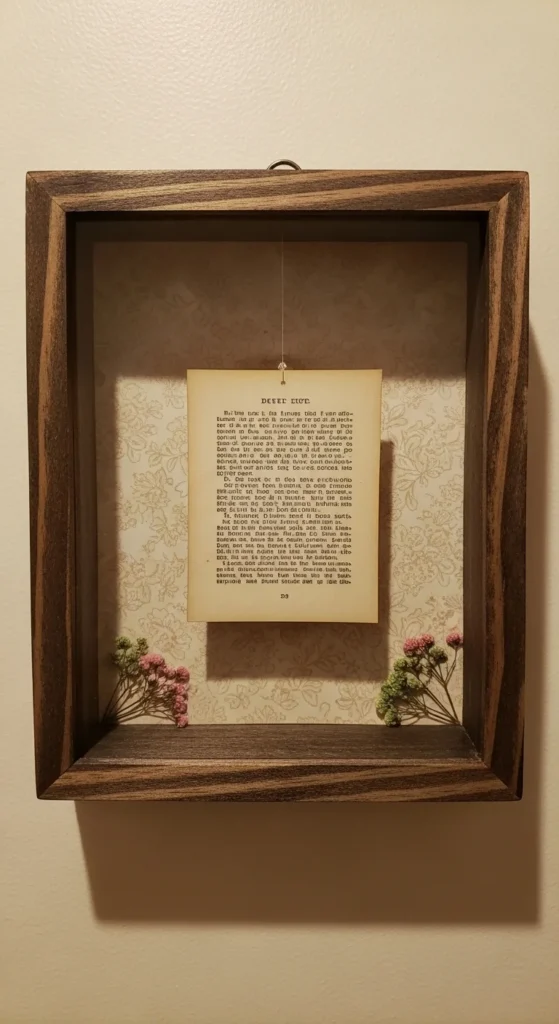
20. Book Page Quote Highlight Box
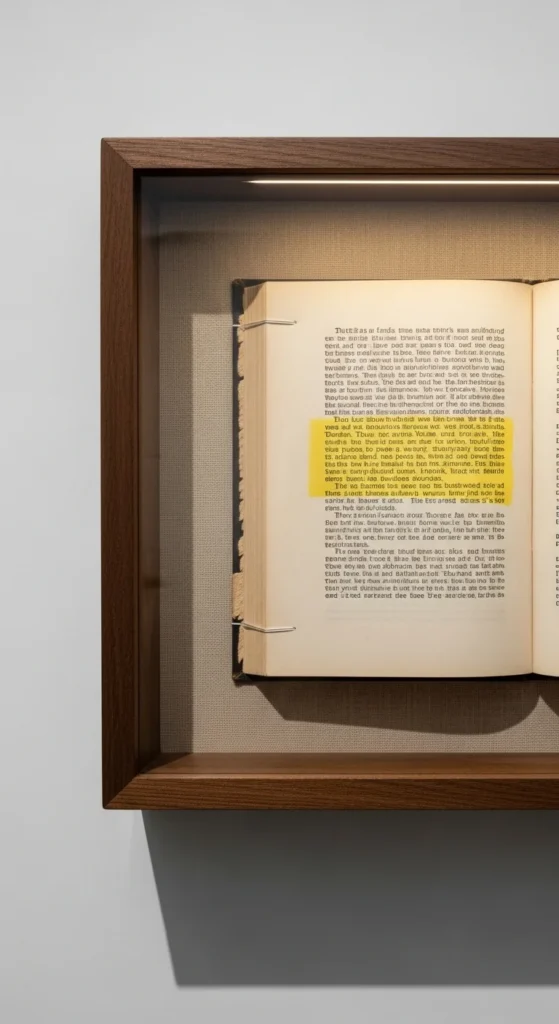
Pick a meaningful section.
Frame it with layers.
Keep focus clear.
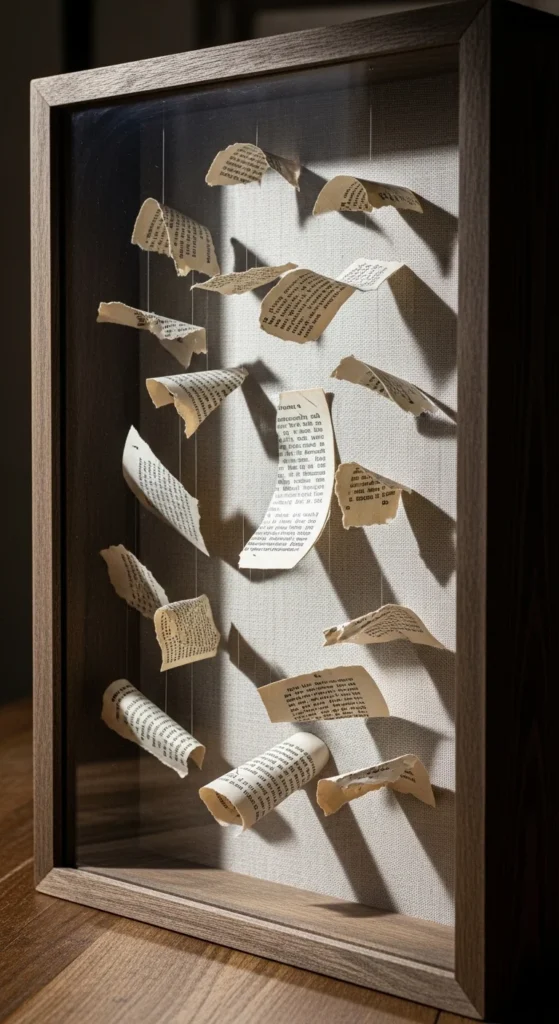
21. Hanging Element Shadow Box
Suspend a small piece using thread.
Keep it centered.
Adds movement.
22. Mini Frame Inside Shadow Box
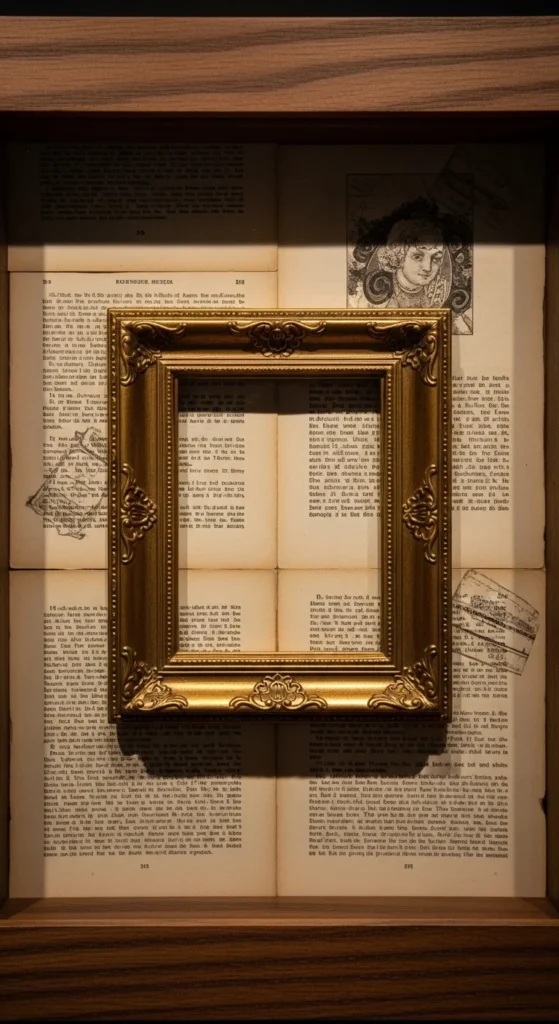
Place a small frame inside.
Add pages behind it.
Creates depth.
23. Book Page Layer Stack Art
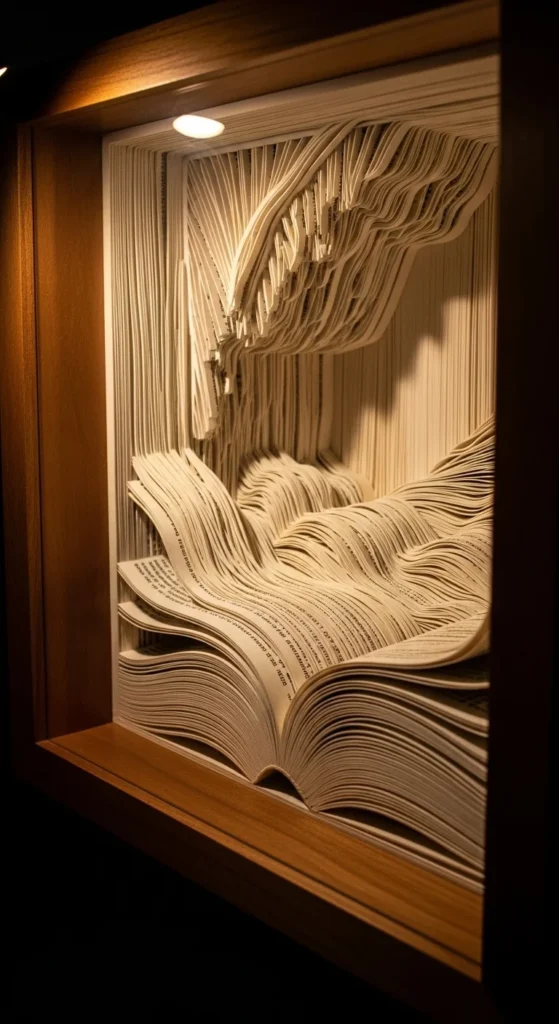
Stack multiple pieces.
Glue one on top of another.
Build height slowly.
Simple 3D effect.
24. Mixed Texture Shadow Box
Add small fabric or string pieces.
Glue lightly.
Keep it minimal.
Adds contrast.
Conclusion
Book page shadow box art offers a simple way to create layered decor that feels personal and detailed. Each idea here focuses on easy steps and affordable materials. You can keep things minimal or add more layers over time. Start with one design and adjust as you go. With a little patience, you can create pieces that stand out and reflect your own style without spending much.

DiyVisual is a DIY ideas resource for makers of every level. Our small editorial team researches and curates easy, budget-friendly craft, home decor, and handmade gift projects — explained step by step so anyone can recreate them at home with simple materials.


