Polymer clay can look perfect before baking—smooth edges, cute shapes, dreamy colors—and then come out with shiny spots, warped backs, or weird marks. The fix is wonderfully simple: bake it on parchment paper the right way.
Parchment gives your clay a soft, nonstick surface and helps prevent those glossy marks that happen when clay touches shiny trays or glass. Here’s the best beginner-friendly method.
Why Use Parchment Paper for Polymer Clay?
Parchment paper is one of the easiest baking surfaces because it:
- Helps prevent sticking
- Reduces shiny backs
- Keeps trays cleaner
- Works well for earrings, charms, beads, and pendants
- Makes it easier to lift delicate pieces after baking
The goal is simple: your clay should cure evenly without pressing directly against a slick, shiny surface.
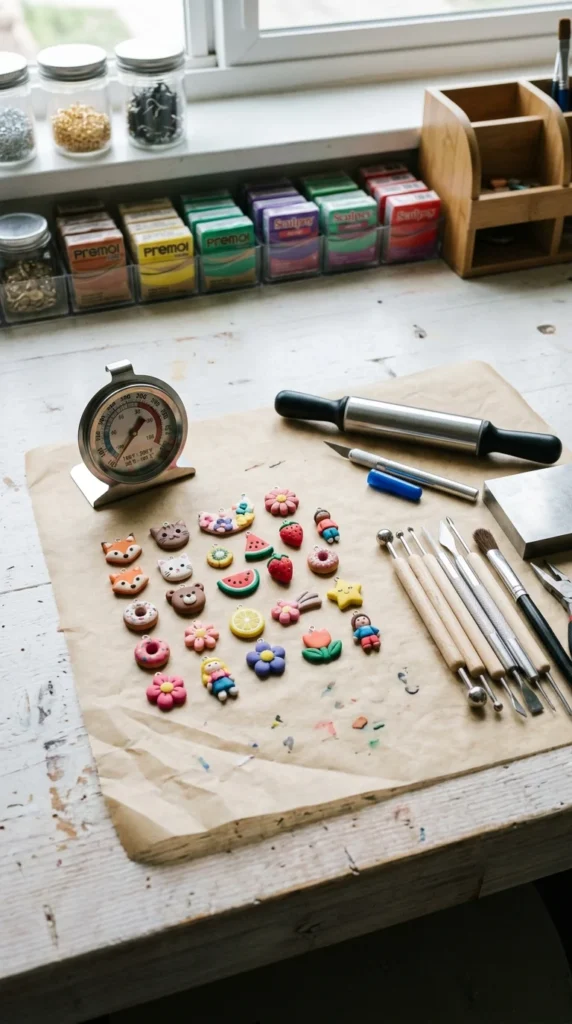
What You’ll Need
Gather your setup before preheating:
- Polymer clay pieces
- Parchment paper
- Baking tray or ceramic tile
- Oven thermometer
- Timer
- Optional foil tent for extra protection
Important note: use parchment paper, not wax paper. Wax paper is not meant for oven baking and can cause messy problems.
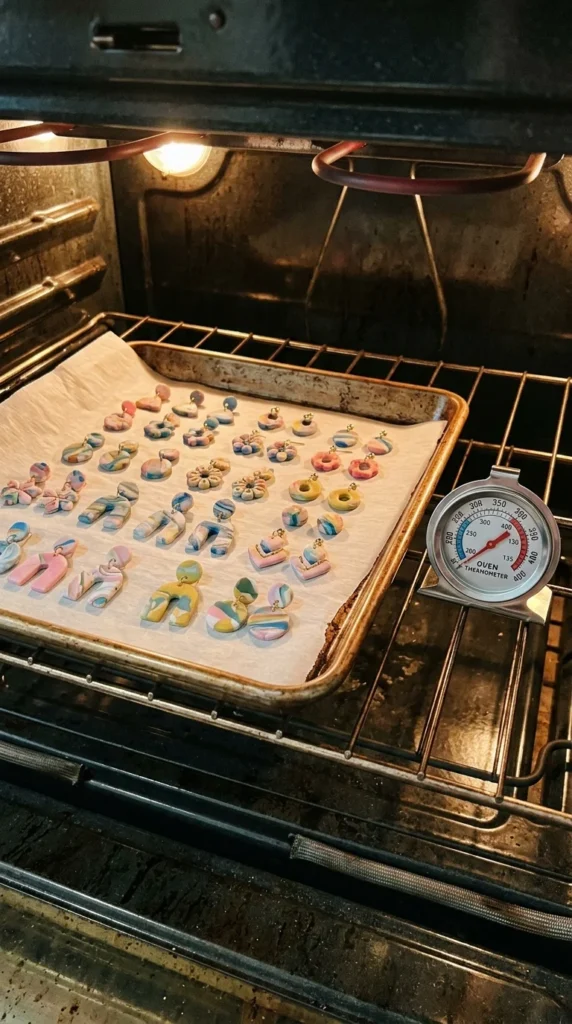
Step 1: Preheat and Check the Temperature
Most polymer clay brands bake around 275°F / 130°C, but always follow the package directions.
Do this first:
- Preheat fully
- Place an oven thermometer inside
- Check the real temperature before baking
Oven dials can be inaccurate, and too much heat can darken or scorch your clay.
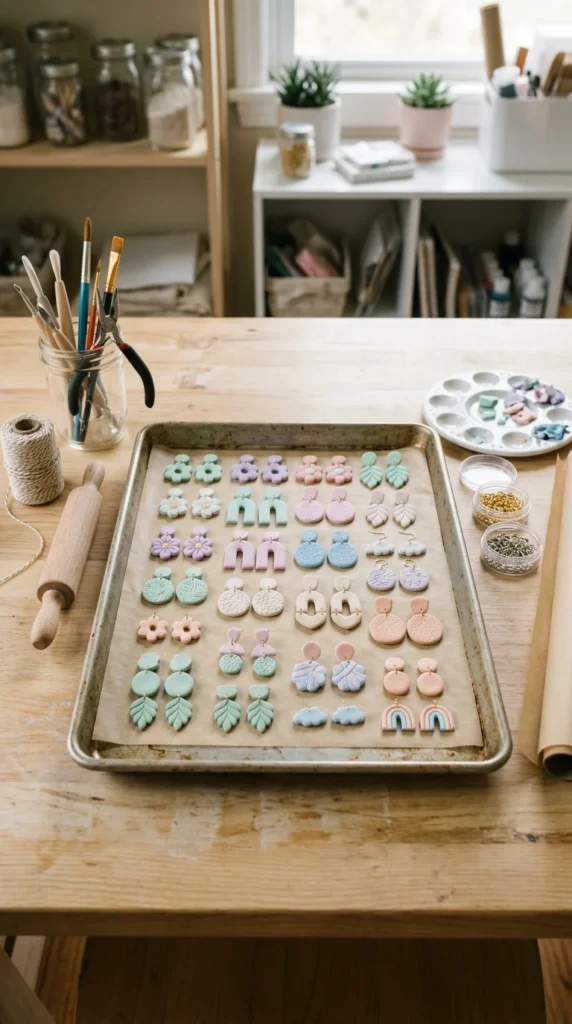
Step 2: Line Your Tray with Parchment
Cut a piece of parchment slightly larger than your clay arrangement.
Place it on:
- A flat baking sheet
- A ceramic tile
- An oven-safe tray
Then gently place your clay pieces on top. Leave a little space between each one so heat can circulate.
Step 3: Bake by Thickness
A common rule is:
- About 30 minutes per ¼ inch / 6 mm thickness
Thin earrings may not need as long as thicker charms, but underbaking can make clay weak or breakable.
Better approach:
- Correct temperature
- Enough time
- No guessing
Step 4: Add a Foil Tent for Delicate Pieces
If your clay is pale, thin, or detailed, add a loose foil tent.
To make one:
- Fold foil into a raised cover
- Place it over the clay
- Make sure it does not touch the surface
This helps block direct heat while still allowing the clay to cure.
Parchment vs Cardstock vs Tile
Parchment is great for most projects, but here’s a quick guide:
- Parchment: best all-purpose choice
- Cardstock: helpful for extra matte backs
- Ceramic tile: good for flat, stable baking
- Copy paper: useful for reducing shine on small pieces
If parchment wrinkles under your clay, try smoothing it first or switching to cardstock for very flat designs.
Common Mistakes to Avoid
Avoid these beginner baking issues:
- Using wax paper instead of parchment
- Baking directly on a shiny tray
- Lowering the temperature too much
- Skipping the oven thermometer
- Moving pieces before they cool
- Baking too close to the heating element
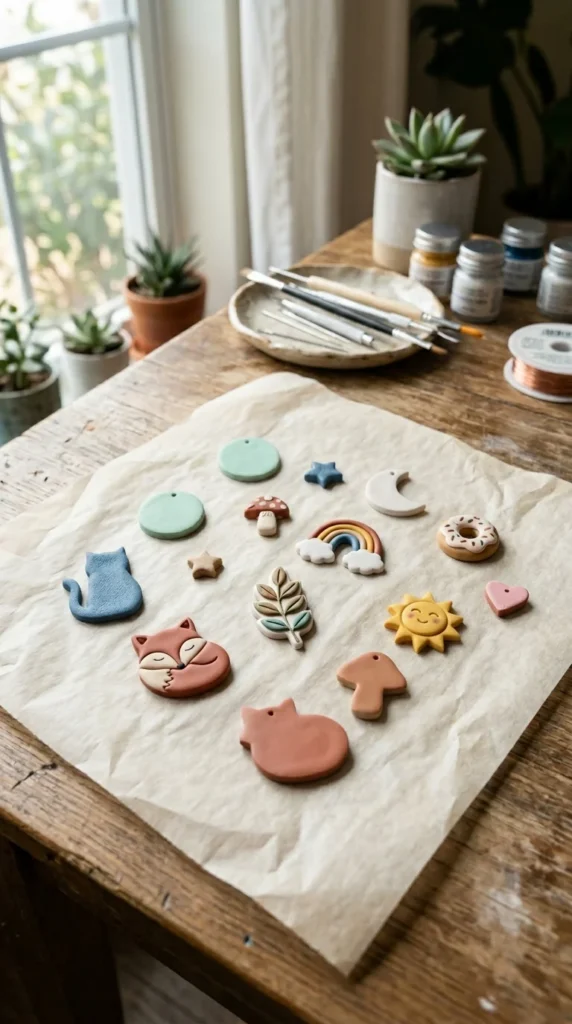
Let the Clay Cool Completely
Polymer clay firms up as it cools. When the timer ends:
- Remove the tray carefully
- Let pieces rest on the parchment
- Avoid bending or sanding while warm
Final Takeaway
The best method is simple: parchment paper, accurate oven temperature, proper bake time, and a little heat protection when needed. This setup gives your polymer clay a cleaner finish and helps prevent sticking, shine, and scorching.
Save this guide for your next clay day!

DiyVisual is a DIY ideas resource for makers of every level. Our small editorial team researches and curates easy, budget-friendly craft, home decor, and handmade gift projects — explained step by step so anyone can recreate them at home with simple materials.


