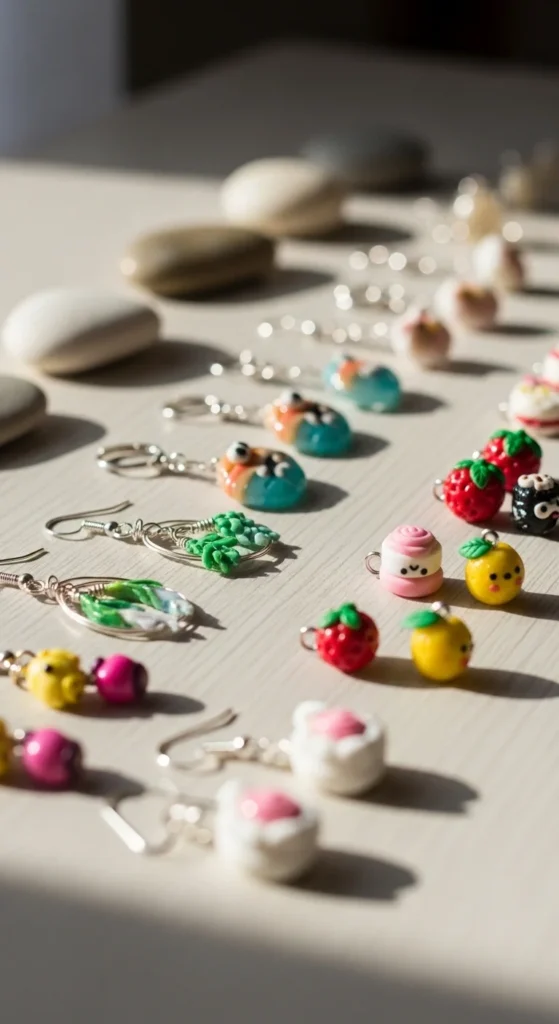
Baking polymer clay sounds simple—until your piece comes out scorched, cracked, or still soft in the middle. It’s frustrating, especially after putting time into shaping something you love.
The good news? Getting it right is easier than you think. With a few small adjustments, you can bake polymer clay so it comes out strong, smooth, and perfectly cured every time.
Understand Your Clay First
Before you even turn on the oven, check the basics. Not all polymer clay brands bake the same way.
Look at the packaging. Most clays bake at:
- 110°C to 135°C (230°F to 275°F)
- Around 15–30 minutes per 6 mm thickness
Skipping this step is one of the biggest reasons pieces burn or stay weak.
Quick tips:
- Stick to one brand per project if possible
- Thicker pieces need more time, not higher heat
- Always measure thickness at the thickest point
If your clay is underbaked, it may look fine at first but break later.
Prep Your Oven the Right Way
Your oven matters more than you think. Many ovens run hotter or colder than the dial shows.
Use these simple fixes:
- Get an oven thermometer (cheap but very helpful)
- Preheat fully before placing your clay inside
- Avoid guessing temperatures
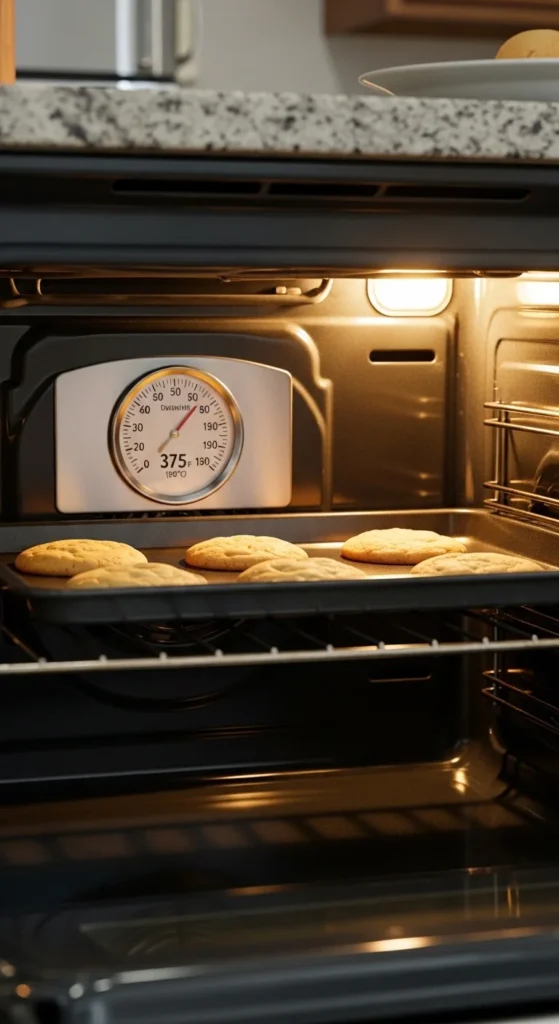
Even a small temperature difference can cause problems. Too hot? Burning. Too cool? Weak pieces.
If your oven heats unevenly, place your tray in the center rack. That’s usually the most stable spot.
Use the Right Baking Surface
Never place clay directly on metal trays. It can create shiny spots or uneven baking.
Better options:
- Parchment paper
- Ceramic tiles
- Cardstock
These surfaces help distribute heat more evenly.
Extra tip:
If you want a matte finish, parchment paper works best. Tiles can give a slightly different texture.
Protect Your Clay From Burning
Burning usually happens from direct heat exposure. But you can prevent it easily.
Try these methods:
- Tent your pieces loosely with aluminum foil
- Place another tray above to block heat from the top
- Keep temperature steady (don’t open the oven too often)
This creates a more controlled baking environment.
If you notice browning, your oven may be too hot—even if the dial says otherwise.
Bake for the Right Amount of Time
Timing is just as important as temperature.
General rule:
- 15–30 minutes per 6 mm thickness
But here’s the key:
Longer baking at the correct temperature is better than rushing.
Many beginners underbake. That leads to fragile pieces.
Signs your clay is properly baked:
- Feels firm when cooled
- Slight flexibility before fully cooling
- No chalky or crumbly texture
Let It Cool Properly
This step is often overlooked.
Do not touch your clay right after baking. It’s still soft and can bend or warp.
Instead:
- Let it cool completely on the tray
- Avoid moving it too soon
- Give it at least 20–30 minutes
As it cools, it hardens and becomes strong.
Troubleshooting Common Problems
Even with care, things can go wrong. Here’s how to fix common issues:
Burning or dark spots
- Lower temperature slightly
- Use foil cover
- Check oven accuracy
Cracking
- Clay may be too dry
- Condition it more before shaping
- Avoid sudden temperature changes
Weak or breaking pieces
- Likely underbaked
- Bake longer at the correct temperature
Bubbles
- Air trapped inside
- Roll and condition clay properly
Pro Tips for Better Results
Want cleaner, stronger pieces? Try these:
- Use a dedicated oven or toaster oven for crafting
- Rotate the tray halfway through baking
- Test small pieces before baking a full batch
- Keep thickness consistent across pieces
Small changes make a big difference.
Final Thoughts
Baking polymer clay the right way comes down to temperature, time, and patience. Once you understand these basics, everything gets easier.
Start simple. Test your oven. Adjust as you go.
You’ll quickly move from fragile pieces to durable, professional-looking creations.
Save this guide and try it with your next project—you’ll notice the difference right away.

DiyVisual is a DIY ideas resource for makers of every level. Our small editorial team researches and curates easy, budget-friendly craft, home decor, and handmade gift projects — explained step by step so anyone can recreate them at home with simple materials.


