Polymer clay is fun, colorful, and incredibly versatile—but if you’ve ever tried to cut a shape only to have the clay cling stubbornly to your cutter or fingers, you know how frustrating it can be. Sticky clay can ruin clean edges, distort delicate designs, and slow down your creative process.
The good news? A few simple techniques can stop polymer clay from sticking to your hands, tools, molds, and work surfaces. Once you know these tricks, crafting with polymer clay becomes much smoother and more enjoyable.
Below are practical, beginner-friendly solutions that help keep polymer clay manageable and frustration-free.
1. Condition the Clay Properly First
One of the most overlooked causes of sticky clay is improper conditioning. Conditioning means kneading and warming the clay until it becomes smooth and pliable.
Well-conditioned clay is easier to handle and much less likely to stick.
How to condition polymer clay:
- Knead the clay with your hands until it feels soft and flexible
- Roll it through a clay roller or flatten it with a rolling pin
- Fold and roll repeatedly until the texture is smooth
If the clay feels too soft or oily, it may stick more easily. In that case, you may need to firm it up slightly (see the leaching method below).
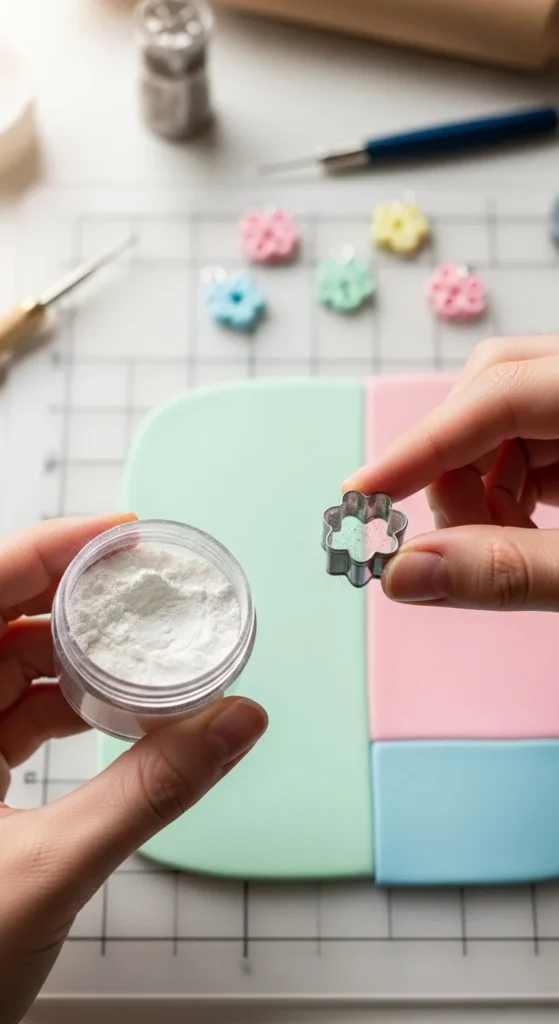
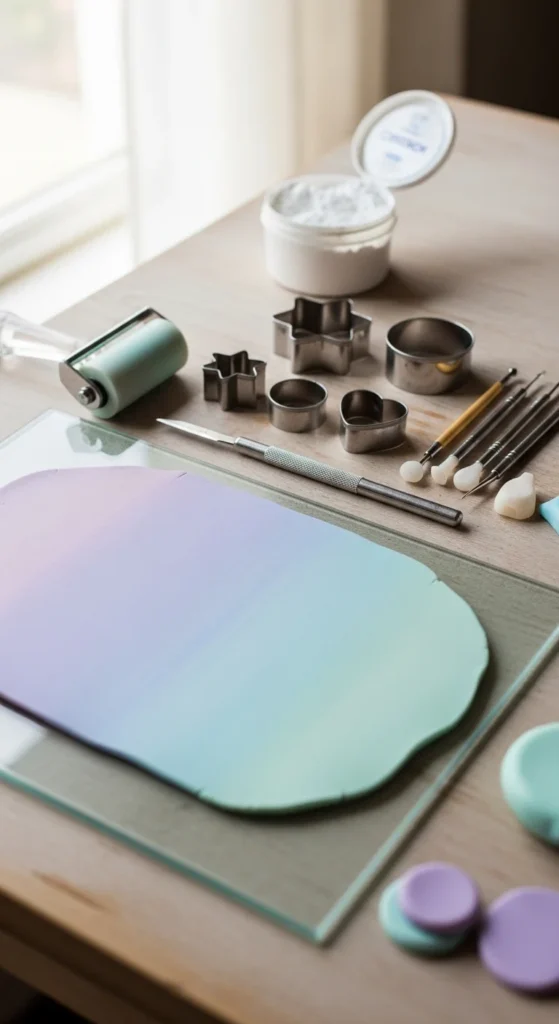
2. Use Cornstarch or Baby Powder as a Release Agent
A light dusting of powder is one of the most effective ways to prevent sticking. Many polymer clay artists use simple household powders as release agents.
Popular options include:
- Cornstarch
- Baby powder
- Talcum powder
Simply dip your cutter, mold, or tool into a small amount of powder before pressing it into the clay.
This creates a thin barrier that allows the clay to release cleanly.
Tip: Use only a small amount—too much powder can leave residue on your clay surface.
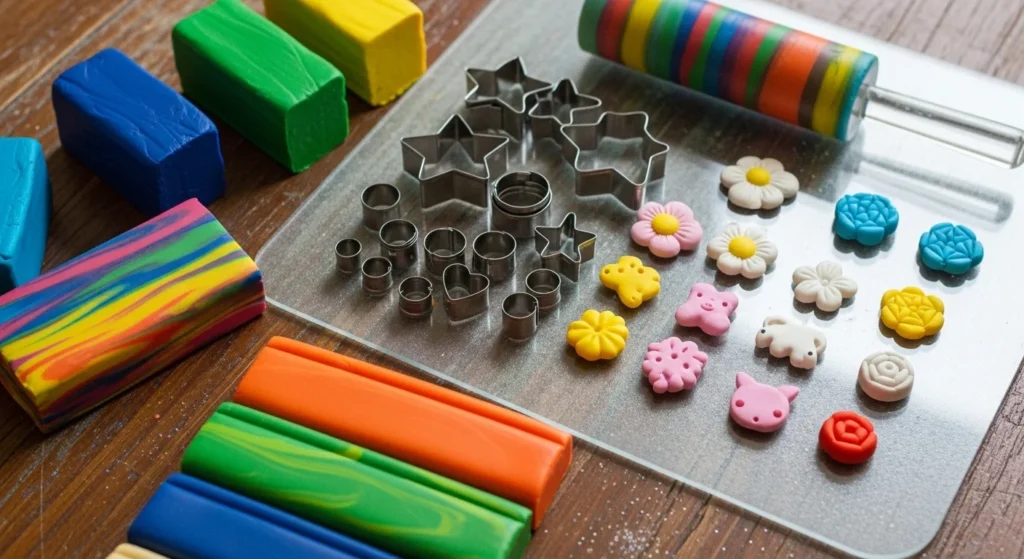
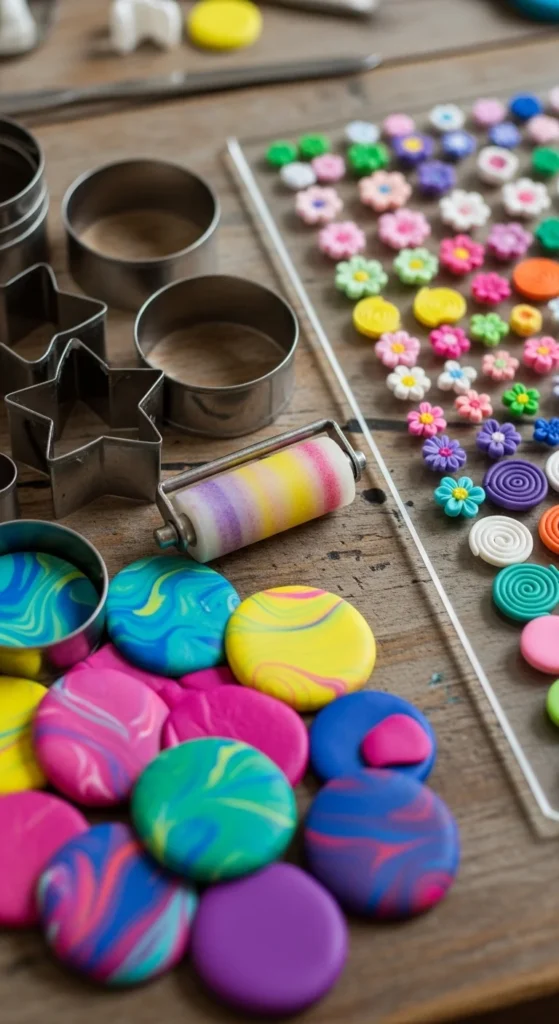
3. Work on a Non-Stick Surface
Your workspace can make a huge difference when it comes to sticking.
Some surfaces naturally prevent clay from adhering too strongly.
Best work surfaces for polymer clay:
- Glass sheets
- Ceramic tiles
- Acrylic work boards
- Plastic wrap or parchment paper
Glass and tile are especially popular because they are smooth, easy to clean, and allow clay to release easily.
Avoid rough or porous surfaces, which can grab onto the clay and distort shapes.
4. Cool Sticky Clay When It Gets Too Soft
Heat makes polymer clay softer—and softer clay tends to stick more.
Warm hands, hot rooms, and extended handling can make clay overly soft.
Quick ways to cool clay:
- Place the clay in the refrigerator for 10–15 minutes
- Work in a cooler room
- Take short breaks while crafting
Cooling firms up the clay, making it easier to cut and shape cleanly.
This is especially helpful when working with softer clay brands.
5. Try the Leaching Method for Oily Clay
If your clay feels extremely soft or greasy, it may contain excess plasticizer oils. This can make the clay overly sticky.
The solution is a technique called leaching.
How to leach polymer clay:
- Flatten the clay into a thin sheet
- Place it between two sheets of plain paper
- Leave it for a few hours or overnight
The paper absorbs excess oils, leaving the clay firmer and less sticky.

6. Keep Your Hands Clean and Dry
Your hands naturally produce oils and moisture, which can increase stickiness.
Before working with polymer clay:
- Wash your hands
- Dry them completely
- Avoid using lotions immediately beforehand
If clay still sticks to your fingers, you can try:
- Wearing thin crafting gloves
- Applying a small amount of barrier lotion
- Dusting your hands lightly with cornstarch
These methods help reduce fingerprints and prevent clay from clinging to your skin.
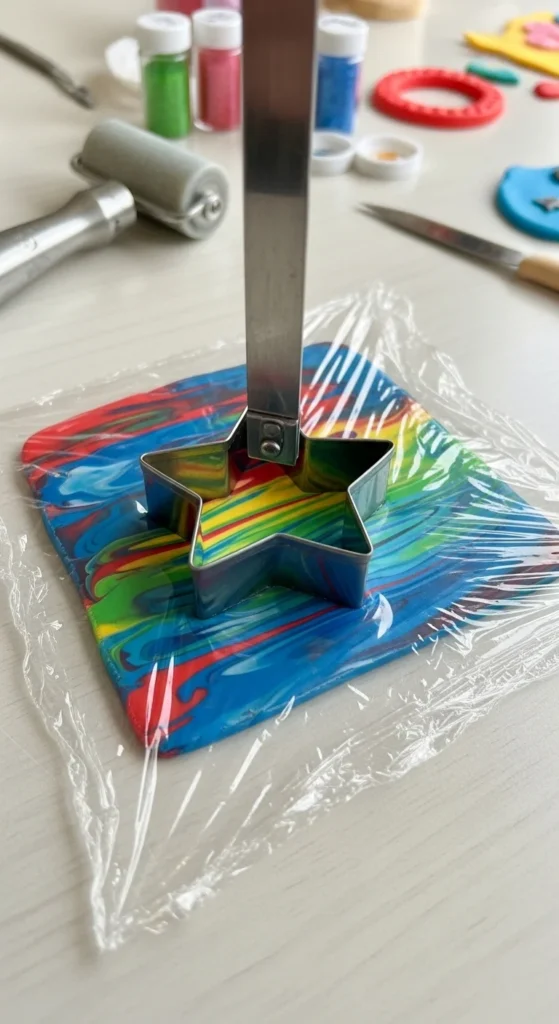
7. Use Plastic Wrap for Clean Cutter Shapes
A simple trick many crafters love is placing plastic wrap over the clay before cutting shapes.
This prevents the clay from sticking inside detailed cutters and also softens the edges slightly for a rounded finish.
How to do it:
- Lay a piece of plastic wrap over the clay sheet
- Press the cutter through the plastic
- Remove the cutter and peel away the wrap
This technique works especially well for intricate or tiny cutters.
8. Use the Right Amount of Pressure
Pressing tools too hard into clay can force the clay to grip tightly onto the cutter.
Instead:
- Press gently and evenly
- Twist the cutter slightly before lifting
- Remove the clay carefully from the tool
This small adjustment can dramatically improve your results.
Final Thoughts
Polymer clay is naturally a little sticky—that’s part of what makes it easy to shape and sculpt. But with the right techniques, you can control that stickiness and keep your tools, hands, and surfaces clean.
The key strategies are simple:
- Condition clay properly
- Use light release agents like cornstarch
- Work on non-stick surfaces
- Cool or leach overly soft clay
- Keep hands clean and dry
Once you master these tips, your clay projects will come out smoother, cleaner, and far more professional.
✨ Save this guide for your next clay crafting session and enjoy frustration-free creativity!

DiyVisual is a DIY ideas resource for makers of every level. Our small editorial team researches and curates easy, budget-friendly craft, home decor, and handmade gift projects — explained step by step so anyone can recreate them at home with simple materials.


