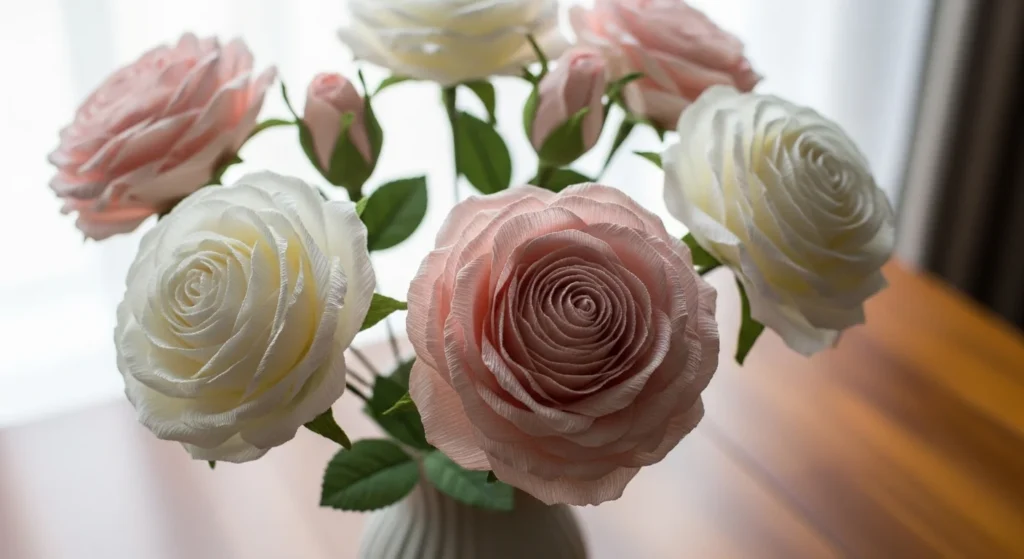
If you’ve ever seen a crepe paper rose and had to do a double take, you already know the magic. The secret? Stretch. Shape. Layer. ✨
Unlike regular paper, Crepe paper has a beautiful grain and flexibility that mimics real petals. With a little stretching and cupping, you can create flowers so realistic they belong in a wedding bouquet or styled on a mantel.

Let’s break down the beginner-friendly steps to making crepe paper flowers that truly look lifelike.
Why Crepe Paper Makes Flowers Look Real
What makes Crepe paper special?
- It stretches without tearing (if handled gently)
- It has a natural ribbed texture
- It holds curved shapes beautifully
- It creates soft, organic petal edges
That stretch is what allows you to cup petals and create depth—something flat paper just can’t do.
Supplies You’ll Need
Keep it simple to start:
- Crepe paper rolls (choose florist-grade if possible)
- Scissors
- Floral wire (for stems)
- Floral tape
- Hot glue gun (optional)
- Thread (for no-glue assembly)
If you’re following beginner tutorials like those from FancyBloom, you can even cut petals freehand—no templates required.
Step 1: Cut Petal Blanks (No Template Needed)
Don’t stress about perfect shapes. Real flowers aren’t identical!
For a simple rose:
- Cut about 15 large petals
- Cut 8–10 smaller inner petals
- Petal blanks can be about 6–7 inches tall
- Shape: rounded top with a slightly narrow base
Cut along the grain of the crepe paper (this allows stretching across the width).
Beginner Tip: Stack 2–3 layers before cutting to speed up the process.
Step 2: Stretch and Cup the Petals
This is where the realism happens.
Hold the center of a petal between your thumbs and gently stretch outward. Don’t pull too hard—overstretching can cause tearing.
How to Cup Properly
- Stretch only the center
- Leave edges unstretched
- Use thumbs to press inward slightly
This creates a natural bowl shape that mimics real rose petals.
You can also gently curl the top edges around a pencil for softness.
Common Mistake: Stretching the entire petal flat. Keep the edges slightly firm for structure.
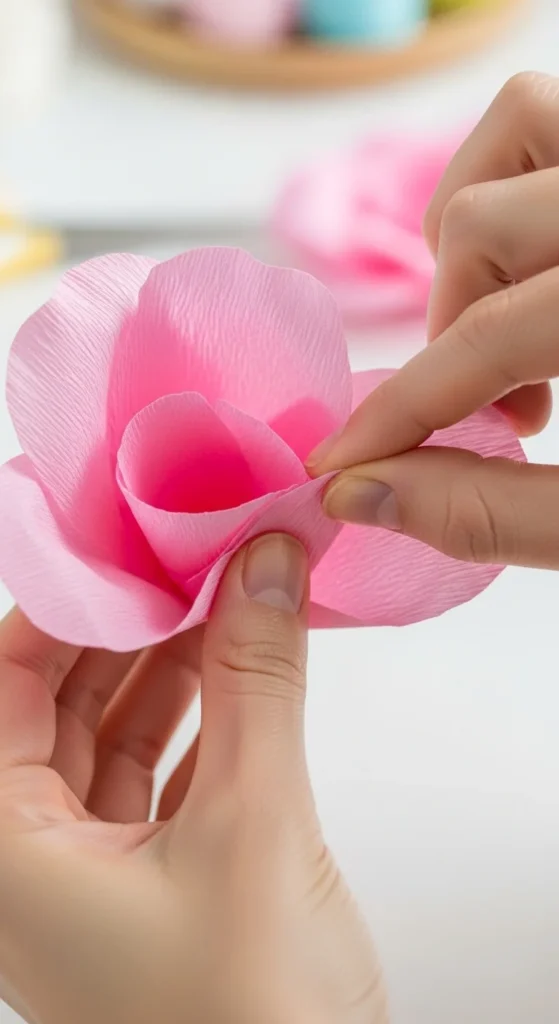
Step 3: Build the Flower Center
Start with the smallest petals.
Wrap the first petal tightly around itself to create a bud shape. Then add the next few petals around it, slightly overlapping.
You can secure petals in two ways:
Option 1: Glue Method
Use a small dab from your hot glue gun at the base of each petal.
Pros:
- Fast
- Strong hold
- Great for wall decor flowers
Option 2: Thread Wrap (No Glue)
Hold petals in place and wrap thread tightly around the base.
Pros:
- No glue gun needed
- Cleaner finish
- Great for larger, layered flowers
Some giant backdrop flowers use only thread to secure multiple layers before attaching stems.
Step 4: Layer Larger Petals for Volume
Now add the larger petals around the outside.
- Place each slightly lower than the previous layer
- Angle petals outward naturally
- Vary spacing to avoid symmetry overload
For realistic roses, aim for about 3–4 layers total.
If you’re making large decor blooms, you can glue petals in rows of five for balanced shaping.

Step 5: Add the Stem and Finish
Insert floral wire into the base and wrap tightly.
Then cover the base with Floral tape by stretching it slightly as you wrap. This activates the tape’s stickiness and keeps it secure.
Optional finishing touches:
- Add green sepals (leaf shapes under the bloom)
- Attach extra leaves along the stem
- Lightly curl outer petals for a natural look
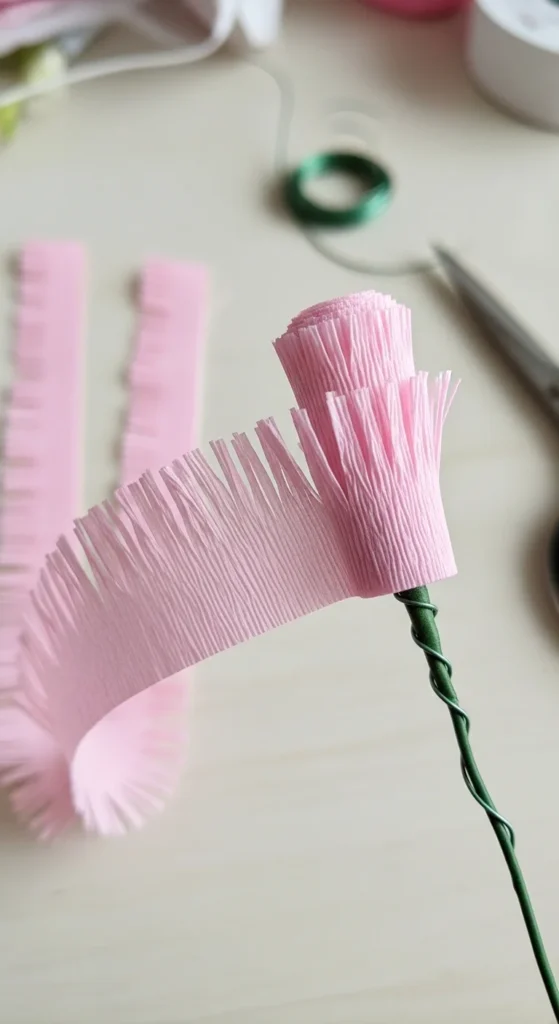
How to Make Realistic Carnations (Fringe Method)
Carnations are faster and perfect for bulk making.
Quick Steps:
- Cut a long strip of crepe paper.
- Fringe the top edge with small vertical cuts.
- Stretch the fringe slightly.
- Roll tightly around a wire stem.
- Secure with glue or thread.
- Wrap base with floral tape.
The fringing creates that fluffy, textured carnation look.
This method is ideal for bouquets and event decor because it’s quick and dramatic.
Tips for Ultra-Real Results
Want your flowers to look even more convincing?
- Mix two similar shades for depth.
- Slightly curl outer petals outward.
- Avoid perfect symmetry.
- Use smaller inner petals and gradually increase size.
- Keep the base tight and structured.
If you’re making giant backdrop flowers, try accordion-folding large sheets first, then shaping petals before assembling.
Avoid These Beginner Mistakes
- ❌ Over-stretching the paper
- ❌ Gluing too high up the petal
- ❌ Making all petals identical
- ❌ Forgetting to wrap the base tightly
Remember: Real flowers have movement. Slight irregularities make your crepe version look authentic.
Perfect Occasions for Crepe Paper Flowers
These blooms are stunning for:
- Wedding backdrops
- Bridal showers
- Nursery decor
- Gift toppers
- Valentine’s bouquets
- Permanent home arrangements
They won’t wilt—and they’re reusable.
Final Thoughts
Crepe paper flowers look real because of one key factor: shaping. Stretch the petals gently, cup the centers, layer gradually, and secure the base tightly. That combination creates dimension and softness that rivals fresh blooms.
Start with a simple rose or carnation, practice your stretching technique, and don’t worry about perfection. The charm is in the organic details.
Once you master the basics, you’ll be crafting bouquets that stop people in their tracks.
Save this tutorial for later—and start rolling your first bloom today! 🌸

DiyVisual is a DIY ideas resource for makers of every level. Our small editorial team researches and curates easy, budget-friendly craft, home decor, and handmade gift projects — explained step by step so anyone can recreate them at home with simple materials.


