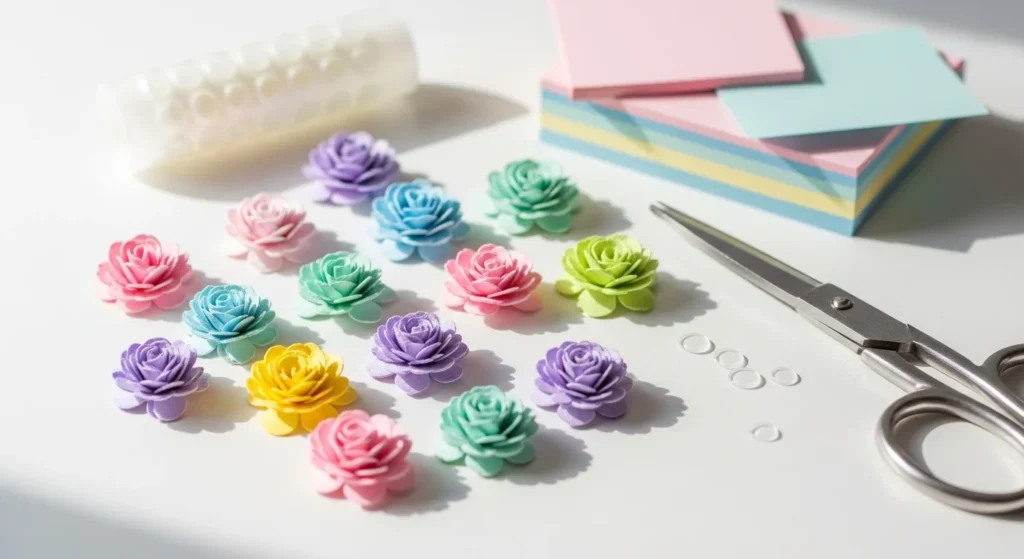
There’s something magical about turning a simple sheet of paper into a tiny bloom the size of a coin. 🌸 Whether you’re decorating a greeting card, styling a mini wreath, or crafting a delicate bouquet, tiny paper flowers (1–2 inches wide) are quick, affordable, and surprisingly impressive.
Best of all? You only need everyday supplies like printer paper, craft paper, or even sticky notes.
Let’s walk through the easiest, beginner-friendly ways to make mini paper flowers—no fancy tools required.
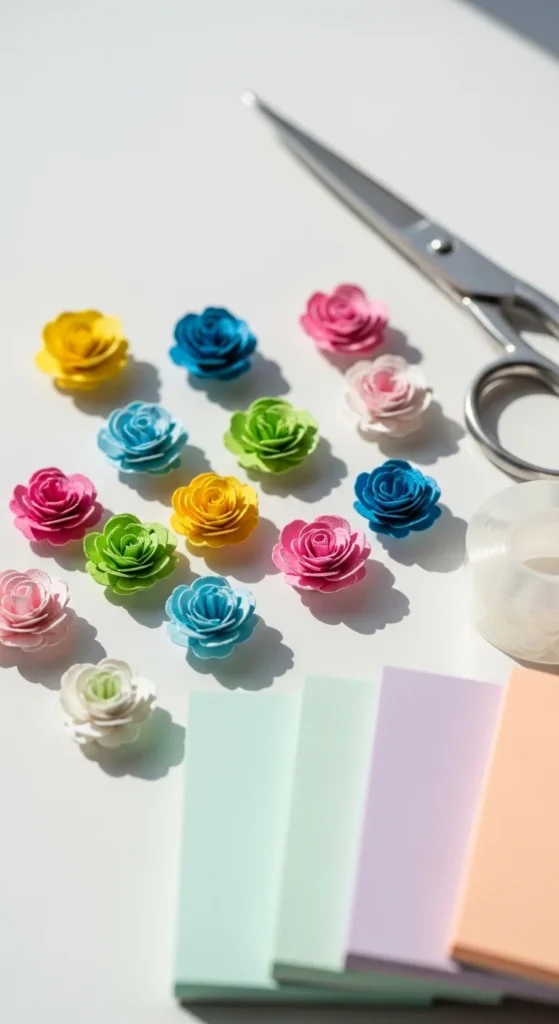
Supplies You’ll Need
Keep it simple and budget-friendly:
- Printer paper (white or colored)
- Craft paper scraps
- Sticky notes (for no-glue flowers)
- Small scissors
- Glue dots or craft glue
- Pencil or thin brush (for curling petals)
- Ruler (optional, for precise cuts)
Pro Tip: Smaller flowers = thinner paper works best. Printer paper curls beautifully and keeps folds crisp.
Method 1: Swirly Fringe Roll Wildflowers (3-Minute Blooms)
This is one of the fastest ways to make fluffy mini flowers. Perfect for clusters and wreaths!
Step-by-Step
- Cut a strip of paper about 2 x 8 inches.
- Along one long edge, cut thin fringe lines (don’t cut all the way through—leave ¼ inch uncut at the base).
- Lightly curl the fringe with scissors or a pencil.
- Roll the strip tightly from one end.
- Secure the end with a glue dot.
That’s it! You’ve got a soft, wildflower-style bloom.
Why It Works
- Thin fringe = fluffy texture
- Tight roll = smaller bloom
- Loose roll = fuller flower
Fix for Flat Flowers: After rolling, gently fluff the fringe outward with your fingers to create volume.
Method 2: Easy Folding Petal Flowers (4–12 Petals)
If you love symmetry, this folding trick is for you. With a few strategic folds, you can create 4, 6, 8, or even 12 petals from one small square.
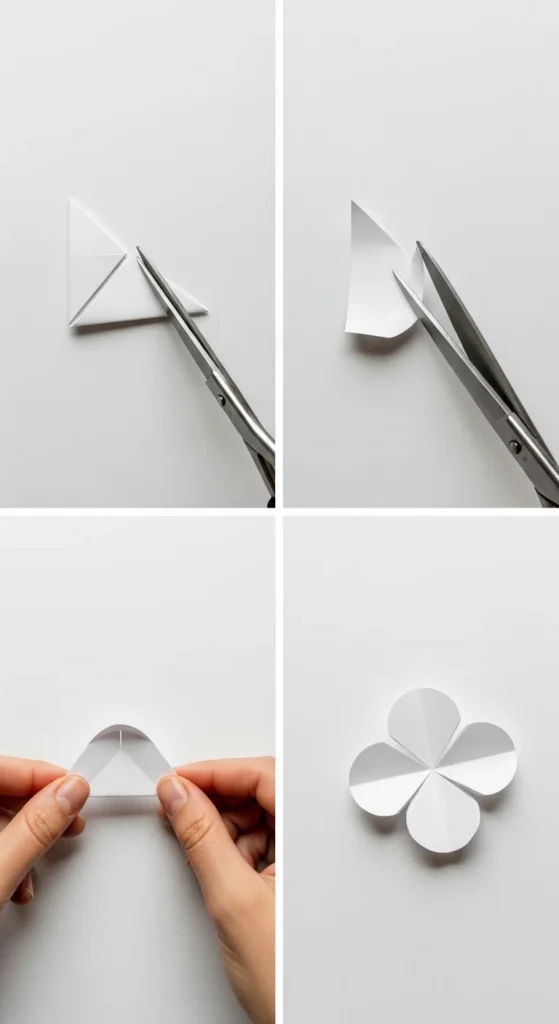
Step-by-Step (6-Petal Version)
- Start with a 4×4-inch square.
- Fold in half diagonally.
- Fold again into thirds (like slicing a pizza).
- Draw a soft arch at the wide end.
- Cut along the arch.
- Unfold—instant petals!
For layered minis, use smaller squares (2×2 inches) and stack two cut-outs together with a glue dot.
Make It Pop
- Gently curve each petal using a pencil.
- Layer two different colors.
- Add a tiny fringed circle in the center.
This method is ideal for card embellishments and scrapbooking because it lays flat but still has dimension.
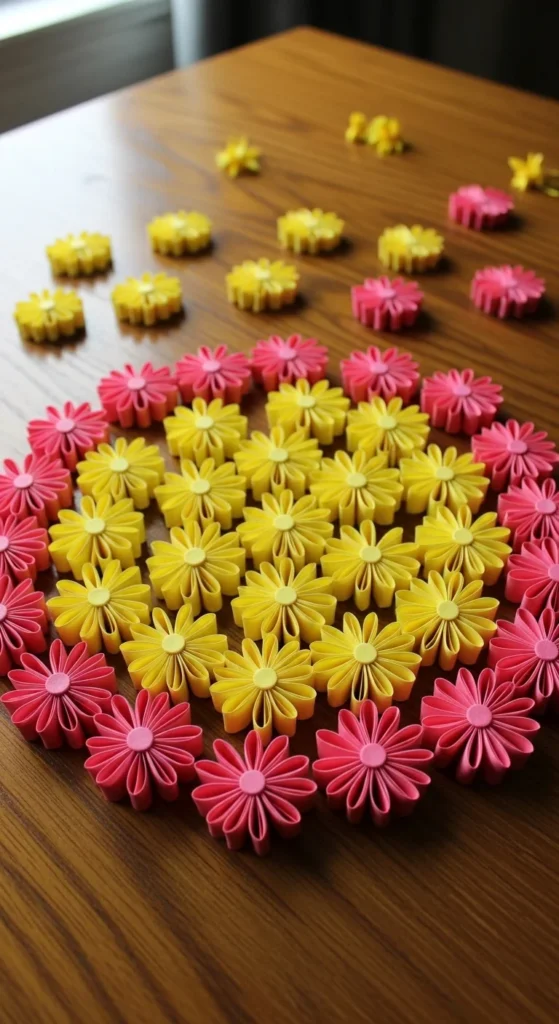
Method 3: Sticky Note No-Glue Daisies
Need a mess-free option? Grab sticky notes from your desk drawer.
Step-by-Step
- Stack 4–6 sticky notes.
- Fold them into a small fan.
- Round the edges with scissors.
- Wrap a small strip of paper around the center and twist.
- Fluff open.
The adhesive edge helps keep things together—no glue needed!
Why You’ll Love This
- Great for kids
- Zero drying time
- Perfect for last-minute decor
Mix different sticky note colors to create playful mini bouquets.
Method 4: Tiny Origami Tulips (Single-Sheet Magic)
If you enjoy folding over cutting, try a mini origami tulip.
Quick Overview
- Start with a small square (2×2 inches works beautifully).
- Fold diagonally into a triangle.
- Fold corners upward to form petals.
- Gently open the bottom to create a tiny “cup.”
- Roll a thin strip for the stem.
No cuts. No glue. Just clever folding.
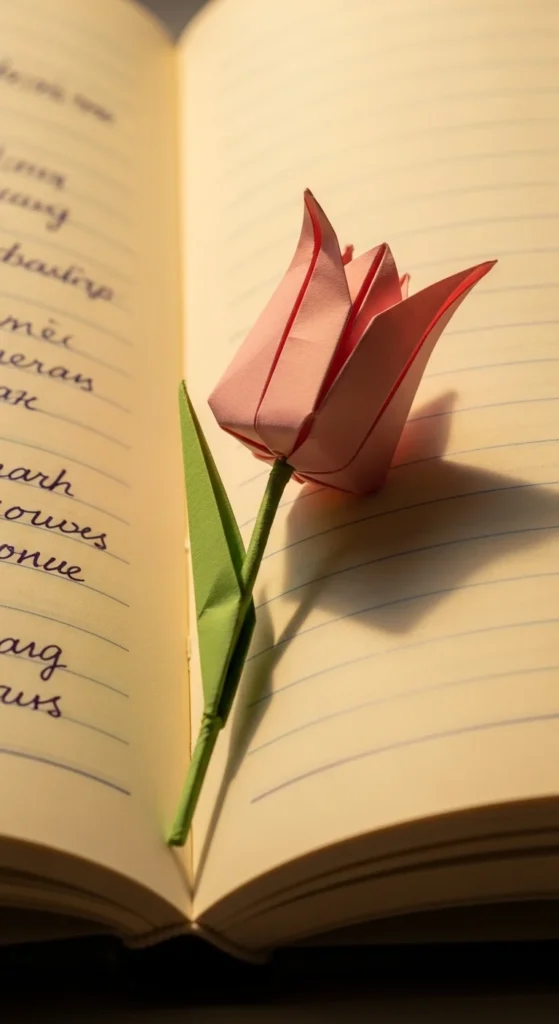
These look stunning attached to:
- Gift tags
- Mini shadow boxes
- Handmade bookmarks
How to Add Dimension (So Minis Don’t Look Flat)
One common frustration with tiny flowers? They can look flat or lifeless.
Here’s how to fix that:
- Curve the petals with a pencil or brush handle.
- Layer two sizes (slightly offset).
- Use a fringed center for texture.
- Pinch the base slightly before gluing.
Even small shaping makes a huge difference.
Creative Ways to Use Tiny Paper Flowers
Now that you’ve made a few (okay… probably twenty), here’s where they shine:
🌸 Greeting Cards
Cluster 3–5 flowers in a corner for a sweet handmade touch.
🌸 Mini Wreaths
Glue flowers around a 3-inch cardboard ring.
🌸 Gift Toppers
Swap bows for tiny paper blooms.
🌸 Wall Art
Arrange on canvas in a heart or initial shape.
🌸 Bookmarks
Attach one mini bloom at the top for a delicate finish.
Tips for Cleaner Cuts & Less Waste
Tiny projects can feel fiddly. These tricks help:
- Fold before cutting to reduce measuring.
- Cut multiple layers at once.
- Save scraps for fringe centers.
- Keep a “mini bin” of small leftover pieces.
Working small actually helps you use up paper that might otherwise be tossed.
Final Thoughts
Tiny paper flowers prove you don’t need fancy supplies or hours of crafting time to create something beautiful. With just a strip, a fold, or a simple roll, you can turn everyday paper into charming 1–2 inch blooms perfect for cards, wreaths, and thoughtful handmade gifts.
Start with the swirly fringe method if you want instant results. Try folded petals if you love symmetry. And keep sticky notes nearby for spontaneous crafting sessions.
Once you start making minis, it’s hard to stop. 🌼
Save this tutorial for later—and don’t forget to pin your favorite flower style!

DiyVisual is a DIY ideas resource for makers of every level. Our small editorial team researches and curates easy, budget-friendly craft, home decor, and handmade gift projects — explained step by step so anyone can recreate them at home with simple materials.


