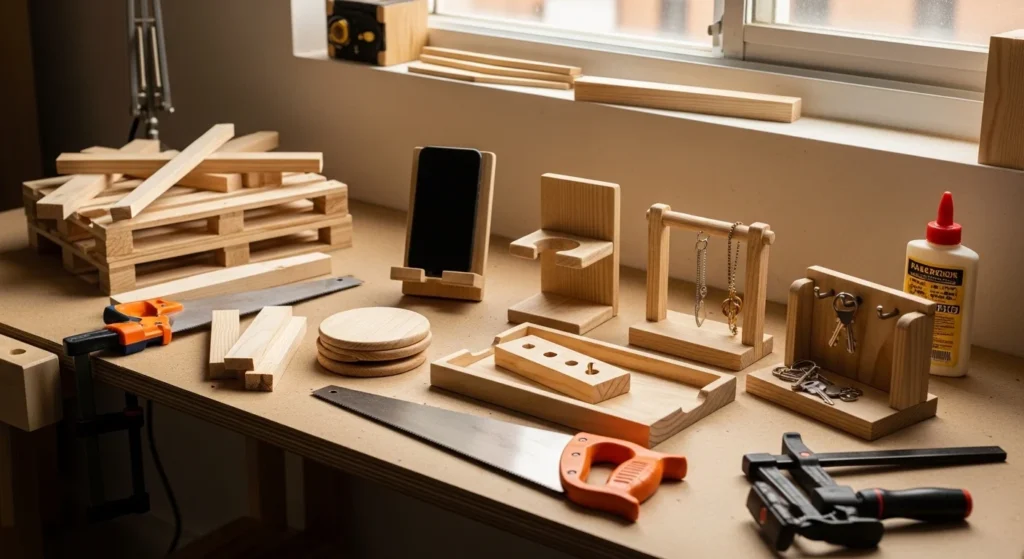
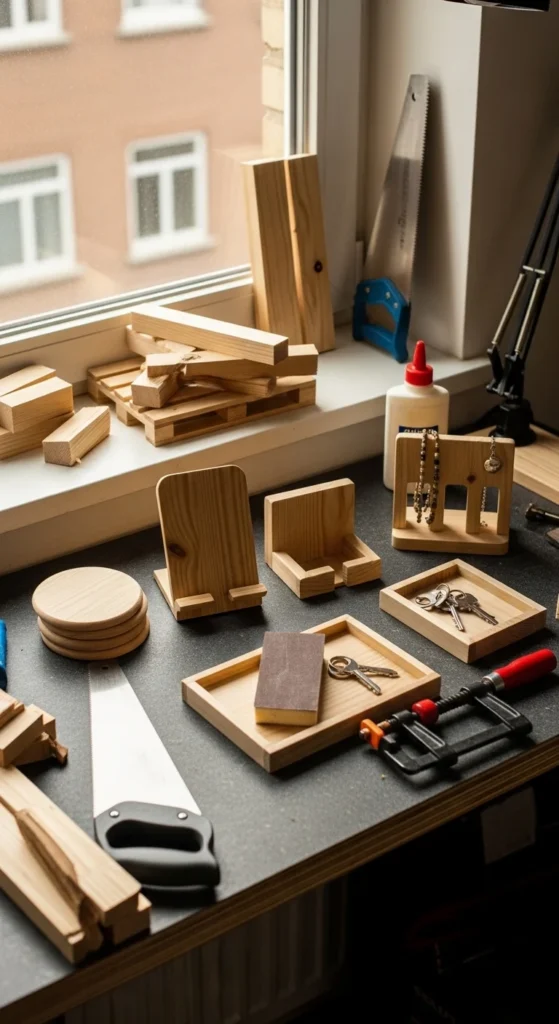
Scrap wood is perfect for small projects because it’s already “paid for.” You can turn offcuts, pallet slats, and leftover boards into useful home items, cute gifts, and even Etsy-style products. The trick is choosing builds that match the scrap you actually have. Short pieces become coasters and risers. Thin strips become dividers and frames. Chunky blocks become holders and stands. Below are 26 small wood projects that keep cuts simple, work in apartment-friendly spaces, and look great with basic sanding and a clean finish.
1) Scrap Wood Coaster Set (Square or Round)
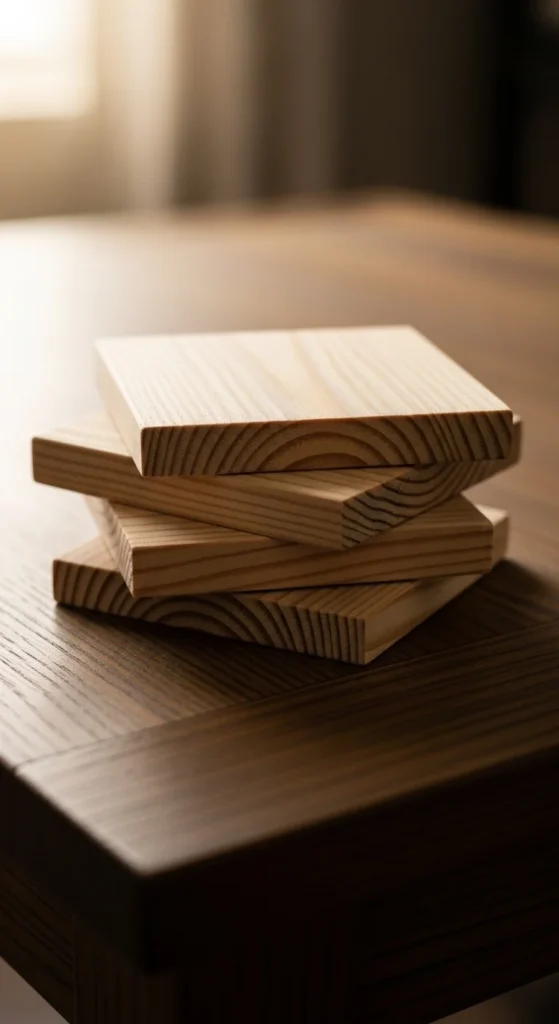
Coasters are the easiest “finish-to-win” project. Start with offcuts that are at least 3.5–4 inches wide. Cut four to eight pieces to the same size. If you have a hole saw, go round. If not, keep them square.
Sand the top face first. Then sand edges and corners. A small round-over on the corners makes them feel store-bought. Wipe dust off with a dry cloth.
For a gift look, keep a simple theme. One stain color. Or a clear coat that shows the grain. Add felt pads underneath so they don’t scratch tables.
Apartment tip: clamp a scrap to your table as a sanding stop. That keeps pieces from sliding and keeps your hands safer.
If you want personalization, lightly burn a small border line with a woodburning pen. Keep it minimal. Clean designs sell better and photograph better.
2) Minimal Phone Stand (No Hardware)
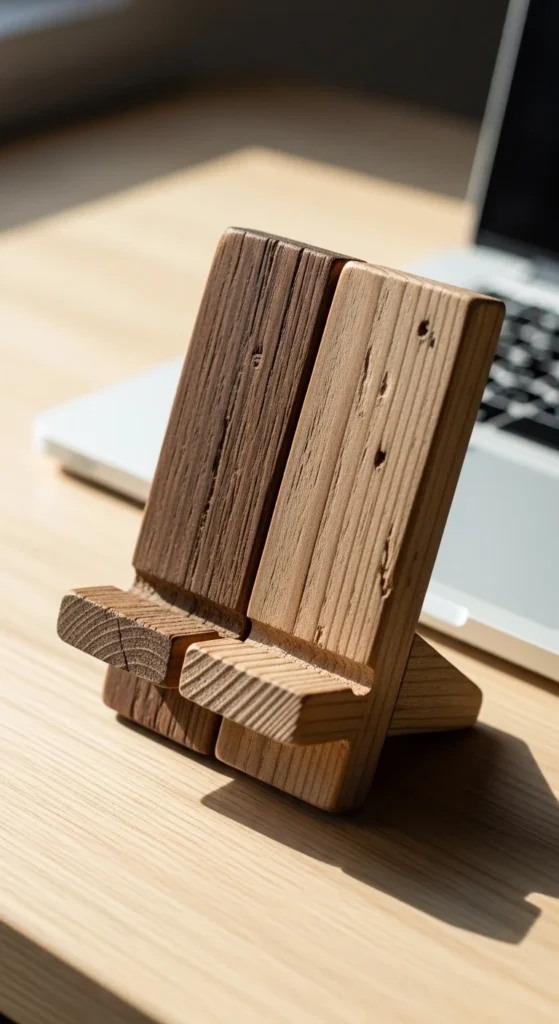
A phone stand uses tiny scraps and feels instantly useful. Cut one base piece (about 5–6 inches long). Cut one back support piece (about 4–5 inches long). Cut a slot in each so the pieces slide together in an “X” or “L” shape.
No fancy tools? Make the slot with a handsaw, then widen it with sandpaper wrapped around a thin scrap. Test fit often. A snug fit looks clean.
Angle matters. Aim for a gentle lean so the screen is easy to read. If it leans too far back, shorten the slot depth on the support piece.
Finish with clear coat or a simple wipe-on oil. Add a small notch at the bottom for a charging cable. That one cut makes it feel premium.
Gift idea: make three at once from the same board so the color and grain match.
3) Scrap Wood Key Holder Strip
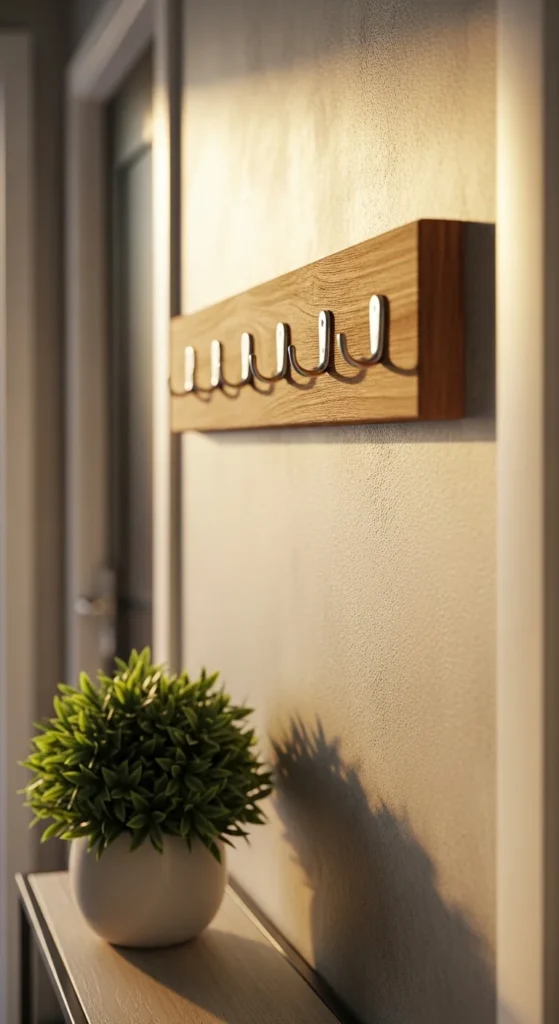
This project turns a thin leftover board into a daily helper. Cut a strip about 12–18 inches long. Sand the edges and soften corners. Mark hook spacing with even gaps.
Pre-drill small pilot holes. Screw in hooks. If you only have nails, you can mount hooks that accept nails, but screws feel sturdier.
For mounting, use two keyhole hangers or a simple sawtooth hanger. If you can hit studs, great. If not, use wall anchors rated for the weight of coats and bags.
Scrap trick: if your strip is too narrow, glue a second strip behind it to make it thicker. Clamp and let dry. The thicker board looks more “intentional.”
Style idea: stain dark and use black hooks for a modern look. Or keep it natural and seal it clear for a warm, simple finish.
4) Tiny Desk Organizer Tray
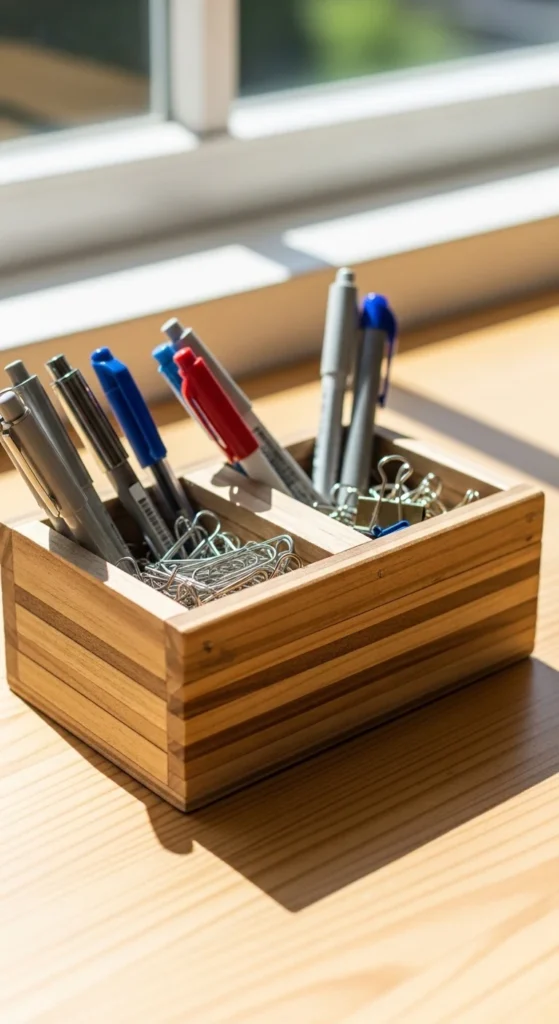
Desk trays are perfect for thin strips and short offcuts. Cut a base rectangle. Then cut two or three divider strips. Glue the dividers onto the base and clamp.
Keep it simple. Two compartments are enough. One for pens. One for small items like clips and USB drives.
Sand lightly after glue dries. Focus on the top edges where your hand will touch. For a clean look, keep all divider heights the same.
Budget finish: wipe on a clear coat or a light stain. If the scrap colors vary, a medium stain unifies everything fast.
Apartment tip: put wax paper under the project while gluing. It stops glue from sticking to your table.
If you want to sell them, make a “set” look. Build three trays in matching sizes. Photograph them stacked. Small sets sell better than one-off pieces.
5) Wood Round Candle Holder Block
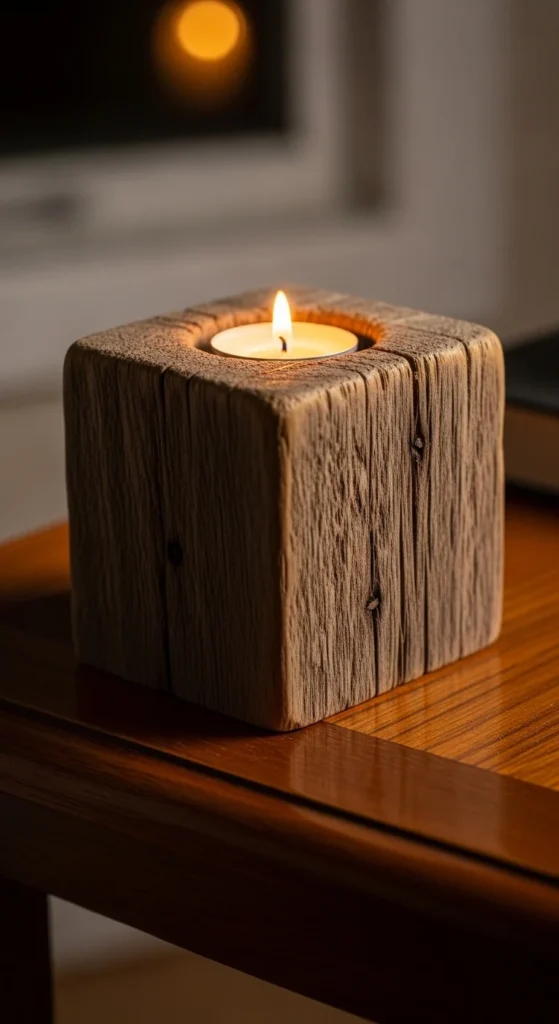
Candle holders are great for chunky scraps. Use a block that’s at least 2 inches thick. Drill a shallow recess for a tea light using a Forstner bit or hole saw. If you don’t have those, carve a shallow recess with a chisel, slowly.
Sand the top face very smooth. Candle projects look best when the surface is clean and even.
Keep edges slightly rounded. Sharp edges make it look unfinished. Add felt pads underneath to protect surfaces.
Finish with a clear coat. Avoid heavy oils right around the tea light cavity. A light seal is enough.
Gift idea: make two or three and tie with a simple ribbon. Keep designs plain. The grain becomes the decoration.
Safety note: only use with tea lights in metal cups. Keep the flame centered and never leave it unattended.
6) Scrap Picture Frame (Easy Straight Cut Version)

Frames feel personal and gift-ready. For a beginner-friendly build, skip angled miters. Use straight cuts and overlap corners like a simple box frame.
Cut four strips to size. Two long pieces, two short pieces. Glue and clamp corners. Add small brad nails if you have them.
Sand the front face and edges. Add a thin backing board (cardboard works for a budget version). Use small clips or tiny screws to hold the back.
If the scrap wood has dents, don’t fight them. Sand lightly and stain. A darker stain hides mismatched tones.
This is a great way to use thin strips that are too small for shelves but too nice to throw away.
7) Mini Wall Shelf (One Board, Two Brackets)
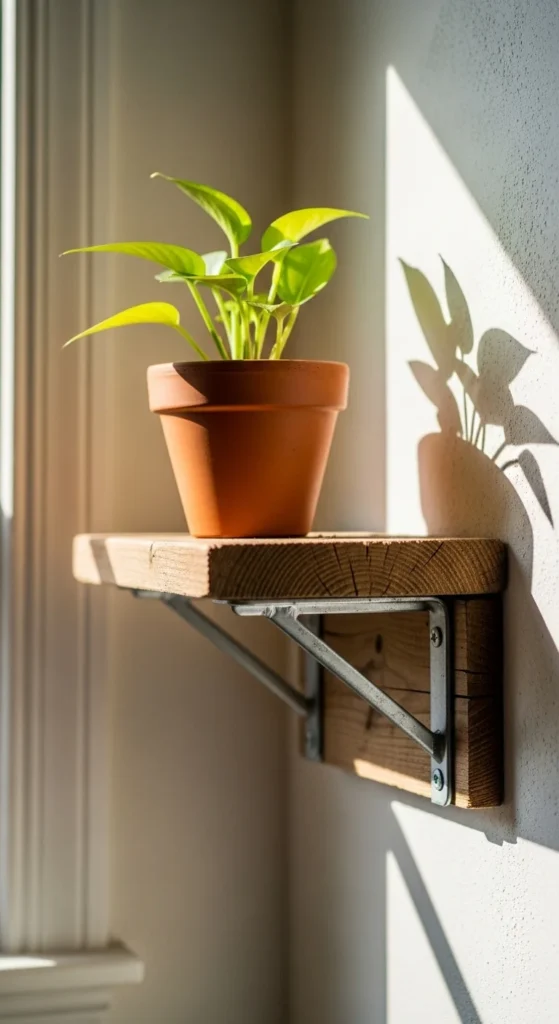
Small shelves turn short boards into something useful fast. Cut a piece about 12–18 inches long. Sand edges smooth. Seal with clear coat.
Mount two small brackets underneath. Keep the shelf shallow so it suits apartments and narrow walls. Add a small plant or a candle.
If your board is rough, flip it and use the smoother side on top. If both sides are rough, sanding is your main job here.
Want it to feel custom? Add a small front lip strip. Glue a thin strip on the front edge. It keeps items from sliding and looks finished.
8) Scrap Wood Plant Riser (For Windowsills)
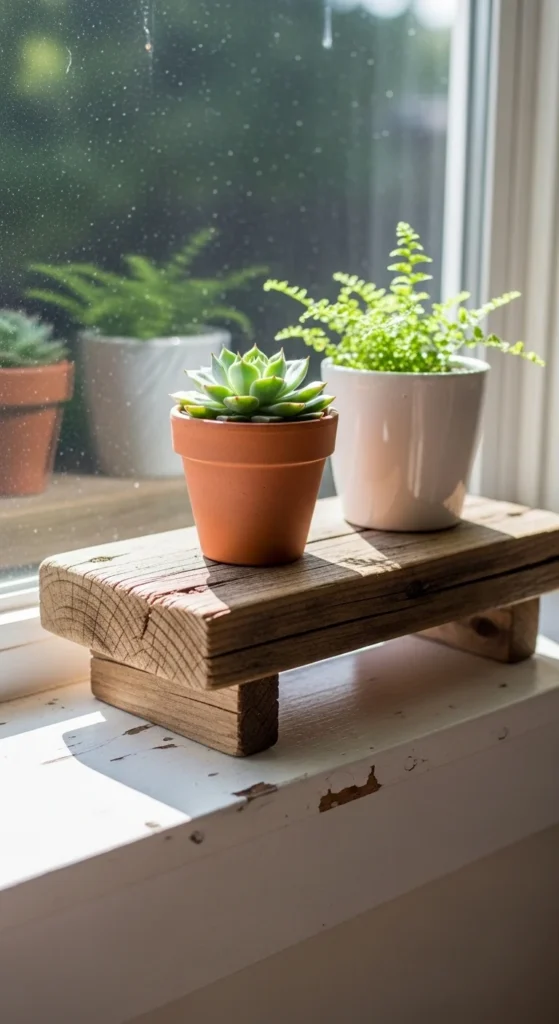
A plant riser is basically a tiny platform. Cut a top board and two small feet pieces. Glue and screw the feet under the top board.
Keep it low so it’s stable. Sand the top smooth. Seal it so water drips don’t stain.
This is perfect for small apartments. One riser makes a windowsill look styled without clutter. Make two in different heights for a tiered look.
Use scrap pieces that match in thickness so it sits flat. If it wobbles, sand one foot slightly until it levels.
9) Jewelry T-Bar Stand
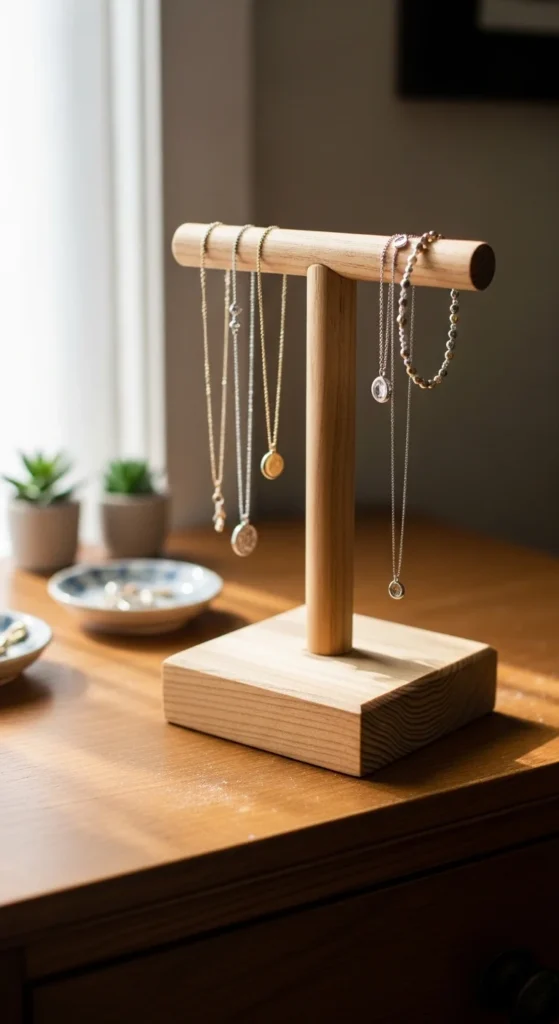
This uses a thin dowel (or a straight scrap strip) and two small supports. Make a base rectangle. Attach two upright supports. Add the bar across the top.
Keep the bar smooth so jewelry doesn’t snag. Sand well. Seal with clear coat.
Add a small tray base by gluing a shallow lip around the base. Then rings and earrings have a spot too.
If you want it gift-ready, stain the base and keep the bar lighter. Two-tone looks clean without extra work.
10) Simple Serving Tray (Small Size)
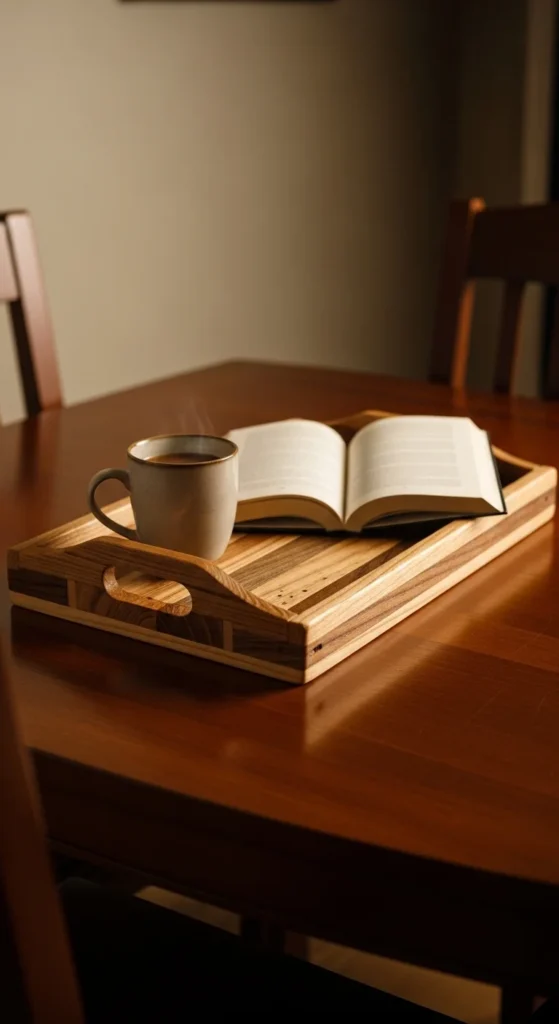
Small trays are sellable and practical. Cut a base board. Add short side walls. Glue and nail. Cut simple handle slots on the short sides.
Sand the handle openings carefully. Rough edges ruin the feel. A smooth handle makes it look high quality.
Seal with a clear coat. If you want a rustic look, use pallet slats for the base and keep the gaps even.
Apartment tip: build on a towel to reduce noise when tapping nails.
11) Wooden Bookends (Simple L-Shape)
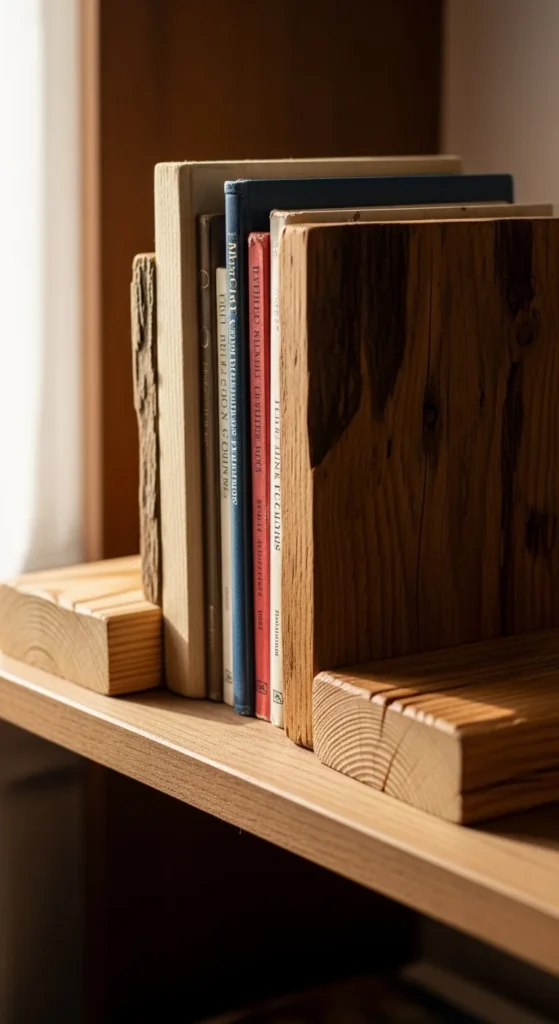
Bookends are great for thick scraps. Make two L-shapes. One base piece, one upright piece per bookend.
Glue and screw from underneath the base into the upright. Sand edges. Add felt pads under the base.
Finish with paint or stain. Matte black paint looks modern. Natural stain looks warm. Both photograph well.
12) Scrap Wood Drawer Dividers
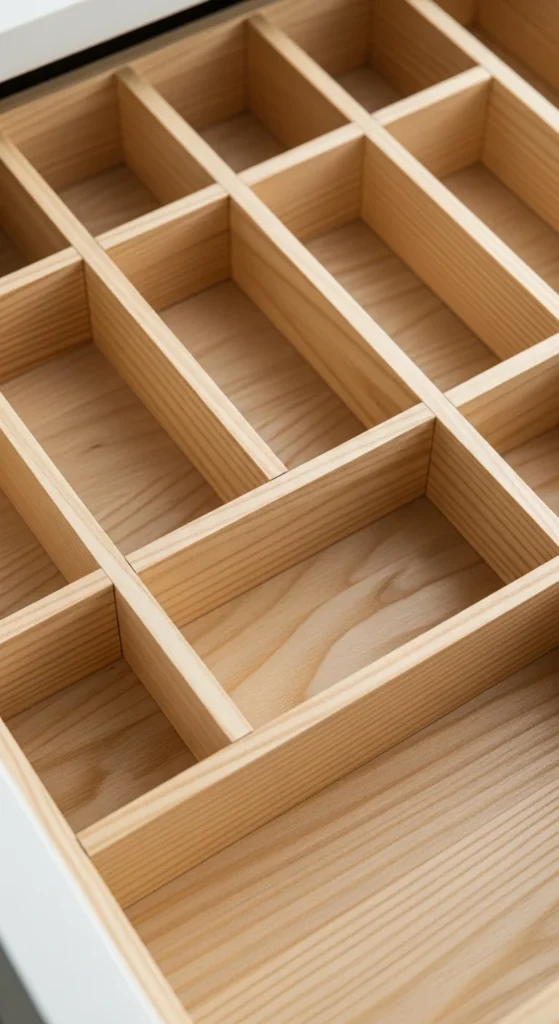
This is a no-hardware project that uses thin strips. Measure your drawer. Cut strips to fit snugly. Place them in a grid.
No glue required. A tight fit keeps them stable. Sand top edges so they feel smooth.
Great for kitchens, desk drawers, makeup drawers—anything.
13) Simple Laptop Stand (Two Side Supports)

Use thicker scraps for side supports. Cut two identical supports and one top board. Keep angles mild. A small lean is enough.
Screw the top board into the supports. Pre-drill to avoid splitting. Sand the front edge where wrists may touch.
Add a small gap at the back for airflow. You can do this by adding two small spacer blocks instead of a full top board.
14) Wall Hook Peg Rail (Short Version)

Peg rails look modern and use scraps well. Drill peg holes along a strip board. Glue dowel pegs in place. Keep pegs level and evenly spaced.
Mount the rail into studs if possible. If not, use strong anchors.
This is great for small spaces: keys, hats, light bags, kitchen towels.
15) Wood Round Ornament Set
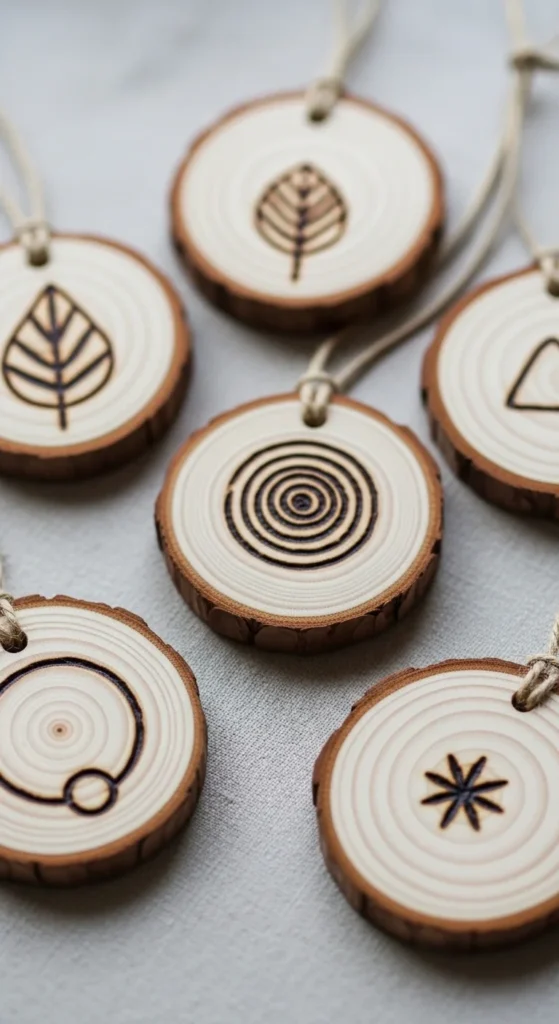
Wood rounds are cheap and easy to store. Sand each round. Drill a small hole for twine. Seal with clear coat.
Add small burn patterns with a woodburning pen. Keep patterns simple: lines, dots, small borders. No text.
Bundle in sets of six. Sets look gift-ready and sell well in seasonal months.
16) Mini Planter Box (Desk Size)
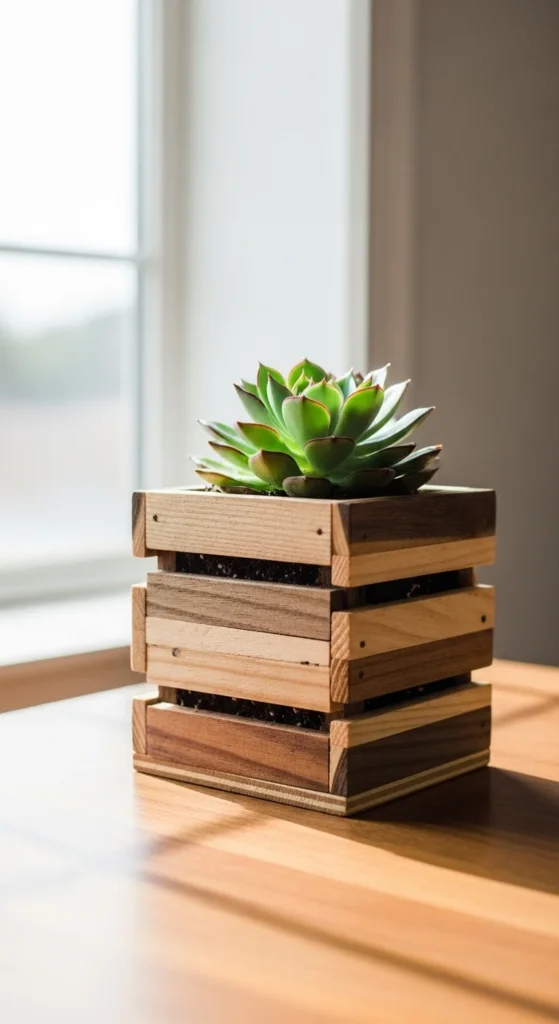
Cut four small side pieces and a base. Drill drainage holes in the base. Glue and nail together. Sand edges.
Seal the inside lightly or line with thin plastic. Keep it small so it fits desks and windowsills.
Use it for succulents, herbs, or faux plants. Faux plants keep it mess-free indoors.
17) Simple Tissue Box Cover
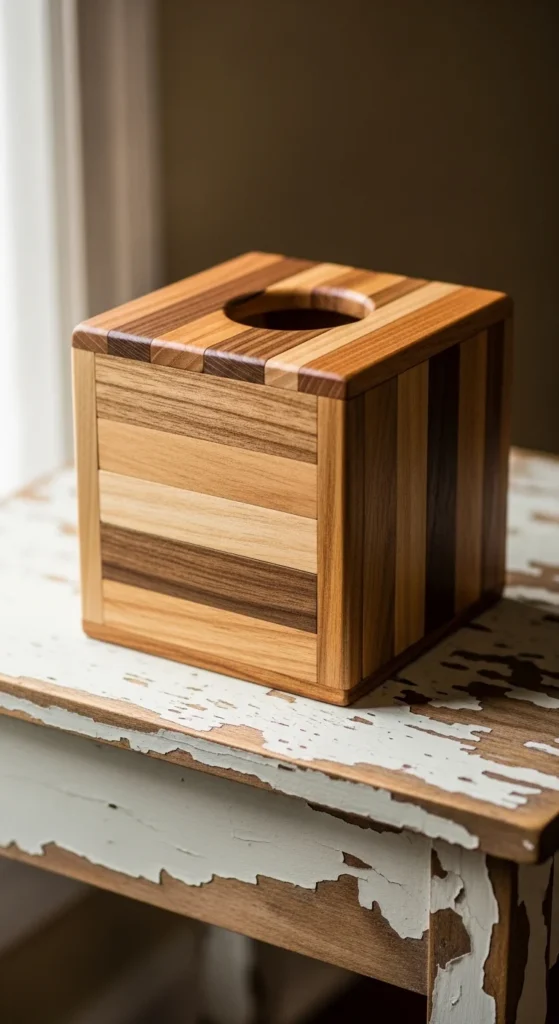
Measure a tissue box. Build a simple sleeve with an opening on top. Glue panels and clamp.
Sand all edges well. This is a touch-and-use item, so smoothness matters. Paint it to match your room or stain for a warm look.
This is a great scrap buster for thin panels.
18) Cable Holder Block
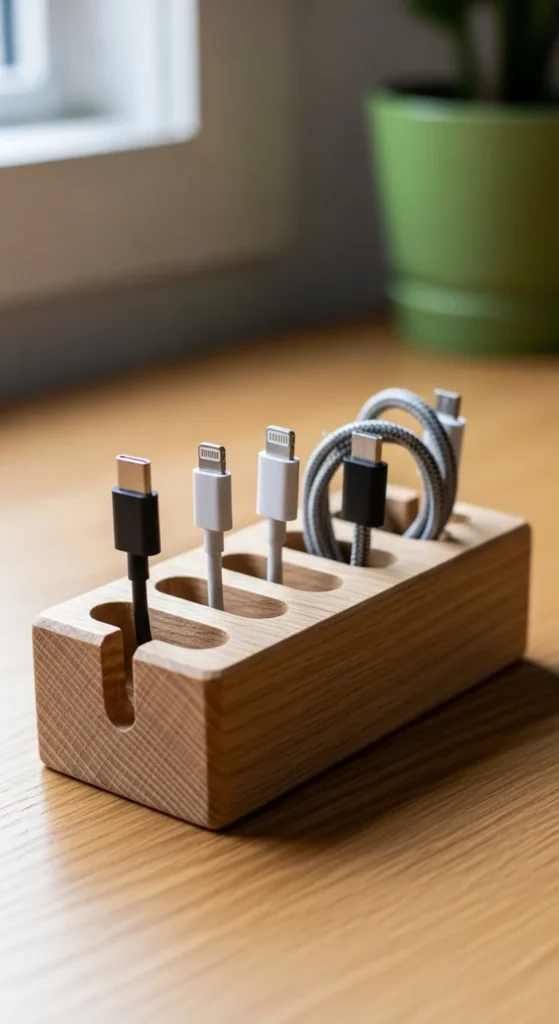
Use a small block scrap. Cut shallow channels across the top with a saw and chisel, or carve grooves with sandpaper wrapped around a dowel.
Keep grooves evenly spaced. Sand smooth. Seal lightly.
It’s tiny but feels “smart,” and it keeps a desk tidy fast.
19) Mini Tool Caddy (Handle Optional)
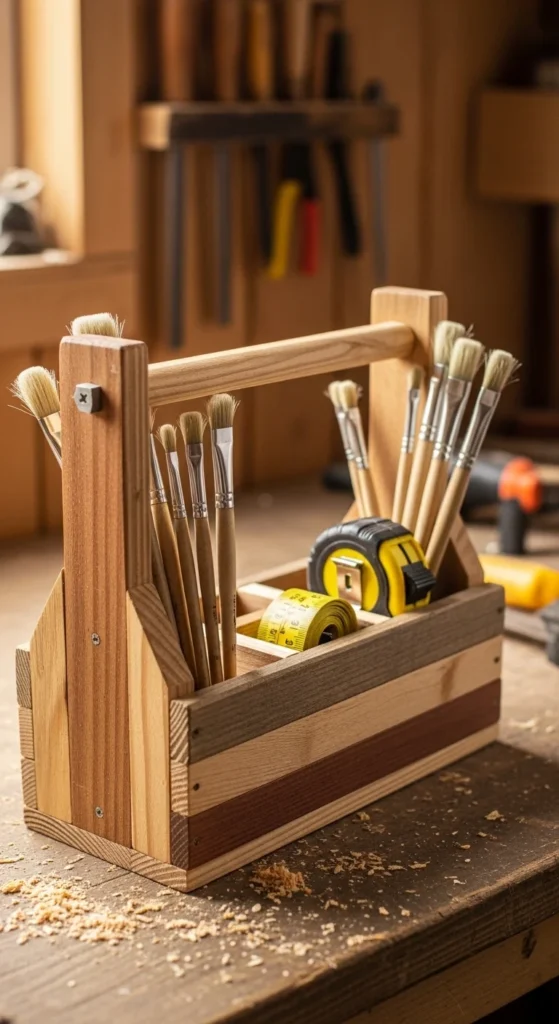
A mini caddy holds craft supplies, cleaning supplies, or small tools. Build a small box. Add a divider inside. Add a handle strip across the top.
Sand the handle heavily. That’s the comfort point. Seal with a clear coat for durability.
This is a nice seller at local markets too.
20) Scrap Wood Spice Jar Riser
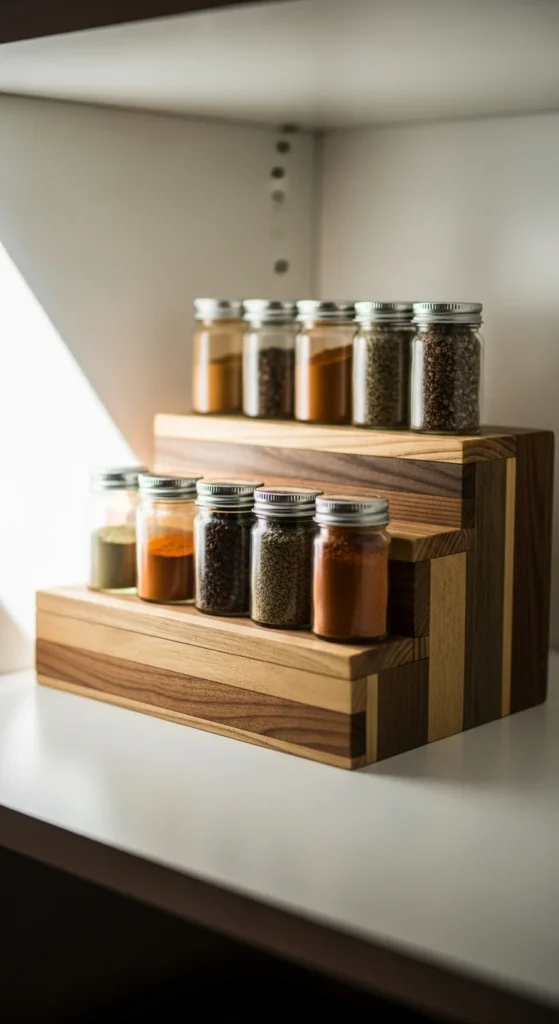
Cut two or three platforms at different heights. Use small spacer blocks underneath each platform. Glue and screw.
This is perfect for small kitchens. It uses short boards and makes cabinets feel organized.
Seal it so it wipes clean.
21) Simple Corner Shelf (Triangle)
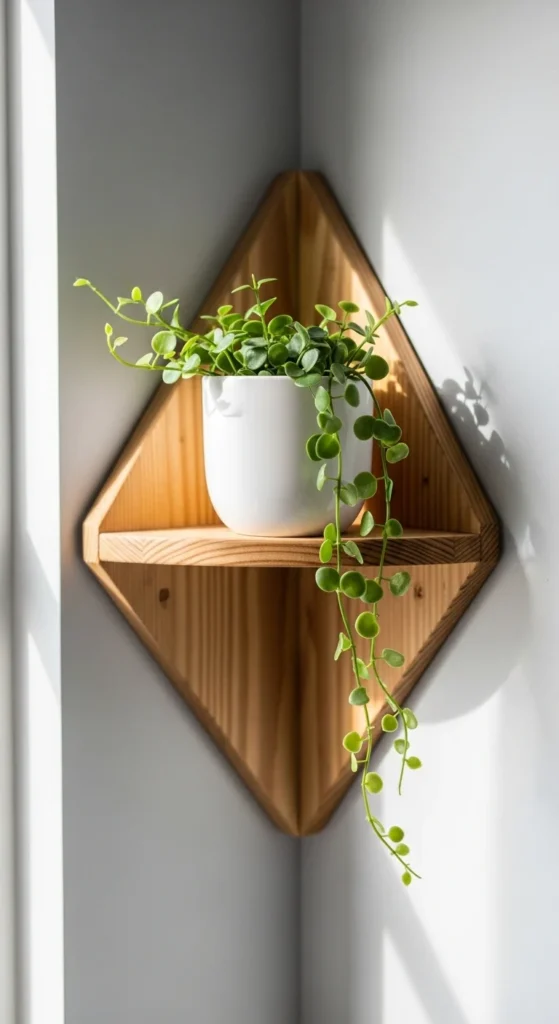
Corner shelves use dead space. Cut a triangle top from scrap plywood or boards joined together. Add two small support cleats underneath.
Mount level. Keep it small and simple. A single corner shelf can make a room feel styled fast.
22) Wooden Recipe Stand
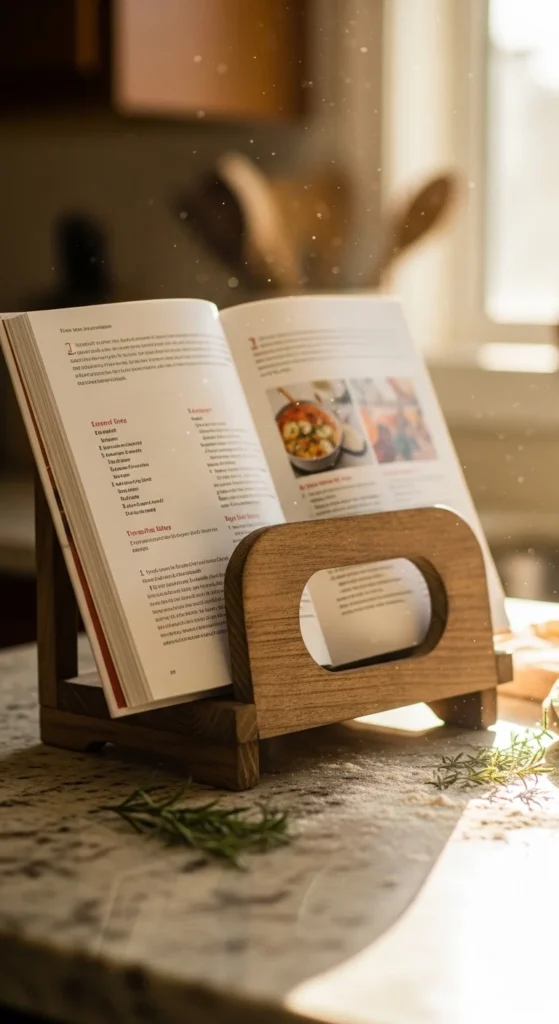
Cut a base and a back support piece. Add a small front lip strip to hold pages.
Angle the back support slightly. Sand the lip carefully. Seal with a wipe-on finish.
This is a great gift for anyone who cooks.
23) Puzzle Box (Beginner Version)
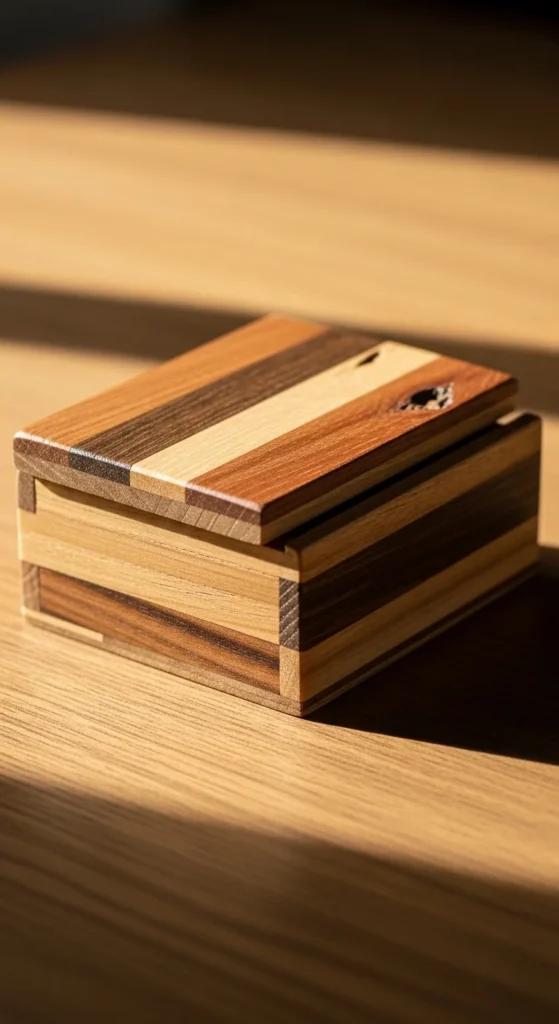
Start simple: a small box with a sliding lid. Cut sides and a base. Cut grooves on the inside of two opposite sides for the lid to slide.
Glue and clamp. Sand edges. Seal.
It’s a fun build and feels “special” as a gift. Keep it small so the lid slides smoothly.
24) Simple Wall Mail Pocket
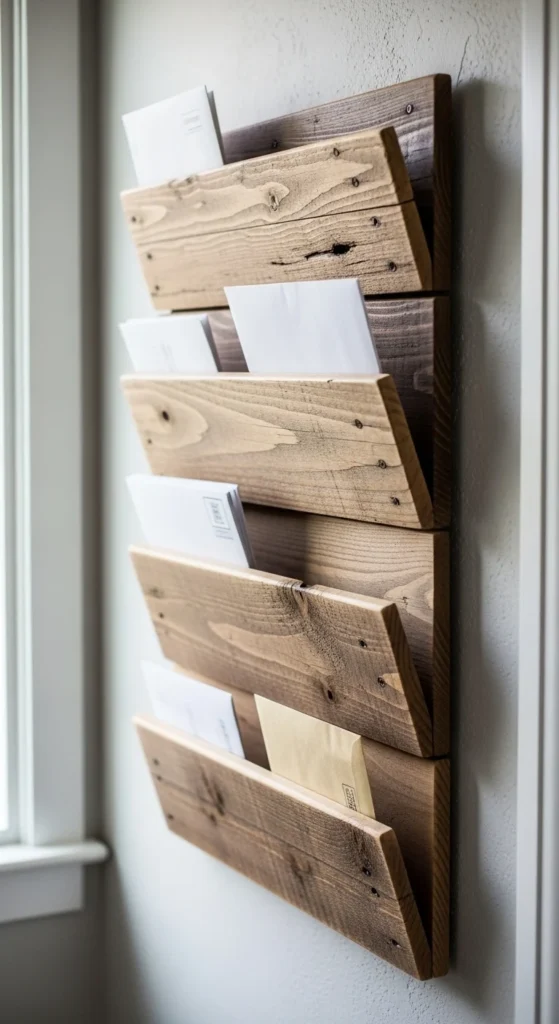
Build a shallow box with an open top. Angle the front slightly if you can, but a straight pocket works too. Add mounting holes at the back.
Sand edges smooth. Paint or stain.
This clears clutter quickly and uses thin scraps well.
25) Stackable Mini Storage Boxes
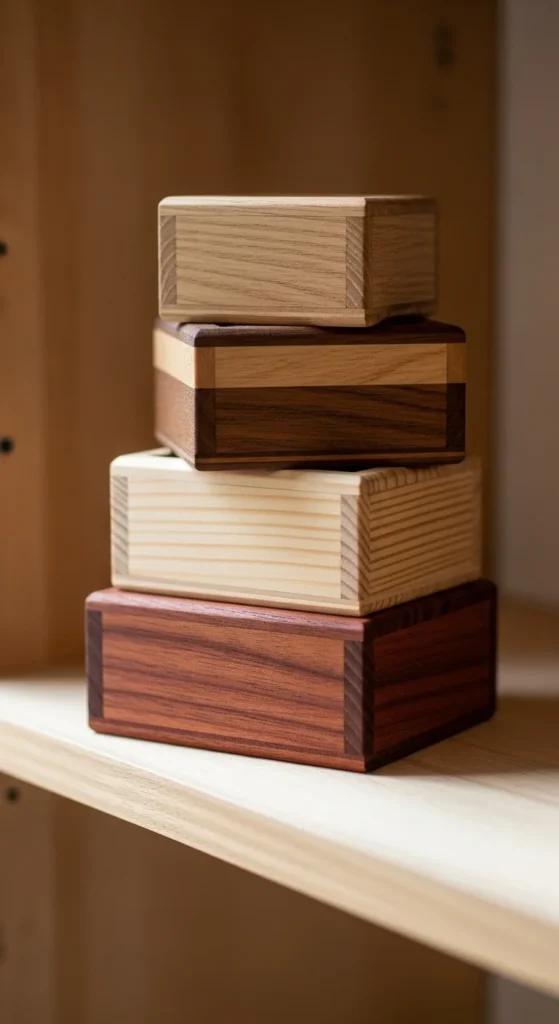
Make small boxes in the same size so they stack. Use glue and nails. Keep corners square by clamping.
Sand top edges smooth. Add a simple finger cutout as a handle.
Paint them one color for a clean look, or stain them to show grain. Sets are easier to sell than single boxes.
26) Scrap Wood Wall Art Tiles (Pattern Only)
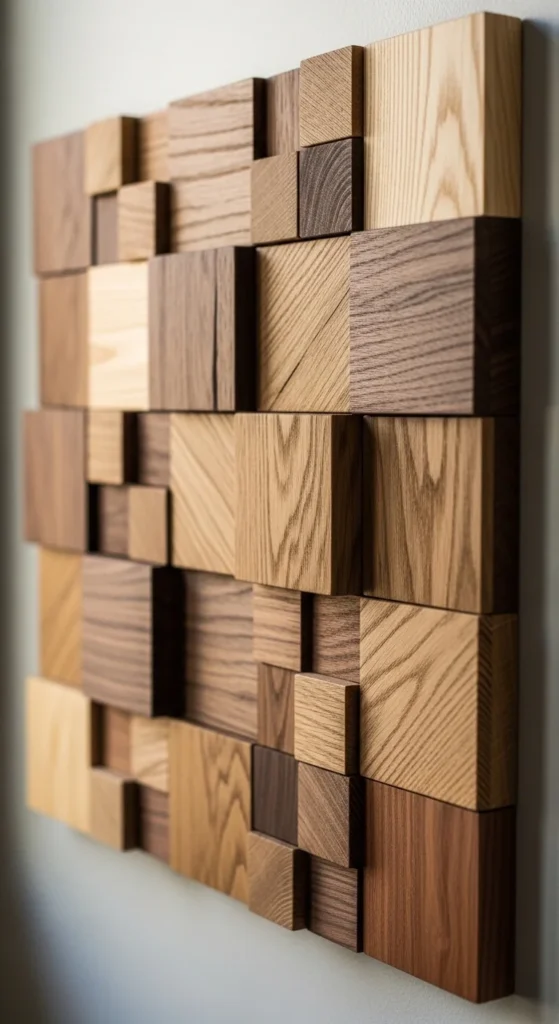
Cut scrap wood into same-size squares or rectangles. Sand lightly. Arrange on a board in a simple pattern: chevron, checker, or stripes using different wood tones.
Glue pieces down. Clamp if possible. Seal with clear coat.
This uses mixed scraps beautifully. No painting required. The natural color variation becomes the design.
Keep it small—one to two feet wide—so it’s easy to hang and easy to ship if you sell it.
Conclusion
Scrap wood projects work best when you match the idea to the pieces you already have. Small strips become dividers and frames. Thick blocks become holders and stands. Short boards become trays and shelves. Keep cuts simple. Sand edges well. Use a clean finish. Pick one project, make two or three in a batch, and your scraps will turn into gifts, home upgrades, or sellable items with almost no extra cost.


