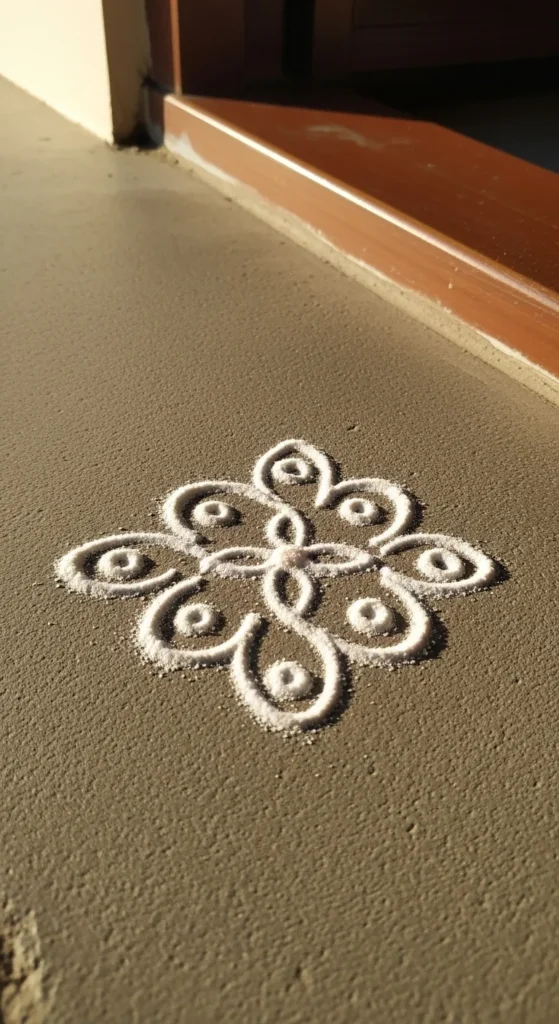
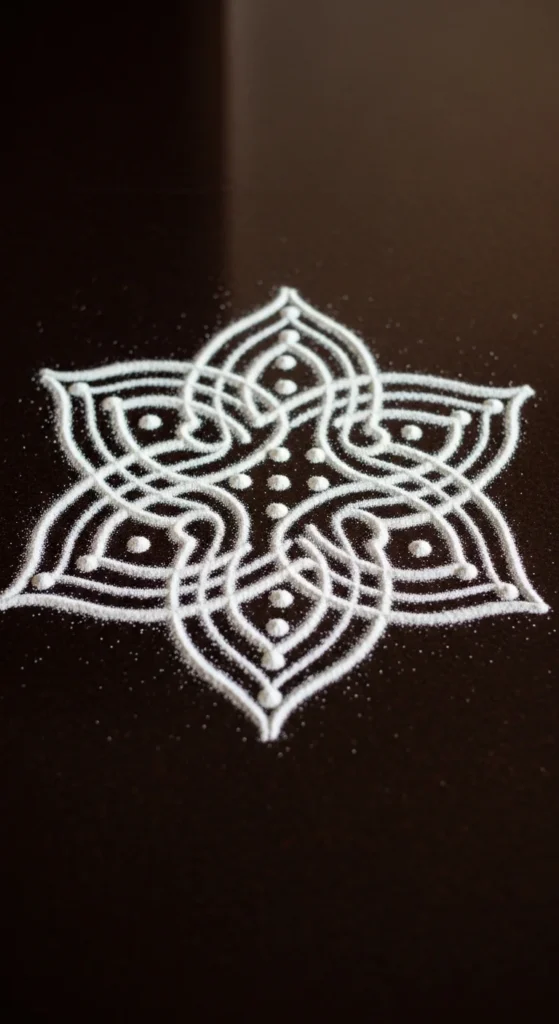
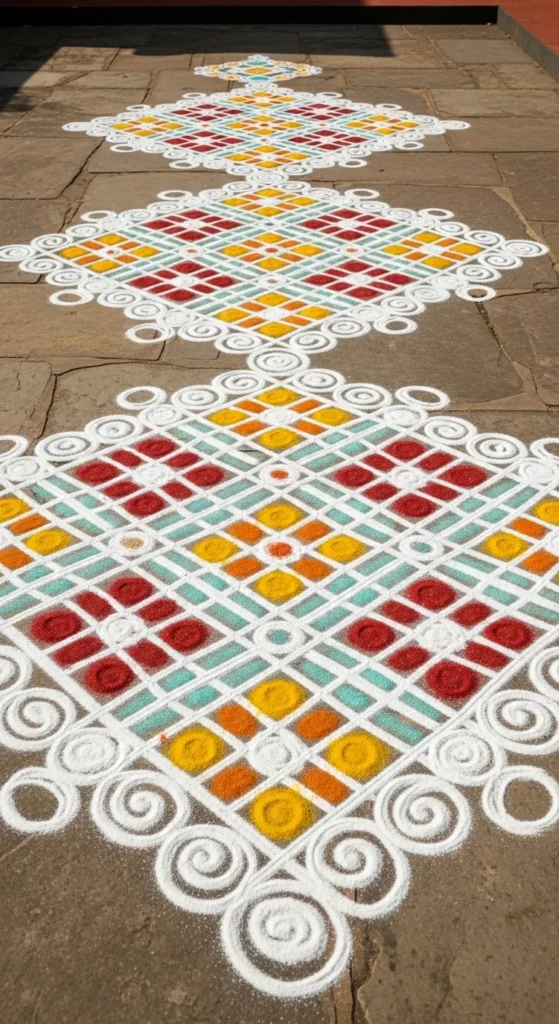
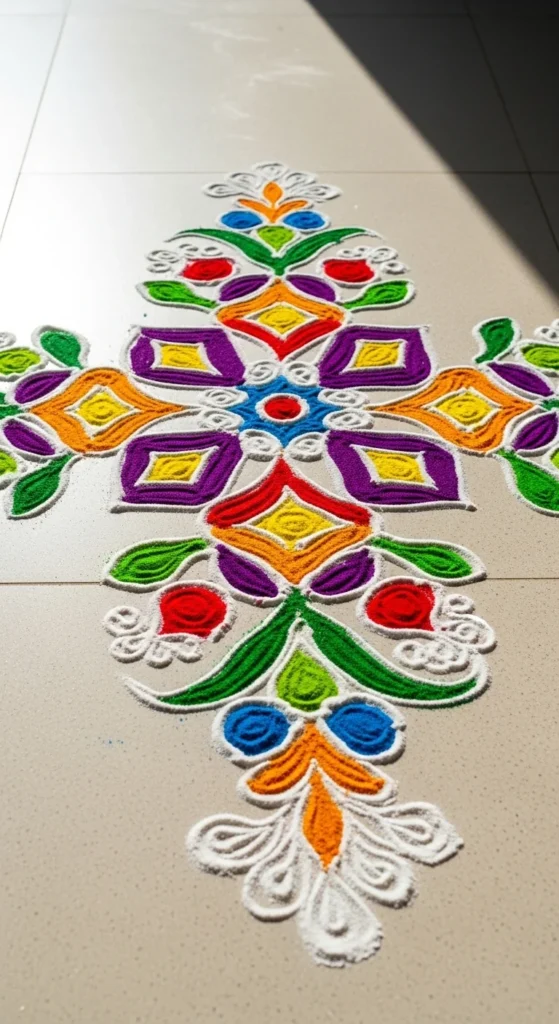
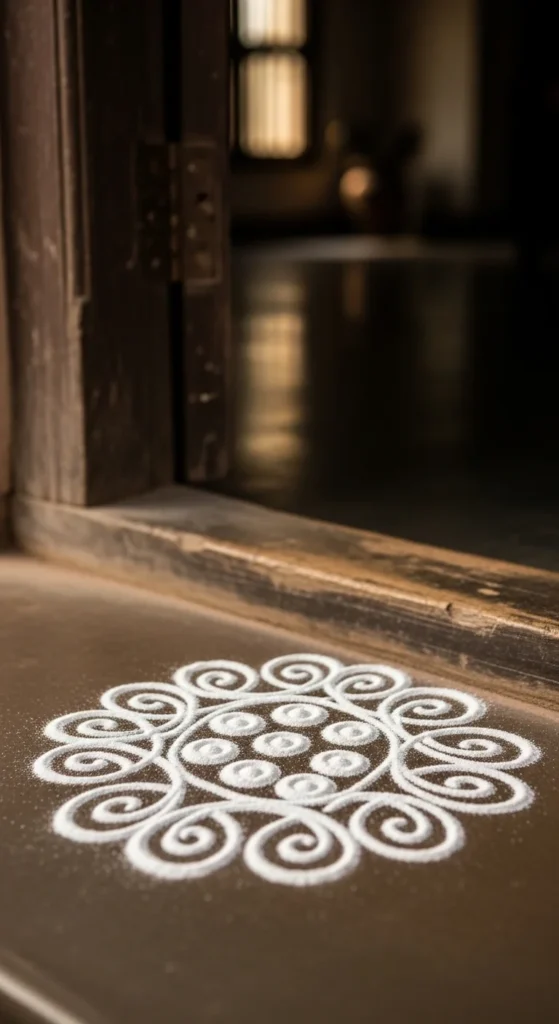
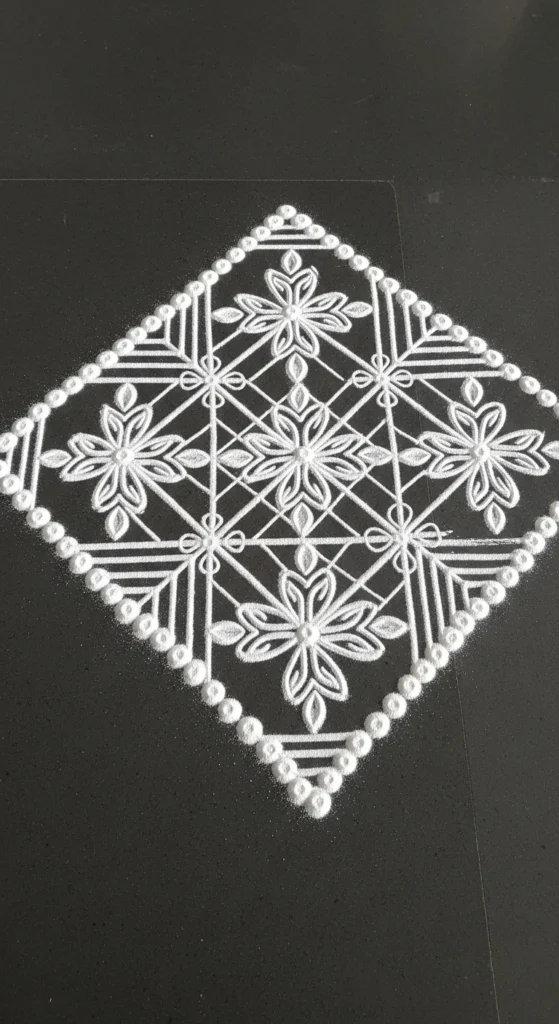
Dot rangoli, also known as pulli kolam or dot kolam, is one of the easiest ways to achieve perfect symmetry without advanced drawing skills. The secret lies in structured grids like 5×1, 7×7, or 10-2 dots. Once the dots are placed evenly, the design almost guides your hand. Whether you’re decorating for Pongal, Sankranti, New Year, or daily entrance kolam, these dot-based patterns help you create clean, balanced results every time. Below are 27 beautiful dot rangoli designs that are practical, beginner-friendly, and budget-conscious.
1) 3-Dot Mini Kolam for Small Spaces

Place three dots in a straight line.
Keep spacing even using your finger width as a guide.
Draw soft curves looping around each dot.
This mini design fits tiny apartments or pooja corners.
Use white rice flour first. Add color later if desired.
It takes under two minutes.
Perfect for daily practice when you’re short on time.
Thicken lines slightly if curves look shaky.
Small designs build hand control fast.
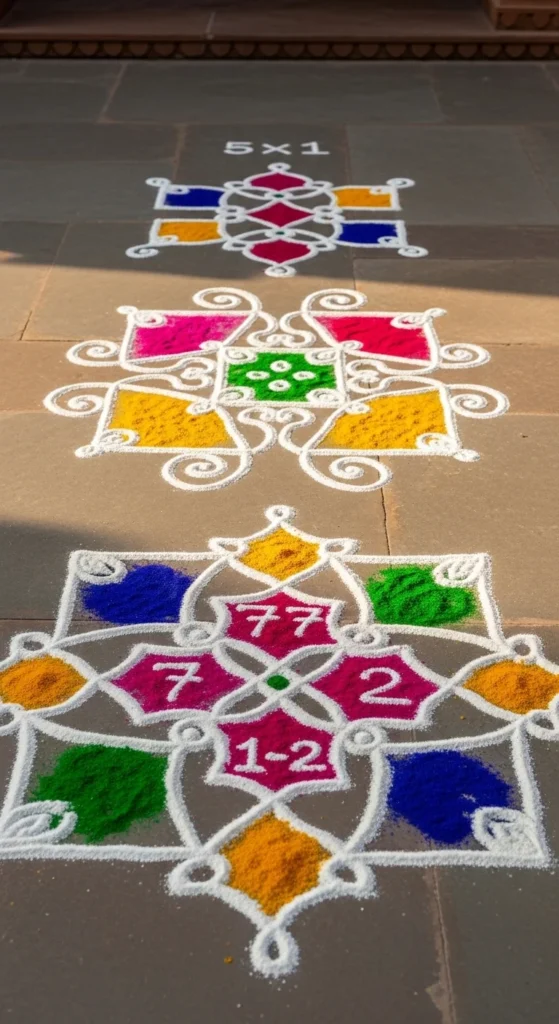
2) Classic 5×1 Straight Line Pattern
Create one row of five dots.
Connect outer dots with smooth arches.
Work slowly.
Short strokes feel steadier than long sweeps.
This is a great beginner drill.
Practice daily for straight, clean lines.
Add tiny side loops for decoration once comfortable.
Minimal effort, balanced result.
3) 7×1 Beginner Curve Kolam
Lay seven dots evenly.
Start connecting from the center.
Move outward to avoid smudging.
Curves should hug the dots gently.
Keep pressure light for smooth flow.
This pattern looks more detailed than 5×1 but stays simple.
Add pastel shading after finishing the white outline.
4) 5×3 Flower Dot Rangoli
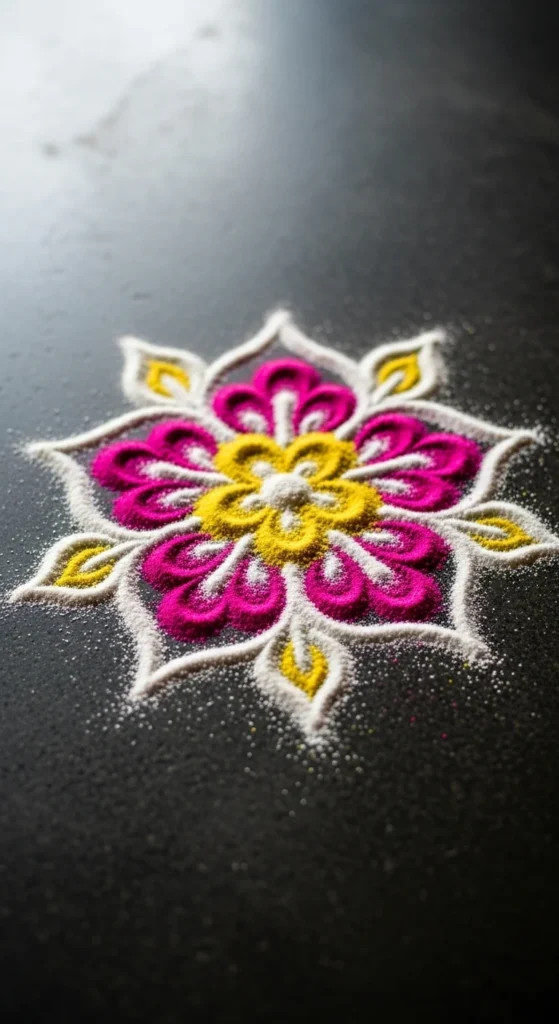
Arrange five dots in three rows.
Connect diagonally to form petals.
Fill each petal with one bright color.
This creates a clean flower without freehand drawing.
Use chalk to mark dots if spacing feels tricky.
Affordable and festive.
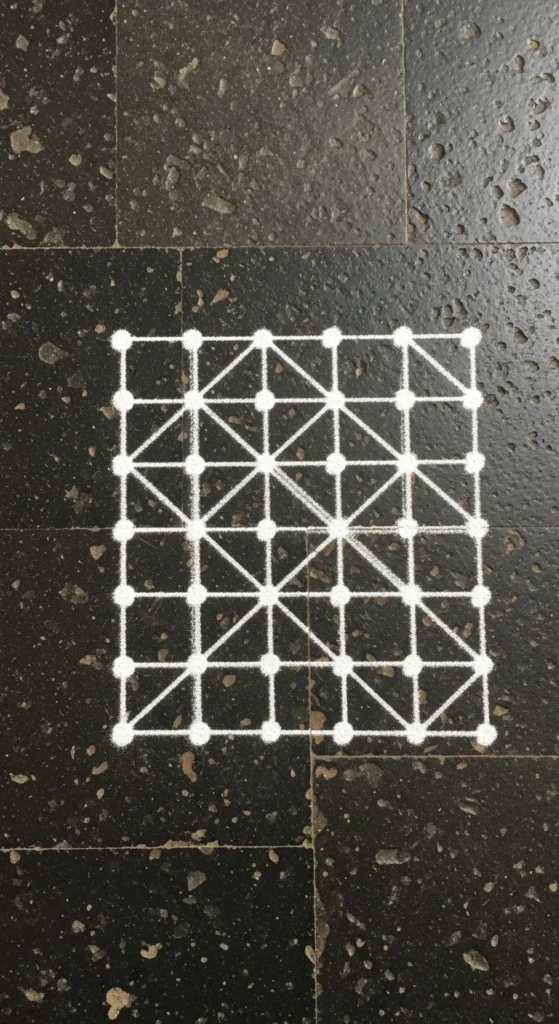
5) 7×7 Symmetry Grid Kolam
Draw seven rows of seven dots.
Keep rows straight.
Connect outer edges first.
Then move inward.
This builds symmetry naturally.
Thicker lines hide small mistakes.
A great design for festivals.
6) 9×5 Tapered Dot Pattern

Start with nine dots in the first row.
Reduce each row gradually to five.
This taper creates a natural shape.
Connect dots using S-curves.
Work top to bottom.
The design looks complex but follows repetition.
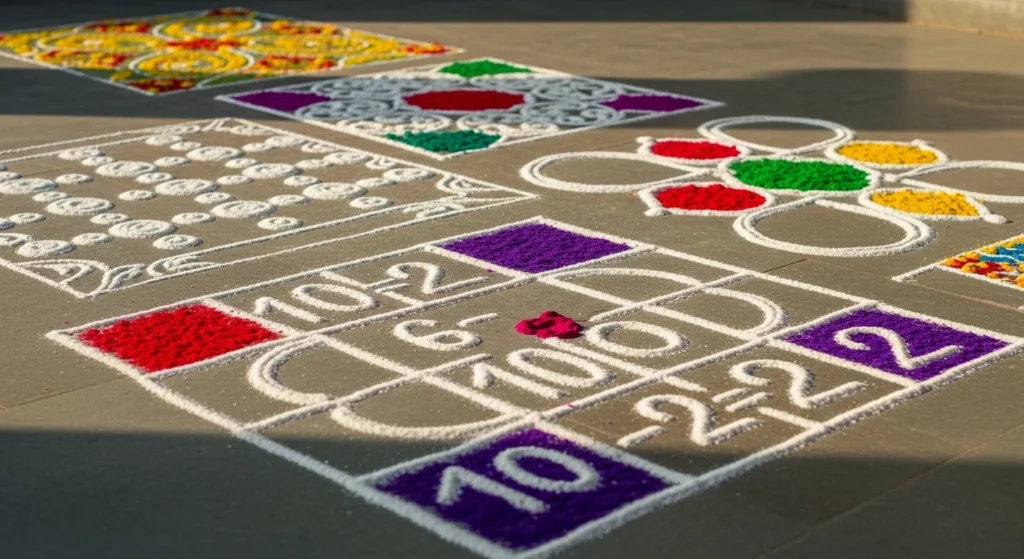
7) 10-2 Descending Pulli Kolam
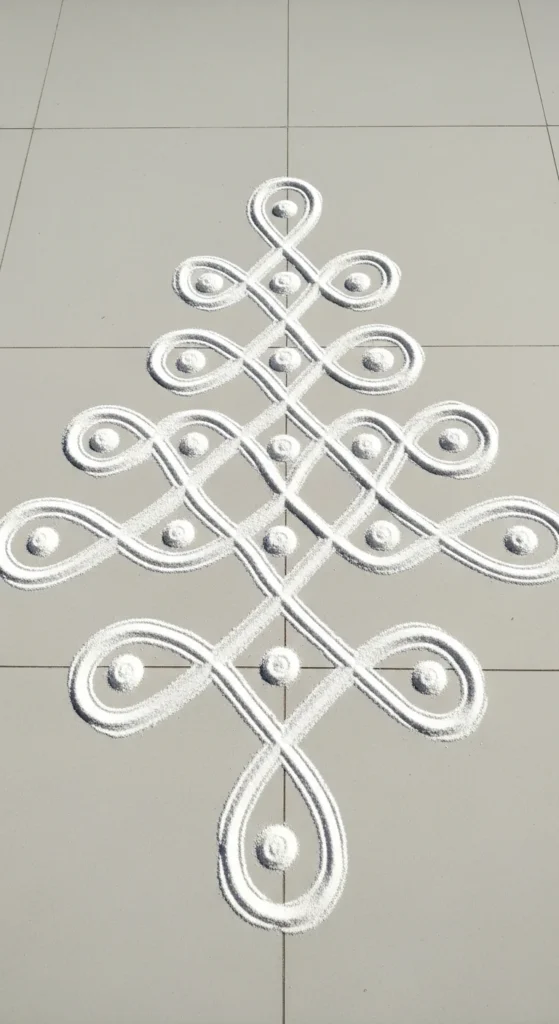
Place ten dots in the first row.
Decrease one dot per row until two remain.
Connect in smooth flowing lines.
This design is perfect for harvest festivals.
Keep strokes slow for neatness.
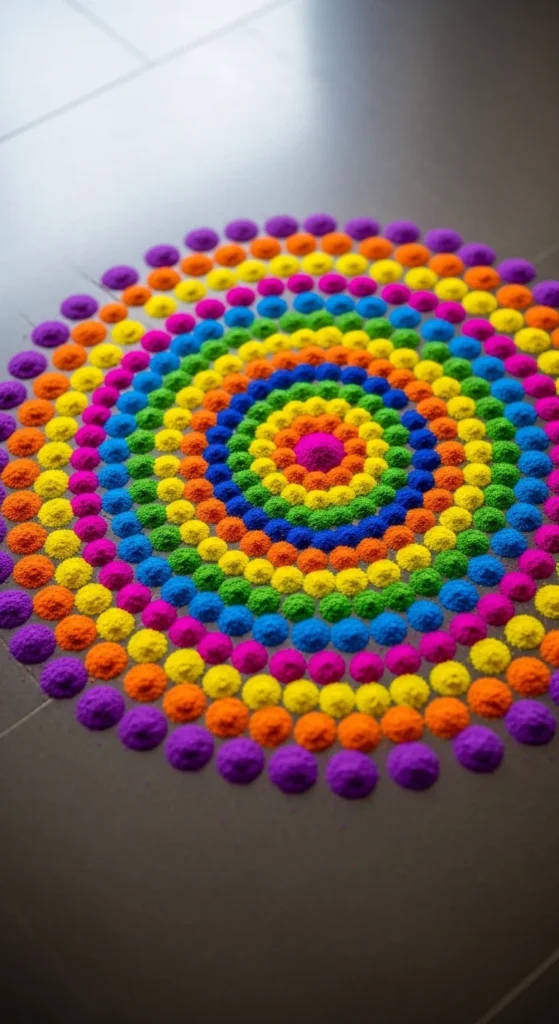
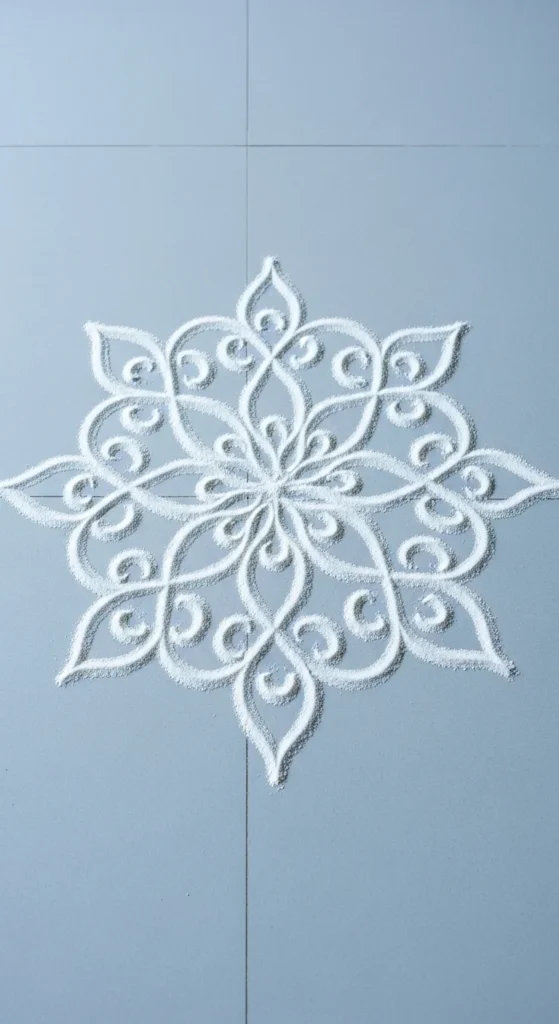
8) Dot Lotus Mandala
Start with a circle of dots.
Add another ring outside it.
Connect into petal shapes.
Fill petals with pink or yellow.
Layering dots creates mandala symmetry.
Budget-friendly and stunning.
9) Daily Entrance 4×4 Kolam
Place four rows of four dots.
Connect in small loops.
Keep design tight and compact.
Perfect for daily entrance decoration.
Quick cleanup with water splash.
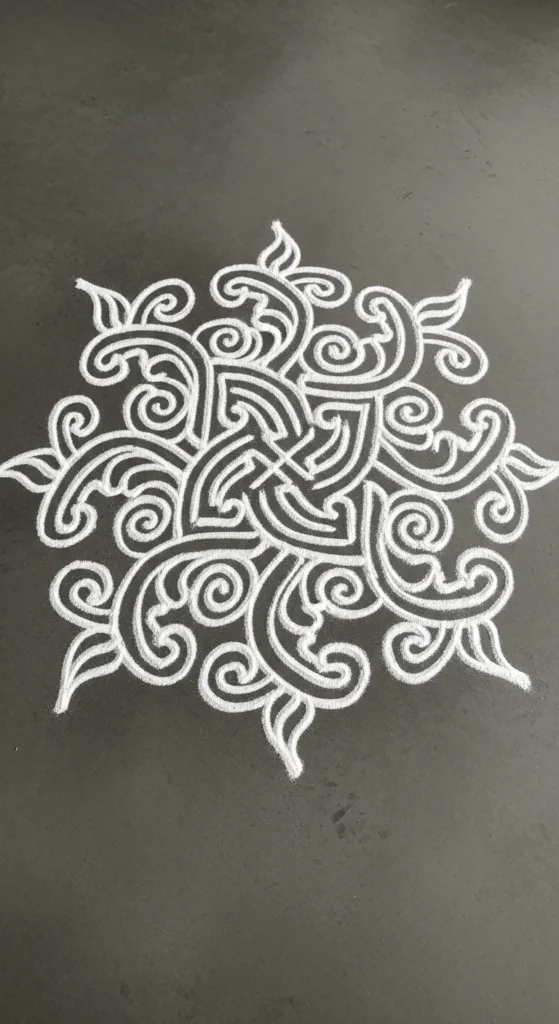
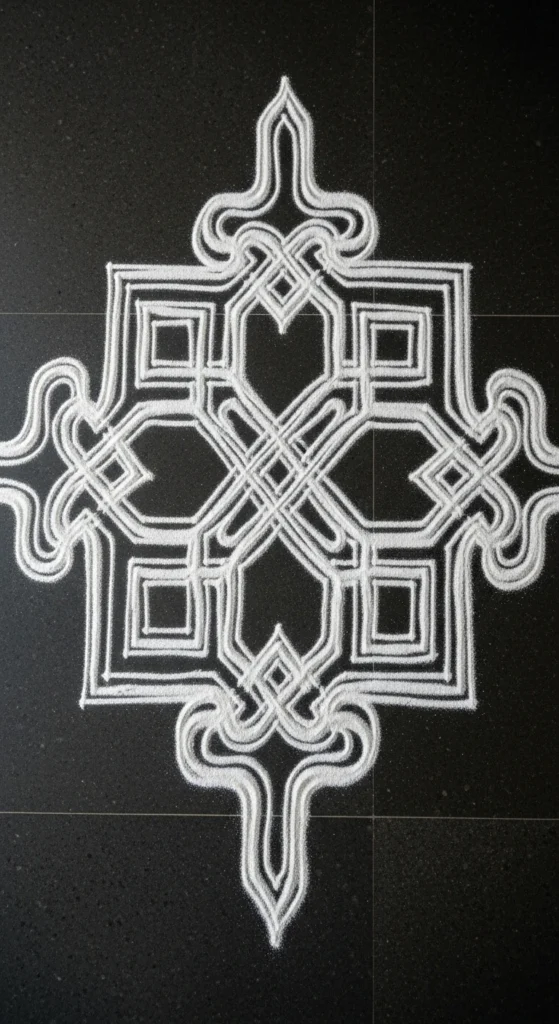
10) Sikku Curve Dot Upgrade
Lay a basic grid first.
Draw one continuous line weaving around dots.
Do not lift your hand.
This creates a smooth knot effect.
Practice slowly for control.
Add border dots for detail.
11) Pongal Special 8-2 Dot Kolam
Start with eight dots.
Reduce gradually to two.
Connect in festive shapes like pots or flowers.
Add small colored highlights.
Perfect for Pongal mornings.
12) Sankranti Muggulu Grid
Create a balanced square grid.
Connect diagonally for geometric shapes.
Fill alternate sections with bright powder.
Keep edges clean using a brush.
Great for Sankranti celebrations.
13) 3-2 Mini Festival Kolam
Three dots in the first row.
Two below it.
Connect gently into petal shapes.
Compact yet festive.
Perfect for apartments.
14) Border Dot Frame Design
Place dots along the border only.
Connect in repeating curves.
No center filling required.
Quick and tidy option.
15) 15×1 Long Row Kolam
Draw fifteen dots in one straight row.
Connect outermost dots inward.
Work gradually to center.
Ideal for wide entrances.
Practice straight-line alignment carefully.
16) Flower-in-Grid Dot Pattern
Place a square grid.
Connect into petal shapes.
Add contrasting color inside petals.
Keep white outline bold.
Balanced and festive.
17) Spiral Tipkyanchi Rangoli
Arrange dots in circular formation.
Connect in spiral motion.
Move slowly for smooth curves.
Spirals hide uneven strokes well.
Add dots between rings for texture.
18) Chalk Prep Dot Kolam
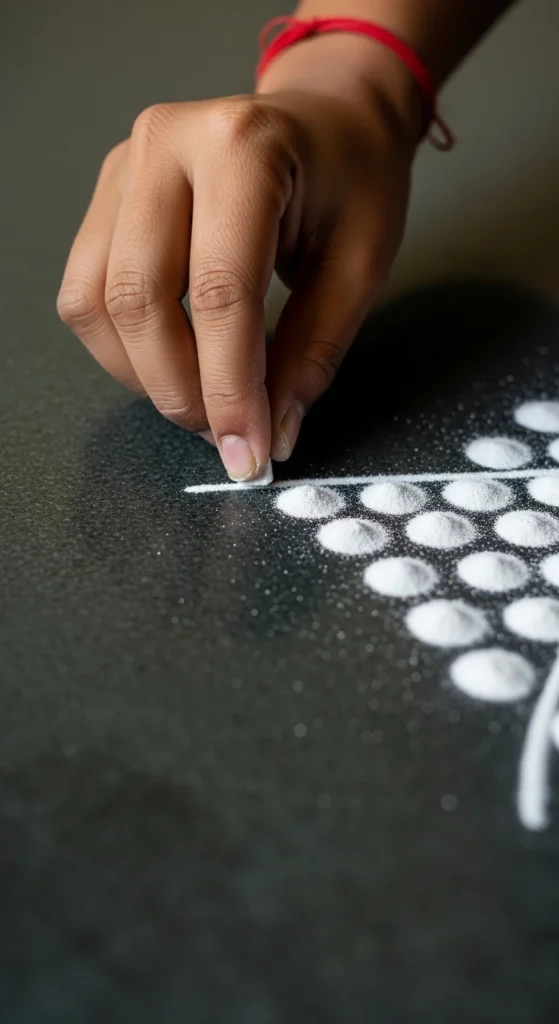
Mark dots with chalk first.
Check spacing twice.
Then trace with rice flour.
This reduces mistakes greatly.
Great for beginners building confidence.
19) Double-Line Dot Design
Draw standard dot pattern.
Go over each line twice.
Double outlines create bold definition.
Hide shaky lines easily.
Add light color between double lines.
20) Center-Out No-Smudge Kolam
Start connecting central dots first.
Move outward gradually.
This prevents palm smudging.
Keep your wrist lifted slightly.
Neat finish every time.
21) Diagonal Diamond Dot Grid
Place dots in diamond formation.
Connect diagonally.
This creates a fresh look without changing technique.
Symmetry stays intact due to grid structure.
22) Layered White-Then-Color Kolam
Draw full pattern in white first.
Check symmetry.
Then fill with colors slowly.
White base prevents color bleeding.
Work section by section.
23) New Year Countdown 8×8 Pattern
Lay an 8×8 grid.
Connect into star or flower shapes.
Add subtle glitter powder if available.
Ideal for New Year décor.
Keep spacing precise for balance.
24) Straight-Line Beginner Drill
Place dots evenly.
Connect with straight lines only.
No curves yet.
Practice hand stability.
Repeat daily for steady control.
25) Compact Apartment 4-Dot Pattern
Four dots in square shape.
Loop around them gently.
Small and elegant.
Minimal space required.
Perfect for everyday practice.
26) Chukkala Muggulu Loop Design
Create structured dot grid.
Loop curves around each dot.
Keep rhythm consistent.
Add small border arcs for finishing touch.
Traditional yet simple.
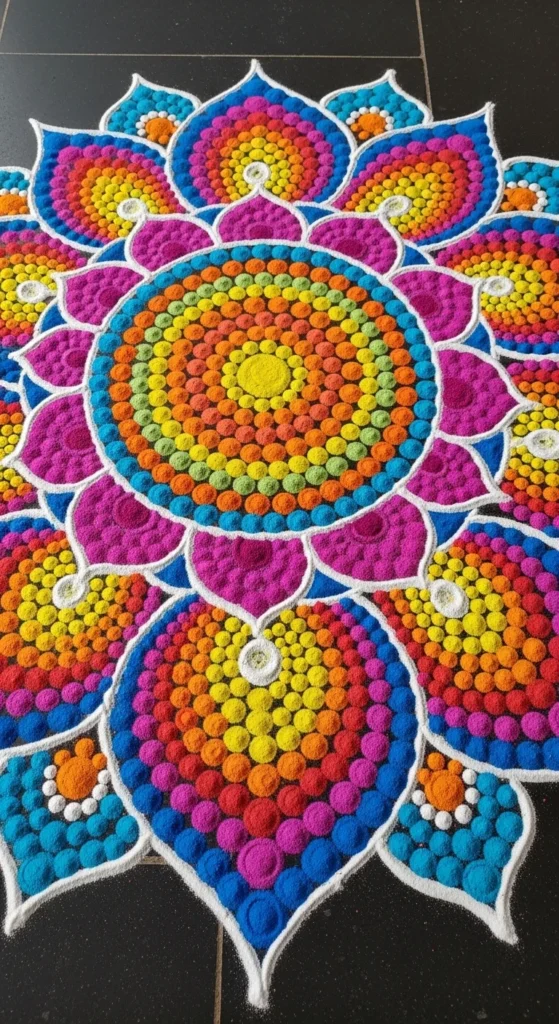
27) Festival Grand 12×12 Dot Mandala
Lay a 12×12 grid carefully.
Connect outer ring first.
Move inward in layers.
Add color only after full white structure is complete.
This design works beautifully for large celebrations.
Take your time.
Symmetry naturally emerges from the grid.
Conclusion
Dot rangoli designs make symmetry easy. Structured grids guide your hand and reduce guesswork. Start with small patterns like 3-dot or 5×1. Practice straight lines daily. Use white rice flour first before adding color. As confidence grows, try larger grids like 10-2 or 12×12. Consistency builds clean curves and steady spacing. Choose one pattern today and practice slowly. Symmetry will follow.


