Rangoli is one of the simplest ways to make your home feel festive, welcoming, and joyful. If you’ve ever searched for easy rangoli for beginners, you’ve likely seen complex patterns that feel intimidating. The good news? You don’t need perfect lines or expensive materials. With a few dots, petals, or basic shapes, you can create designs that turn out clean and balanced every time. These foolproof ideas focus on symmetry, simple strokes, and affordable materials so you can practice confidently for Diwali, daily kolam, or any celebration.
1) 5-Dot Straight Line Kolam
Start with five evenly spaced dots in a straight line.
That’s it.
This is one of the most foolproof beginner rangoli designs because symmetry is built in. Use chalk or rice flour to place dots first. Keep equal gaps using your fingers as a rough measuring tool.
Now draw soft curves connecting the dots. Loop around each dot instead of drawing stiff lines. Curves hide small mistakes.
If lines look shaky, trace lightly first. Then go over them again to thicken.
Budget tip: Use plain rice flour instead of colored powder. It’s cheap and easy to clean.
Practice this daily at your doorstep. It takes five minutes.
As your confidence grows, add a second row of dots. Then try a 5×3 pattern.
Small repetition builds muscle memory fast.
2) Classic Circle with Marigold Border
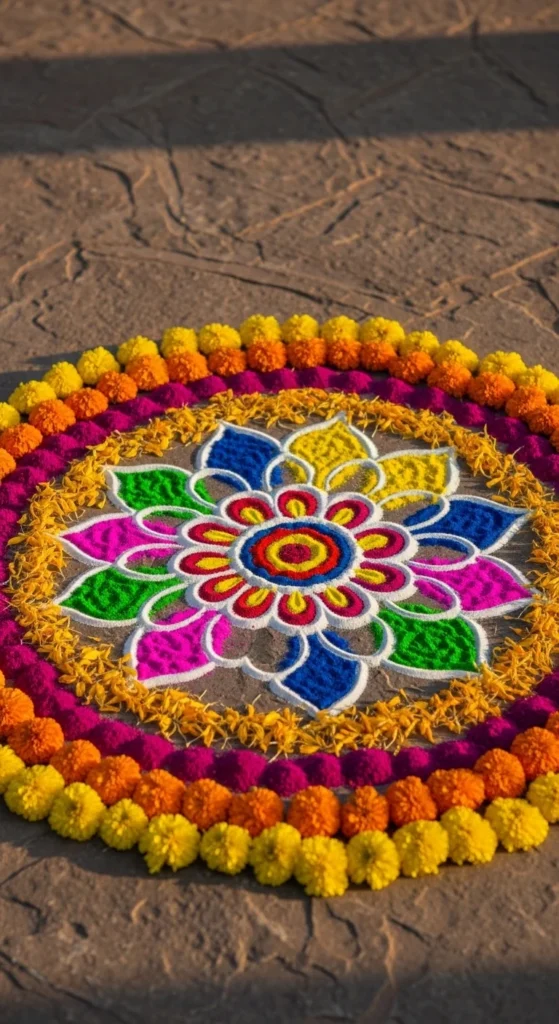
Draw one large circle using a plate as a guide.
Simple tools make round shapes easy.
Fill the circle with a single bold color. Red, yellow, or blue works well. Keep it solid and smooth.
Now create a thick border using marigold petals. Press them gently so they stay in place.
This design works beautifully for Diwali entrances. It looks festive without being complex.
No marigolds? Use leaves from your garden. Or mix colored rice for texture.
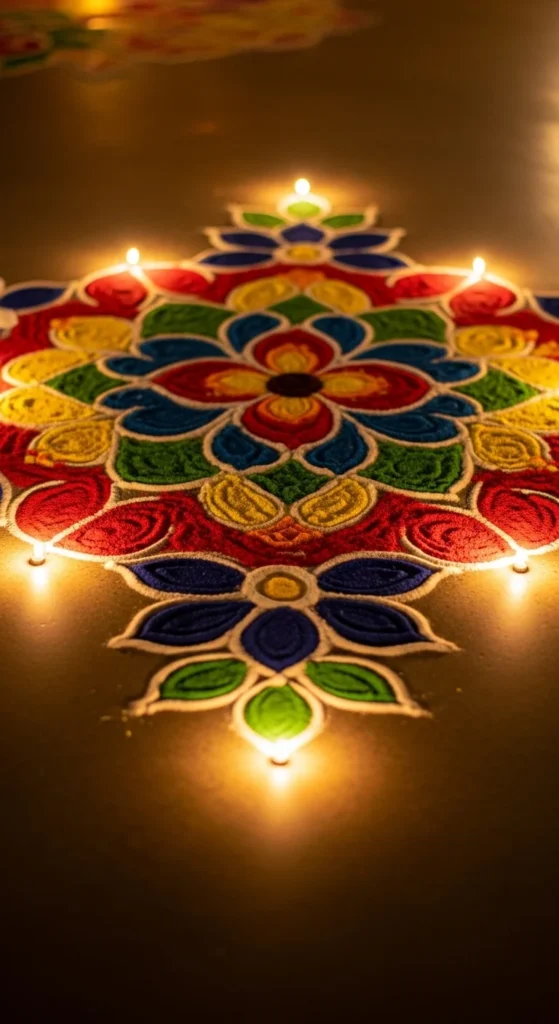
For extra charm, place a diya in the center. That small focal point makes the design feel complete.
Circles forgive uneven lines. So even if your border isn’t perfect, it still looks balanced.
3) 7×7 Dot Grid Starter
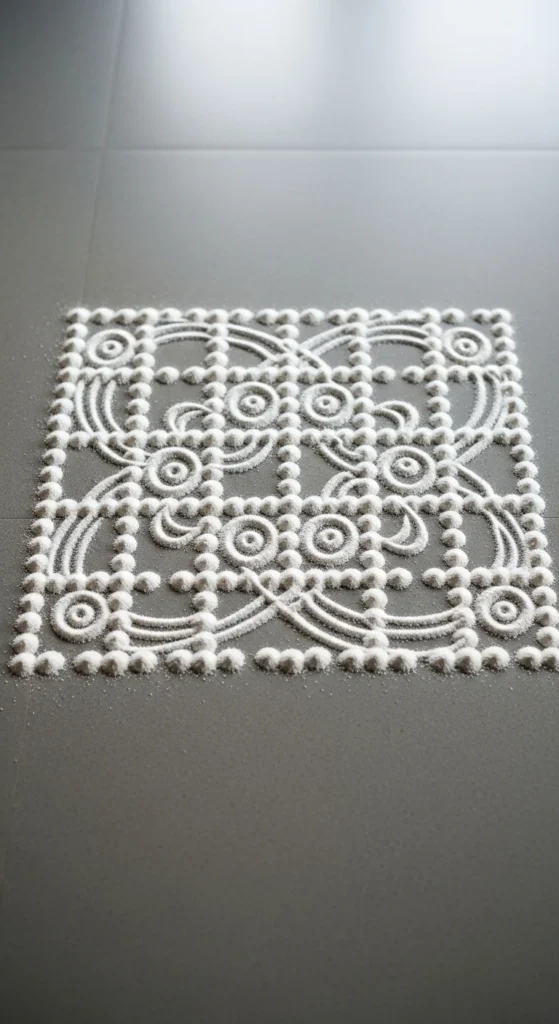
Create seven rows of seven dots.
Keep spacing equal. Use a ruler if needed in the beginning.
This dot rangoli grid is the base for countless patterns. Start by connecting outer dots into loops. Then move inward.
Work from the outside toward the center. This avoids smudging.
If your hand shakes, rest your elbow on your knee for stability.
Use center-out filling once lines are done. Add light color shading inside loops.
Grids build discipline. They train your eye for symmetry.
After a week of practice, your lines will look much steadier.
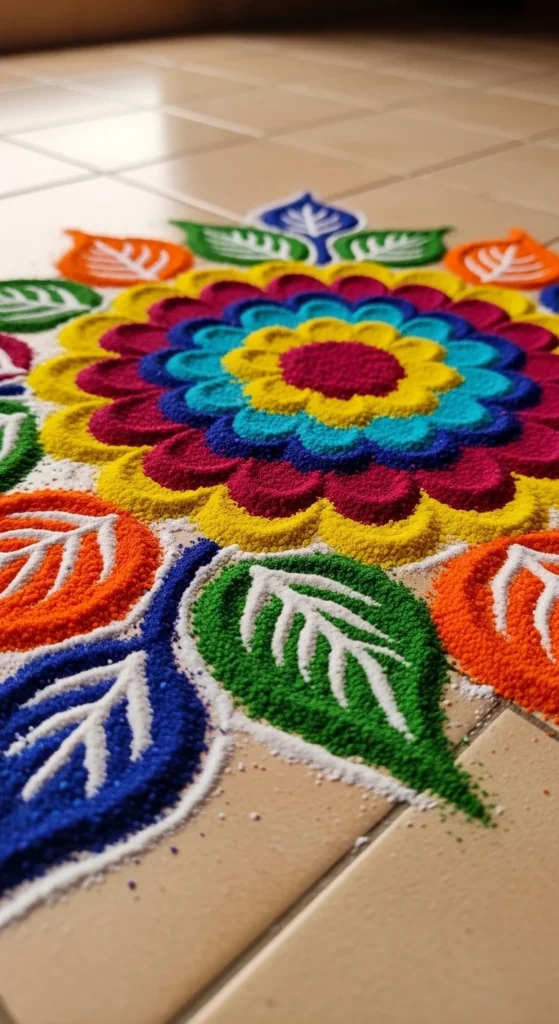
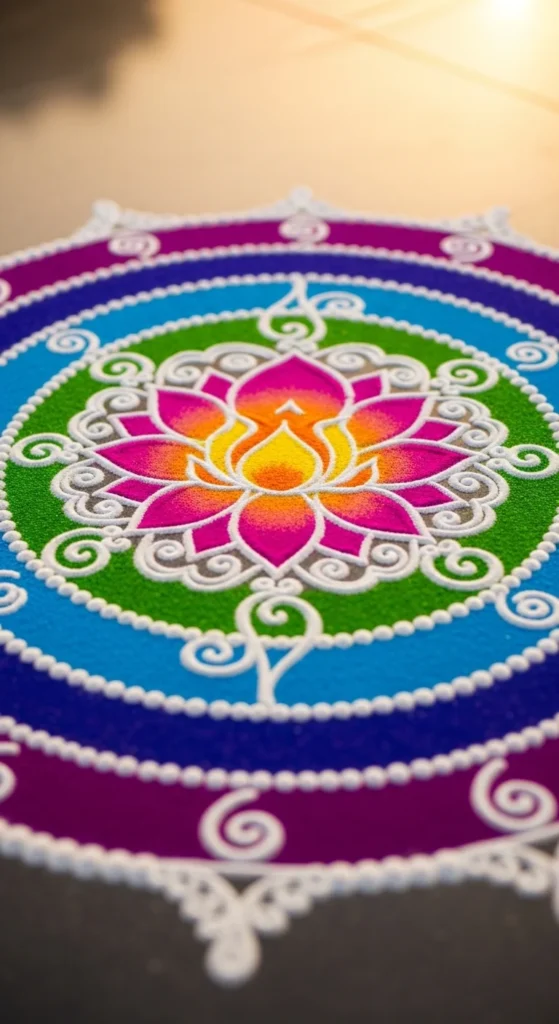
4) Lotus Petal Beginner Design
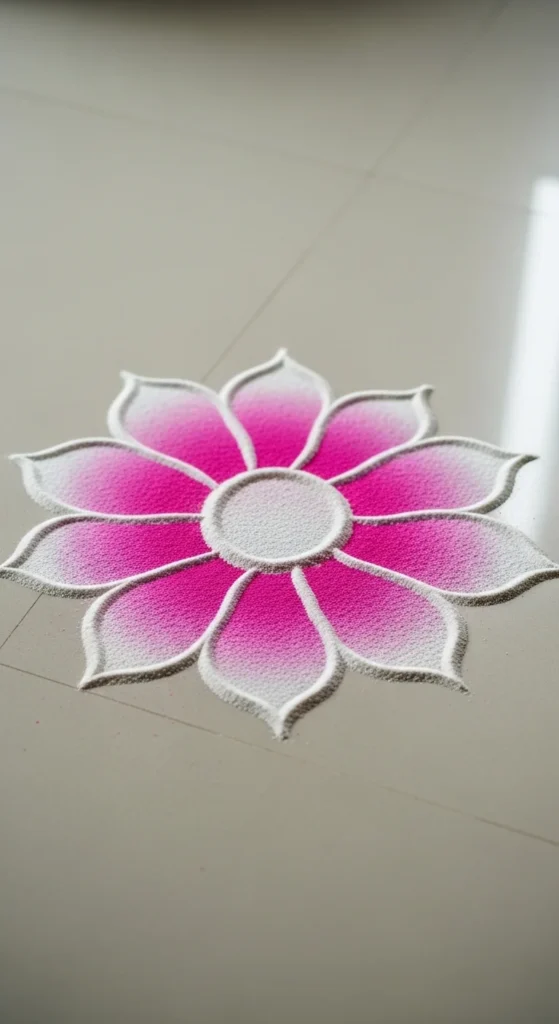
Draw a small circle in the middle.
Now sketch large rounded petals around it. Keep petals wide and short. That hides uneven curves.
Fill petals with pink powder. Use white powder to outline edges.
Lotus motifs are popular in festive décor. They feel traditional yet simple.
No colored powder? Use crushed chalk and mix with a little flour.
Add green leaf shapes under petals for contrast.
This design looks impressive but remains beginner-friendly because repetition keeps it uniform.
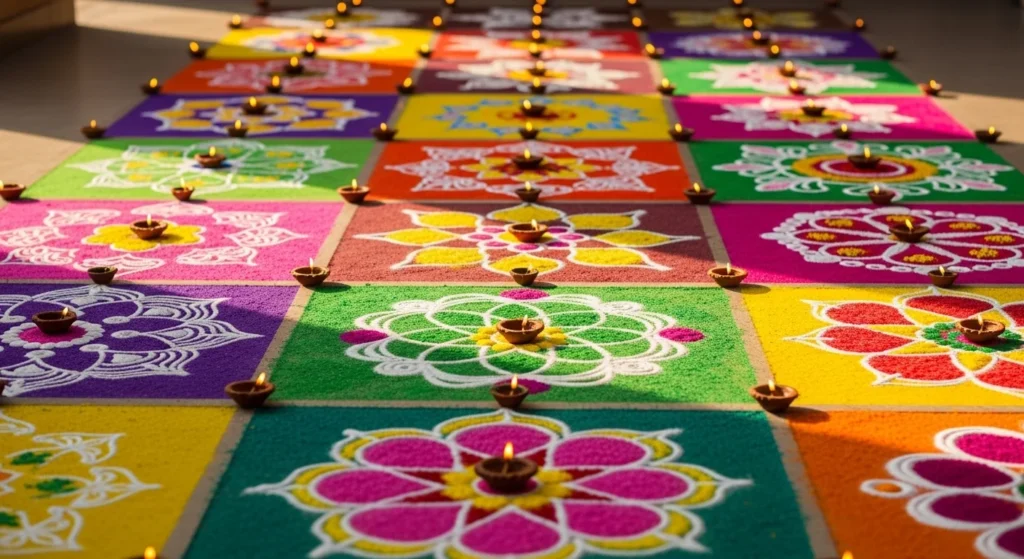
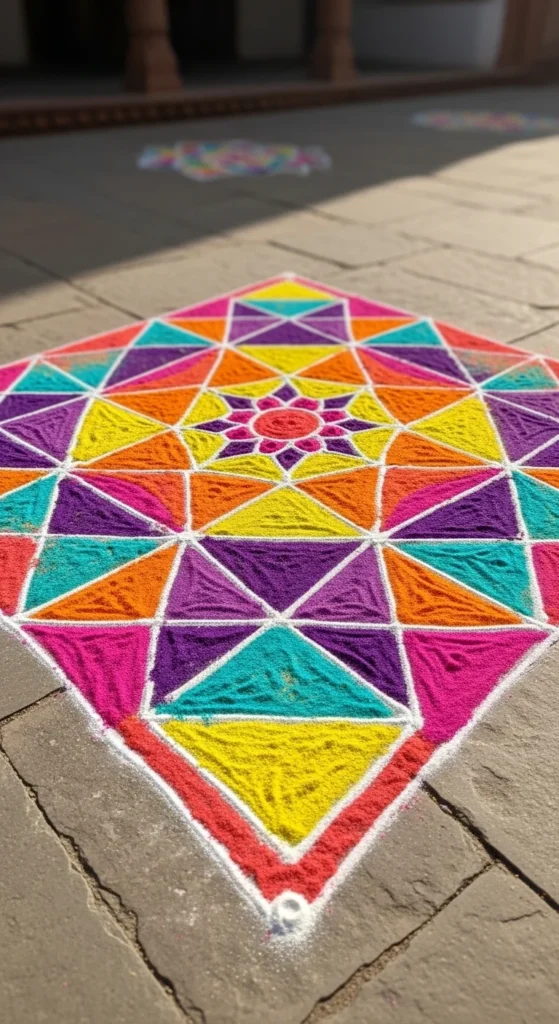
5) Square Frame Rangoli
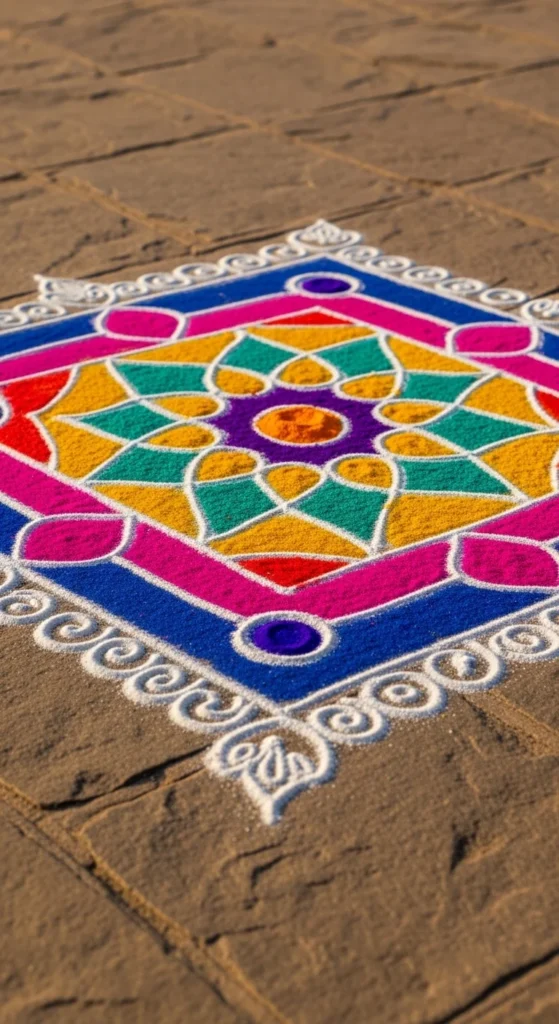
Use tape to mark a square boundary.
Boundaries prevent messy spreading.
Inside the square, draw smaller squares or diamonds. Fill each section with a different color.
Geometric shapes are easier than freehand florals. Straight lines feel safer.
Remove tape gently after filling. Clean edges instantly upgrade the look.
If powder spills, use a dry brush to fix corners.
This works well for small apartments where space is limited.
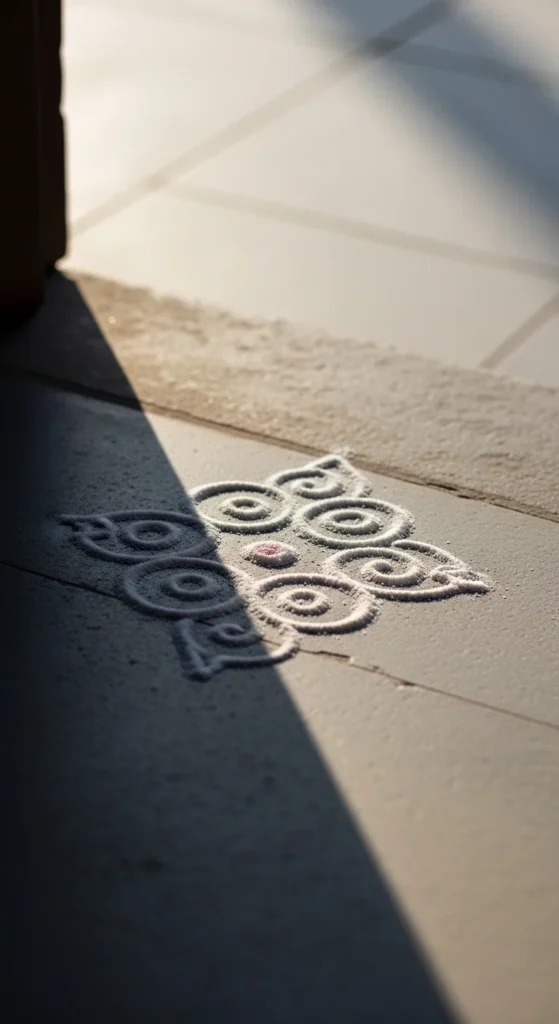
6) Simple Swastik with Floral Corners
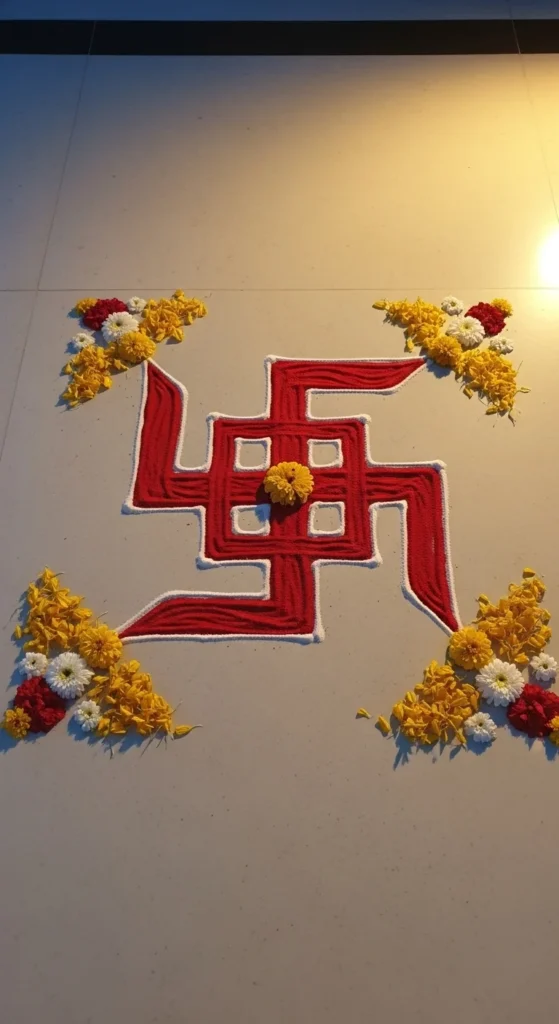
Draw a neat swastik in the center.
Keep lines thick. Thin lines show mistakes easily.
Add small flower shapes in each corner. Use yellow and white for contrast.
This design is often used during festivals for auspicious symbolism.
Keep background plain. That makes the center symbol stand out clearly.
Practice on paper first if you feel unsure.
7) Rose Petal Heart Design

Sketch a heart lightly.
Fill entirely with rose petals. Press gently to flatten.
Outline using white flour. The contrast sharpens the shape.
Petal designs reduce powder mess. Cleanup becomes easier.
You can compost petals afterward. Budget-friendly and eco-conscious.
8) 5-Minute Daily Kolam
Use only white flour. No colors.
Create four dots in a square. Loop around them.
This takes under five minutes.
Daily practice builds steady hands.
Small designs like this keep entrances welcoming without extra effort.
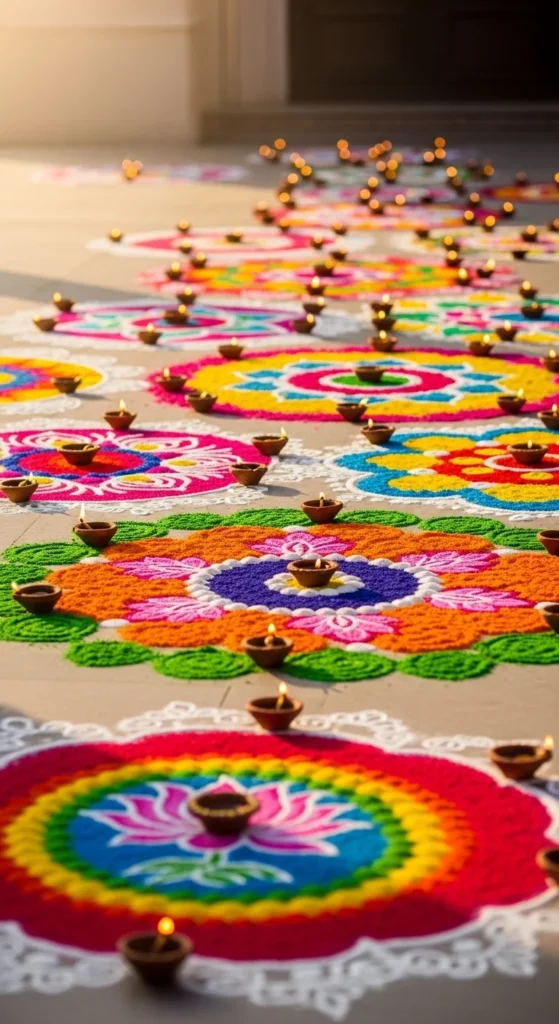
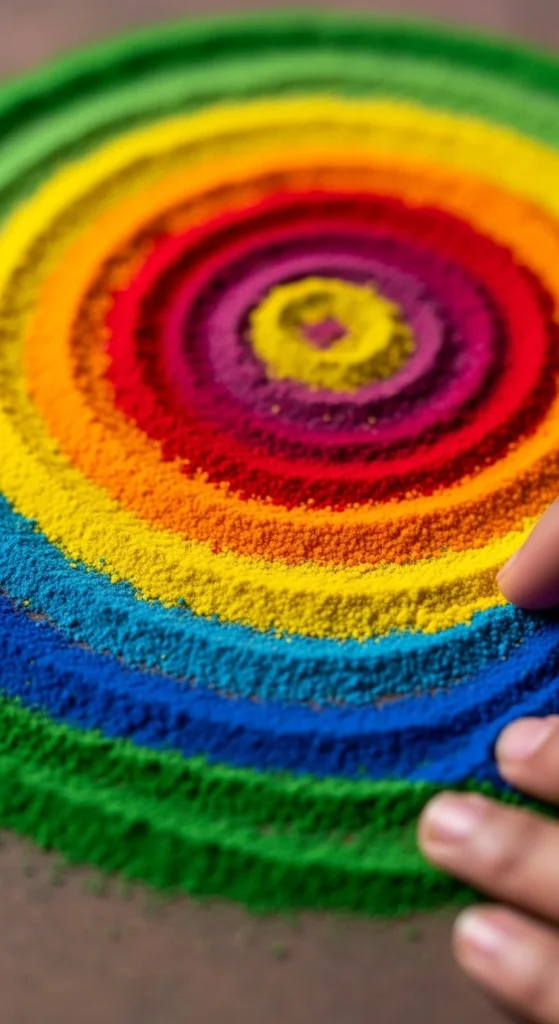
9) Concentric Circle Pattern
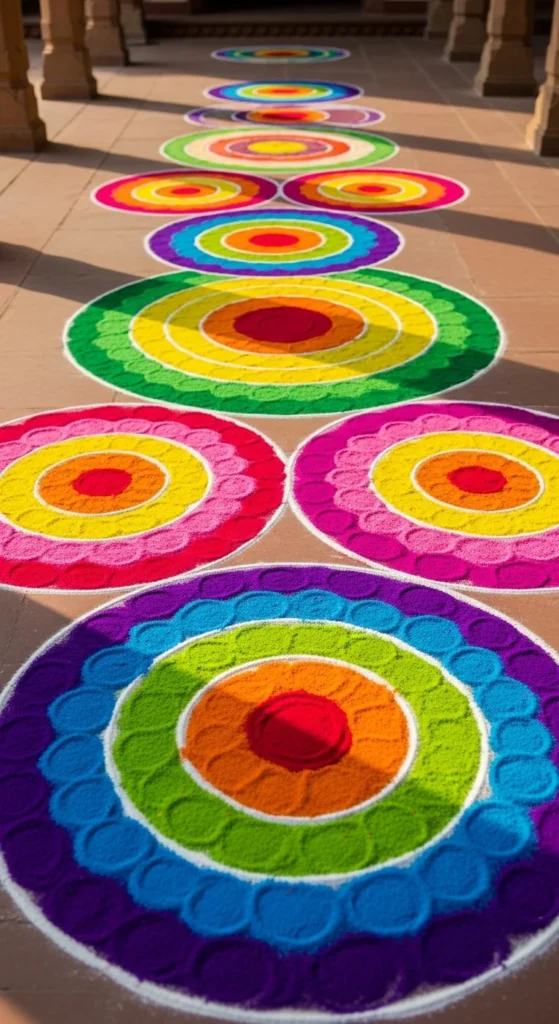
Draw three circles using bowls of different sizes.
Fill each ring with a separate color.
Blend edges softly with fingers.
Layering creates depth without complicated drawing.
Add tiny white dots between rings for detail.
10) Jasmine Border Design
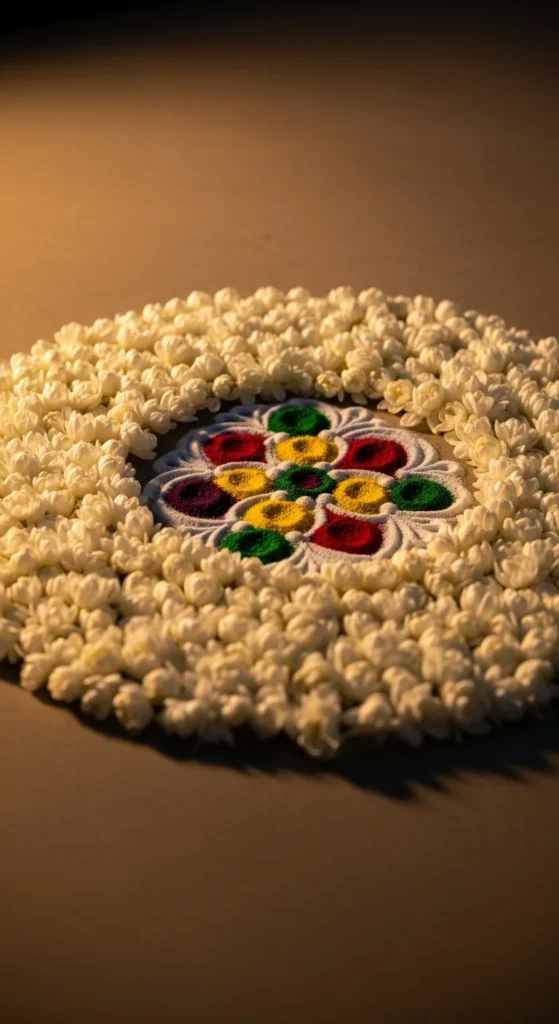
Create a small colored center.
Surround with a thick ring of jasmine flowers.
The fragrance adds charm to the décor.
This design works beautifully for prayer rooms.
No drawing skill required. Just neat placement.
11) 9×5 Dot Muggulu Pattern
Lay nine dots in the first row.
Reduce by one dot each row to form a taper.
Connect with smooth S-shaped curves.
This South Indian style builds confidence quickly.
Keep strokes fluid, not stiff.
12) Diya-Centered Design

Draw a circular base.
Place a diya in the middle.
Decorate around it with simple petals.
The flame becomes the focal point.
Keep outer design subtle.
13) Colored Rice Rangoli
Mix food coloring with rice. Dry it fully.
Use rice to fill simple shapes.
Rice gives texture and stays in place better.
Great for homes with kids.
Cleanup is easier than powder.
14) Half-Moon Entrance Design

Draw a half circle along your door.
Fill with layered colors.
Add dots along the curved edge.
Perfect for narrow spaces.
15) Water-Floating Petal Rangoli
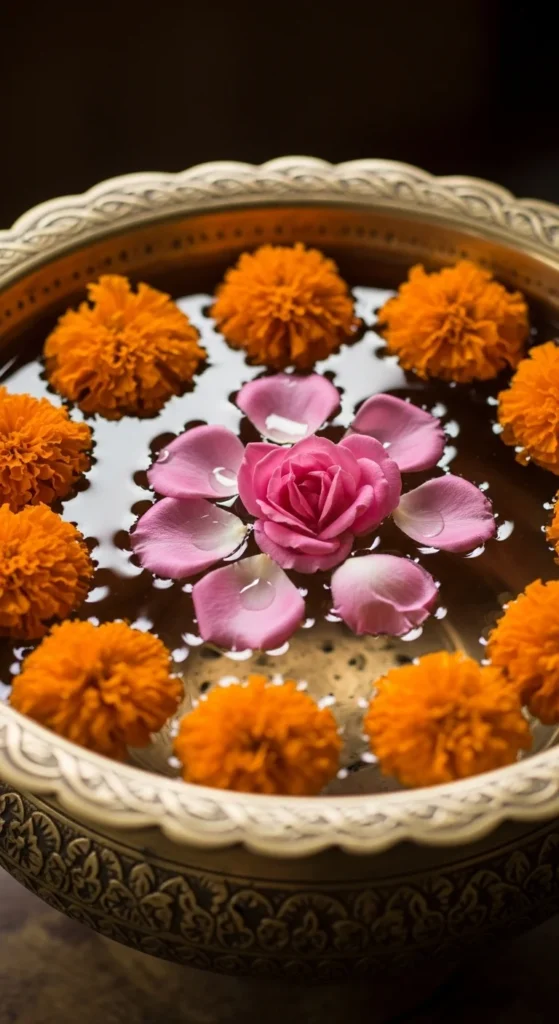
Fill a large bowl with water.
Float petals in circular patterns.
Add small tealights carefully.
Great for indoor tables.
No floor mess at all.
16) Chalk Outline Practice Design
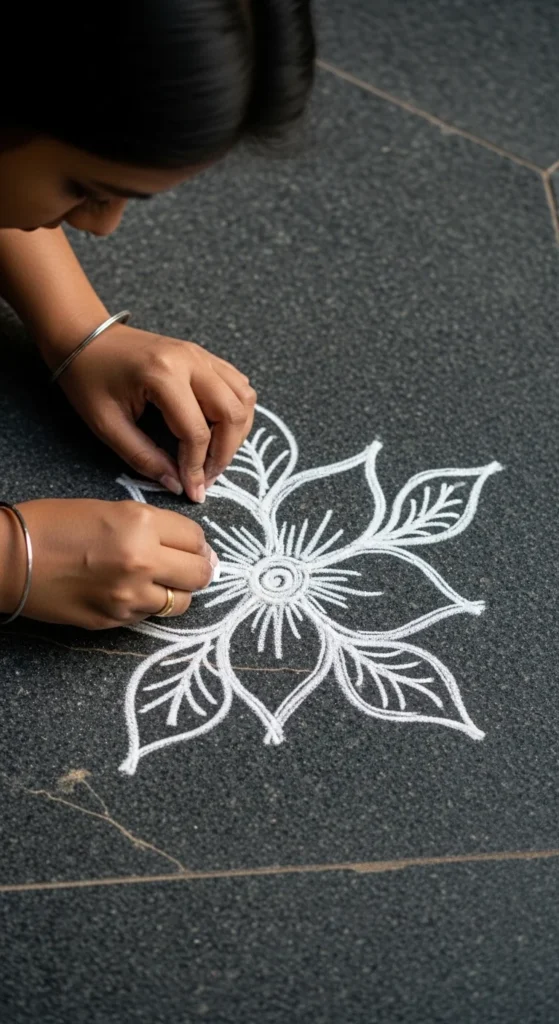
Sketch with chalk first.
Adjust shape before adding powder.
This reduces mistakes.
Good for first-time learners.
17) Triangle Geometry Pattern
Draw a large triangle.
Divide into smaller triangles.
Fill alternating colors.
Geometric shapes stay clean and sharp.
Use tape for straight edges.
18) LED Glow Night Rangoli
Create a basic circular rangoli.
Outline edges with small LED string lights.
Lights highlight symmetry at night.
Use battery-operated lights for safety.
Keep wires hidden under petals.
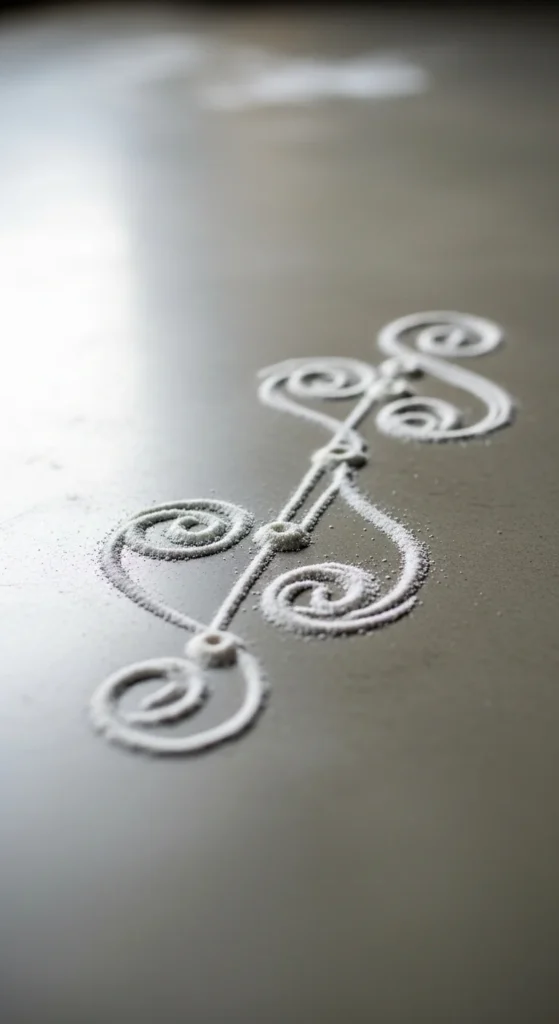
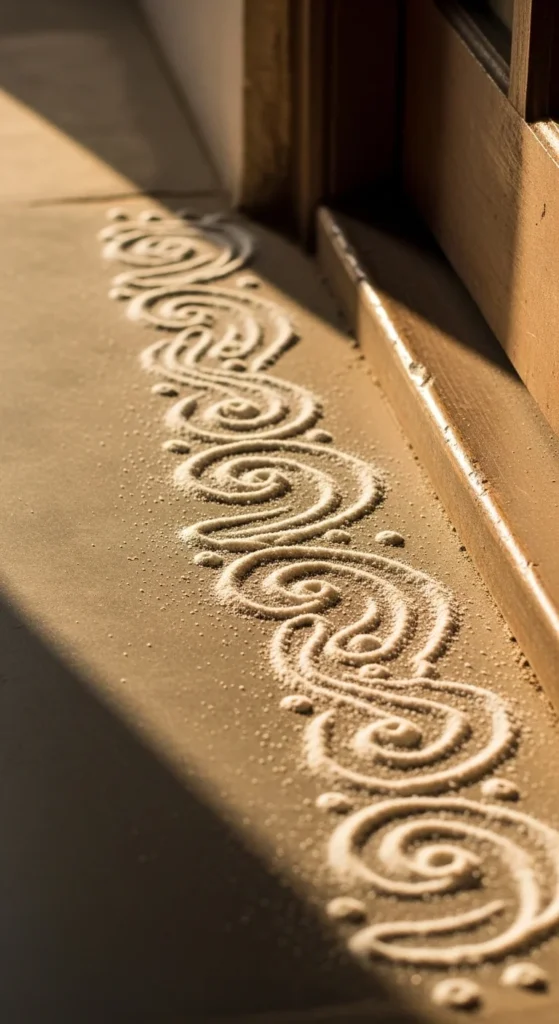
19) Finger Art Spiral
Pour powder lightly.
Use your finger to drag into a spiral.
Spirals hide uneven motion well.
Add dots around edges.
Fast and artistic.
20) Simple Lakshmi Feet Trail
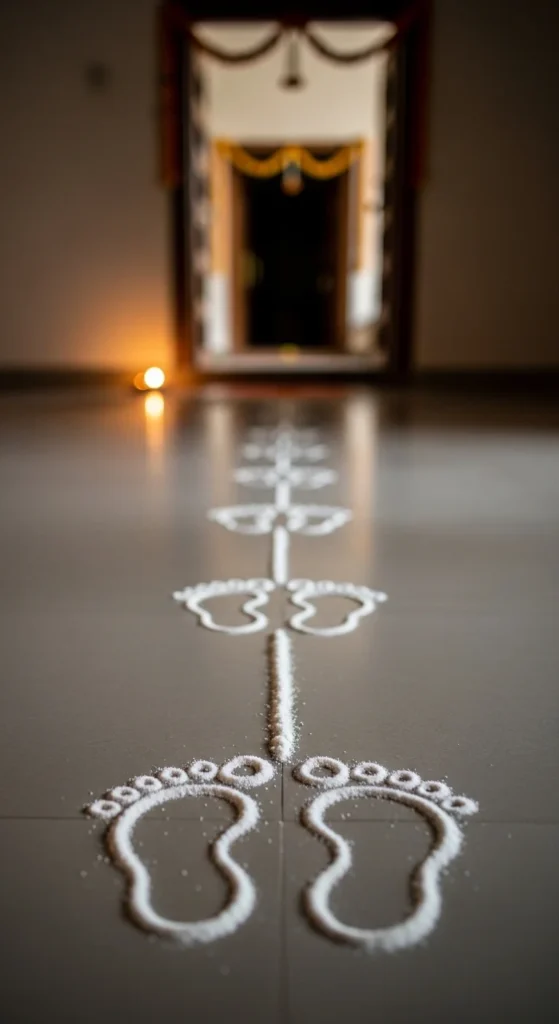
Draw small paired footprints entering your home.
Keep size consistent.
Outline with red powder lightly.
This symbolic design is easy and meaningful.
No complex shapes required.
21) 10-to-2 Dot Descending Kolam
Start with ten dots in the first row.
Reduce one dot per row until you reach two.
This triangular grid naturally forms balance.
Connect dots using soft S-curves. Avoid sharp turns. Curves hide hand shakiness.
Work from top to bottom so your palm doesn’t smudge earlier lines.
If spacing feels uneven, lightly mark with chalk first.
This design looks detailed but follows a predictable rhythm. That makes it beginner-safe.
Keep it white for daily kolam practice. Add light pastel filling only after lines are complete.
If a curve looks off, thicken it slightly. Wider lines disguise mistakes beautifully.
Practice this pattern for a week and you’ll notice visible improvement in symmetry.
22) Four-Petal Flower Cross
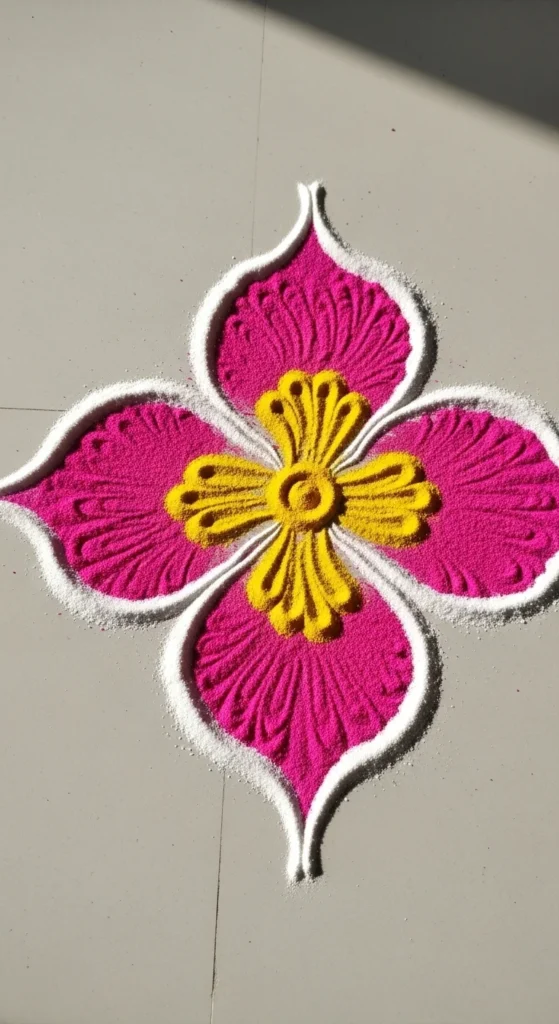
Draw a plus sign first.
Now add rounded petals between each arm of the cross.
You instantly get a balanced four-petal flower.
Fill petals with bright colors like yellow and pink. Keep the center white or red.
This design works well for compact entryways.
Short strokes are easier to control than long sweeping curves.
Add tiny white dots around the flower for a decorative border.
If powder spreads, clean edges using a dry paintbrush.
It looks festive yet takes under ten minutes.
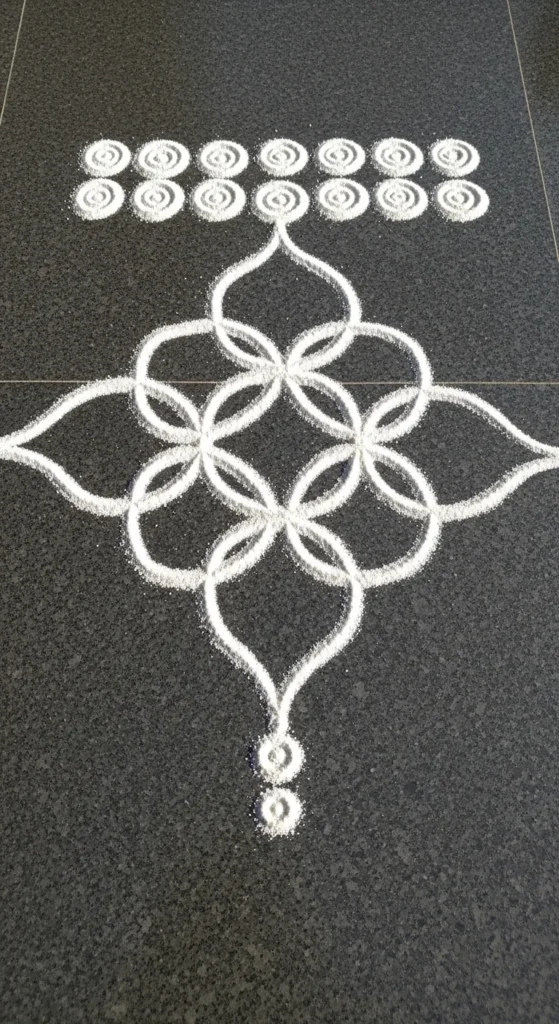
23) Padi Kolam Frame Pattern
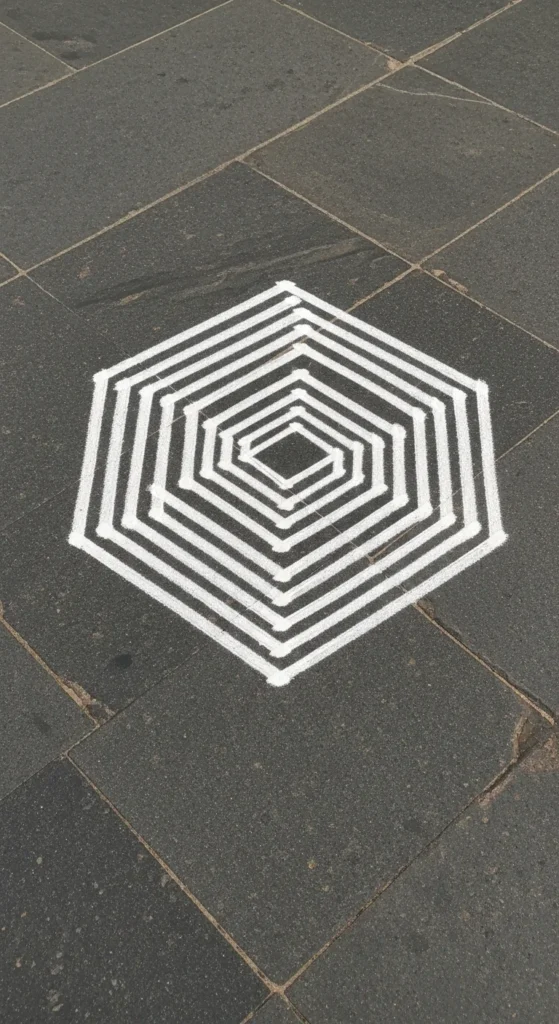
Draw a small square.
Create parallel lines around it, stepping outward evenly.
This “frame within frame” style is structured and neat.
Straight lines feel safer than freehand curves for many beginners.
Use chalk first to guide spacing.
Keep corners sharp by stopping and lifting your hand at each turn.
This pattern looks clean and traditional without complex detailing.
Perfect for small festival corners.
Add a tiny floral motif in the center if you want more visual interest.
24) Sunburst Entrance Design
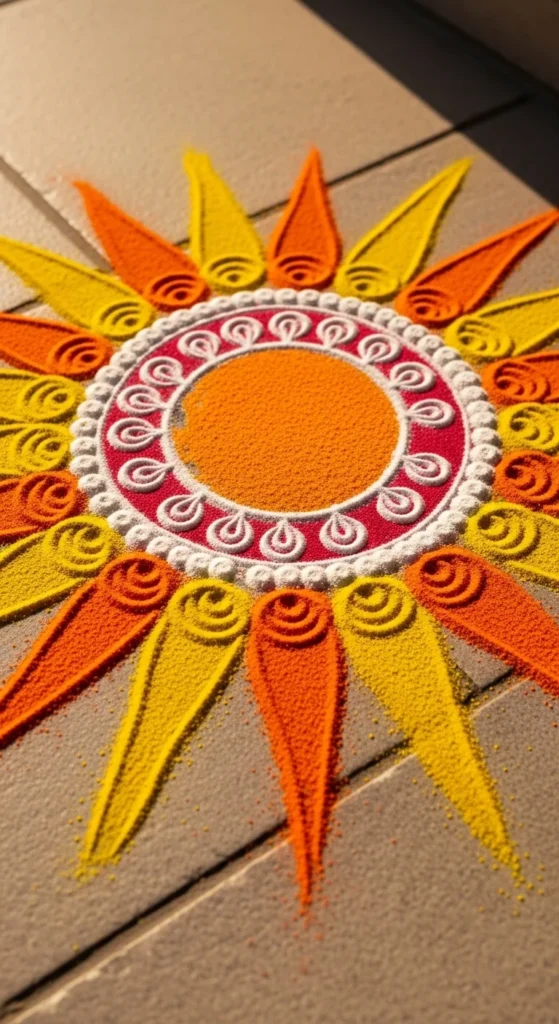
Draw one central circle.
From the edge, extend straight lines outward like sun rays.
Keep spacing equal between rays.
Fill alternating rays with orange and yellow.
This design is bold and hard to mess up because straight lines guide you.
Outline with white powder for clarity.
It works beautifully for festive mornings and looks cheerful in photographs.
Even if rays aren’t identical, the radiating pattern still appears balanced.
25) Two-Color Yin-Inspired Circle

Draw a large circle.
Divide it using an S-shaped curve.
Fill each half with a contrasting color.
Add small dots in opposite halves for detail.
The design is simple but visually striking.
Because there are only two large sections, filling is quick and clean.
Blend edges gently using your fingertip.
This is perfect when you want something modern and minimal.
26) Grain-Based Eco Rangoli
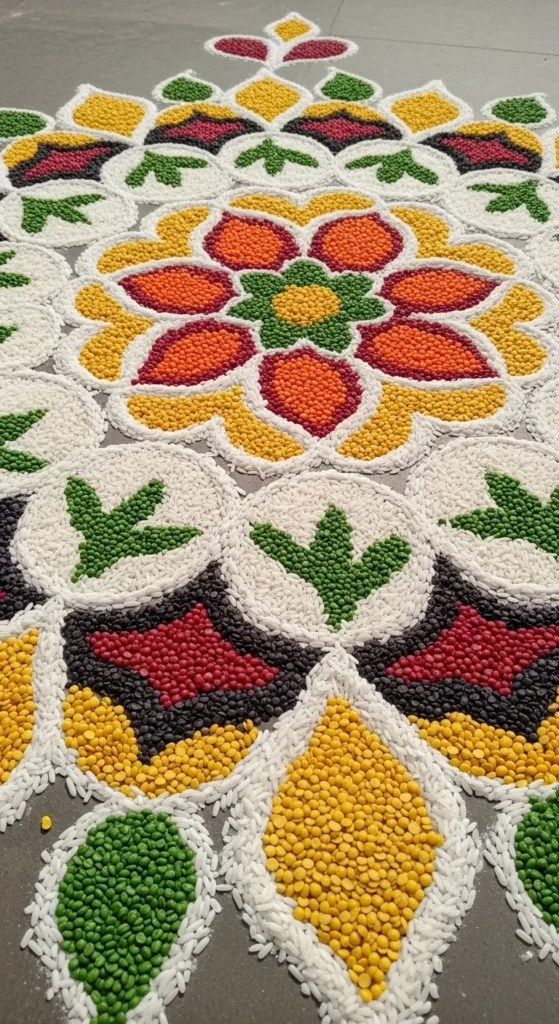
Use lentils, rice, or split pulses.
Outline your design first with chalk.
Now fill each section carefully with grains.
Grains are heavier than powder. They stay in place better.
This option is practical for homes with children or pets.
After the festival, you can reuse the grains for compost.
Keep patterns simple like circles or flowers for easier filling.
Texture adds depth without extra effort.
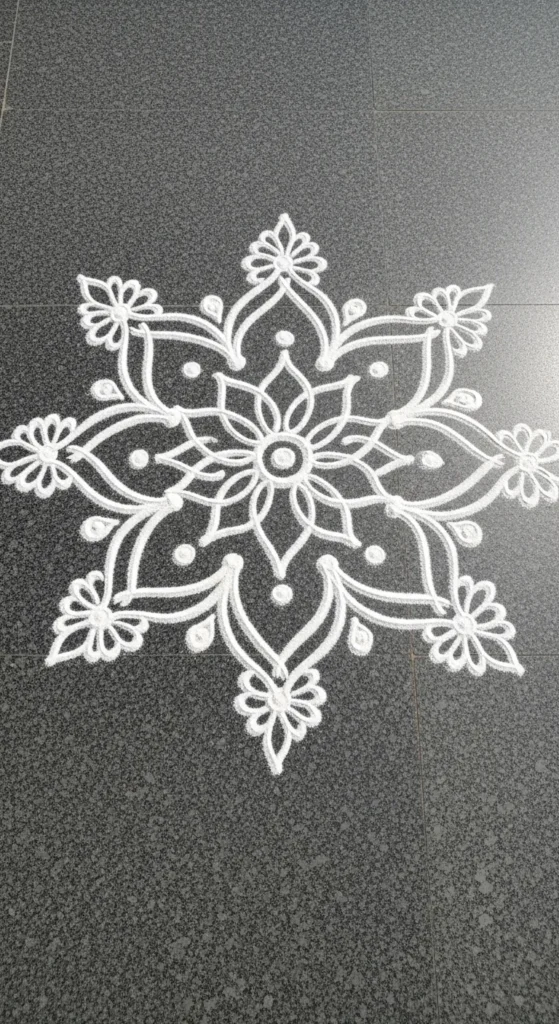
27) Spiral Dot Mandala

Start with a central dot.
Add circular rows of evenly spaced dots around it.
Connect dots into petal shapes.
Mandala-style designs look detailed but follow repetition.
Work ring by ring. Don’t rush.
Add a second color only after completing one full layer.
Small repeated strokes build symmetry naturally.
This is a great weekend practice design.
28) Border-Only Minimal Rangoli
Instead of filling the center, decorate only the edges.
Create a repeating curve-and-dot pattern along the border.
This saves time and material.
Perfect for busy mornings.
Borders are forgiving because repetition hides minor flaws.
Use white flour for daily practice.
Add color on special occasions.
Simple, quick, and tidy.
29) Layered Flower and Dot Combo
Draw a basic flower in the center.
Add a ring of evenly spaced dots around it.
Then add another thin circular outline outside the dots.
Layering builds visual richness without complicated drawing.
Use bold colors in the center and softer shades outside.
Keep outer rings thinner to frame the design neatly.
This pattern works beautifully for festivals like Diwali and other celebrations.
Even beginners can manage it because each step is separate and manageable.
Take it one layer at a time.
Conclusion
You now have all 29 foolproof beginner rangoli designs that are simple, affordable, and realistic to create at home. Start with dots and straight lines. Move toward petals and layered circles. Use petals or grains if powders feel messy. Practice small daily kolam patterns to steady your hand.
Pick one design today and try it. Keep materials simple. Focus on balance, not perfection. With repetition, even the most basic strokes start to look beautifully confident.


