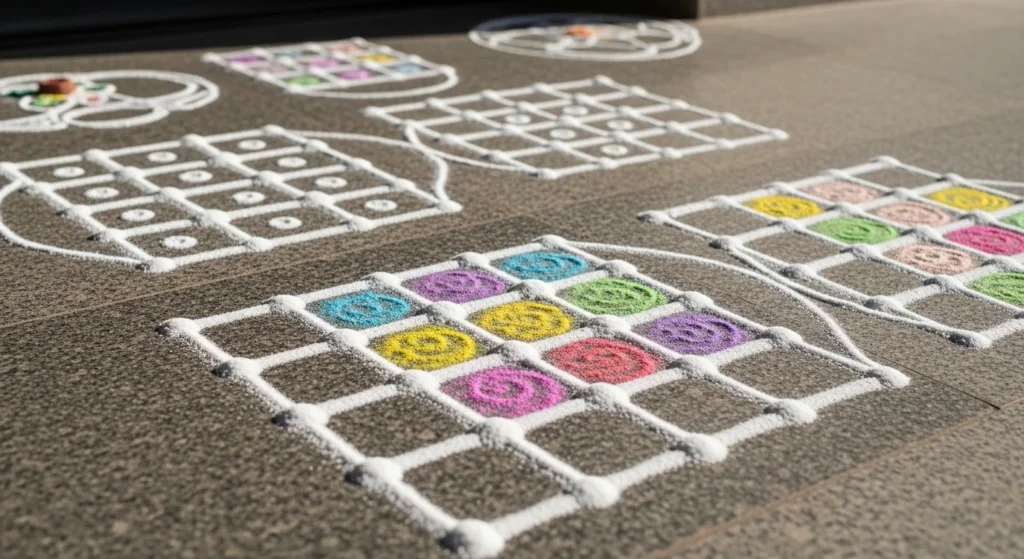
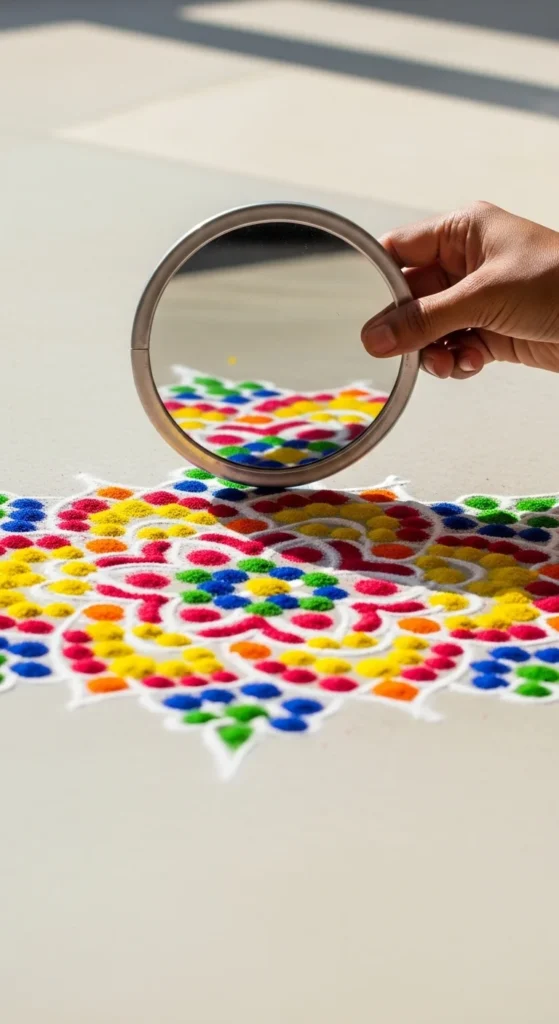
Easy dot rangoli designs look “super clean” when you lean on one simple trick: even dot spacing. Once your grid is tidy, the lines almost place themselves. Dot kolam (pulli kolam / muggulu) is also perfect for daily doorstep routines and festival mornings because it’s quick, low-cost, and easy to repeat until your hand feels steady. Below are 26 dot rangoli designs that focus on crisp structure, simple strokes, and practical ways to keep edges sharp.
1) 3-Dot Micro Kolam (1-Min Clean Starter)
Place three dots in a straight line. Keep gaps equal using one finger width as your “ruler.” Draw one smooth loop that wraps around the dots like a soft ribbon. Don’t chase perfection. Just keep the curve close to the dots. That’s what makes it look tidy.
Use rice flour mixed with a pinch of salt so it flows easily. If the line looks thin, trace it again to thicken. Thick lines look cleaner in photos and hide tiny wobbles. For a quick upgrade, add one dot above and below the center dot, then repeat the loop. It stays compact and still looks balanced.
This is the easiest daily practice design. It works near pooja corners, small balconies, and tight entrances. You can finish it before your tea cools.
2) 5×1 Straight Row Pulli Kolam
Make one row of five dots. The cleaner your spacing, the cleaner your final look. Start from the middle dot. Draw a gentle curve that hugs the dot and returns. Repeat on the next dot. Then mirror the same curves on the other side.
To keep it crisp, use short strokes instead of one long shaky line. If you accidentally smudge, don’t wipe with your hand. Use a dry brush or folded tissue to lift the extra powder. That keeps your floor clean too.
Want a neat “finished” edge? Add two tiny dots at both ends and wrap them with a small loop. That small detail makes it look like a complete pattern instead of a practice drill. Great for everyday entrances and quick festival mornings.
3) 7×1 Longer Row (Smooth Curve Practice)
Lay seven dots in one straight row. Keep the distance consistent. Now draw the same curve around each dot. Repetition is your friend here. It creates rhythm. Rhythm makes it look neat.
To avoid shaky curves, rest your wrist lightly on the floor beside the design, not on the lines. Draw slowly. If your curve dips too low, thicken the line slightly. Thickening is the easiest fix that still looks intentional.
For a clean upgrade, add a second line that traces the first line closely. Double lines make the design pop while staying simple. You can keep it white for daily use, or fill the spaces between curves with a soft pastel powder for festivals. If you use color, always draw the white outline first, then add color after. This keeps edges sharp.
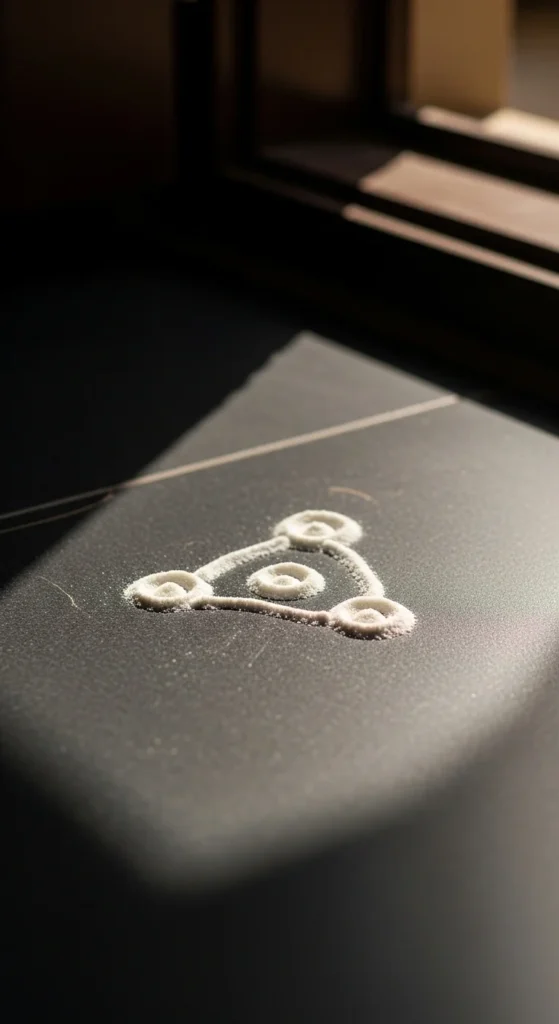
4) 4-Dot Square Loop Kolam
Place four dots in a square (2×2). Use your thumb width to measure spacing. Draw one loop that wraps around all four dots like a rounded square. Keep corners soft, not pointy. Soft corners look smoother even if your hand isn’t steady yet.
This design looks clean because it has a strong outline and no clutter. If you want a tiny festival touch, add one small dot on each side of the outer loop. Then add mini curves around those dots. It still stays compact.
Budget tip: If rice flour is too powdery, mix it with a little semolina. It drops in a steadier line and doesn’t scatter as easily in wind. This pattern is perfect for apartment thresholds and indoor tiles.
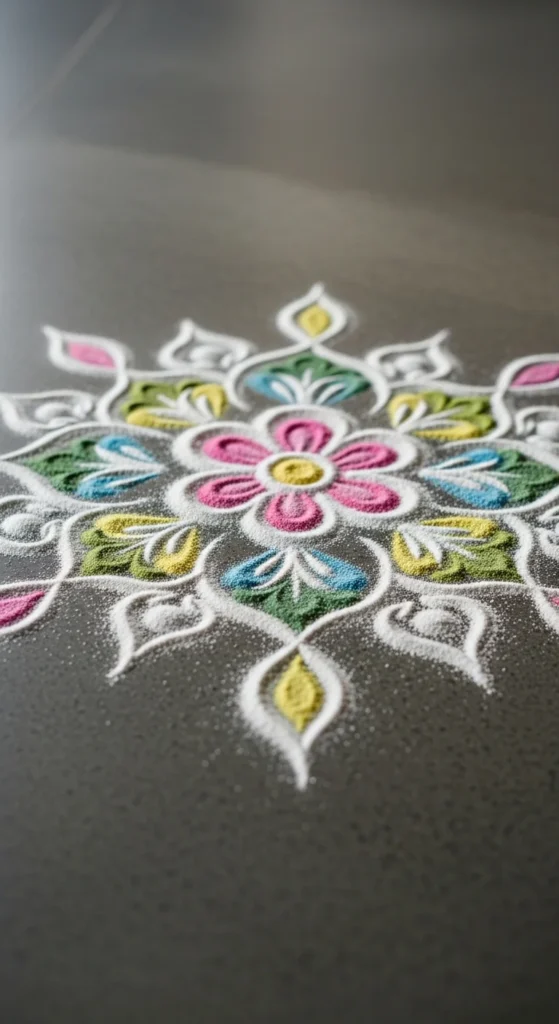
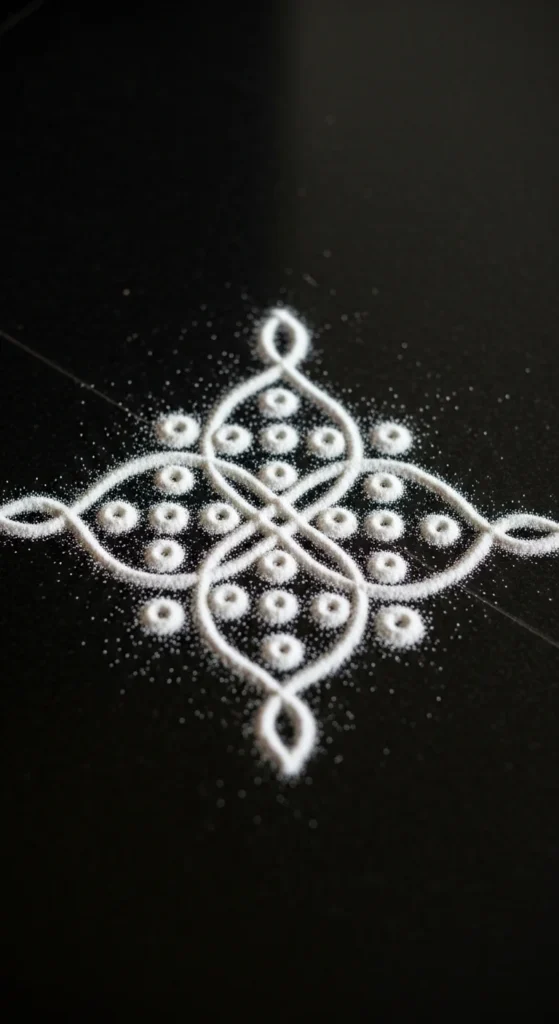
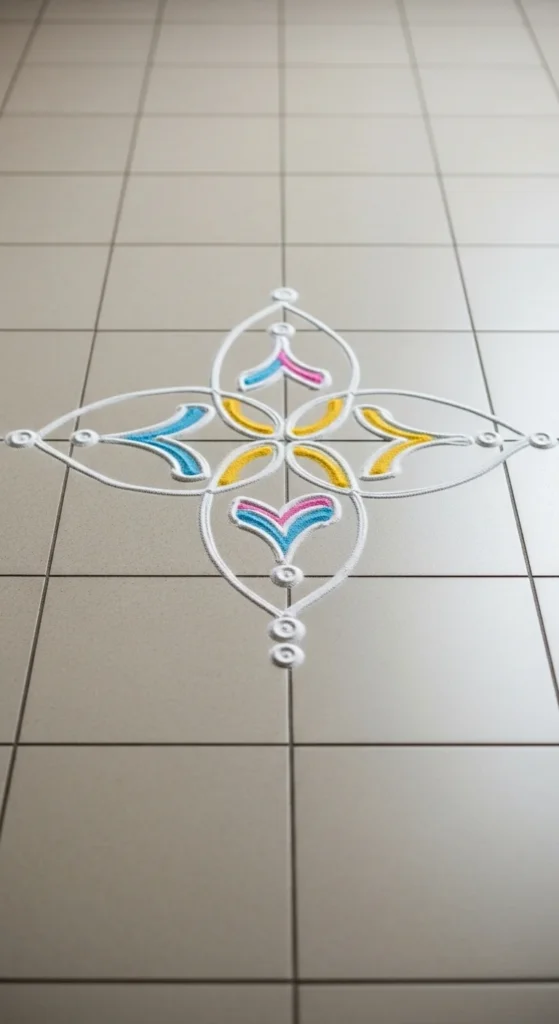
5) 3×3 Simple Flower Dot Rangoli
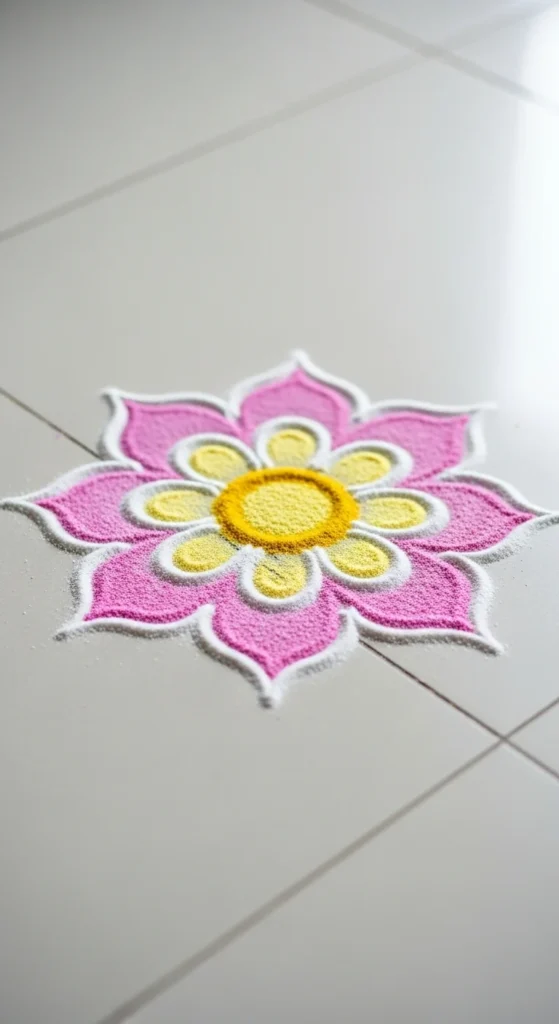
Make a 3×3 dot grid. That’s nine dots. Connect the outer dots to form four rounded petals. Keep petals short and wide. Wide petals look cleaner than long skinny ones.
Outline first in white. Then fill petals with one color each. If you want a “super clean” look, stick to two colors only. Too many colors can make small designs look busy.
A simple trick: Use a spoon to sprinkle powder into each petal instead of pouring. It lands more precisely. Smooth the fill lightly with a soft brush or cotton. Don’t rub. Gentle taps keep edges neat.
This is a great starter flower kolam for daily practice and also looks festive enough for Diwali mornings.
6) 5×3 Beginner Petal Bloom
Create five dots across and three rows down. Start connecting the middle row first. Make petals around the center area. Then mirror the same shapes on the left and right. Mirroring is the fastest way to keep symmetry.
To keep it clean, keep your petals consistent in size. If one petal becomes larger, thicken the opposite petal outline slightly to match. That tiny adjustment makes the whole design look balanced.
Use a chalk dot template if you struggle with spacing. Just place dots first, step back, and check alignment. Then draw lines. For color, add only a small accent in the center or petal tips. Less color often looks cleaner than full fills in small designs.
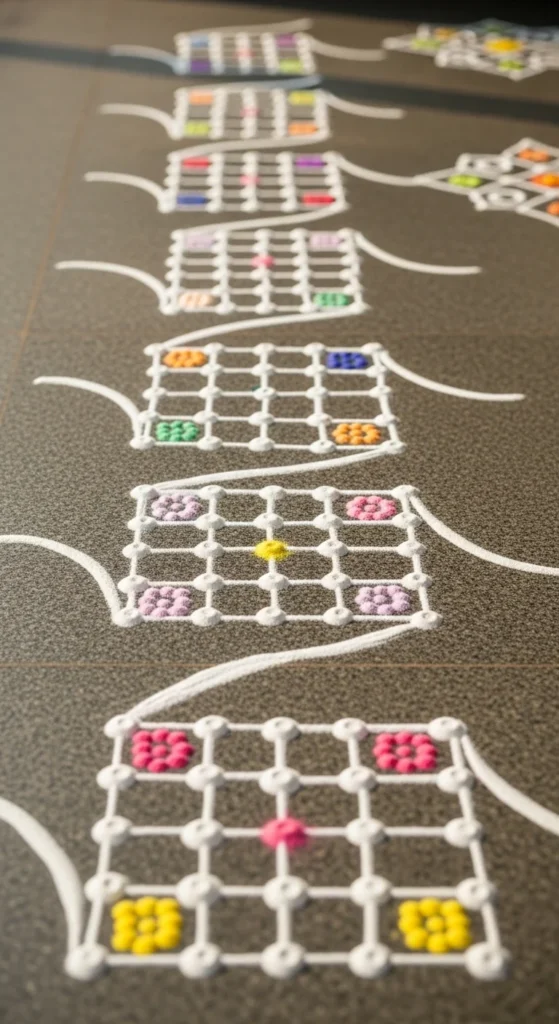
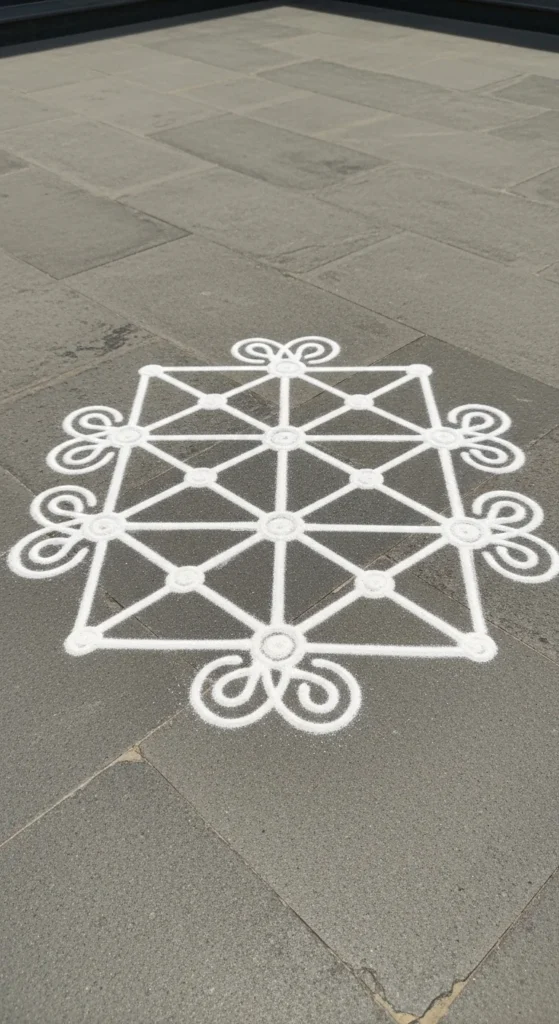
7) 5×5 Basic Grid Kolam (Crisp Everyday)
Make a 5×5 dot grid. Keep rows straight. The easiest way is to draw one row, then copy spacing for the next row. Now connect the outer dots first to form a clean boundary. After that, connect inner dots with small loops.
Work from the center outward if you tend to smudge. Or work from top to bottom if your floor is rough and catches powder. Choose the direction that keeps your hand off finished lines.
For a super clean finish, outline once, then trace again to make lines slightly thicker. Thick, even lines look “printed.” If you want color, add tiny dots of color at intersections only. That keeps it neat and modern.
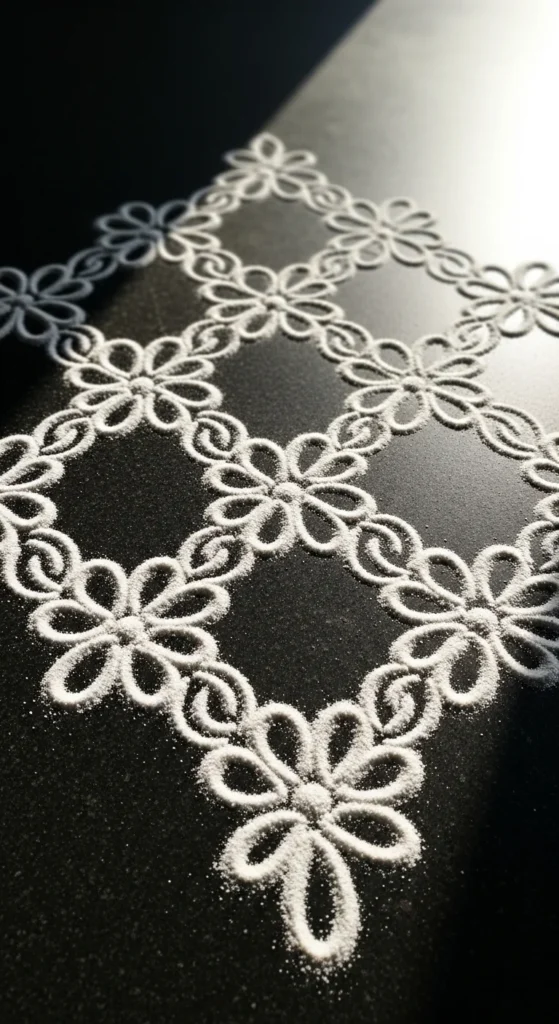
8) 7×7 Classic Symmetry Kolam
A 7×7 grid is the sweet spot for “detailed but doable.” Start by marking dots neatly. Use a ruler for the first few tries. Once dots are set, draw outer loops first. Outer loops create a frame. Frames make everything look tidy.
Then connect inner dots with repeated curves. Try to keep your curve height consistent. If a curve dips, correct it by thickening. Avoid erasing. Erasing makes a mess. Thickening looks intentional.
Keep the whole design white for daily routine. For festivals, add a soft colored ring around the outer frame only. That adds celebration without making it busy. If wind is a problem, lightly mist the finished kolam with water from a spray bottle. It helps the powder settle.
9) 9×5 Taper Grid Pulli Kolam

This grid starts wide and narrows. That shape naturally looks balanced. Place nine dots in the first row and reduce gradually until you reach five. Connect the outer edges first. Then fill inward.
To keep it clean, keep your loops close to dots. Big loops can look messy. Small loops look sharp. Use a slow pace and short strokes.
For a realistic DIY upgrade, add a simple border: place extra dots around the outside edge and wrap them with tiny arcs. Borders hide any unevenness at the edges and make the design look finished.
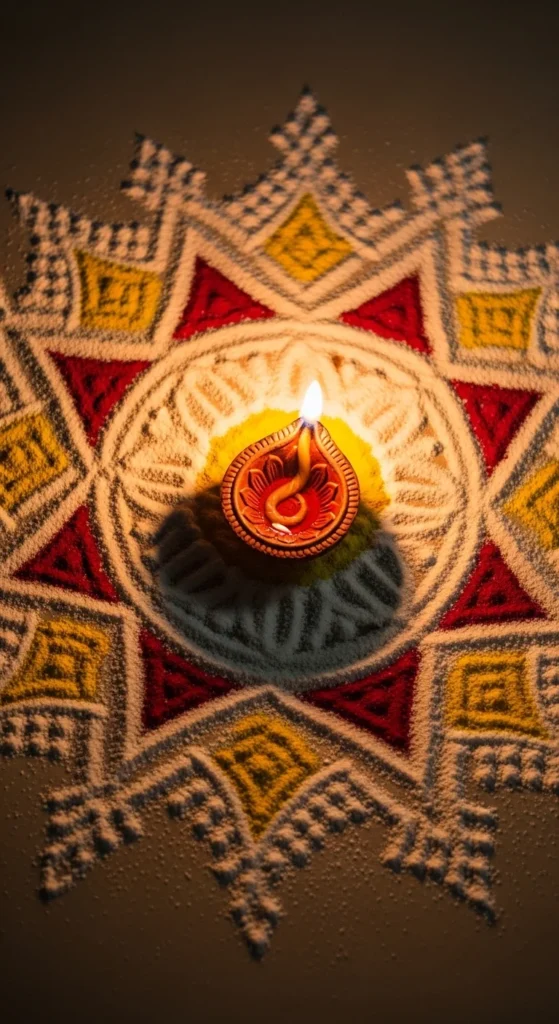
10) 10-2 Descending Dot Kolam (Festival Favorite)
Place ten dots on the top row. Reduce by one dot each row until two remain. This layout makes symmetry easy because both sides mirror automatically. Draw curves from the center line outward. That keeps the shape balanced.
For clean results, do the outline in white first. Let your outline be your “plan.” Then add small color highlights inside a few loops. Don’t color everything. Selective color looks neat.
If your dots shift while drawing, your flour may be too dry and fluffy. Mix a tiny pinch of water and rub between fingers before using. It helps it fall more evenly.
This is a strong choice for Pongal, Sankranti, and Diwali mornings when you want something bigger without a complicated sketch.
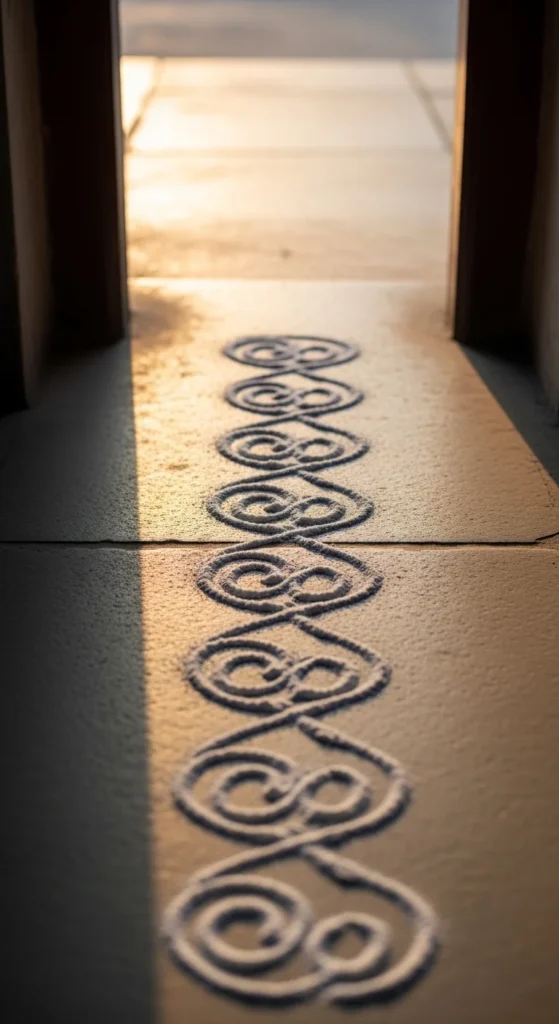
11) Kambi Kolam (Straight-Line Dot Design)
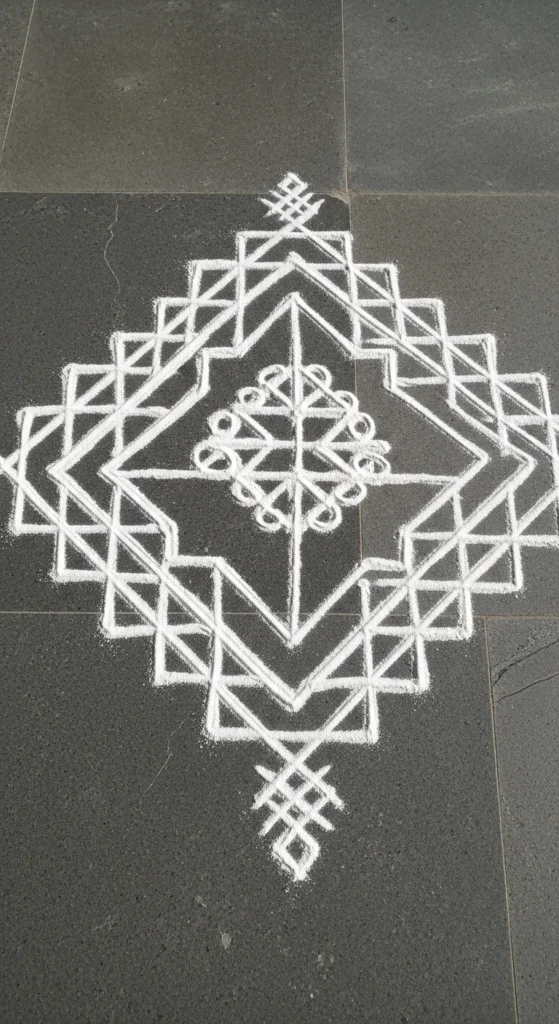
If curves feel hard, start with straight lines. Place dots in a small grid. Connect them with clean straight strokes to form diamonds and squares. Straight lines teach hand control fast.
To keep it tidy, use a ruler for the first few tries. Once your hand learns the angle, you can freehand. Fill only one or two sections with color. Too many fills can make the geometry look cluttered.
This design looks extra clean on tiles and smooth cement floors.
12) Double-Outline Clean Kolam
Choose any simple dot grid like 5×5. Draw your design once. Then trace a second line close to the first line. Keep the gap consistent. Double outlines create a polished look with very little extra effort.
Add a tiny color strip between the two outlines if you want. It looks neat even with just one color.
13) Tiny Corner Kolam (Pooja Shelf Spot)
Use a 3×3 or 4-dot pattern. Keep it small. Use only white flour. Clean designs often look best when they’re not overloaded.
If the floor is glossy, wipe it dry first. Moisture causes powder to clump and edges get fuzzy.
14) Flower Petal Tips on Dot Bloom
Draw a dot flower using 5×3 or 5×5. Instead of filling with powder, place marigold or rose petals only at petal tips. This keeps it tidy and reduces powder mess.
Petals also photograph beautifully. Keep the center plain and clean.
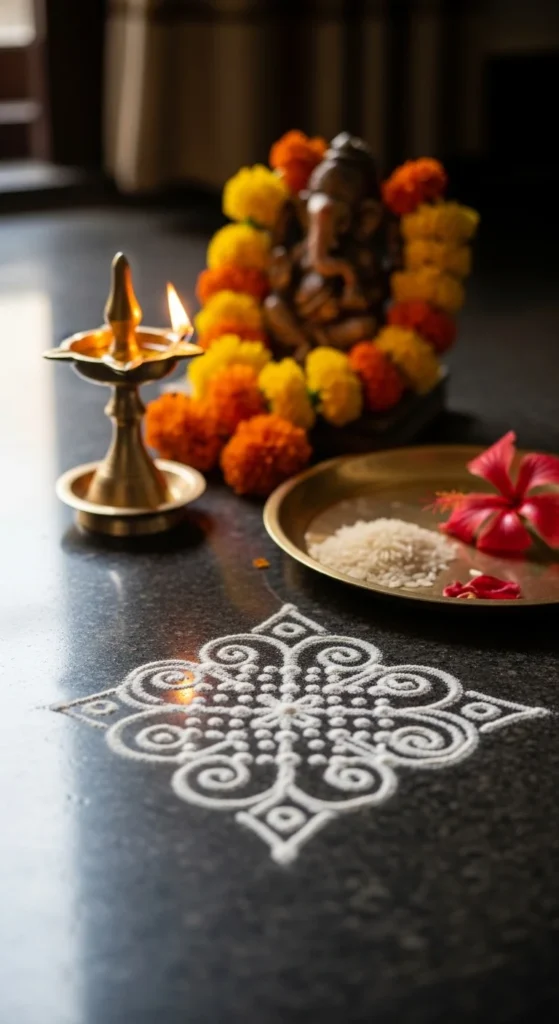
15) Diya-Center Dot Kolam Ring
Make a simple dot circle pattern. Place a diya in the center. The diya acts like a focal point, so your outer pattern can stay simple and still look complete.
Draw the outline first. Add color only on the outer ring.
16) Mirror-Check Symmetry Kolam
Try a 7×7 pattern. After finishing one half, use a mirror to check the reflection. It helps spot uneven curves quickly. Fix by thickening the thinner side.
This little habit makes designs look cleaner over time.
17) Two-Color Minimal Dot Kolam
Pick white for outline. Pick one pastel for fill. That’s it. Limited color looks neat and modern. Fill only the center loops or alternate sections. Leave space.
Less color often looks cleaner in small spaces.
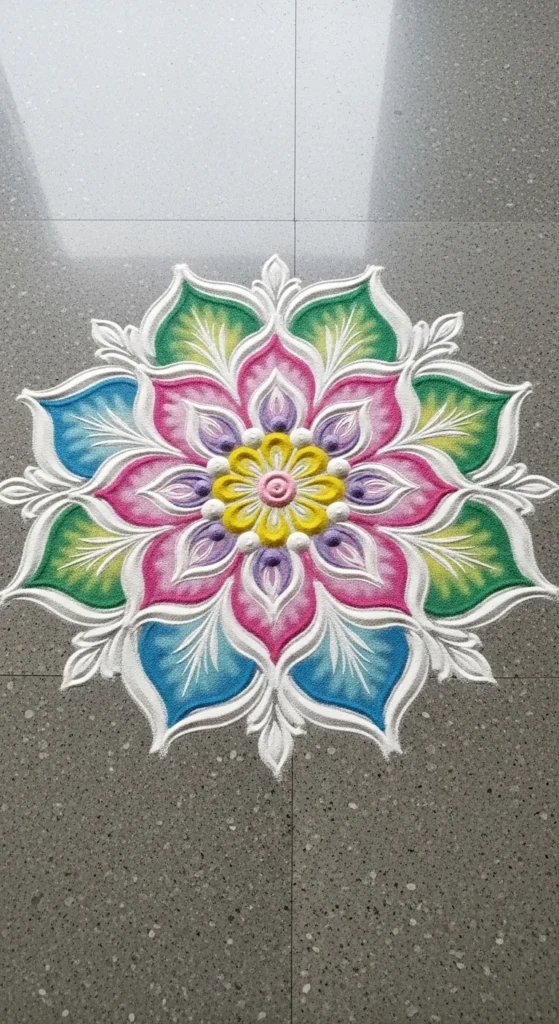
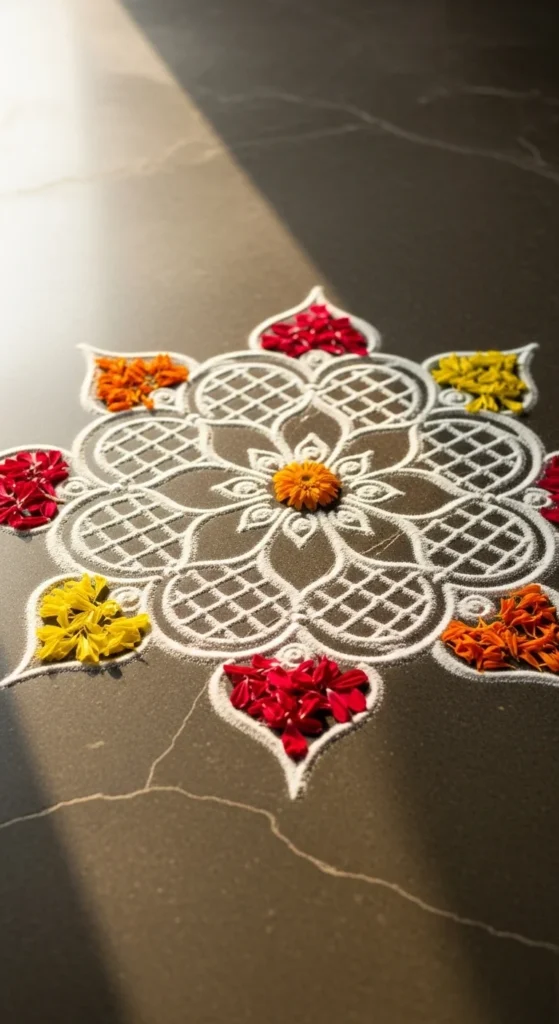
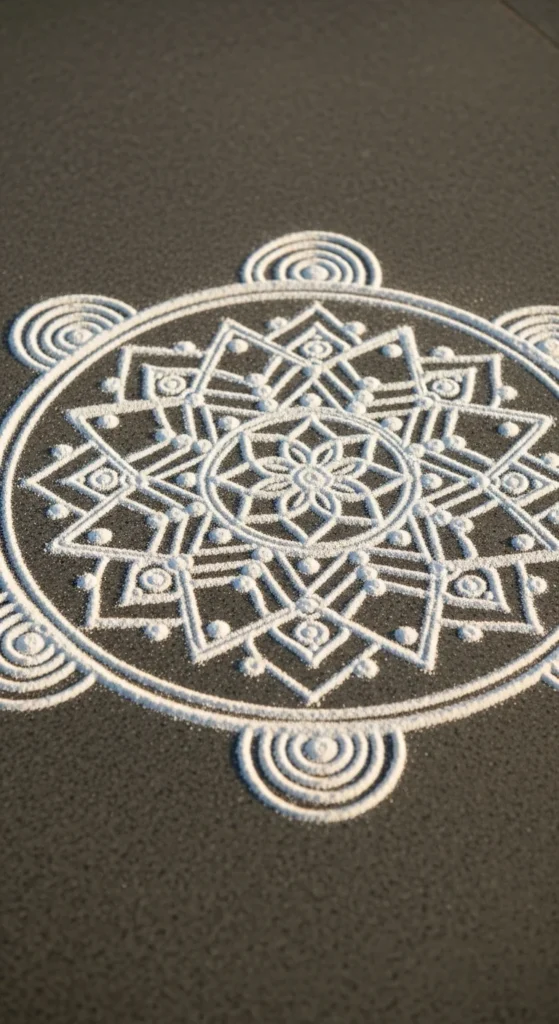
18) 7×7 Lotus Inside Grid

Place a 7×7 grid. Build a lotus shape in the center using short rounded petals. Keep petals wide. Wide shapes hide small imperfections.
Color only the lotus center for a tidy finish.
19) Border Dots Only (No Fill, No Mess)
Mark dots along the border. Connect in repeating arcs. Skip the center entirely. This looks neat, saves time, and stays easy to maintain daily.
20) 5×5 Diamond Grid Kolam
Rotate your grid so it sits like a diamond. Same dot count, different look. Connect outer points first. Then add inner loops. It instantly feels new without extra complexity.
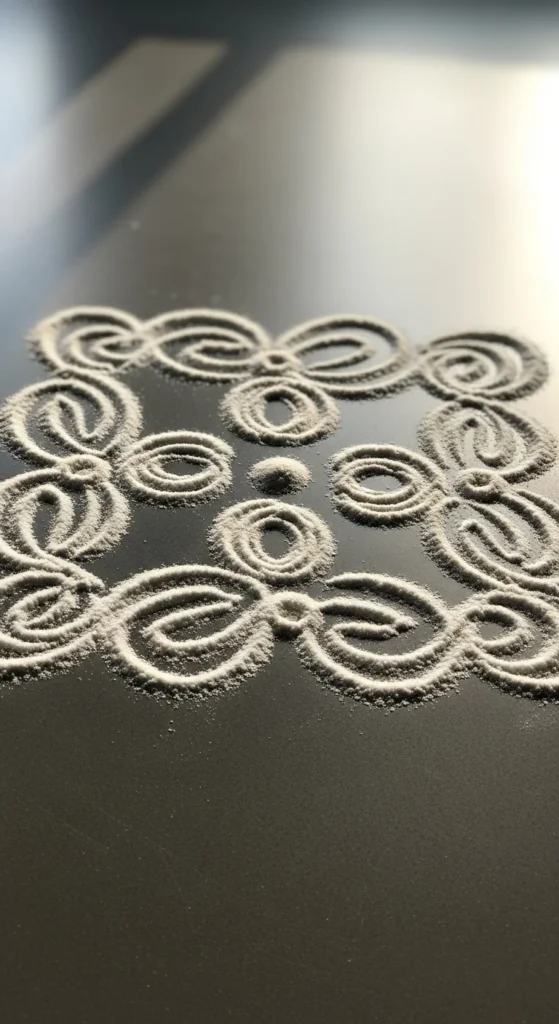
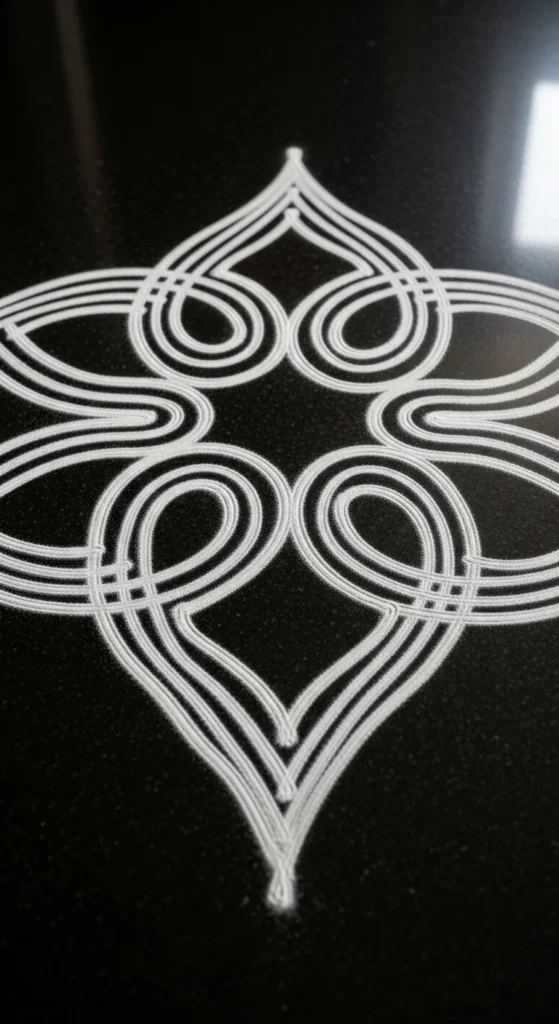
21) Sikku Starter (Small Knot Loop)
Use a small grid like 4×4 or 5×5. Draw one continuous line weaving around dots. Move slowly. If you lose the path, stop and restart. It’s normal.
Keep lines thick for a clean appearance.
22) 3×5 Vertical Doorstep Kolam
Perfect for narrow entrances. Place three dots across and five down. Connect into vertical loops. This fits tight spaces and still looks symmetrical.
23) 8-2 Mini Festival Taper
Start with eight dots and taper to two. Keep curves small. Add one color accent near the top. This looks festive without getting messy.
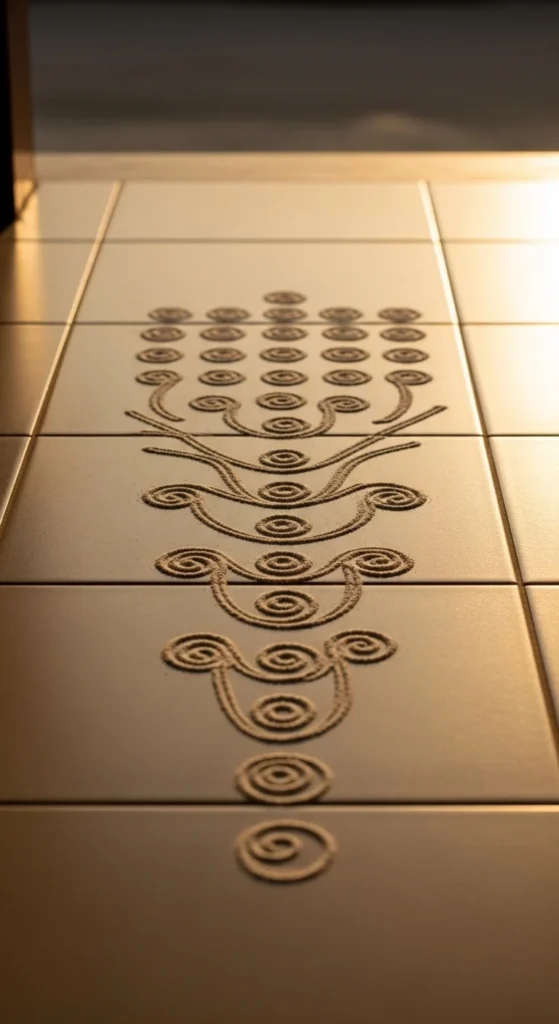
24) Round Dot Mandala (Easy Rings)

Place dots in rings. Connect into petals ring by ring. Keep your fill minimal. Rings naturally maintain symmetry.
25) Chalk + Flour Clean Setup Method

Mark dots with chalk first. Check spacing with a ruler. Then draw with flour. This setup method is the fastest way to get clean results as a beginner.
26) Clean Finish Outer Arc Frame
Pick any dot kolam you like. After it’s done, add a simple outer arc border. Just small repeating arcs around the edges. Borders make everything look polished and hide tiny edge flaws.
Conclusion
Clean dot rangoli comes down to two habits: even dot spacing and simple repeated strokes. Start small with 3-dot and 5×1 drills. Move up to 5×5 and 7×7 grids once your hand feels steady. Keep outlines white first, then add color in small accents. With a few days of practice, your designs will look sharper, more balanced, and much easier to repeat for daily entrances and festival mornings.


