Old books don’t have to sit unused on a shelf. With a little creativity, worn pages and dated covers can become decor, storage pieces, and thoughtful handmade gifts. That’s why old book craft ideas stay popular with DIY lovers who enjoy sustainable projects and nostalgic style. Whether you like farmhouse decor, bookish gifts, or budget crafts, these projects help you turn forgotten volumes into art you’ll actually display.
1. Rolled Book Page Rose Wreath
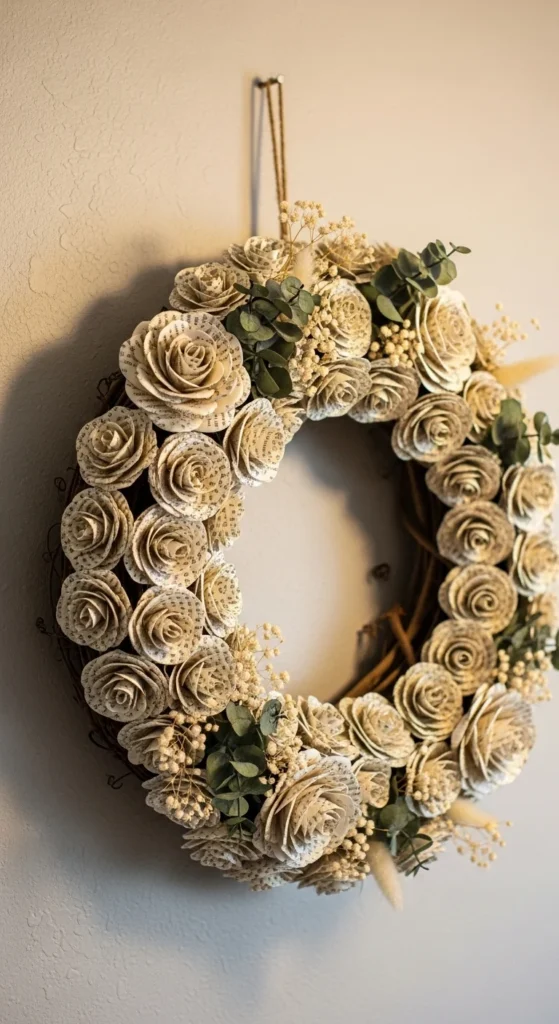
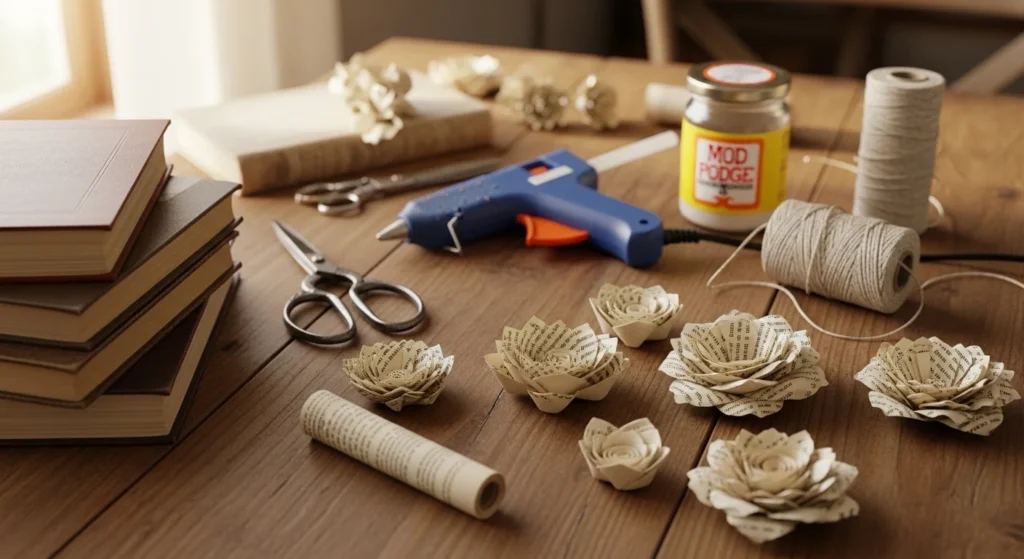
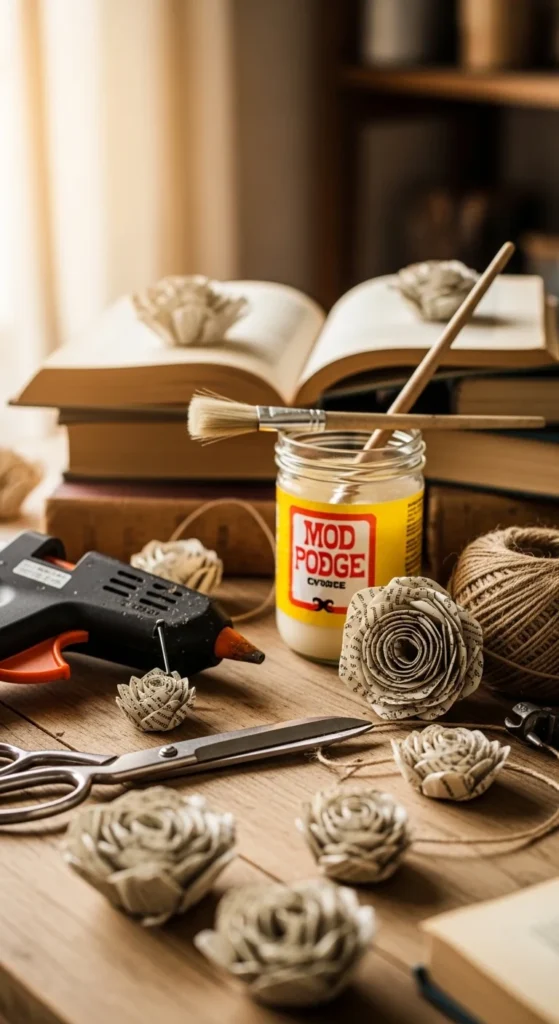
A rolled rose wreath looks detailed, but it’s very doable. Cut book pages into circles. Spiral-cut each circle and roll from the outside inward to form roses. Glue the base so each flower holds its shape.
Attach roses onto a grapevine or cardboard wreath form with hot glue. Work in layers to cover gaps and make it look full. Mix small and medium roses so the surface has texture.
Budget tip: Use packaging cardboard as the wreath base and twine for hanging.
If pages tear easily, brush a thin coat of Mod Podge on the page first and let it dry. It makes the paper stronger and easier to roll.
2. Hollow Book Secret Storage
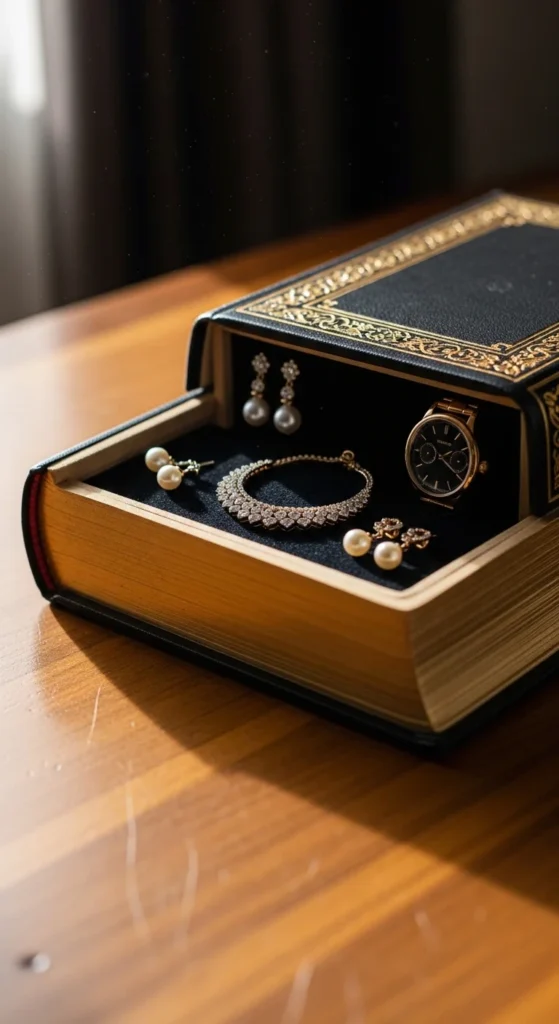
Pick a thick hardcover. Open it and trace a rectangle on the first page, leaving a wide border. Cut the center pages out slowly with a craft knife. Do it in small stacks so the edges stay cleaner.
Glue the remaining border pages together and press the book under weight until dry. Line the inside with fabric or scrapbook paper for a neat look.
Budget tip: School glue works fine. Use an old brush to spread it evenly.
This makes a great hiding spot for keys, cords, jewelry, or keepsakes. For extra durability, seal the cut edges with a thin layer of Mod Podge.
3. Book Page Gift Bags

Dictionary pages are perfect for gift bags because they’re large and sturdy. Fold a page into a bag shape. Glue the side seam. Fold the bottom into a flat base and glue it closed.
Reinforce the inside bottom with a small square of scrap cardstock if you plan to hold heavier items. Punch holes near the top and thread twine through for handles.
Budget tip: Use yarn or ribbon scraps as handles.
These bags look great for small gifts and party favors. Add tissue paper inside for a tidy finish.
4. Mod Podge Book Page Vase
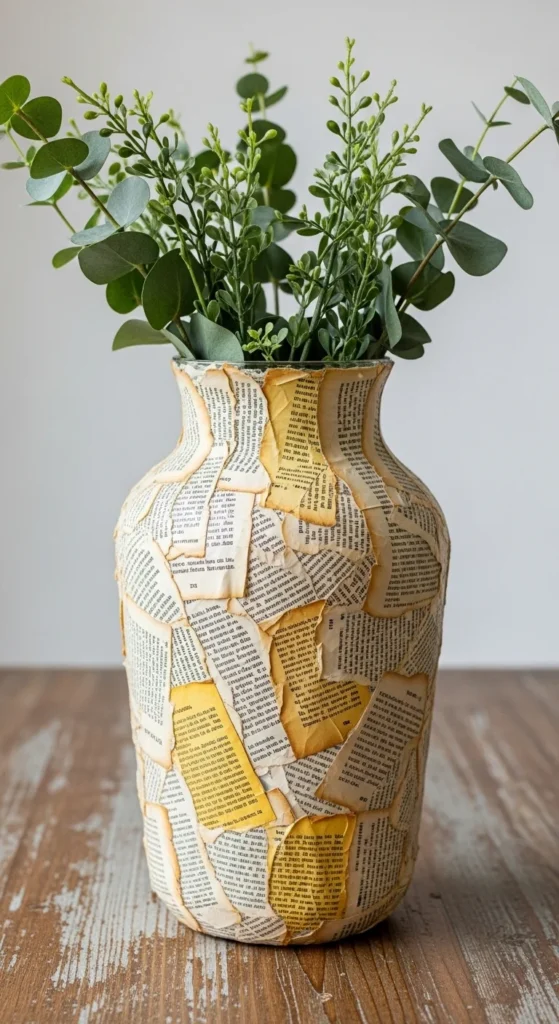
Clean a glass jar or vase. Tear book pages into medium pieces. Brush Mod Podge onto the glass and press paper down, overlapping slightly. Smooth wrinkles gently.
Once it’s dry, brush another thin coat over the top to seal. Let it cure fully before use.
Budget tip: Pasta sauce jars work well and cost nothing.
This craft adds farmhouse texture and looks great with dried stems. Keep paper pieces similar in size so the surface looks neat.
5. Paper Rose Book Bouquet
Roll several page roses and glue them. Attach each flower to a skewer or floral wire stem. Wrap the stem with floral tape or brown paper strips.
Gather five to seven stems and tie with twine. Place in a jar or wrap as a gift bundle.
Budget tip: Bamboo skewers from the kitchen are perfect.
For a softer tone, lightly ink the petal edges with tea. Keep it subtle so the printed text remains visible.
6. Book Spine Clock
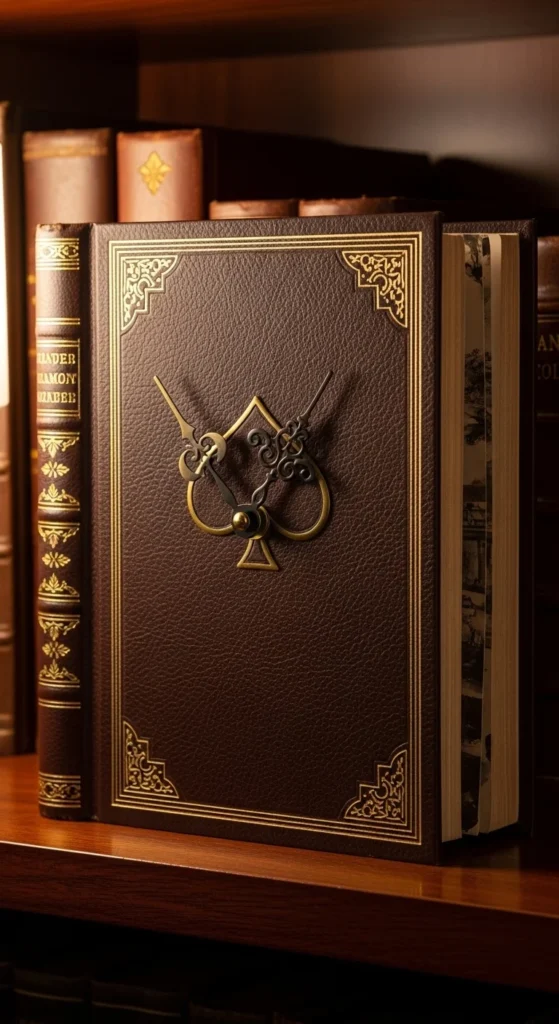
Choose a hardcover with a strong front cover. Drill a small hole in the center. Insert a simple clock kit mechanism through the hole and attach the hands.
Stand it on a shelf or mount it on the wall if the cover is thick enough.
Budget tip: Clock kits are cheap online, and thrift stores have sturdy books.
Pick covers with patterns or aged texture. That’s what makes the clock look like decor, not a craft project.
7. Folded Page Pumpkin

Remove the front and back covers from a paperback. Fold each page toward the spine at the same angle. As you continue, the pages form a rounded pumpkin.
Add a twig stem and a little raffia for a rustic look.
Budget tip: Thin paperbacks fold easier than heavy books.
Make a set of three in different sizes for a fuller fall display.
8. Page-Wrapped Tin Can Planter
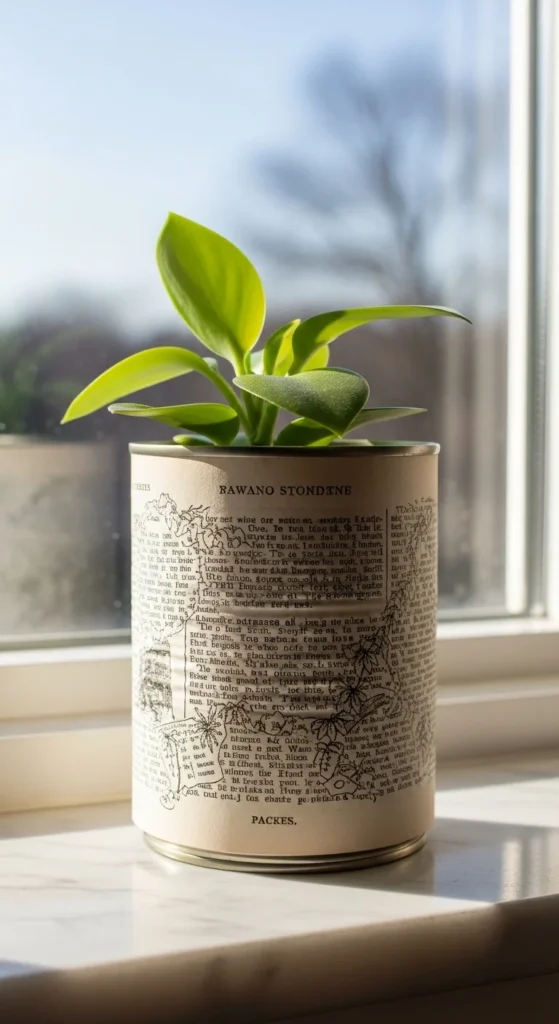
Clean a tin can and remove labels. Wrap a book page around it and glue down the seam. Seal with a thin top coat of Mod Podge.
Add a small plant or use it as a desk organizer.
Budget tip: Use cans you already have and leftover glue.
If you’re using real plants, add drainage holes and place the can on a small saucer.
9. Book Page Bunting Banner
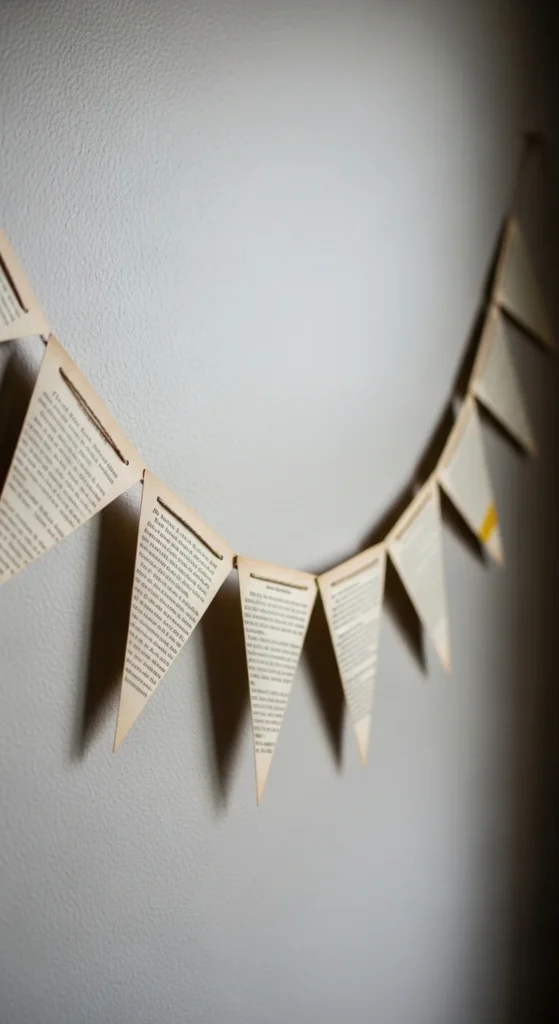
Cut triangles from book pages. Back them with kraft paper for strength. Tape or glue them onto string at even spacing.
Hang above a desk, bookshelf, or party table.
Budget tip: Use paper bags as backing.
Keep triangle sizes consistent and spacing even. That’s what makes it look clean.
10. Spine Strip Bookmarks
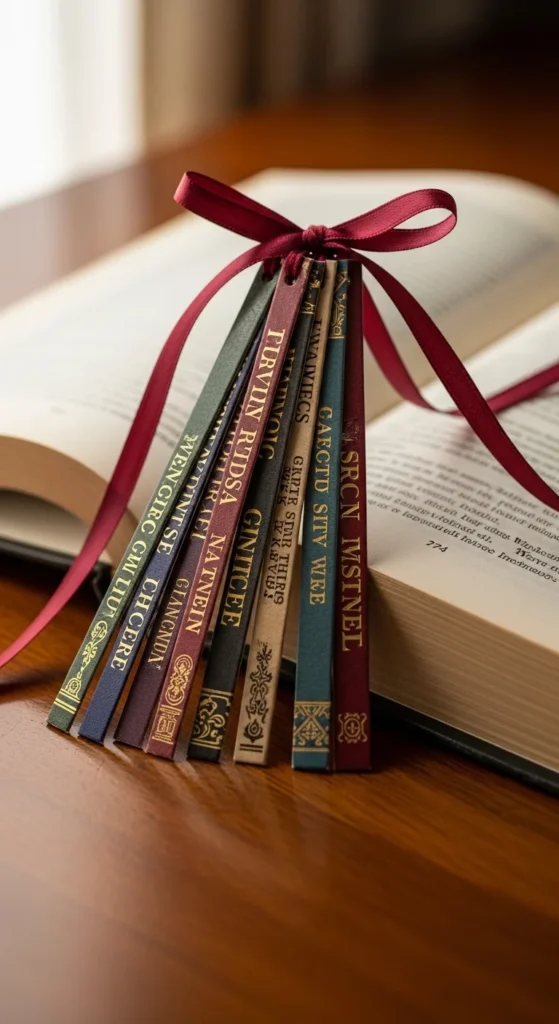
Save spines from damaged hardcovers. Trim into bookmark widths. Smooth edges with light sanding if needed. Punch a hole and add ribbon.
Budget tip: One spine makes multiple bookmarks.
These are sturdy and make great small gifts. Bundle a few together with twine for a simple set.
11. Book Page Wreath with Mixed Petals
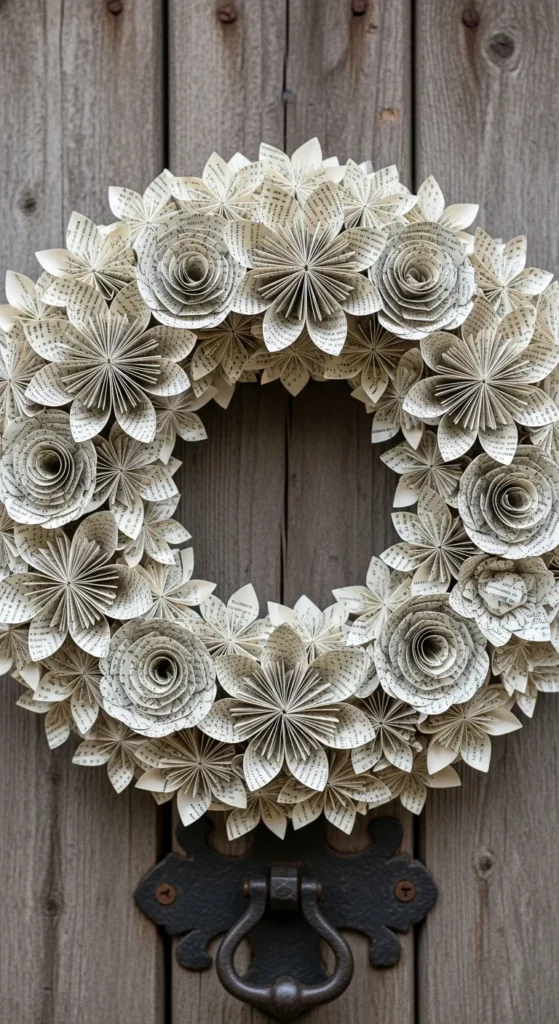
If roses feel repetitive, mix in folded petals. Cut teardrop shapes, pinch the base, and glue into simple blooms. Combine with rolled roses for variety.
Attach everything to a wreath base and fill gaps with leaf shapes cut from darker pages.
Budget tip: Use cereal-box cardboard as a base.
Mixing flower styles makes the wreath look fuller with fewer pieces.
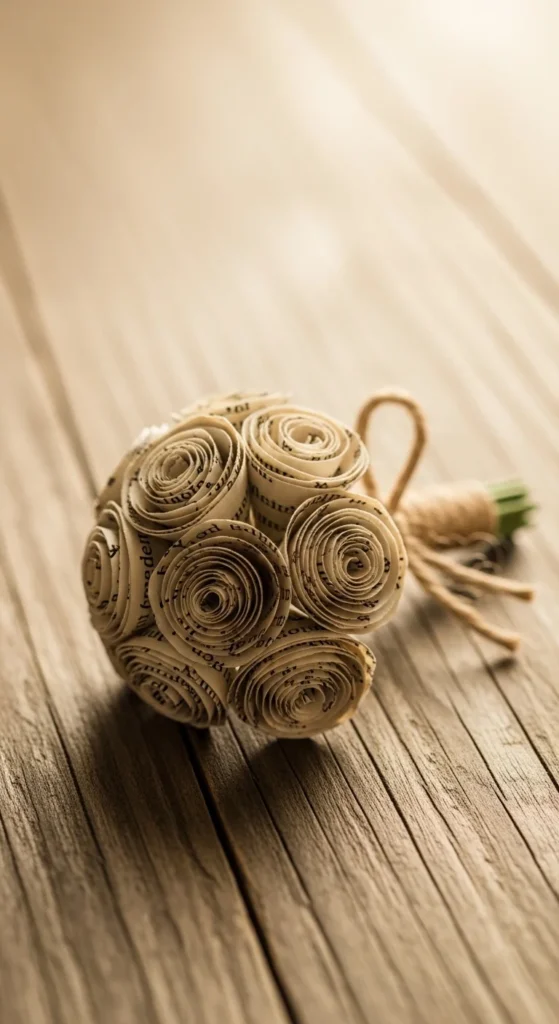
12. Book Page Topiary Ball
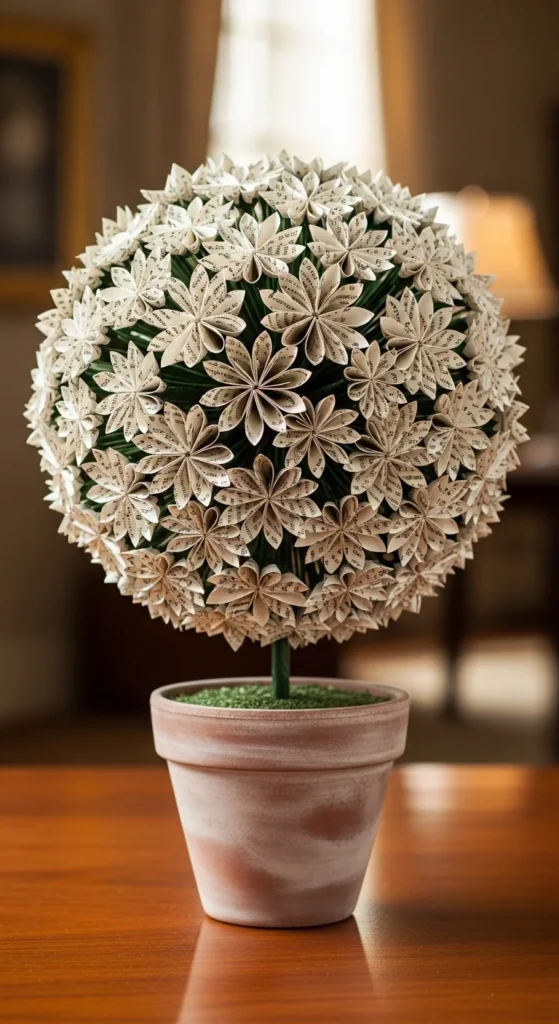
Roll tiny roses and glue them onto a foam ball. Insert a dowel and place it into a small pot filled with stones or foam. Cover the base with paper shreds.
Budget tip: Make a ball from crumpled paper wrapped tightly in tape.
This makes a sweet centerpiece. Keep flowers tight so the surface looks smooth.
13. Book Page Garland Chains

Cut strips of book pages. Loop and glue into rings, linking each ring to the next. Make it long enough to drape.
Budget tip: Use glue stick for speed.
This works great for party decor and classroom displays. Use larger-print pages for a bolder look.
14. Book Page Lantern Jar
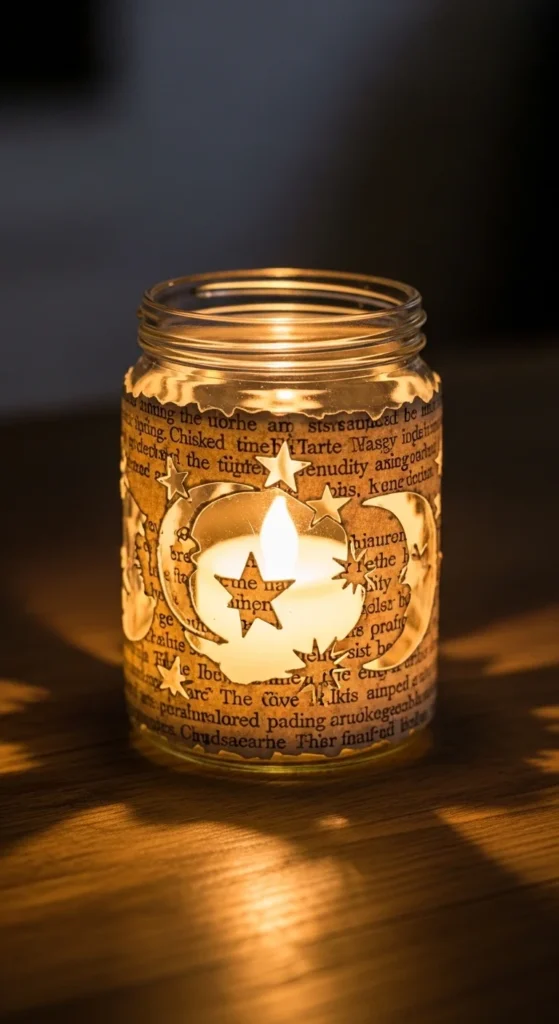
Wrap a jar with book pages and glue. Cut simple shapes like stars or leaves before wrapping, or cut after it dries for cleaner edges. Add an LED candle inside.
Budget tip: Use jars from the kitchen and inexpensive LED candles.
Keep cutouts large and simple so they don’t tear.
15. Rolled Page Quilling Monogram
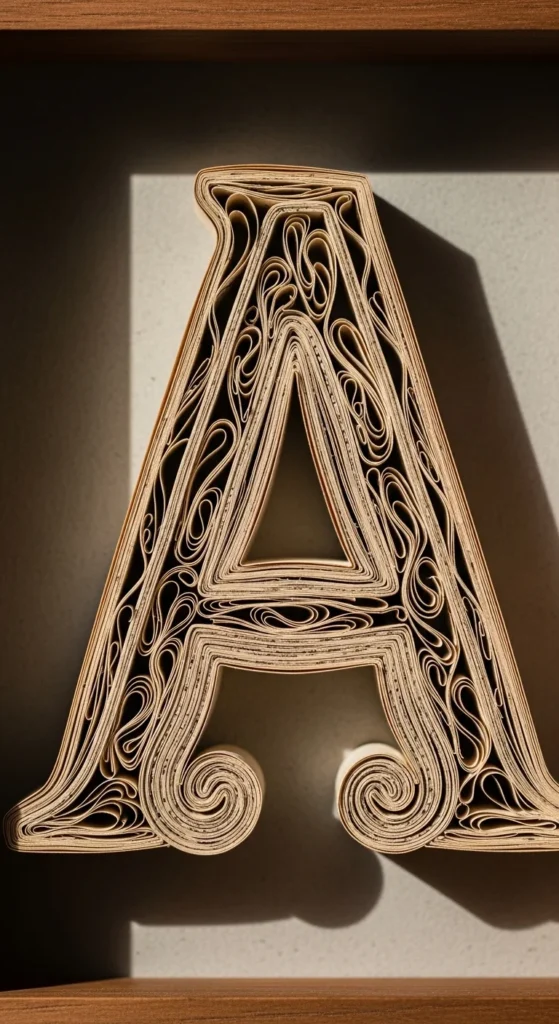
Cut thin strips of book pages and roll them into coils. Shape some into teardrops by pinching one side. Glue coils into a letter outline on cardstock and frame it.
Budget tip: Use a toothpick to roll the strips.
This is a thoughtful gift idea. Keep the letter clean and easy to read.
16. Book Page Coasters

Cut coaster bases from thick cardboard. Glue book pages on top and trim edges. Seal with multiple thin coats of Mod Podge, letting each layer dry.
Budget tip: Use packaging cardboard for bases.
Coasters look best when the page style matches. Make a set using pages from the same book.
17. Vintage Page Wrapped Photo Frame
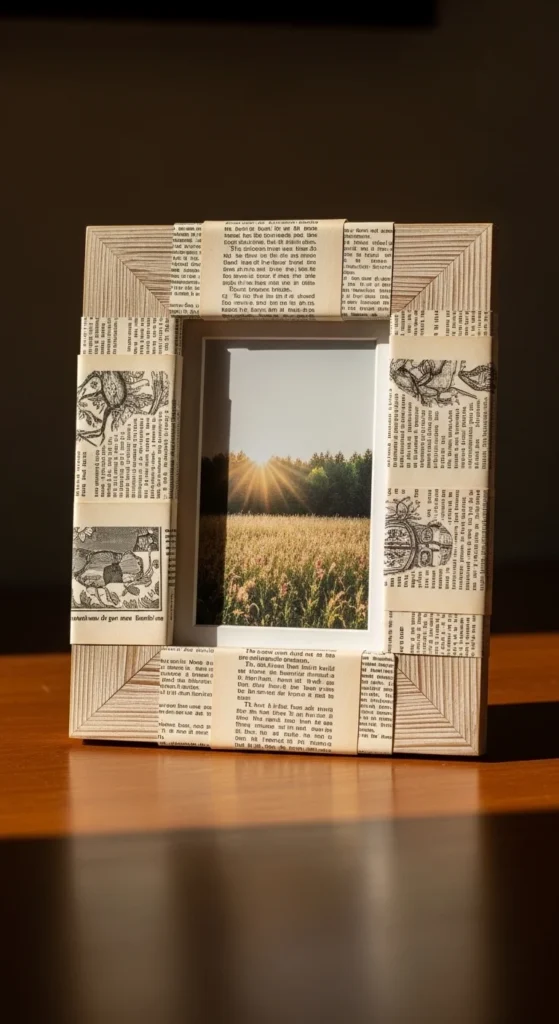
Wrap a plain frame with book pages using glue. Smooth edges and corners carefully. Seal lightly once dry.
Budget tip: Thrift-store frames are perfect.
Choose pages with larger print for frames so the text reads from a distance.
18. Dictionary Page Wall Collage
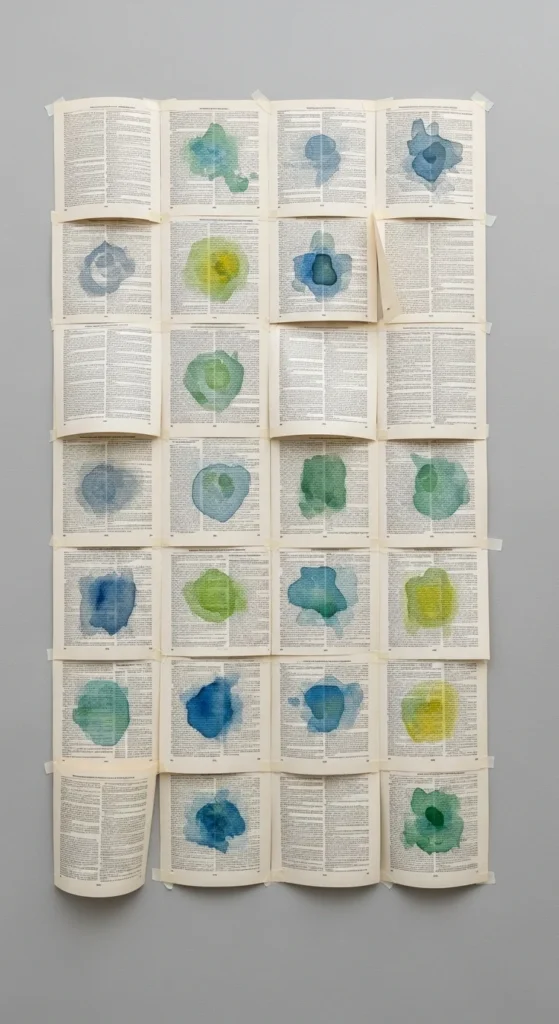
Tape pages in a grid or overlapping pattern. Add light watercolor washes for texture. Keep colors soft so the text still shows.
Budget tip: Use removable tape so you can change it later.
This is a low-cost way to fill a wall and make a reading corner feel cozy.
19. Book Cover Recipe Binder
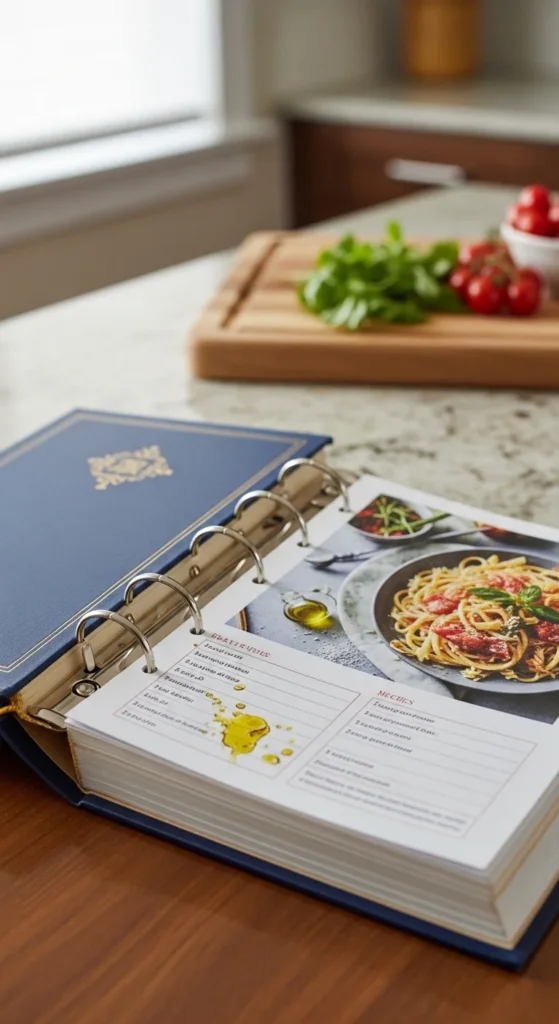
Remove the pages from a hardcover. Add binder rings through the spine using a small drill or hole punch. Insert recipes on punched paper.
Budget tip: Use cheap binder rings from a stationery shop.
This makes a great gift for home cooks. Pick a cover that matches the kitchen vibe.
20. Book Page Ornaments
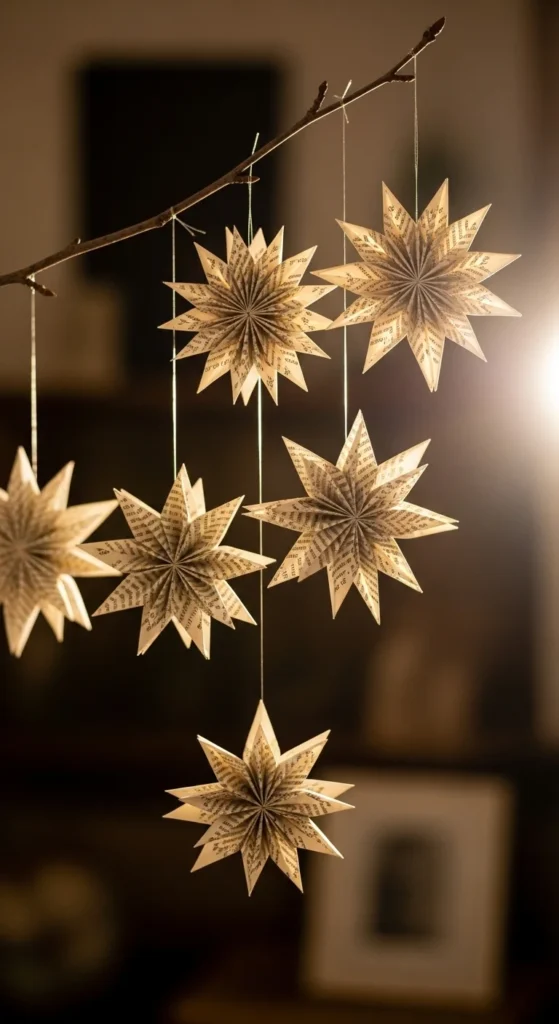
Cut page squares and fold into stars or simple cones. Glue pieces together and hang with string.
Budget tip: Use thin paperbacks for easier folding.
Make a set for seasonal decor or gift wrapping toppers.
21. Book Page Envelope Set

Use an envelope template and trace onto book pages. Cut, fold, and glue. Add a lining inside if you want extra strength.
Budget tip: Use scrap paper for lining.
Pair with simple cards for a thoughtful stationery set.
22. Book Page Drawer Liners
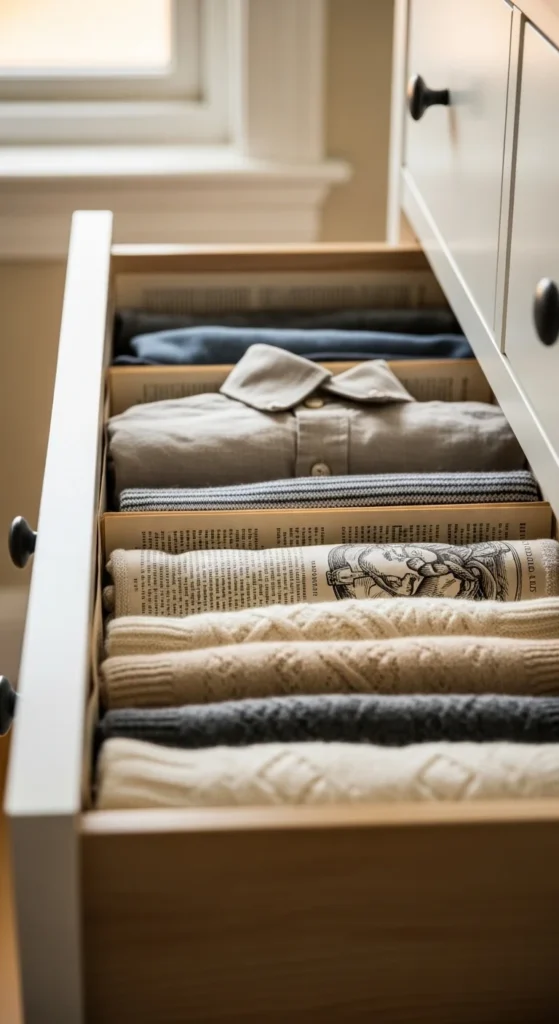
Cut pages to fit drawer bottoms. Tape lightly in place or use removable adhesive. This adds a vintage look when drawers open.
Budget tip: Use damaged pages with stains for character.
This is quick and makes thrifted furniture feel custom.
23. Book Page Knife Block Sleeve
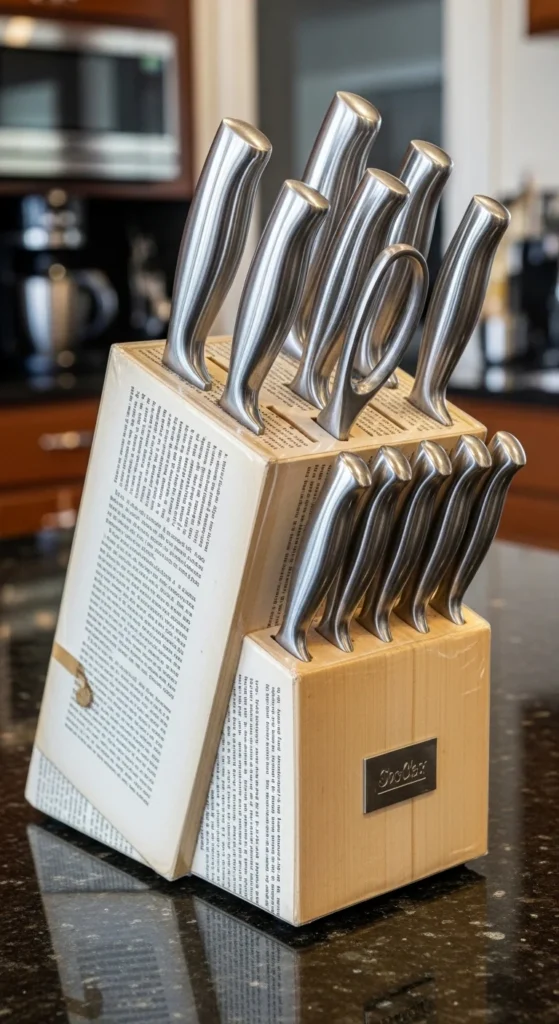
Wrap an existing knife block base in book pages and seal with Mod Podge. Keep seams on the back. Add extra coats for durability.
Budget tip: Use a plain wooden block from a discount shop.
This gives the kitchen a bookish, rustic touch while staying functional.
24. Book Cover Succulent Planter
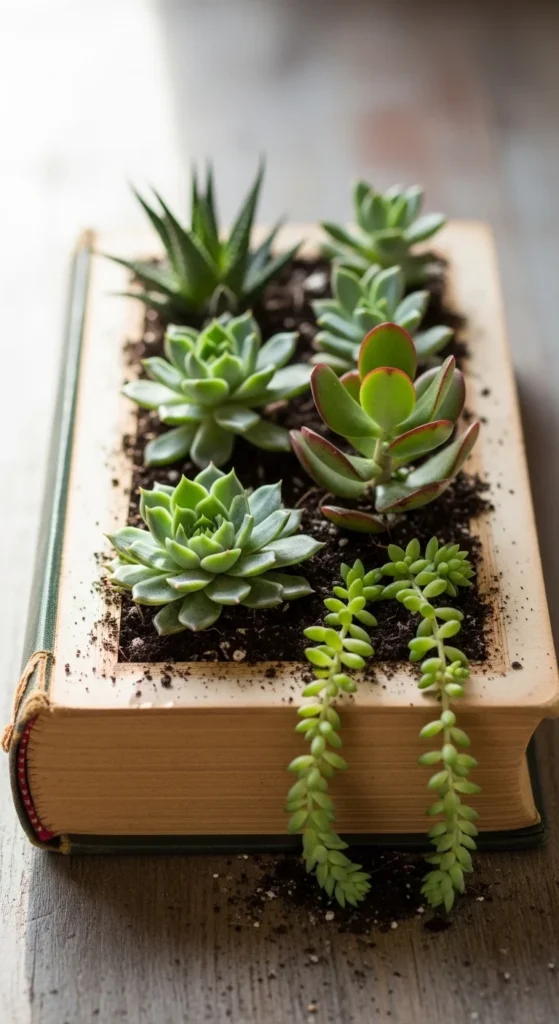
Hollow a book like a storage box, but line it with plastic before adding soil. Add small succulents and a top layer of pebbles.
Budget tip: Use a plastic bag as a liner.
Keep watering light. Succulents work best because they don’t require much moisture.
25. Old Book Page Wall Panel Texture

Mount open books onto a board in rows. Fan pages evenly and secure the page edges with small dots of glue. Hang the panel like wall art.
Budget tip: Use lightweight paperbacks and a foam board backing.
This makes a strong statement piece for a reading nook or office. Keep spacing aligned so the panel looks tidy.
Conclusion
Old book crafts are a simple way to reuse worn volumes while adding charm to your home. Start small with bookmarks, envelopes, or coasters. Then try larger builds like wreaths, storage books, and wall panels as you get comfortable. Focus on clean folds, strong glue bonds, and a calm color palette. With a few thrifted books and basic supplies, you can turn old pages into handmade decor and gifts that feel personal and practical.


