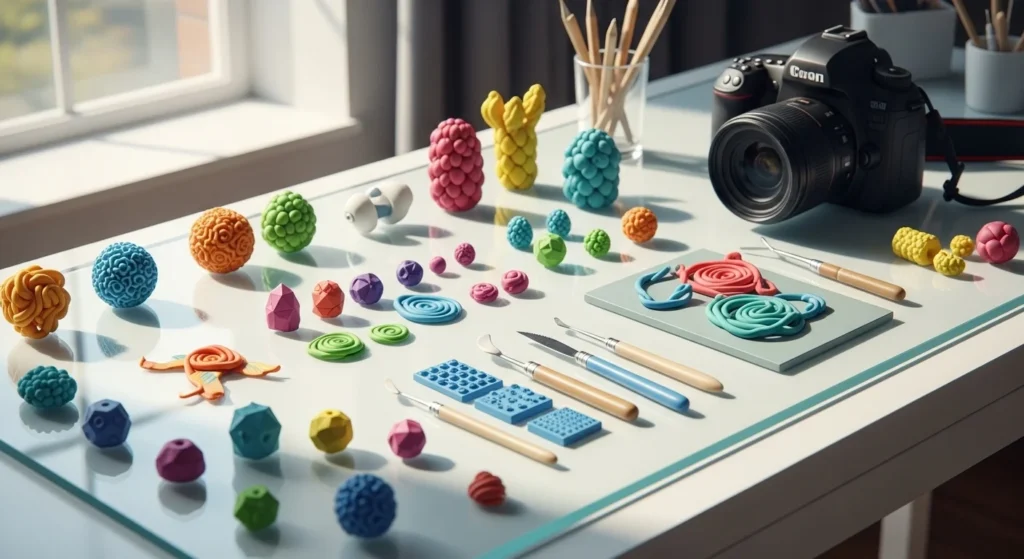
Polymer clay looks simple at first glance — until fingerprints, cracks, and burnt edges show up. The good news? With a few smart habits, beginners can get smooth, professional-looking results very quickly.
This guide walks you through the simple basics that make the biggest difference. Whether you’re making earrings, charms, or small sculptures, these steps will help your work look clean and polished from day one.

Start With Proper Clay Conditioning
If your clay cracks, crumbles, or feels stiff, conditioning is the fix. This step softens the clay and makes it easy to shape.
How to condition clay correctly:
- Cut a small piece from the block
- Warm it in your hands
- Fold and knead repeatedly
- Roll into a smooth sheet
You’ll know it’s ready when:
- The surface looks smooth
- No cracks appear when bending
- The clay feels flexible, not crumbly
Quick pro tip:
A pasta machine speeds this up and creates evenly conditioned sheets. Run the clay through several passes until silky.
Skipping this step is the fastest way to get rough results.
Use the Right Work Surface
Polymer clay picks up texture from whatever it touches. That’s why professionals avoid porous or rough tables.
Best surfaces for clean results:
- Glass tile
- Ceramic tile
- Smooth acrylic sheet
These keep clay from sticking and help prevent lint marks.
Keep your surface clean by:
- Wiping between color changes
- Washing hands often
- Wearing lint-free clothing nearby
A clean surface alone can make beginner work look much more refined.
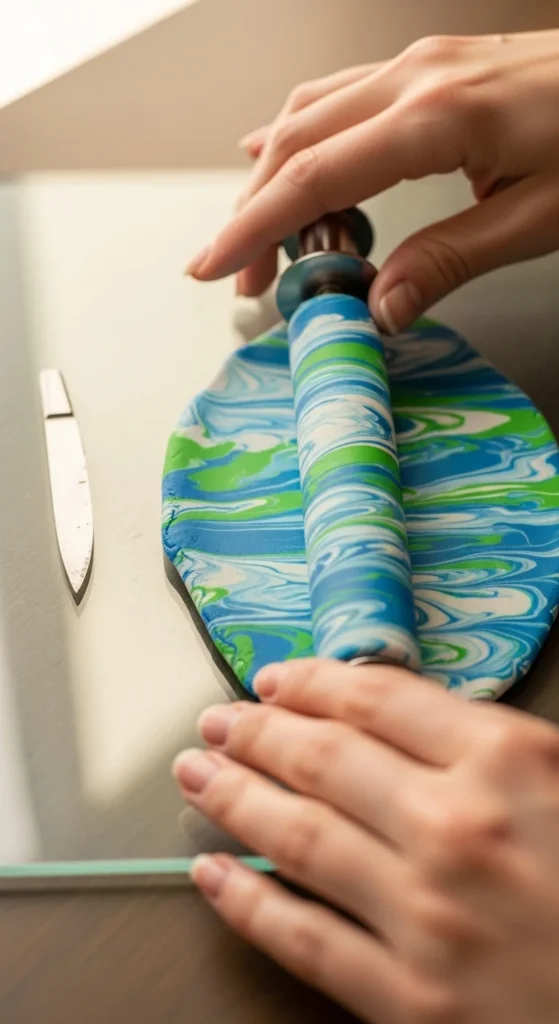
Roll Even Sheets Every Time
Uneven clay thickness causes weak jewelry and warped pieces. Pros focus heavily on consistency here.
Three easy ways to get even sheets:
- Pasta machine (most accurate)
- Acrylic roller with guide sticks
- Popsicle sticks on both sides of clay
Typical thickness guide:
- Earrings: thin to medium
- Charms: medium
- Sculptures: thicker layers
If the clay sticks while rolling, lightly dust the surface with cornstarch. Use only a tiny amount.
Smooth, even sheets are one of the biggest upgrades you can make.
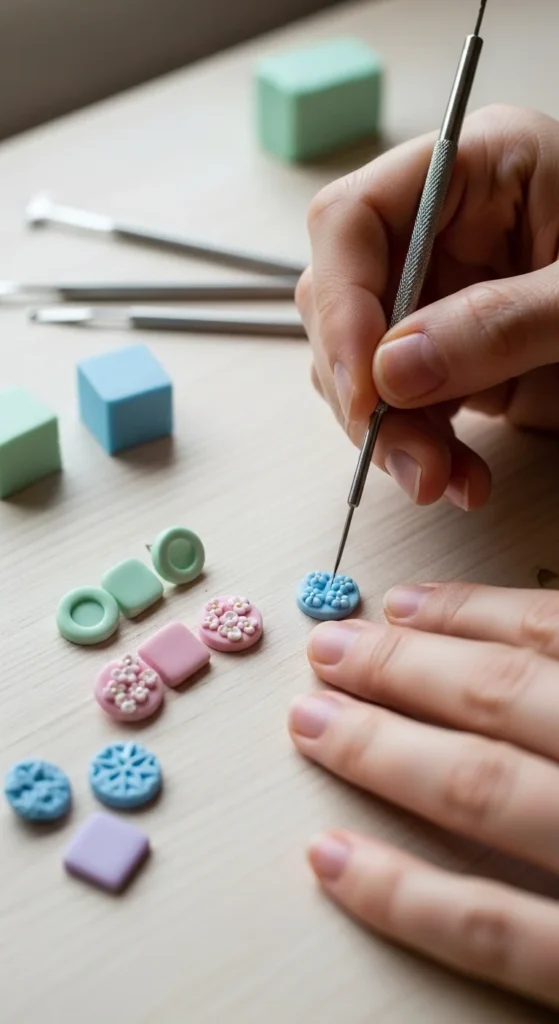
Shape Without Fingerprints
Fingerprints are the most common beginner frustration. Luckily, they’re easy to reduce.
Pro habits that help:
- Warm your hands slightly first
- Use light pressure
- Rotate the piece often
- Smooth gently with a soft brush or finger
For jewelry pieces, insert eye pins before baking so they cure securely inside the clay.
If fingerprints appear:
- Lightly rub with a fingertip
- Use a tiny bit of rubbing alcohol on a brush
- Smooth with a silicone tool
Small touch-ups before baking save a lot of finishing work later.
Bake Polymer Clay the Safe Way
Baking is where many beginners get nervous. The key is steady, low heat.
Most brands bake at:
- 275°F (130°C)
- 15–30 minutes per 1/4 inch thickness
Always check your clay package to confirm.
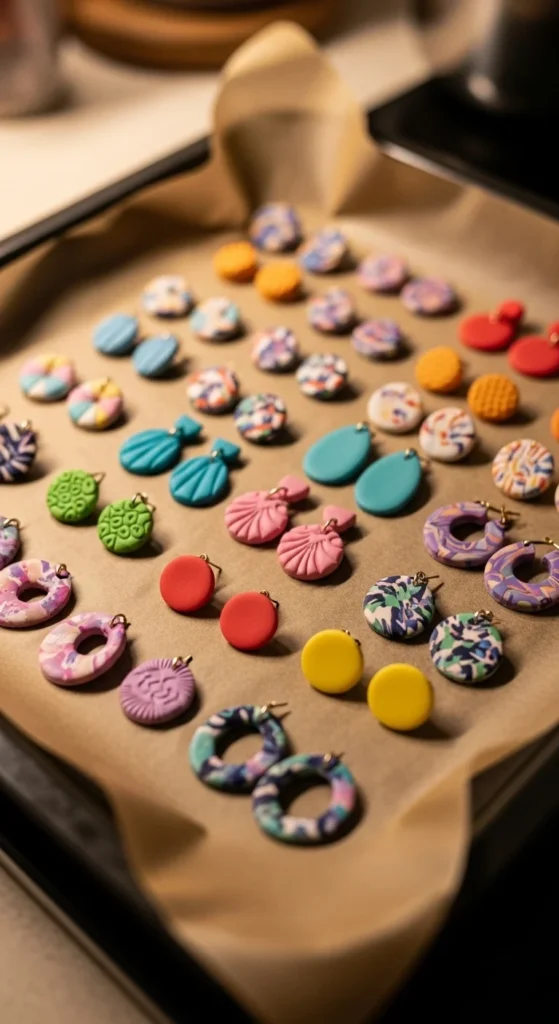
Important baking tips:
- Preheat the oven fully
- Use an oven thermometer if possible
- Bake on parchment or cardstock
- Tent loosely with foil to prevent darkening
Underbaking leads to brittle pieces. Proper baking creates strong, durable clay.
Let everything cool completely before touching.
Sand, Seal, and Finish Like a Pro
This is the step that separates beginner work from polished pieces.
Optional finishing upgrades:
- Wet sand with 400–2000 grit
- Buff gently for softness
- Add acrylic paint details
- Apply gloss or matte glaze
When to glaze:
- After the piece is fully cooled
- After sanding if you sanded
- In thin, even coats
Gloss glaze gives shine. Matte glaze gives a soft, modern look.
Take your time here — finishing makes a huge visual difference.
Smart Storage and Cleanup Habits
Good habits keep your clay usable and your workspace stress-free.
Storage tips:
- Keep clay in airtight bags
- Store away from heat
- Separate light and dark colors
- Label partial blocks
Quick cleanup routine:
- Wipe tools with isopropyl alcohol
- Brush off lint regularly
- Clean surface after each session
These small routines help every future project go smoother.
Common Mistakes to Avoid
Watch out for these beginner pitfalls:
- Skipping conditioning
- Using a textured table
- Baking too hot
- Making pieces too thin
- Touching clay with dusty hands
Fixing just these issues can dramatically improve your results.
Final Takeaway
Using polymer clay like a pro isn’t about fancy tools. It comes down to proper conditioning, clean surfaces, even rolling, and careful baking.
Start simple. Practice often. Improve one step at a time.
Your first projects don’t need perfection — just consistency and patience.
Save this guide and try your next polymer clay project today.


