Polymer clay is one of the easiest creative hobbies to begin at home. You don’t need a big studio, expensive machines, or years of practice. With a small starter kit and a clean workspace, you can make earrings, charms, and cute figurines in a single afternoon.
If you’ve been curious but unsure where to begin, this step-by-step guide will walk you through a beginner setup that actually works — no overwhelm, no wasted supplies.
Step 1: Pick the Right Polymer Clay
Not all polymer clay feels the same. For beginners, softer and more forgiving brands make the learning curve much smoother.
Good beginner-friendly options:
- Sculpey Premo (great balance of firmness and strength)
- Sculpey Soufflé (soft and easy to condition)
- Fimo Soft (widely available and beginner friendly)
Avoid very firm professional clays at the start. They can feel frustrating when your hands are still learning the pressure.
Starter color tip:
Buy basic colors first:
- White
- Black
- Primary red
- Primary blue
- Yellow
You can mix these to create many shades without buying dozens of blocks.
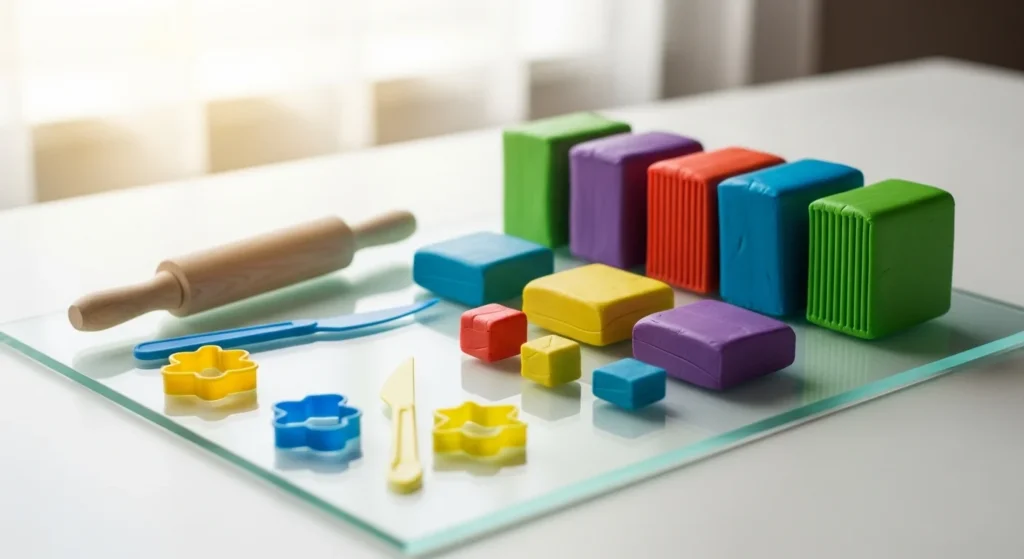
Step 2: Set Up a Clean Work Surface
Your workspace matters more than most beginners expect. Polymer clay picks up lint and dust very easily.
The best beginner surfaces are:
- Glass tile
- Ceramic tile
- Smooth acrylic sheet
These surfaces prevent sticking and keep colors clean.
Quick cleanliness habits:
- Wash hands before each color change
- Wipe the surface between projects
- Keep paper towels nearby
- Tie back loose fibers from clothing
A clean setup instantly improves your results.
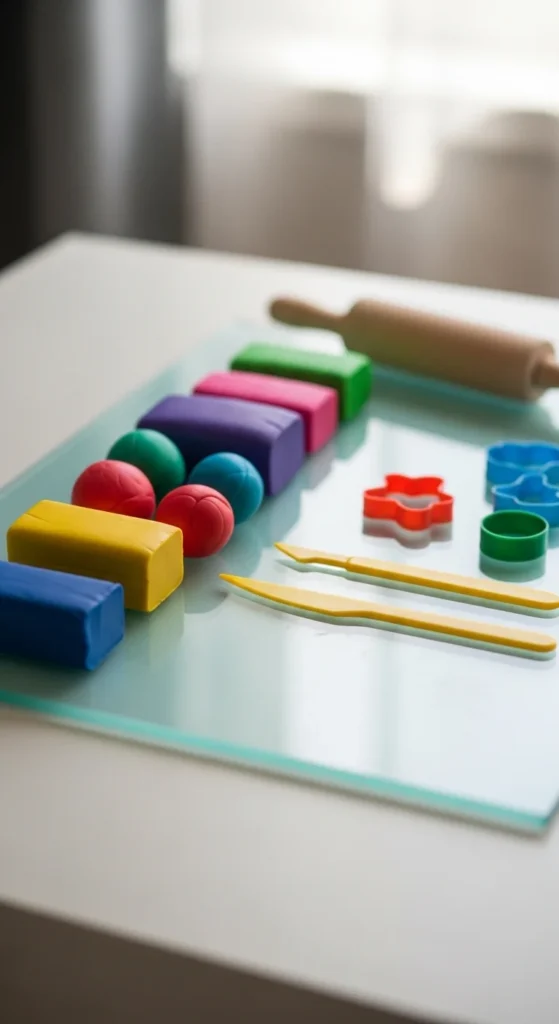
Step 3: Gather a Simple Starter Tool Kit
You do NOT need a huge toolbox. Many beginners overspend here.
Start with just the essentials:
Must-have tools:
- Craft blade or sharp tissue blade
- Acrylic roller or smooth bottle
- Needle tool or toothpick
- Silicone or rubber tip tool
- Cornstarch (anti-stick helper)
Nice-to-have later:
- Pasta machine
- Clay extruder
- Texture sheets
- Circle cutters
Budget hack: Popsicle sticks on both sides of clay help roll even sheets if you don’t own a pasta machine yet.
Keep your first kit small. You can always expand later.
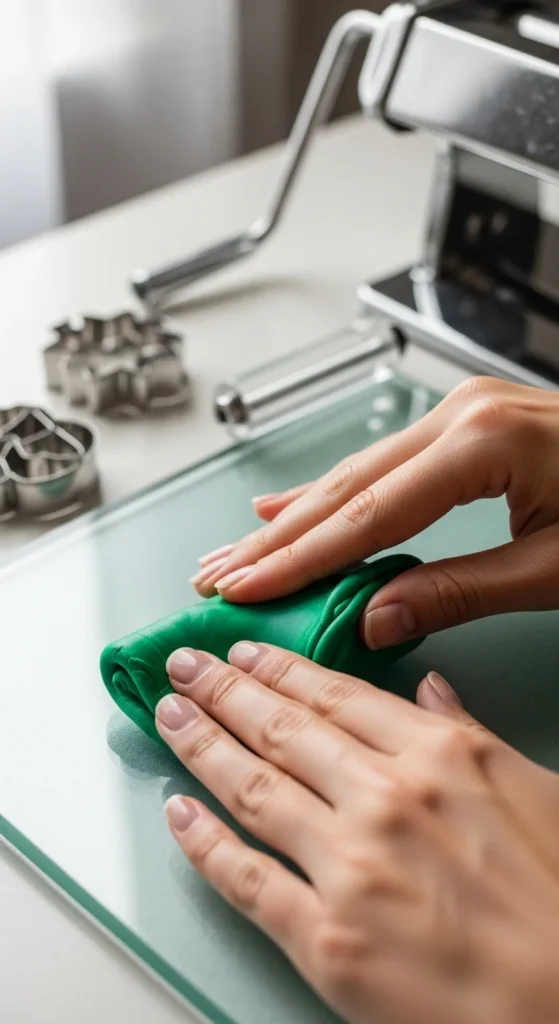
Step 4: Condition Your Clay Properly
Conditioning is the step most beginners rush — and it shows in the final piece.
Conditioning simply means kneading the clay until it becomes smooth and flexible.
How to condition correctly:
- Cut a small piece from the block
- Warm it in your hands
- Knead and fold repeatedly
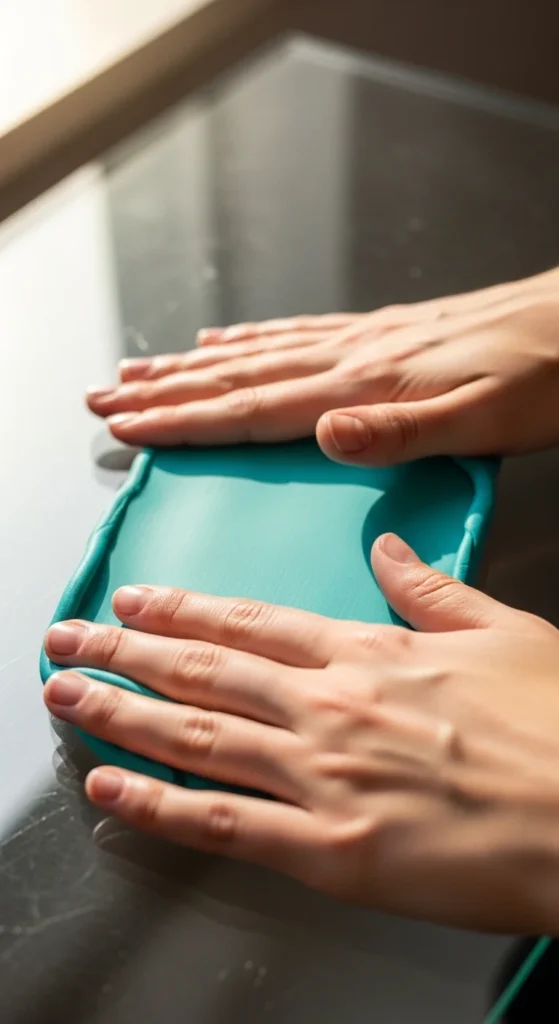
- Roll into a smooth sheet
You’ll know it’s ready when:
- No cracks appear when bending
- Surface looks smooth
- Clay feels pliable, not crumbly
If clay is too hard:
- Warm it in your hands longer
- Mix with a small piece of softer clay
- Use a pasta machine if available
Good conditioning = clean, strong finished pieces.
Step 5: Shape Your First Beginner Project
Start simple. The goal is control, not complexity.
Great first projects:
- Flat earrings
- Simple charms
- Basic beads
- Mini hearts or stars
Keep shapes thick enough to handle but not bulky.
Beginner shaping tips:
- Work slowly
- Smooth fingerprints gently
- Use light pressure
- Rotate the piece often
If you plan to make jewelry, insert eye pins before baking so they cure securely inside the clay.
Small wins early will build your confidence quickly.
Step 6: Bake Polymer Clay the Right Way
Baking scares many beginners, but it’s actually straightforward when done correctly.
Most polymer clay brands bake at:
- 275°F (130°C)
- 15–30 minutes per 1/4 inch thickness
Always check your specific brand’s instructions.
Important baking tips:
- Use an oven thermometer if possible
- Bake on parchment paper or cardstock
- Tent loosely with foil to prevent darkening
- Do not microwave polymer clay
Underbaking causes brittleness. Proper baking creates strong, durable pieces.
Let items cool completely before handling.
Step 7: Sand, Paint, and Seal (Optional but Powerful)
Your piece is usable after baking, but finishing steps make it look more polished.
Optional finishing upgrades:
- Wet sand with 400–2000 grit for smoothness
- Add acrylic paint for tiny details
- Apply gloss or matte glaze for protection
For jewelry, a light glaze adds shine and helps resist surface wear.
Beginner rule:
Only glaze fully cooled pieces.
Take your time here. Finishing is where projects start to look store-quality.
Common Beginner Mistakes to Avoid
Keep these in mind early and you’ll progress faster:
- Skipping conditioning
- Using a dirty workspace
- Baking at the wrong temperature
- Making pieces too thin
- Touching clay with linty clothing
Small habits make a big difference in polymer clay work.
Final Thoughts
Starting polymer clay crafts is much easier than it looks. With a clean surface, a few basic tools, and properly conditioned clay, you can create beautiful pieces right from your kitchen table.
Begin simple. Practice often. Upgrade tools slowly as your skills grow.
Your first pieces don’t have to be perfect — they just have to get made.
Save this guide for later and start your first polymer clay project today.


