Ever opened a block of polymer clay and felt like you were trying to sculpt with a brick? It crumbles. It cracks. Your hands ache before you even start.
Good news: hard polymer clay is usually fixable.
Whether your clay is old, extra firm, or just cold from storage, these simple softening tricks can bring it back to life—without ruining strength after baking.
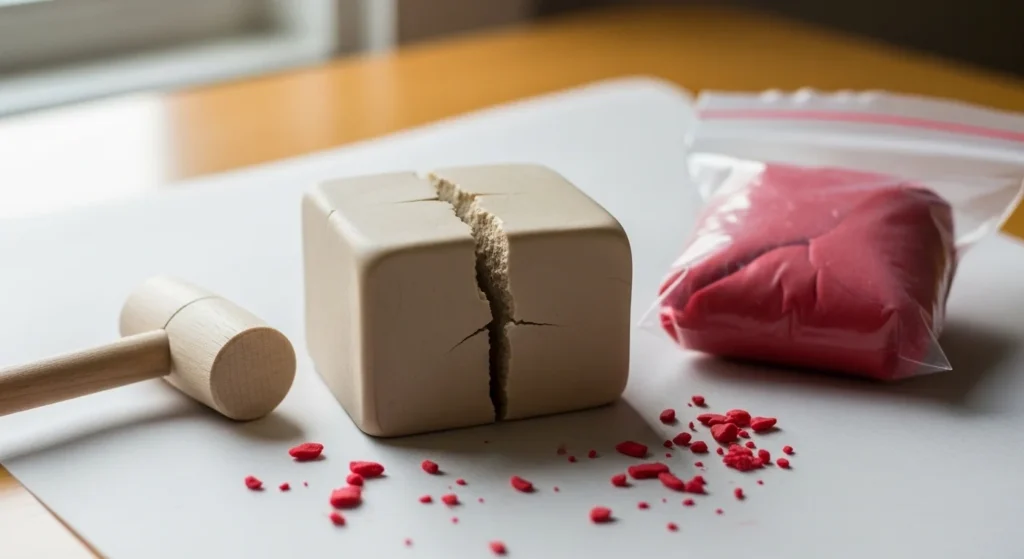
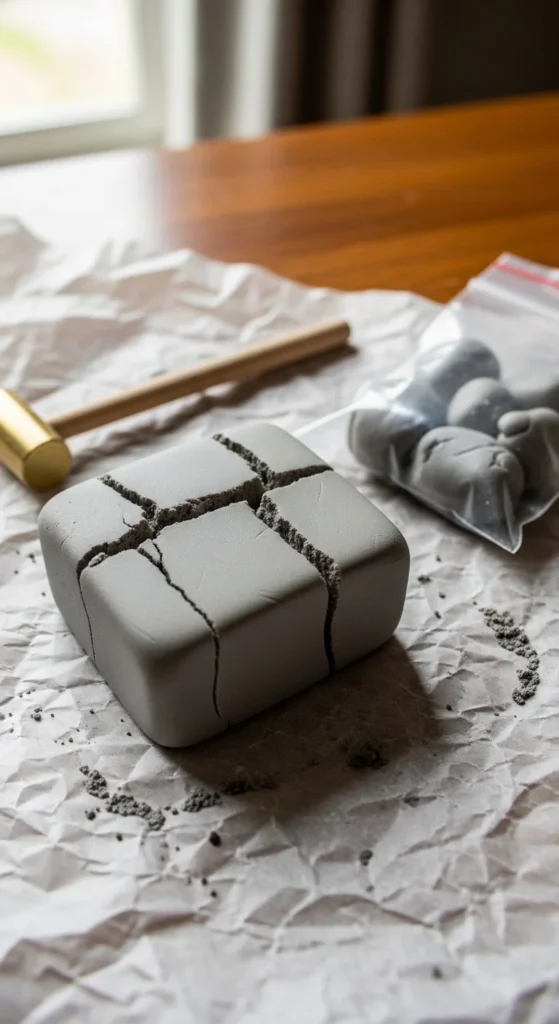
Step 1: Smash It First (Break the Structure)
If your clay feels rock-hard, don’t try kneading it right away. You’ll just strain your wrists.
Instead, break it down mechanically first.
The plastic bag + mallet method
- Put the clay in a thick plastic bag.
- Use a small mallet (or sturdy rolling pin).
- Pound it until it cracks into small chunks.
This step helps break apart the compacted structure so plasticizers can redistribute later.
Tip: Keep the bag sealed while smashing. It prevents crumbs from flying everywhere.
Once the clay is in pieces, it becomes much easier to soften using heat or additives.
Step 2: Warm the Clay (Gentle Heat Hacks)
Polymer clay softens as it warms. Even a little heat makes a difference.
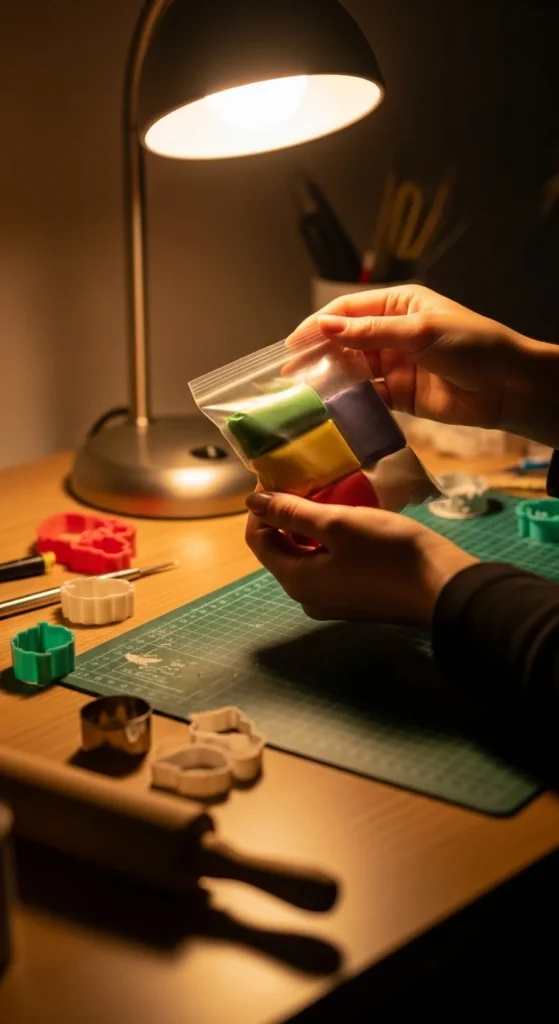
Quick warming ideas
- Hold it in your hands for a few minutes.
- Place the sealed bag near a warm lamp.
- Sit on the sealed pack for 2–3 minutes (body heat works surprisingly well).
- Use a warm (not hot) heating pad.
Avoid microwaving. Direct heat can start curing the clay unevenly.
Warming alone may be enough for slightly firm clay. If it’s still crumbly, move to the next step.
Step 3: Add Clay Softener (Drop by Drop)
For truly brittle clay, you’ll likely need a plasticizer.
Commercial clay softeners are designed for this and work quickly.
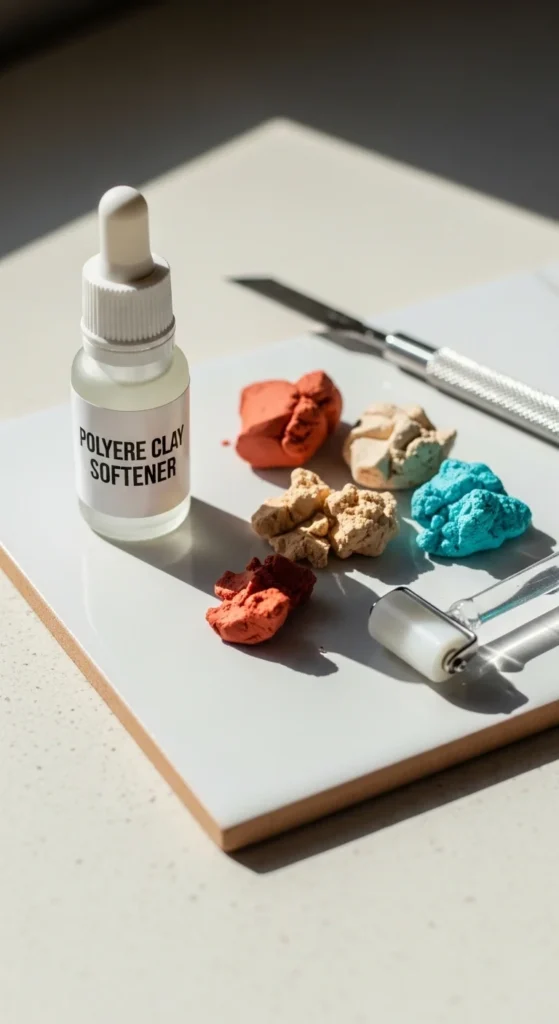
How much to use?
- Start with 2–4 drops per 2 oz block.
- Knead thoroughly.
- Add more only if necessary.
Less is better than too much.
Too much softener can weaken baked results. Always add gradually.
Let it rest
If the clay is very old:
- Seal it in a zip bag.
- Let it sit 24–48 hours after adding softener.
This gives the plasticizers time to redistribute evenly.
Step 4: Use a Pasta Machine for Final Conditioning
Once the clay is smashed, warmed, and slightly softened, a pasta machine makes the process much easier.
Why it works
- Even pressure
- Fast blending
- Less hand strain
Run the clay through on a thick setting first.
Fold it neatly and feed the folded edge into the rollers. This reduces air pockets.
After several passes, the sheet should:
- Look smooth
- Bend without cracking
- Feel pliable but not sticky
If it smears or feels greasy, you added too much softener. Let it sit on plain paper for 20–30 minutes to absorb excess plasticizer.
Bulk Fix: Food Processor Method
For extremely old clay or large batches, a food processor can help.
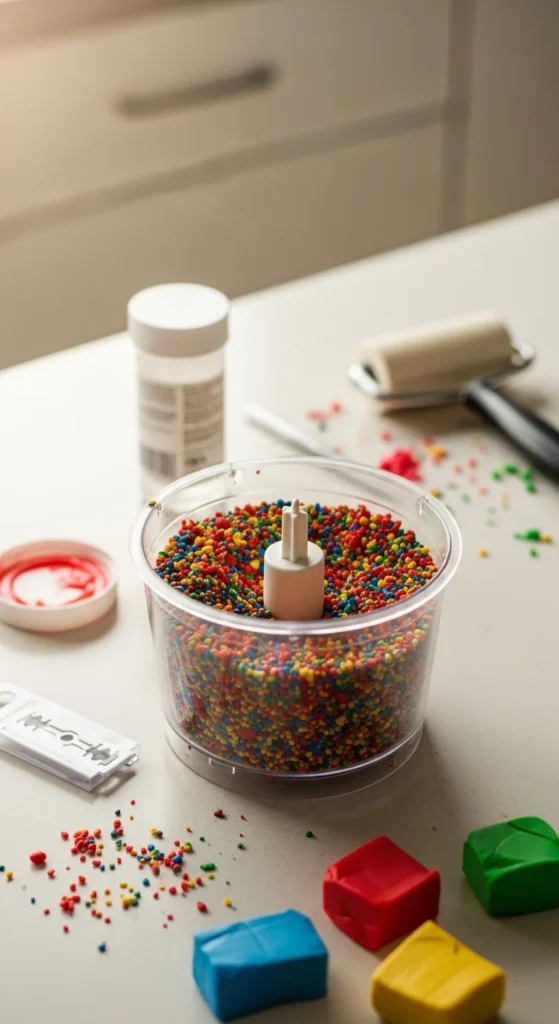
How to do it safely
- Break clay into tiny chunks first.
- Pulse in short bursts.
- Add softener sparingly.
- Stop once the texture looks evenly crumbly.
Then transfer to your pasta machine or knead by hand.
This method works especially well for vintage clay that crumbles into dust.
Emergency Oil Fix (Use Carefully)
If you don’t have clay softener, a tiny amount of:
- Mineral oil
- Baby oil
can work in a pinch.
Use 1–2 drops maximum.
Knead thoroughly.
Too much oil will make the clay weak or sticky after baking.
Always test-bake a small piece before committing to a full project.
Mix With Softer Clay
Another smart fix: blend firm clay with a softer brand.
Example:
- 50% firm clay
- 50% softer clay
This balances texture without weakening strength.
It’s a great trick if you have leftover scraps from different brands.
How to Know It’s Ready
Use the squish test:
- Roll a short snake.
- Bend it into a U-shape.
- If it bends smoothly without cracking, you’re ready.
Also check the surface. It should look even and slightly smooth—not crumbly or grainy.
If it still cracks, repeat short conditioning passes instead of adding more softener right away.
Prevent It From Hardening Again
Once revived, protect your clay.
- Store in airtight zip bags.
- Keep away from heat.
- Avoid direct sunlight.
- Condition briefly before each new session.
Plasticizers can migrate over time, so a quick re-conditioning keeps texture consistent.
Final Thoughts
Hard polymer clay isn’t ruined clay. Most blocks can be saved with a mix of smashing, warming, careful softener use, and proper conditioning.
Work slowly. Add softener sparingly. Test small pieces before baking full projects.
Once you revive a block successfully, you’ll feel much more confident handling any clay texture.
Save this guide for your next stubborn block—and bring that “brick” back to life.


