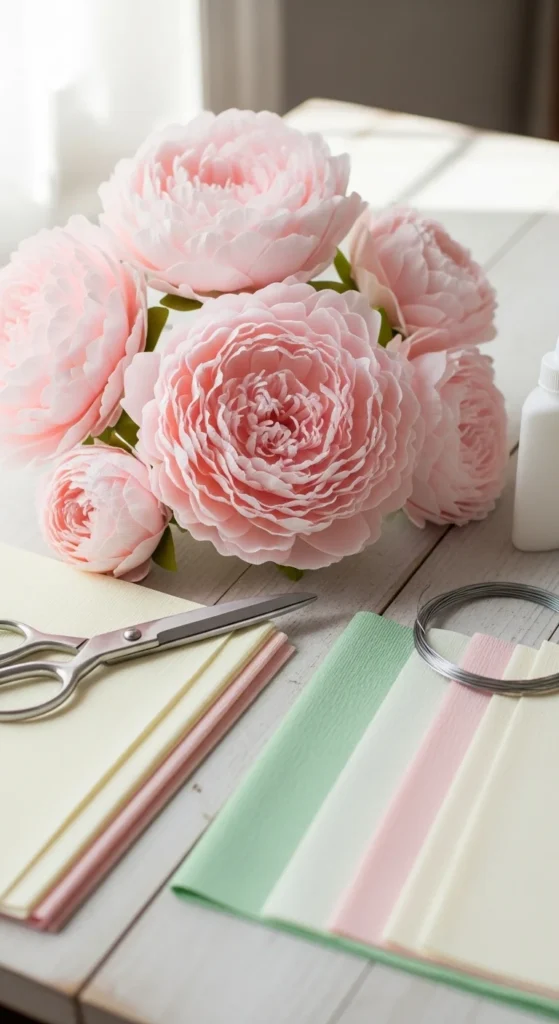
Paper peonies are the queens of DIY flowers. With their fluffy layers and soft ruffles, they instantly give wedding decor, home styling, or gift wrapping a high-end look. The good news? You don’t need complicated tools to make them look beautiful. The secret comes down to stretching crepe paper correctly, layering petals in offset rows, and shaping the edges for volume.
In this step-by-step guide, you’ll learn a simple method that beginners can handle but still looks polished enough for event decor. Once you make your first peony, you’ll see how quickly they come together.
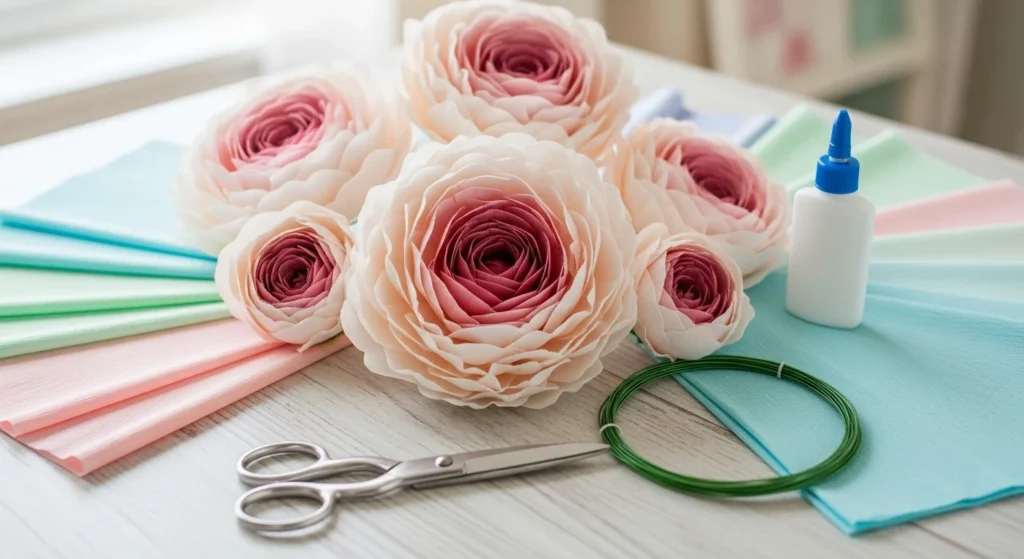
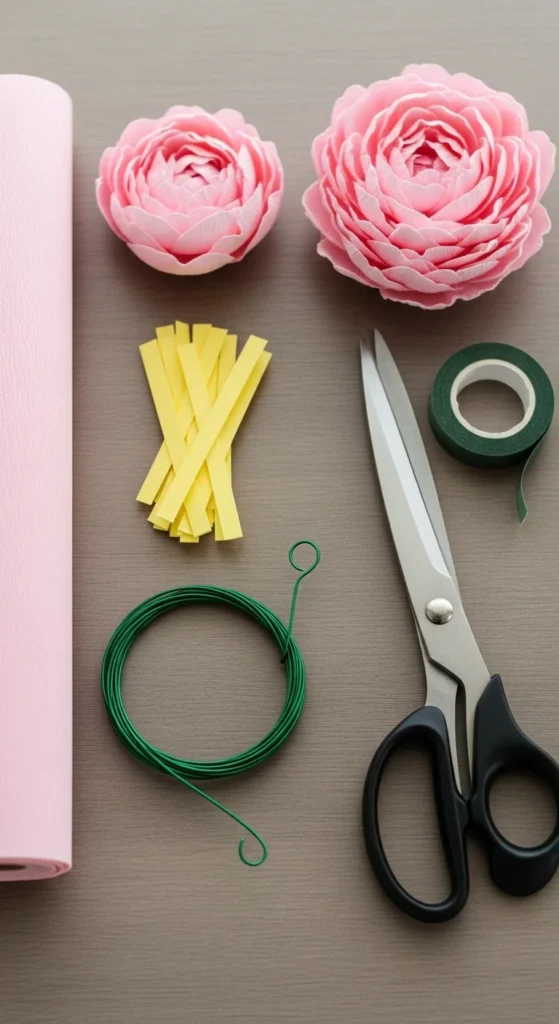
Supplies You’ll Need
Gather everything first so the process feels smooth.
Paper
- Crepe paper (best for realistic ruffles)
- Cardstock (optional for sturdier versions)
- Yellow crepe or tissue (for the center)
Tools
- Scissors
- Hot glue gun or craft glue
- Floral wire or wooden skewers
- Green floral tape
- Pencil or paintbrush handle (for curling)
Optional but helpful
- Petal template (hand-drawn works fine)
- Green crepe paper for leaves
Budget tip: Bamboo skewers wrapped in green paper work great as affordable stems.
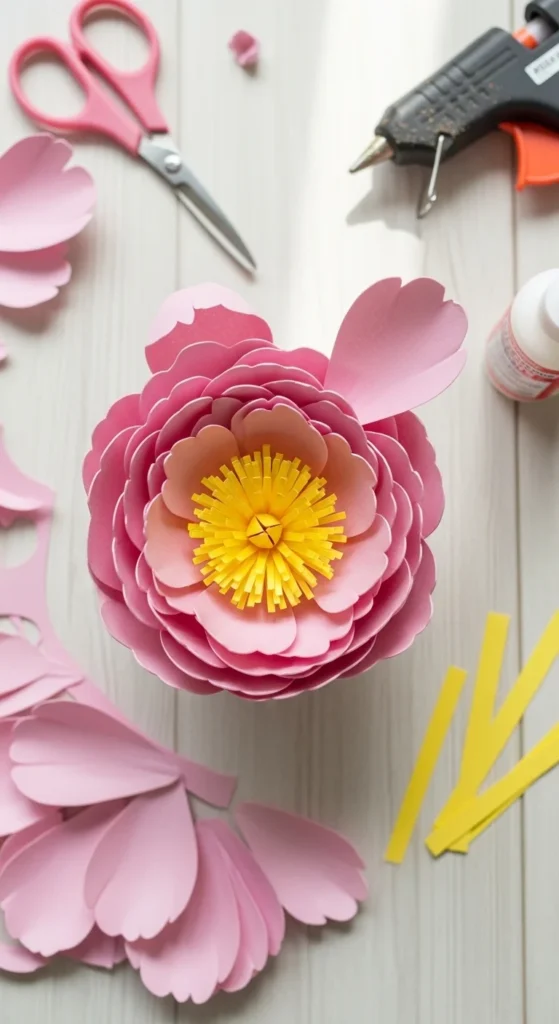
Step 1: Make the Fringed Peony Center
The center gives your peony structure and fullness.
Cut the strip
- Yellow crepe paper strip about 1–1.5 inches wide
- Length: about 6–8 inches
Create fringe
- Fold the strip lengthwise.
- Cut thin, even snips along the folded edge.
- Leave about ¼ inch uncut at the bottom.
Roll the center
- Apply a thin glue line along the solid edge.
- Roll tightly from one end.
- Press the base firmly as you go.
- Gently fluff the fringe outward.
Volume trick
- Twist a tiny piece of tissue into a small ball.
- Glue it inside the roll before finishing for extra fullness.
Step 2: Cut Petals in Multiple Sizes
Peonies look lush because of many layered petals, not just one size.
For one medium peony
- 8 small petals
- 10 medium petals
- 12 large petals
Petal shape:
- Rounded top
- Slightly narrow neck at the base
- Soft oval outline
Speed shortcut
- Stack crepe paper in layers.
- Cut several petals at once using one template.
Step 3: Stretch and Shape the Petals
This is the step that makes peonies look realistic.
How to stretch crepe paper
- Hold the petal at the center.
- Gently pull outward along the grain.
- Create a shallow bowl shape.
Curl the edges
- Use a pencil or paintbrush handle.
- Curl outer petal edges slightly downward.
- Curl inner petals slightly upward.

Important tip
Stretch only the middle. Keep the edges thin so the ruffles look natural.
Step 4: Build the Peony in Offset Layers
Now the flower starts to look full and soft.
Attach small petals first
- Glue small petals around the yellow center.
- Slightly overlap each one.
- Keep bases aligned.
Add medium petals
- Place them behind the first layer.
- Offset between the front petals.
- Angle them slightly outward.
Finish with large petals
- These create the open peony look.
- Space them evenly.
- Tilt outward for fullness.
Fullness tip
If your peony looks tight, gently bend outer petals outward with your fingers.
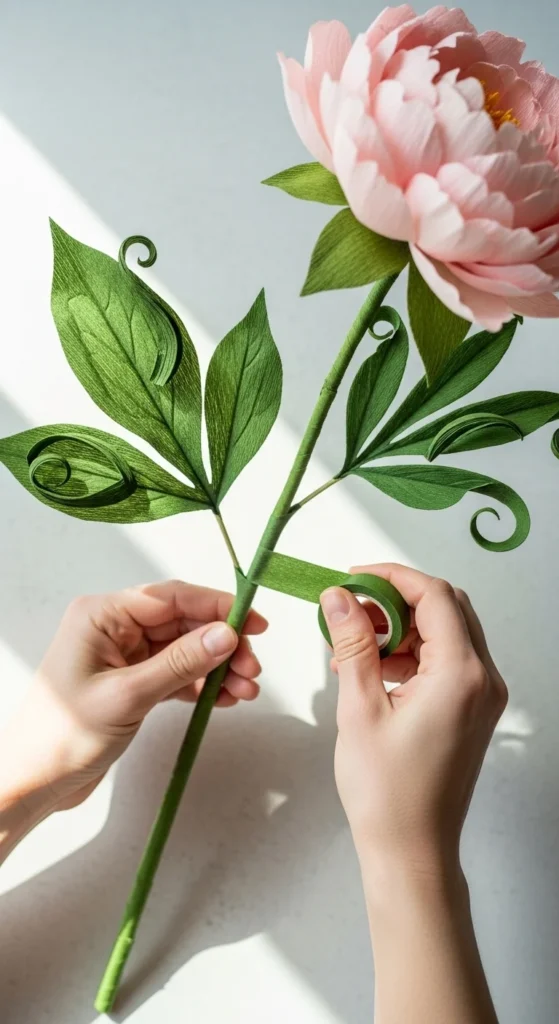
Step 5: Attach Stem and Hide the Base
This step makes your flower bouquet-ready.
Secure the stem
- Glue floral wire or a bamboo skewer to the back.
- Reinforce with a small strip of paper glued across the stem.
Wrap the base
- Use green floral tape around the flower base.
- Continue wrapping down the stem.
Add sepals (optional but pretty)
- Cut a small green star shape.
- Glue to the back of the flower.
- Wrap over it with tape.
Step 6: Create Realistic Leaves
Peony leaves add that finished, elegant feel.
Leaf steps
- Cut large oval-pointed leaves from green crepe paper.
- Fold each leaf vertically.
- Stretch slightly along the center vein.
- Curl edges back just a little.
Attach leaves
- Glue to the stem about halfway down.
- Wrap with floral tape to secure.
Leaf tip
Use two leaves per stem for a balanced bouquet look.
Easy Variations to Try
Once you master the basic peony, experiment with these ideas.
Giant backdrop peonies
- Increase petal sizes.
- Use a cardboard or foam base.
- Add 40+ petals for dramatic volume.
Two-tone peonies
- Use darker pink inner petals.
- Use lighter outer petals.
- Creates soft depth in photos.
Cardstock peonies
- Skip stretching.
- Focus more on curling edges.
- Works well for wall decor.
Wedding-style bouquet
- Mix blush, ivory, and soft peach peonies.
- Add eucalyptus-style paper leaves.
Quick Fixes for Common Problems
- Peony looks flat: Stretch the petal centers more.
- Flower looks crowded: Space outer petals wider.
- Glue shows: Use tiny dots only at the base.
- Stem feels loose: Reinforce with an extra paper strip before wrapping.
Takeaway
Paper peonies look elegant because of soft ruffles, layered petals, and gentle shaping. Focus on stretching the crepe along the grain, offsetting each layer, and lightly curling the edges. After one or two flowers, your hands will remember the rhythm and the process becomes quick and relaxing.
Save this tutorial for later and try making a small peony bouquet this weekend — they make stunning decor that lasts for years. 🌸


