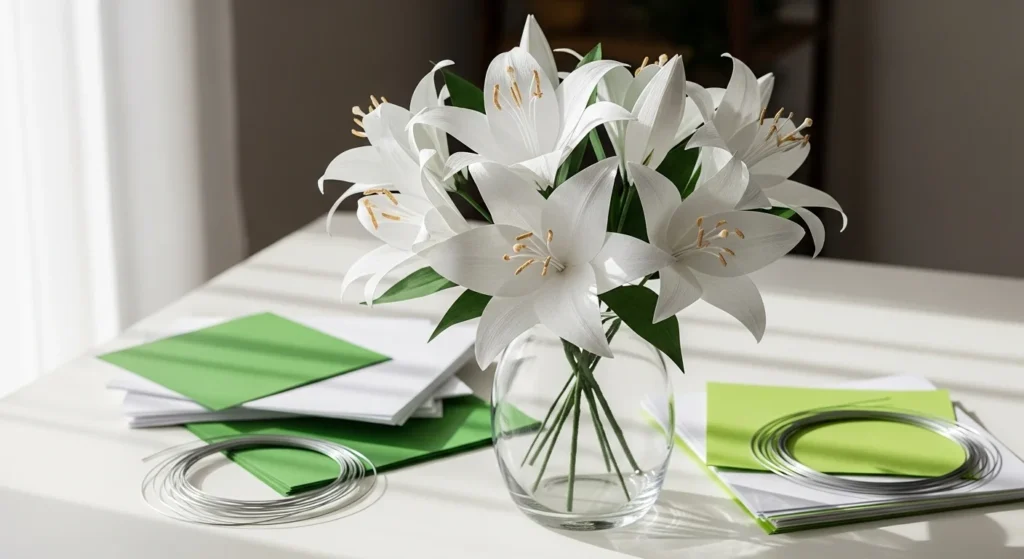
Paper lilies are one of those crafts that look impressive but are surprisingly simple once you learn the folding rhythm. With just square paper and a few careful creases, you can create graceful trumpet-shaped blooms perfect for bouquets, gifts, or decor.
The secret to realistic paper lilies comes down to three things: clean folds, gentle petal curling, and proper shaping. Follow this step-by-step guide and you’ll have beautiful lilies in no time.
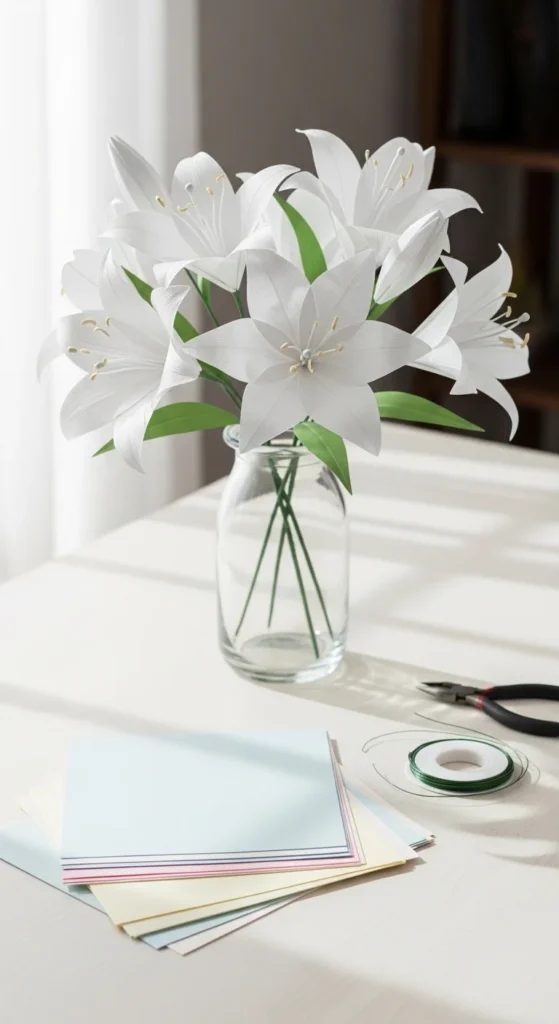
What You’ll Need
Before you start folding, gather a few basic supplies.
For classic origami lilies
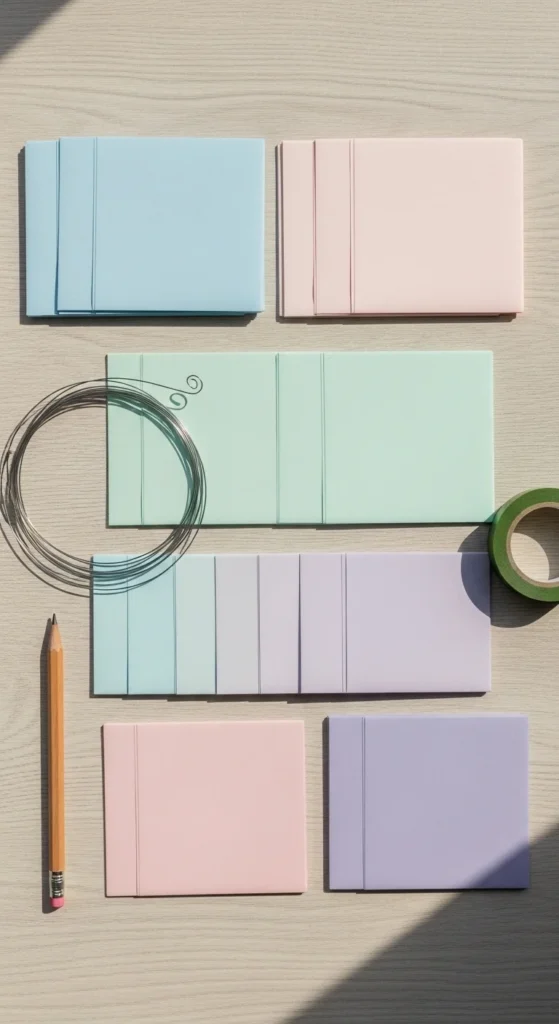
- Square origami paper (6–8 inches works well)
- Pencil or thin round tool (for curling)
- Floral wire or pipe cleaners (optional stems)
- Green floral tape (optional)
Optional for enhanced realism
- Crepe paper for textured versions
- Yellow paper strips for stamens
- Scissors (if adding details)
Budget tip: Regular colored paper cut into squares works perfectly for practice.
Step 1: Create the Waterbomb Base
This is the classic starting point for an origami lily.
Start with your square paper
- Place colored side down.
- Fold diagonally both ways to form an X crease.
- Flip and fold horizontally and vertically.
Collapse into the base
- Push the sides inward.
- Flatten into a triangle shape.
This structure is called the waterbomb base, and it forms the foundation of your lily.
Quick tip
Take your time aligning edges. Clean creases make later steps much easier.
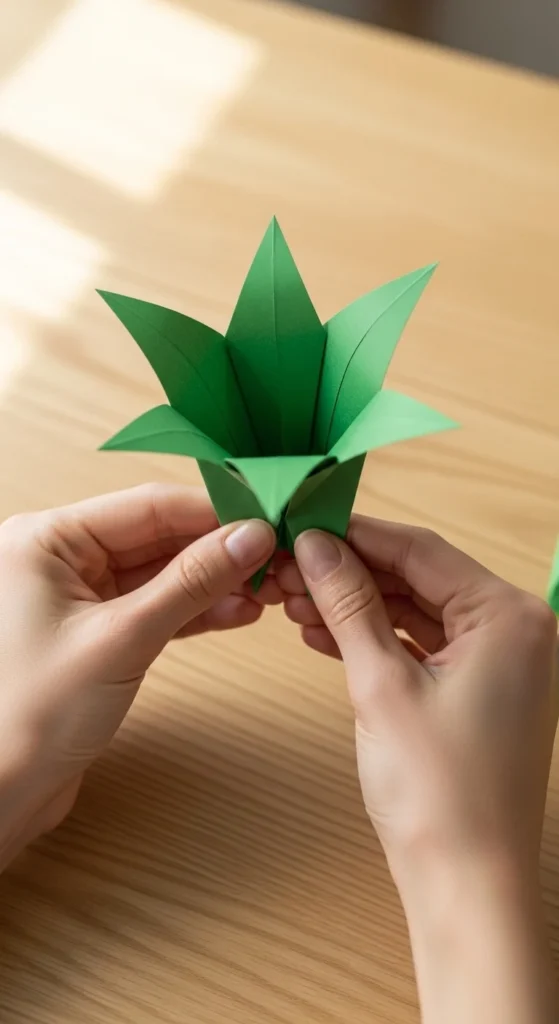
Step 2: Form the Lily Petals
Now the flower begins to take shape.
Lift the front flap
- Fold one lower edge up to the center line.
- Crease firmly.
- Open that flap slightly and squash it flat.
Repeat this on all four sides.
You should now see a tall diamond shape.
Next folds
- Fold the side edges toward the center again.
- Keep everything symmetrical.
Common mistake
If layers slide out of place, your earlier creases may be uneven. Gently refold if needed.
Step 3: Shape the Trumpet Bloom
This is where the lily becomes recognizable.
Open the petals
- Carefully pull each of the four top flaps outward.
- Spread them evenly around the center.
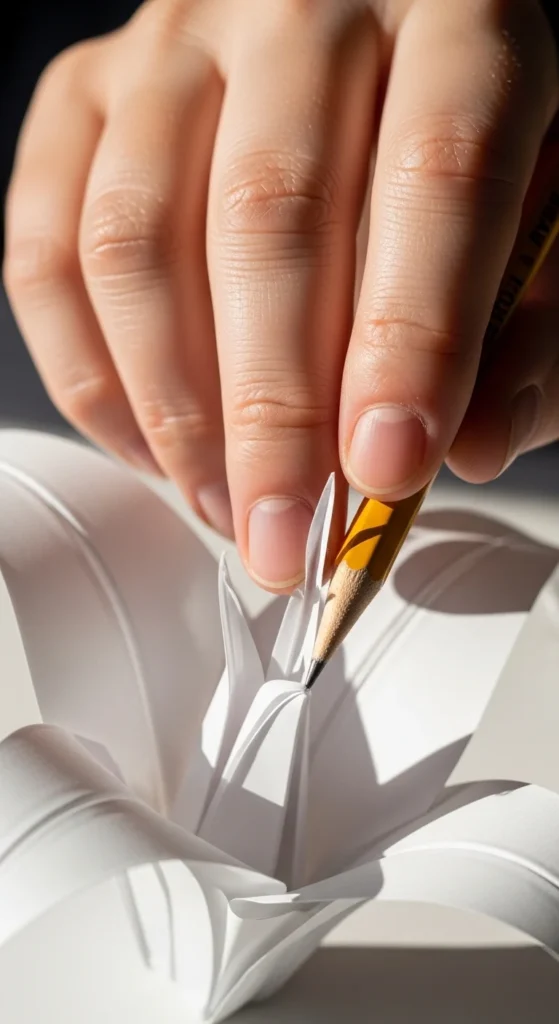
Curl the petal tips
- Use a pencil or thin brush handle.
- Roll each petal outward gently.
This curling step adds the signature lily trumpet look.
Pro tip
Curl the outer petals slightly more than the inner ones for natural depth.
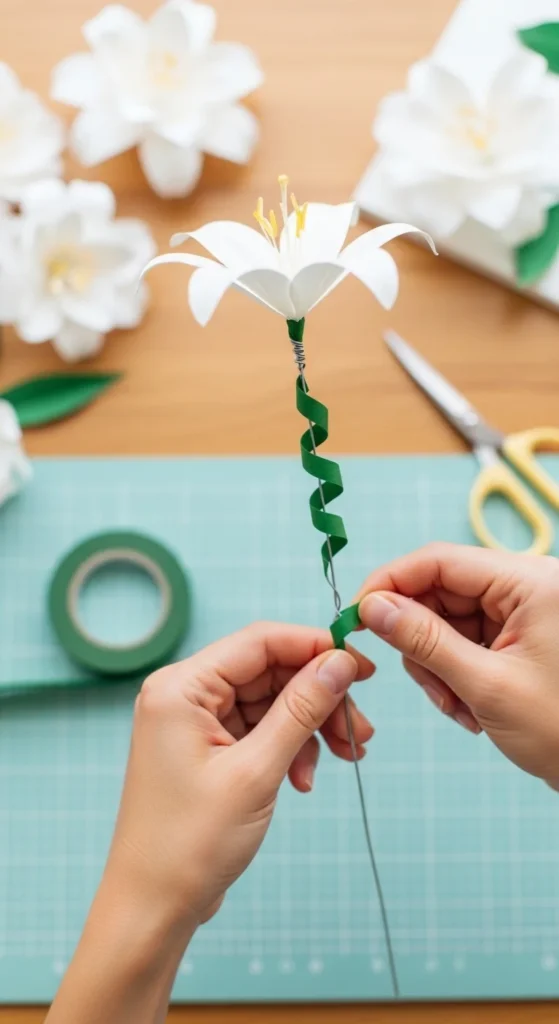
Step 4: Add a Stem (Optional but Recommended)
Your lily looks beautiful already, but a stem makes it display-ready.
Using floral wire
- Insert wire into the base of the flower.
- Twist gently to secure.
Wrap the stem
- Start floral tape at the flower base.
- Stretch slightly as you wrap downward.
- Keep the wrap smooth and tight.
Kid-friendly option
Pipe cleaners work great and require no tape.
Step 5: Add Simple Stamens for Extra Realism (Optional)
If you want your lily to look more lifelike, this small upgrade makes a big difference.
Easy stamen method
- Cut thin yellow paper strips.
- Fringe one edge with scissors.
- Roll tightly into a small bundle.
- Glue into the flower center.
Quick alternative
Use small pipe cleaner pieces for a faster center.
Keep the center subtle. Too large and it can overpower the flower.
Easy Variations to Try
Once you master the basic lily, experiment with these creative options.
Ombre lilies
- Use gradient paper.
- Or lightly shade petal edges with colored pencil.
Crepe paper lilies
- Cut petal templates.
- Stretch crepe along the grain.
- Curl edges for soft texture.
Handprint lilies (great for kids)
- Trace and cut hand shapes.
- Roll into a tube.
- Add pipe cleaner stamens.
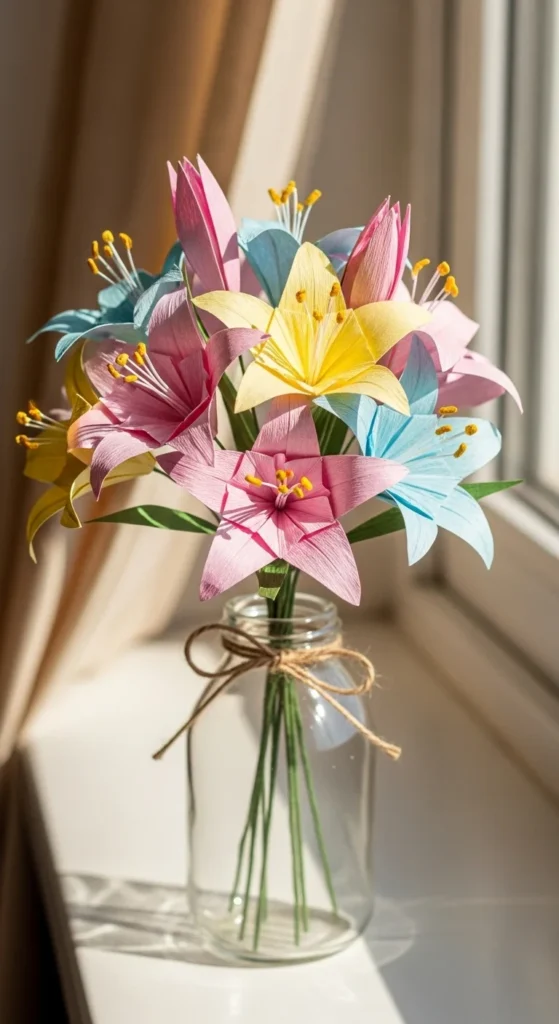
Mini bouquet idea
- Make several small lilies.
- Tie with twine.
- Display in a small jar.
Troubleshooting Common Problems
Petals look stiff
- Curl them more firmly with a pencil.
- Use thinner paper next time.
Flower won’t open evenly
- Check that all four petals are pulled out the same amount.
Base feels bulky
- Press the bottom gently to compact layers.
Stem feels loose
- Twist wire tighter and wrap tape firmly.
Creases look messy
- Slow down during the waterbomb base step.
- Sharp folds make a huge difference.
Takeaway
Paper lilies prove that a simple square of paper can turn into something truly beautiful. Focus on precise folds, gentle petal curls, and clean shaping, and your flowers will look polished every time.
Make a few in different colors, bundle them into a bouquet, and brighten up any corner of your home.
Save this tutorial for later and try your first lily today — you might be surprised how relaxing the folding process feels. 🌸


