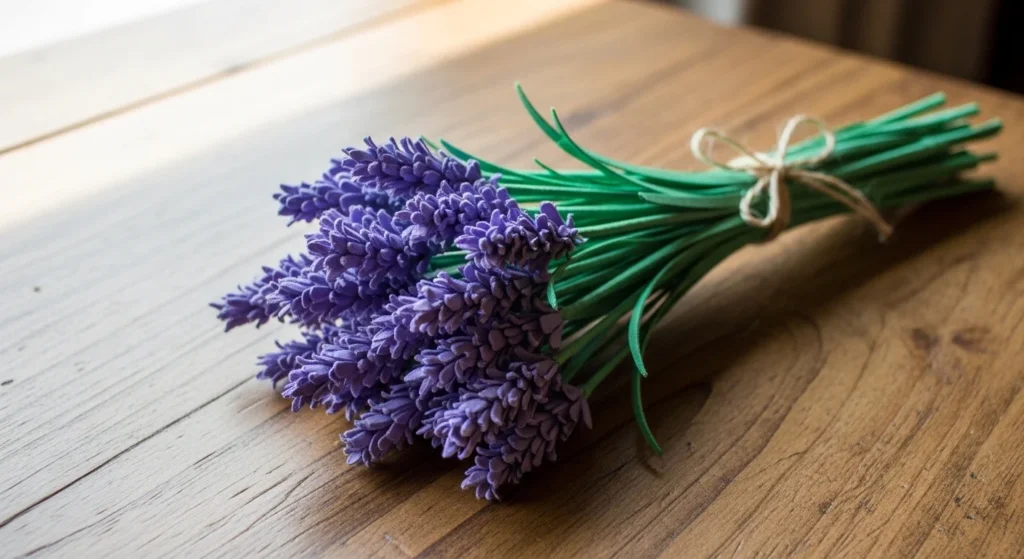

Paper lavender is one of the easiest flowers to craft, yet it looks charming and detailed in rustic decor. With just a few fringe cuts and a simple rolling technique, you can create beautiful lavender bundles for vases, gift toppers, or farmhouse displays.
The secret is the angled roll and gentle fluffing that creates those soft clustered buds. Follow this step-by-step guide and you’ll have a full bouquet in no time.
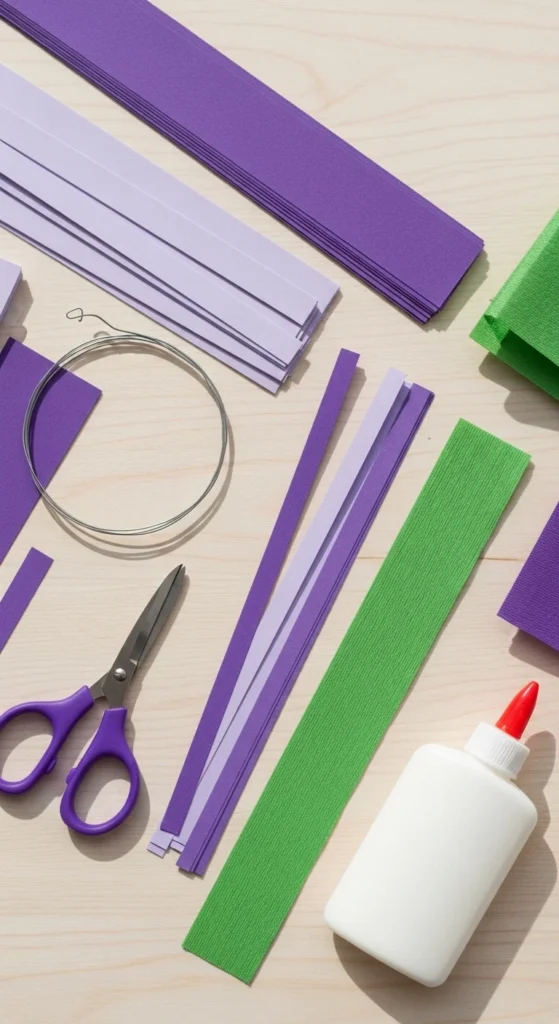
Gather Your Simple Supplies
Start by setting up your materials. Most items are inexpensive and easy to find.
Paper options
- Purple crepe paper (most realistic)
- Cardstock (clean structured look)
- Tissue paper (soft and airy)
For stems
- Floral wire or wooden skewers
- Green crepe paper or floral tape
- Scissors
- Ruler
- Hot glue gun or double-sided tape
Optional
- Bone folder or ruler edge for scoring
- Light green paper for leaves
Budget tip: Drinking straws work well as stem cores if you don’t have floral wire.
Step 1: Cut and Prepare the Purple Strips
The lavender buds come from fringe-cut strips.
Cut your paper
- Width: about 1.5–2 inches
- Length: about 10–11 inches
Optional but helpful
- Lightly score the strip lengthwise.
- Fold gently along the score.
This fold helps the buds sit neatly when rolled.
Now fringe the strip
- Cut thin slits along one long edge.
- Stop about ¼ inch from the bottom.
- Keep cuts evenly spaced.
Take your time here. Clean fringe creates fuller clusters.
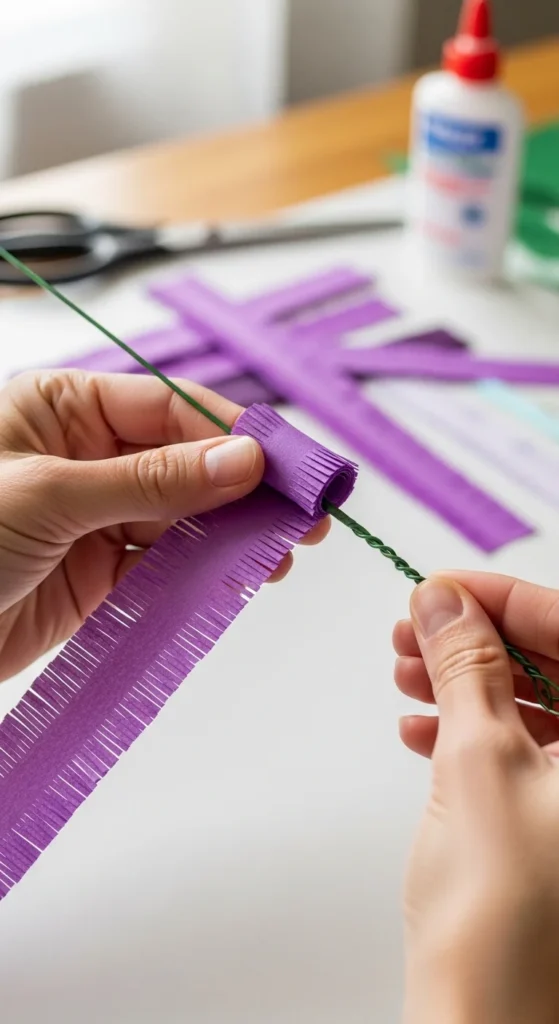
Step 2: Roll the Lavender Buds
This is where the magic happens.
Apply a thin line of glue or tape along the uncut edge.
Rolling method
- Place the stem at one end of the strip.
- Roll at about a 45° angle.
- Keep the base tight as you go.
- Continue until the strip is fully wrapped.
Important tip
If the roll feels loose, pause and add a tiny dot of glue before continuing.
The angled roll creates that classic tapered lavender shape.
Step 3: Fluff the Bud Cluster
Right now the buds look flat. Fluffing brings them to life.
How to fluff
- Gently bend the fringe pieces upward.
- Use your fingers to separate layers.
- Rotate the stem as you work.
Goal
Create a soft, rounded cluster — not a spiky one.
If using crepe paper, stretch very lightly for extra texture.
Take your time with this step. It makes a big visual difference.
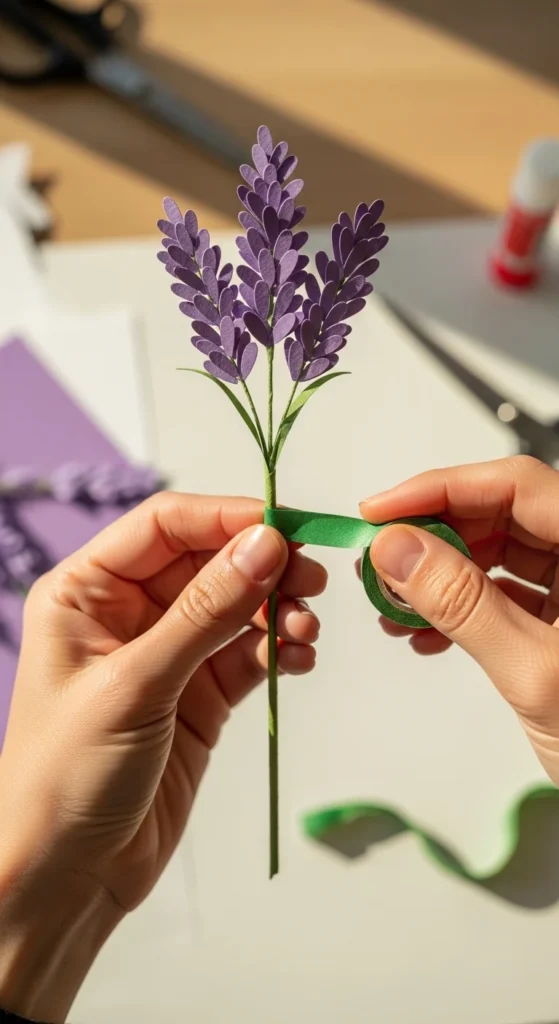
Step 4: Wrap the Stem for a Clean Finish
Now give your lavender that neat, realistic stem.
Using green crepe paper
- Cut a thin strip.
- Add glue near the flower base.
- Wrap downward in a spiral.
- Stretch slightly as you go.
Using floral tape
- Start just under the buds.
- Pull gently while wrapping.
- Work down the full stem.
Pro tip
A slight stretch in the wrap material helps it grip better and look smoother.
Step 5: Add Simple Leaves
Lavender leaves are subtle but add realism.
Cut leaves
- Long narrow shapes
- About 2–3 inches long
- Light green works well
Attach
- Glue or tape at mid-stem
- Angle slightly upward
- Use pairs for balance
You don’t need many leaves. Lavender looks best when the buds remain the focus.
Step 6: Build a Full Rustic Bundle
One stem looks nice. A bundle looks beautiful.
For a small bouquet
- Make 7–15 stems
- Vary heights slightly
- Group loosely, not tightly
Styling ideas
- Tie with twine
- Place in a small mason jar
- Use in gift wrapping
- Add to shelf decor

Cluster tip
Mix slightly different purple shades for a more natural look.
Common Mistakes to Avoid
Fringe tearing while rolling
- Cut slightly thicker strips.
- Roll slowly and steadily.
Clusters look sparse
- Use longer fringe strips.
- Fluff more thoroughly.
Tape coming loose
- Add a tiny dot of glue at the start and end.
Stem looks bulky
- Keep wrap layers thin and even.
Lavender looks too stiff
- Bend the stem gently for a natural curve.
Make Your Lavender Look Extra Real
Want a more polished finish? Try these easy upgrades:
- Lightly ink the bud tips with darker purple
- Mix crepe and cardstock stems in one bundle
- Add tiny unopened buds near the top
- Curve stems slightly outward in the vase
- Combine with paper daisies or baby’s breath
Small variations make your arrangement feel more natural and handmade.
Takeaway
Paper lavender is simple, affordable, and perfect for rustic decor. With clean fringe cuts, a steady angled roll, and gentle fluffing, you can create beautiful stems that last all year.
Try making a small bundle today and style it on a shelf or gift wrap. Save this tutorial for later so you can build a full lavender bouquet whenever inspiration strikes. 💜


