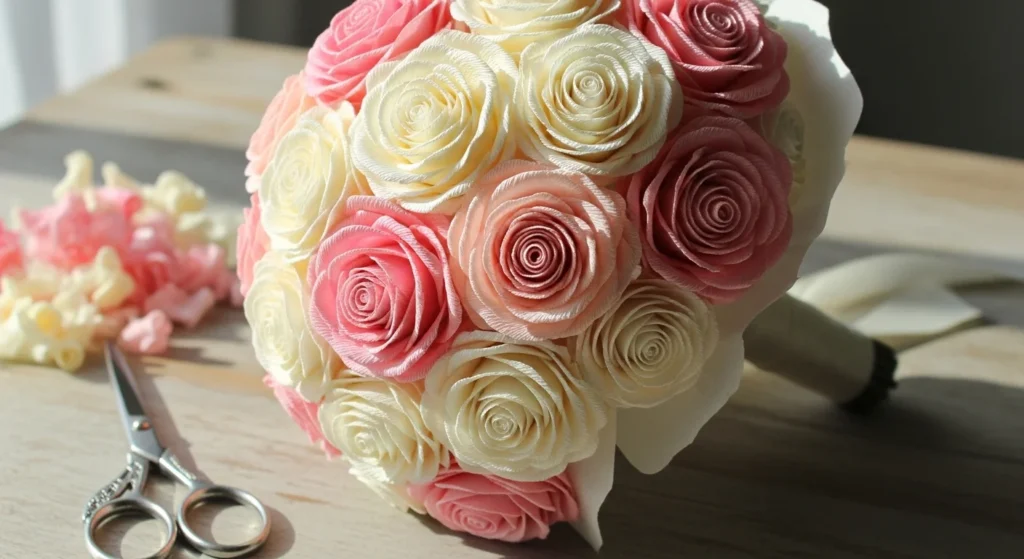
Paper flowers can look so real that guests lean in for a second glance. The secret isn’t fancy tools. It’s shaping, layering, and choosing the right paper. Whether you’re decorating for a wedding, styling a party backdrop, or making a bouquet that lasts forever, realistic paper blooms are easier than they seem.

Let’s break it down step by step so your flowers look full, soft, and lifelike instead of flat and stiff.
Choose the Right Paper for Lifelike Results
Not all paper behaves the same. The type you choose changes everything.
Best options:
- Crepe paper – Slight stretch makes it perfect for roses and peonies. It mimics natural petal curves.
- Tissue paper – Great for fluffy pom-poms and hydrangea clusters.
- Cardstock – Holds shape well for tulips and structured petals.
- Printer paper – Works for practice or simple origami styles.
If you want realistic paper flowers, crepe paper is your best friend. It stretches gently when pulled, which allows you to cup petals just like real blooms.
Quick tip:
Use slightly different shades of the same color. Light pink and dusty rose together create depth instantly.
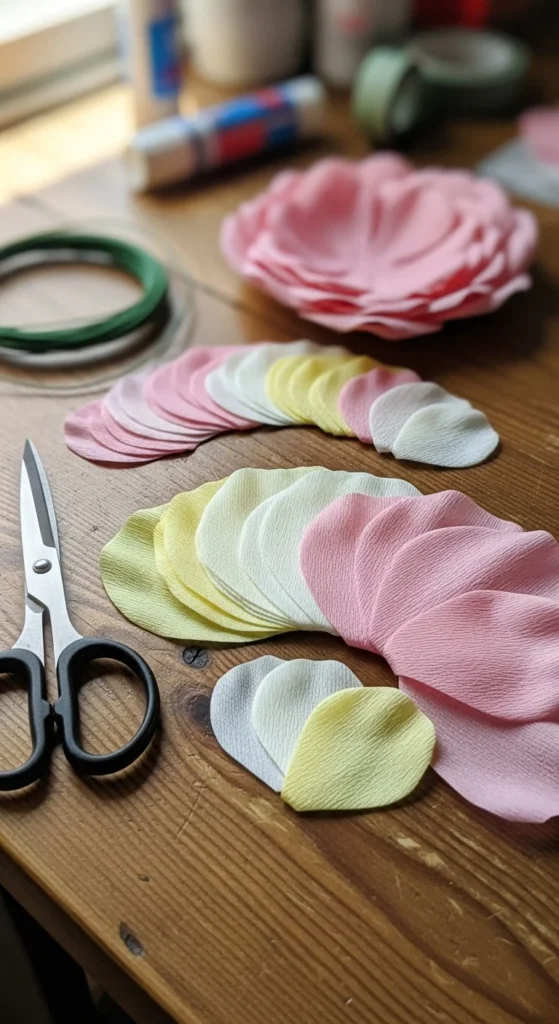
Cut Petal Templates for Consistency
One reason paper flowers look flat is uneven petals. Templates fix that.
You can:
- Print free petal templates online.
- Draw one petal shape, fold paper, and cut multiples at once.
- Cut graduated sizes (small, medium, large) for layering.
For roses, cut:
- 3–4 small petals
- 5–6 medium petals
- 6–8 larger outer petals
Stack similar pieces to speed things up. This saves time if you’re making bouquets.
Shape the Petals for Realism
This is where the magic happens.
Flat petals look fake. Shaped petals look real.
Try these shaping tricks:
- Cup the center by gently pressing your thumb into the middle.
- Stretch crepe paper slightly along the center line.
- Curl edges around a pencil or skewer.
- Pinch the base to create a natural petal fold.
For peonies and roses, curl outer edges outward.
For tulips, keep edges smoother and more upright.
Small movements make a big difference. Even subtle curves create dimension.
If your flower still looks stiff, shape the petals a little more before assembling.
Build a Strong Center First
Every realistic flower starts with a solid center.
Options for centers:
- Tightly rolled crepe strip
- Fringe-cut paper wrapped around floral wire
- Cotton ball wrapped in paper
- Small bead secured to wire
Wrap your center tightly around floral wire. Then secure with floral tape. Stretch the tape slightly as you wrap so it sticks firmly.
This strong base prevents drooping later.
Layer Petals from Small to Large
Now the flower starts to bloom.
Follow this order:
- Attach smallest petals around the center.
- Add medium petals, slightly overlapping.
- Finish with large outer petals.
Secure each layer with floral tape or a small dot of hot glue.
Keep spacing even. Rotate the flower as you attach petals. This prevents one side from looking heavier.
For extra realism:
- Slightly tilt outer petals outward.
- Don’t line petals up perfectly. Nature isn’t symmetrical.
If you’re making wedding bouquets, plan about 10 minutes per flower once you get comfortable.
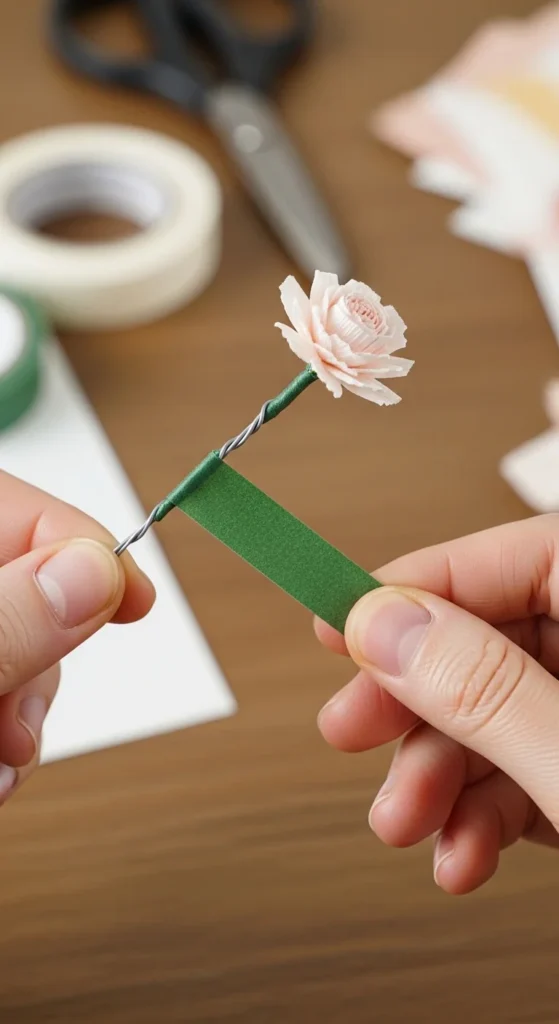
Create Lifelike Stems and Leaves
A beautiful bloom deserves a strong stem.
To make one:
- Use floral wire as your base.
- Wrap tightly with green floral tape.
- Roll green paper into a thin tube for thicker stems if needed.
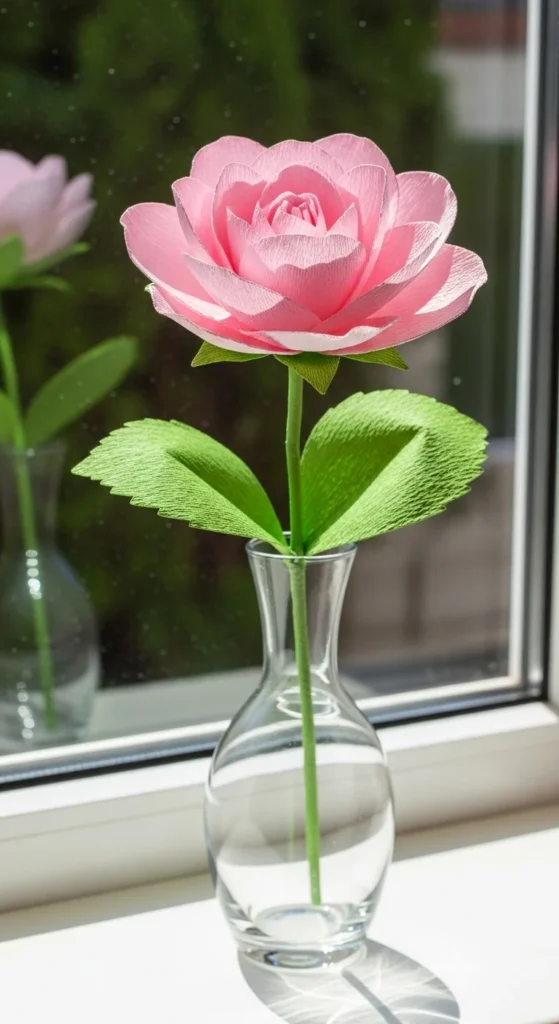
For leaves:
- Cut simple leaf shapes.
- Add a crease down the center.
- Slightly bend them before attaching.
Attach leaves with tape and wrap downward smoothly.
Add Texture with Fringe and Accordion Folds
Want more dimension? Try these techniques.
Fringe Method
- Cut thin slits along one edge of a strip.
- Roll tightly.
- Fluff outward for a stamen effect.
Perfect for:
- Carnations
- Wildflowers
- Flower centers
Accordion Fold
- Fold tissue paper back and forth.
- Secure in the middle.
- Round the edges.
- Separate layers carefully.
This creates full hydrangea-style clusters and party pom-poms.
Stretch layers gently so they don’t tear.
Fix Common Problems Quickly
Flower looks flat?
Cup petals more. Add an extra outer layer.
Stem feels weak?
Double the wire or wrap more tape tightly.
Petals tearing?
Use slower, lighter pressure when stretching.
Cutting takes too long?
Stack 3–4 sheets before cutting to speed up production.
Realistic paper flowers improve fast with practice. Your third flower will look better than your first.
Final Touches That Make a Difference
Small details matter.
- Lightly ink petal edges with soft pastel chalk.
- Add subtle color gradients with watercolor.
- Mix bloom sizes in bouquets.
- Combine roses, hydrangeas, and tulips for a natural arrangement.
Crepe flowers last indefinitely. They don’t wilt. They don’t fade quickly. That makes them perfect for weddings, centerpieces, and gifts that stay beautiful for years.
Paper flowers that look realistic aren’t about complicated tools. They’re about shaping, layering, and patience. Start with one simple bloom today. Practice the cupping and curling technique. Then build a bouquet.
Save this guide for later and try your first realistic paper rose tonight 🌸


