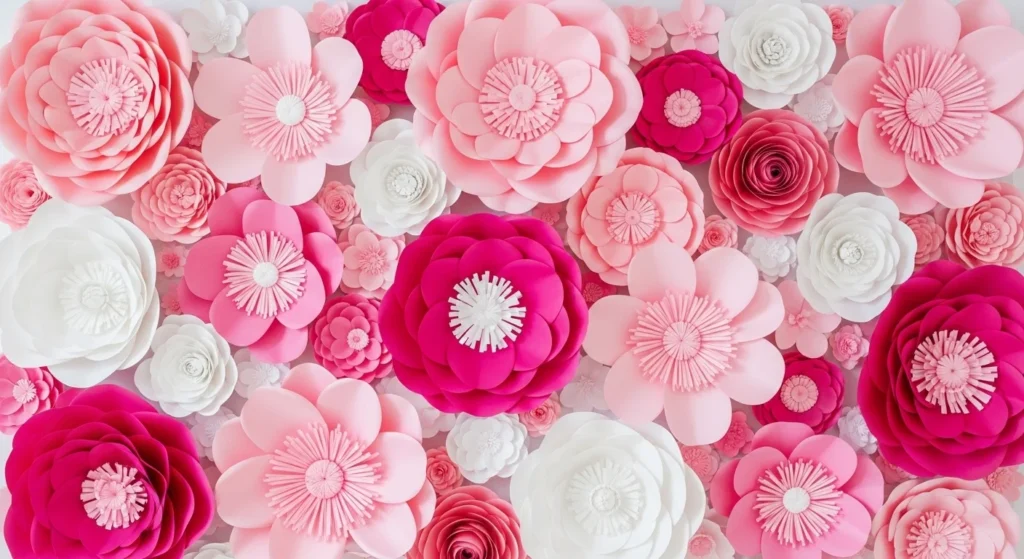
Want to turn a plain wall into a jaw-dropping photo backdrop?
Giant paper flowers are the secret behind so many dreamy weddings, birthday parties, nurseries, and event displays. These oversized blooms — anywhere from 10 inches to 40+ inches wide — instantly add drama, color, and texture.
And the best part? You can make them yourself.

Let’s walk through exactly how to make your own giant paper flowers step by step — even if you’re a beginner.
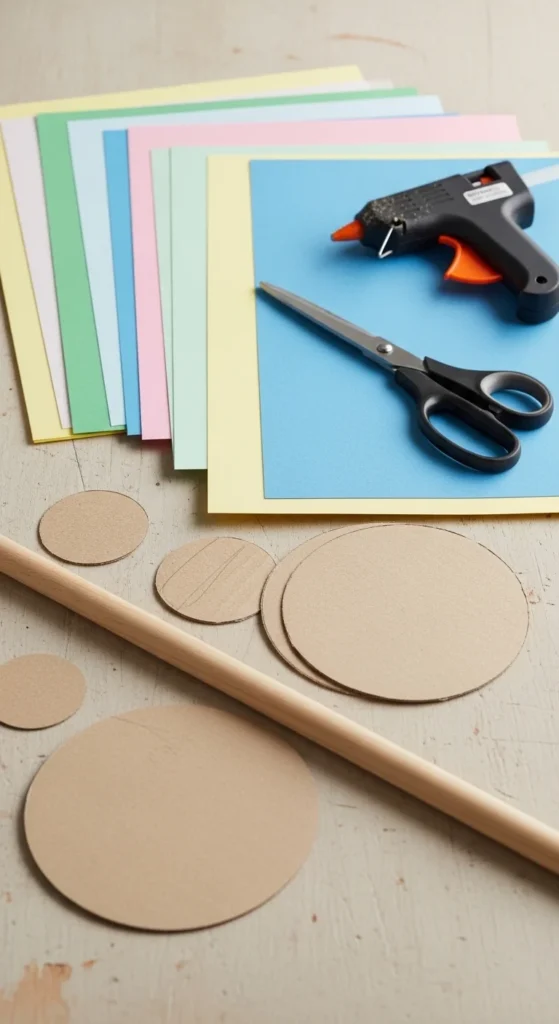
Choose Your Materials (Big Flowers Need Strong Paper)
When you scale up, your materials matter more.
Best Paper Options
- Cardstock (65lb or heavier) – sturdy, holds shape beautifully
- Crepe paper – stretchable and soft for realistic texture
- Tissue paper – lightweight and budget-friendly
For most wall decor, cardstock is easiest because it doesn’t flop.
You’ll also need:
- ✂ Scissors (or a cutting machine like a Cricut)
- 🔥 Hot glue gun
- 📏 Cardboard circle (base support)
- 🪵 Wooden dowel or pencil (for curling petals)
💡 Tip: A 10-inch flower typically uses about 7 sheets of cardstock. Larger 16-inch versions may need 10–15 sheets.
Cut Large Petal Templates
The secret to giant flowers is layering.
You’ll want:
- 6–8 large outer petals
- 6 medium petals
- 4–5 smaller inner petals
If you’re cutting by hand:
- Draw one large teardrop-shaped petal.
- Use it as a template.
- Stack 2–3 sheets to cut faster.
If you’re using a cutting machine like a Cricut, you can upload SVG templates and cut dozens of petals in minutes. This saves so much time for event backdrops.
Keep sizes graduated — each layer slightly smaller than the last.
Cup and Curl the Petals (This Is the Magic Step)
Flat petals = flat flowers.
Dimension is everything.
How to Shape Them
- Use a wooden dowel to curl the top edges outward.
- Gently press your thumbs into the center to “cup” the petal.
- Slightly bend the base inward.
This shaping creates natural movement and prevents the flower from looking stiff.
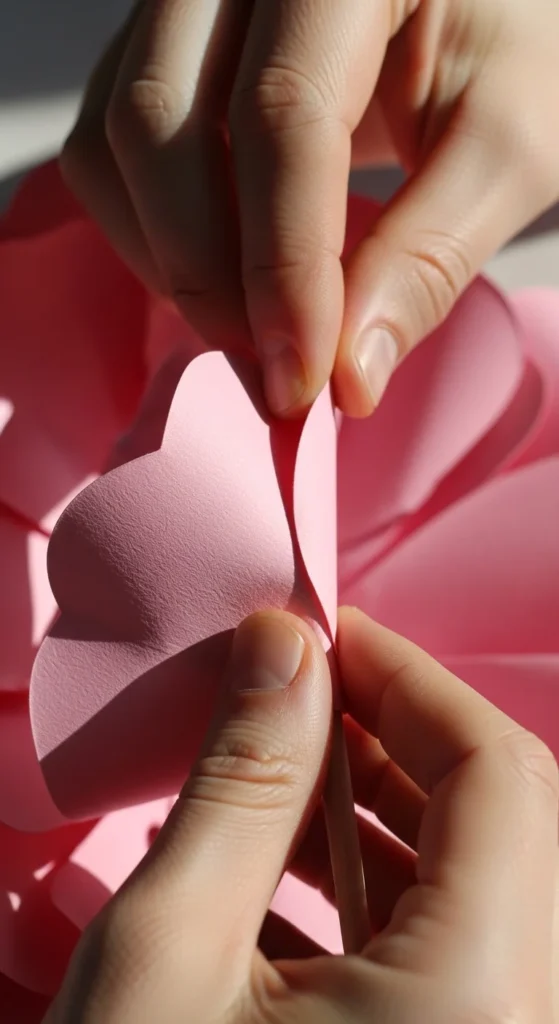
💡 The bigger the flower, the more dramatic your curl should be.
Build a Strong Cardboard Base
Large flowers need support.
Cut a cardboard circle (6–8 inches wide for a 16-inch flower).
Assembly Order:
- Glue the largest petals around the cardboard circle.
- Slightly overlap each petal.
- Add the medium layer inside.
- Finish with smaller petals in the center.
Use generous glue from your Hot glue gun — giant petals are heavier than they look.
Press each petal firmly for a few seconds so it sets securely.
If petals look too spaced out, add one extra layer. Fullness makes a big difference.
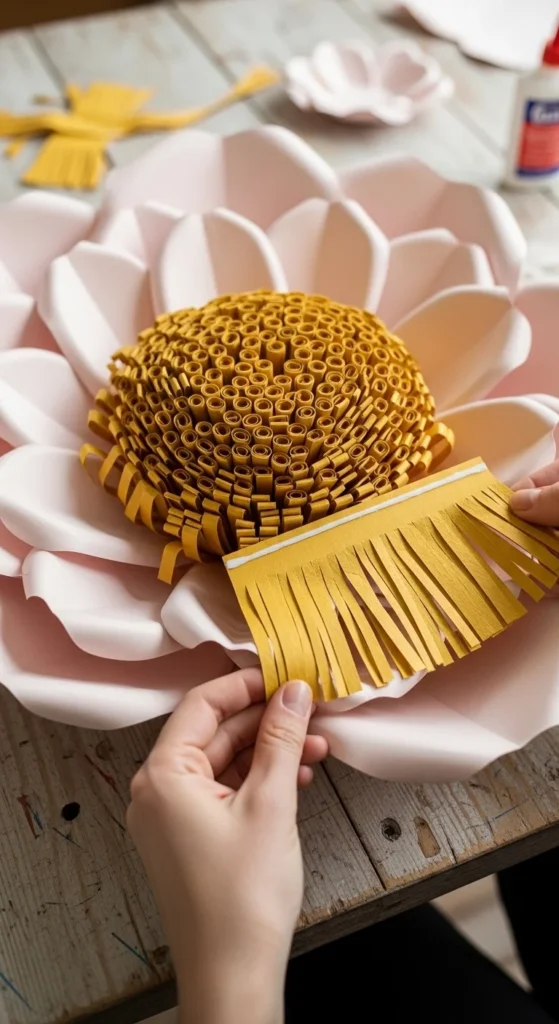
Create a Show-Stopping Center
The center brings everything together.
Here are popular options:
🌸 Rolled Center
- Cut a long strip.
- Fringe one side.
- Roll tightly.
- Fluff outward.
🌸 Spiral Rose Center
- Cut a spiral circle.
- Roll inward.
- Glue into the middle.
🌸 Tissue Puff Center
- Accordion-fold tissue paper.
- Tie the middle.
- Fluff and insert.
For extra depth, lightly brush watercolor or chalk along petal edges.
Soft gradients instantly make the flower look more realistic.
How to Hang Giant Paper Flowers on the Wall
There are two easy methods:
1. Wall-Mounted Backdrop
- Attach command hooks.
- Hang flowers using string loops.
- Layer multiple sizes for dimension.
2. Freestanding Stems (Event Style)
If you want tall display flowers:
- Use thick PVC pipe as stems.
- Secure the bottom in a bucket filled with sand or concrete.
- Attach the flower head at the top with glue and tape.
PVC stems are sturdy enough to support 18–24 inch blooms.
💡 Wrap stems with green paper or tape for a polished finish.
Scaling Tips for Different Sizes
Here’s a quick size guide:
- 10 inches – 7 sheets cardstock, quick decor
- 16 inches – 10–15 sheets, perfect backdrop focal point
- 24–40 inches – statement event flowers
For weddings and large events, mix sizes:
- 2 large flowers
- 3 medium
- 4 small
Layer them close together for that lush “flower wall” effect.
Common Mistakes to Avoid
❌ Petals Look Flat
→ Curl more dramatically and cup deeper.
❌ Flower Feels Weak
→ Use thicker cardboard and extra glue.
❌ Looks Sparse
→ Add one extra outer layer.
❌ Hard to Transport
→ Make removable centers and store petals flat before assembly.
Creative Ways to Use Giant Paper Flowers
- Wedding photo backdrops
- Baby shower decor
- Nursery statement walls
- Retail window displays
- Birthday party focal points
They photograph beautifully and cost far less than real floral installations.
And unlike fresh flowers, they last for years.
Final Thoughts
Giant paper flowers may look complicated, but once you cut, curl, and layer your first bloom, it becomes surprisingly simple.
Start with a 10-inch flower to practice. Then go bigger.
The more layers you add, the more dramatic the result.
Save this guide for later and transform your wall into a stunning floral backdrop 🌸


