There’s nothing more frustrating than finishing a beautiful polymer clay piece… only to notice tiny fingerprints and dents ruining that flawless look. The good news? Getting a smooth, professional finish is totally doable—even for beginners.
Whether you’re making jewelry, miniatures, or cute figurines, a few simple habits can make all the difference between “homemade” and “handcrafted perfection.”
Let’s walk through exactly how to keep polymer clay smooth (and fingerprint-free) from start to finish.
Start with Properly Conditioned Clay
Before you even think about smoothing, you need to prep your clay. This is the foundation of everything.
Many beginners skip this step—but it’s one of the biggest reasons surfaces end up rough. Research shows that conditioning (softening and kneading) is a core step before smoothing.
Why conditioning matters:
- Removes air bubbles
- Makes clay easier to handle
- Prevents cracks and uneven texture
- Reduces surface resistance (aka fewer fingerprints)
How to do it:
- Knead the clay until it’s soft and flexible
- Roll it into a ball, then flatten and repeat
- Use a roller or pasta machine if you have one
👉 If your clay feels too sticky, let it rest for a few minutes or lightly dust your hands with cornstarch.
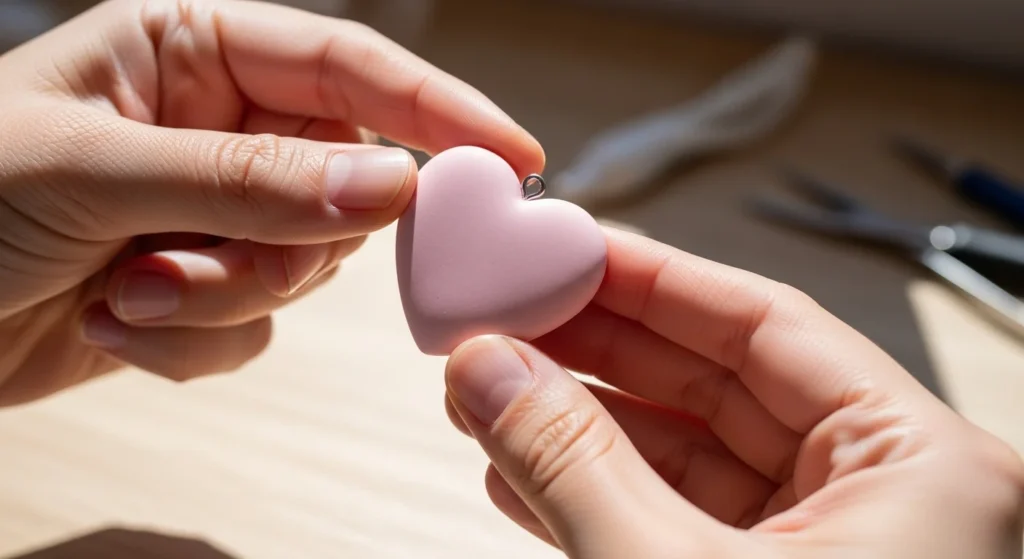
Prevent Fingerprints Before They Happen
Prevention is always easier than fixing later.
Fingerprints are the #1 issue people face with polymer clay, so your goal is to minimize direct contact as much as possible.
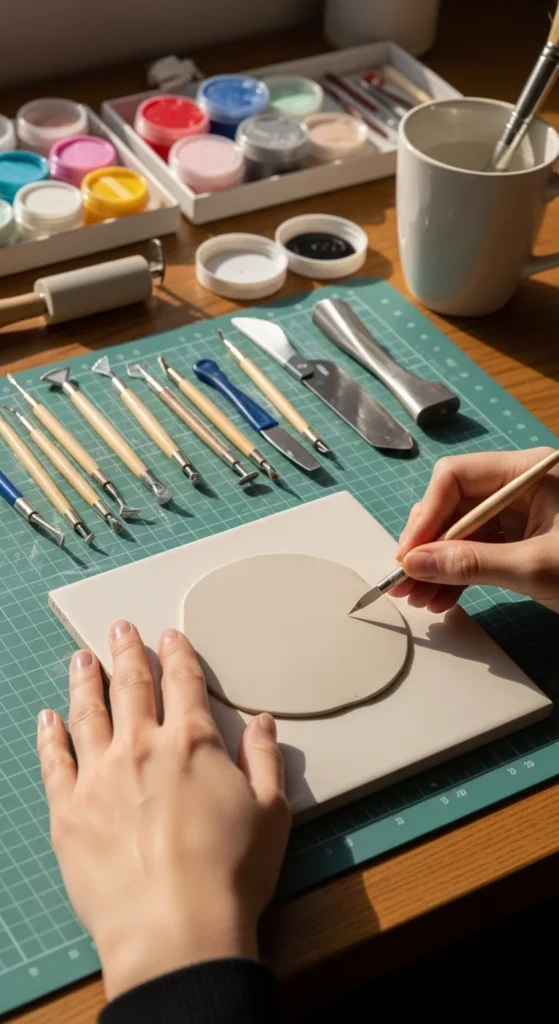
Smart prevention tips:
- Handle clay lightly (avoid pressing too hard)
- Use tools instead of fingers when possible
- Work on a smooth surface like glass or tile
- Keep your hands clean and dry
Bonus trick:
- Use cling film (plastic wrap) over your clay while shaping to avoid direct contact
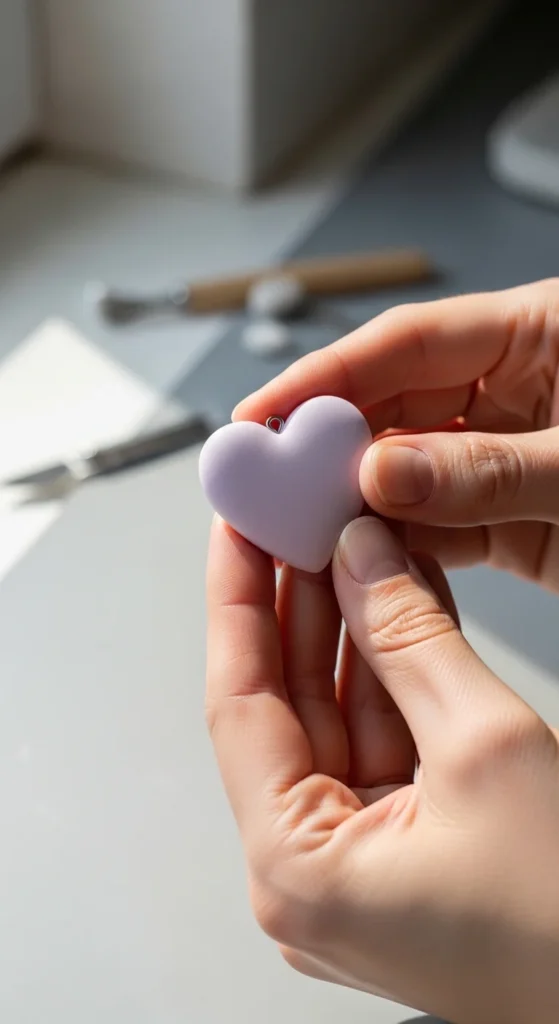
Use Simple Smoothing Techniques (Before Baking)
Once your shape is ready, it’s time to smooth out any marks—before baking.
This is where small, gentle techniques make a big impact.
Best beginner-friendly methods:
- Finger blending: Lightly rub seams or marks with soft pressure
- Cornstarch dusting: Reduces stickiness and smooths texture
- Baby wipes: Gently wipe away fingerprints
- Rubbing alcohol: Use a cotton swab to smooth the surface
These methods are popular because they work without damaging details.
Pro tip:
Always use minimal moisture—too much liquid can blur details.
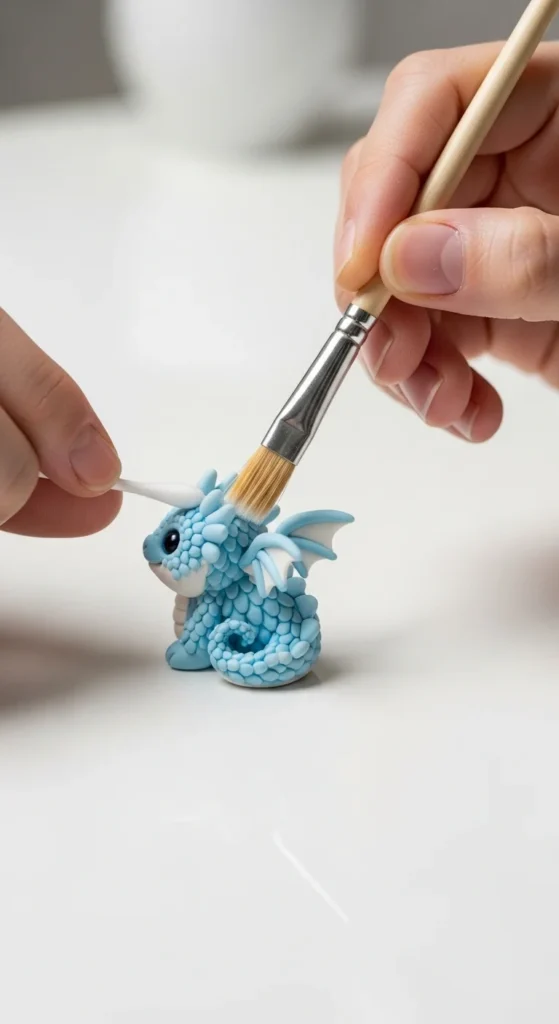
Try Brush Smoothing for a Flawless Finish
If you want that ultra-clean, almost polished look—this is your secret weapon.
A soft brush (like a Taklon paintbrush) can smooth the surface without flattening your design.
How to do it:
- Use a dry or slightly damp soft brush
- Move in gentle circular motions
- Focus on areas with visible fingerprints
This technique is especially helpful for:
- Rounded shapes
- Faces and miniatures
- Jewelry pieces
👉 It’s one of the most recommended methods for beginners aiming for a smooth finish.
Smooth Smartly Around Details
Not all areas should be treated the same.
Fine details (like eyes, textures, or edges) can easily get ruined if you over-smooth.
Keep details safe:
- Use a small brush or cotton swab
- Avoid heavy pressure
- Smooth around details, not over them
- Work slowly in tiny sections
Think of it like editing a photo—you’re refining, not erasing.
Fix Imperfections After Baking
Even with the best prep, mistakes happen. That’s okay!
If your piece already has fingerprints or rough spots after baking, you still have options.
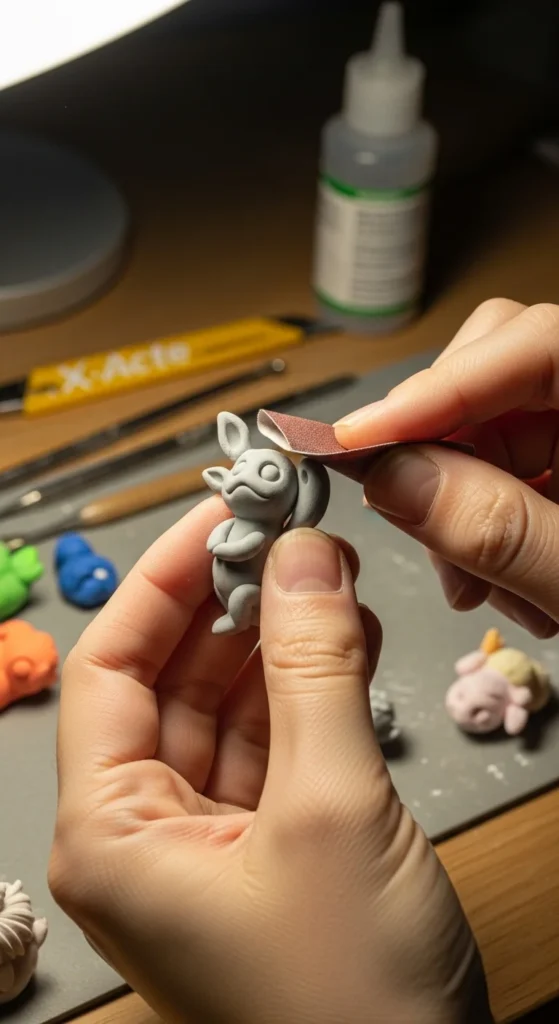
Post-bake fixes:
- Fine sandpaper (400–1000 grit): Smooths out imperfections
- Buffing: Adds a soft shine
- Liquid clay: Fills cracks or dents
- Clay dust paste: Helps repair deeper flaws
Important: Sanding is a fallback method, not your first step. Pre-bake smoothing is always easier.
Quick Troubleshooting Guide
Here’s a simple cheat sheet to help you decide what to use:
If your clay is:
- Too sticky → Use cornstarch or let it rest
- Full of fingerprints → Try alcohol or brush smoothing
- Cracked → Use liquid clay or patch before baking
- Uneven → Blend gently with fingers or tools
This “problem → solution” mindset makes crafting way less overwhelming.
Final Thoughts: Smooth Clay = Small Habits
Keeping polymer clay smooth isn’t about one magic trick—it’s about a few small habits done consistently:
- Condition your clay first
- Touch less, smooth more
- Use the right tools
- Fix early, not later
Once you get the hang of it, smooth finishes will feel effortless—and your creations will instantly look more polished and professional.
✨ Save this guide for your next clay project—and enjoy creating without the fingerprints!

Lauren Bennett is a DIY and home decor creator with 8+ years of crafting experience. She shares beginner-friendly projects that are visual, budget-aware, and easy to actually finish.