
If your polymer clay is cracking, crumbling, or leaving fingerprints everywhere, it’s usually not your “skill.” It’s the conditioning. When clay is properly conditioned, it feels smooth, bends without breaking, and bakes stronger with fewer surprise bubbles.
This guide shows the quickest ways to condition clay—with a pasta machine or by hand—plus fixes for sticky blocks, brittle old clay, and trapped air.
What “Conditioned” Clay Should Look and Feel Like
Before you start making anything, check for these signs:
- Smooth surface with a slight natural sheen (not oily)
- Bends without cracking when you fold a thin strip
- No crumbly edges when you slice it
- Feels warmer and more pliable than when you opened the block
Fast test: Roll a snake (like a pencil). Bend it into a “U.”
If it cracks on the outside curve, it needs more work.
The Fastest Method: Pasta Machine Conditioning
A pasta machine is the speed champion because it warms and blends the clay evenly.
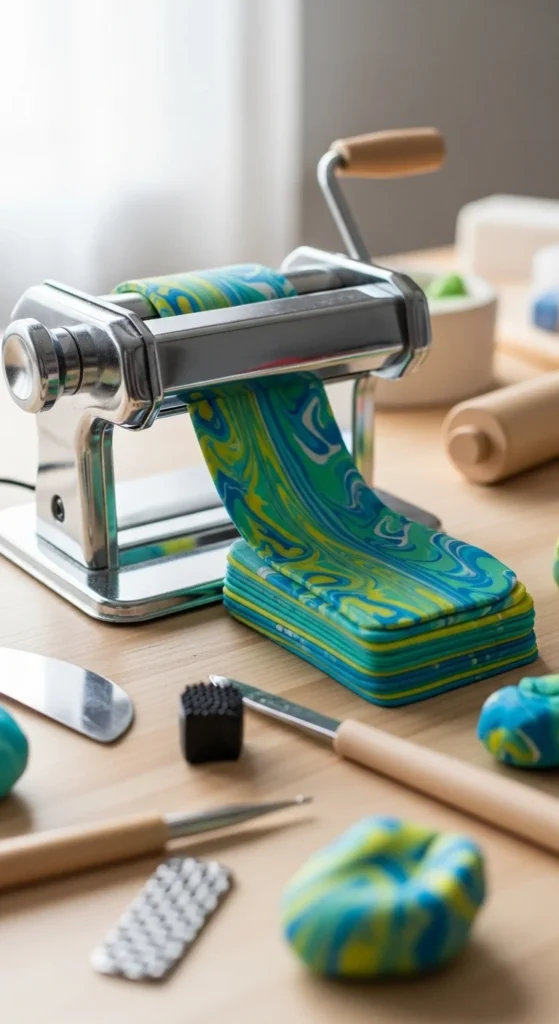
Step-by-step (quick and clean)
- Slice the clay into 4–6 thin pieces (thin slices feed easier).
- Set the machine to a thicker setting at first.
- Run the clay through once.
- Fold the sheet and run again.
- Repeat until the sheet looks smooth and stretches slightly without tearing.
How to avoid air bubbles
Air bubbles usually come from folding the clay in a way that traps air.
- Fold the sheet like a letter (neat edges).
- Feed it consistently with the folded edge first so air pushes out instead of getting sealed inside.
- If you see bubbles, stop and do two slow passes on a thicker setting before going thinner.
Time saver
Most clays condition in 8–12 passes. Firmer brands may take more.
No Pasta Machine? Hand Conditioning That’s Still Fast
Hand methods can be quick if you use the right sequence (and don’t fight the block).
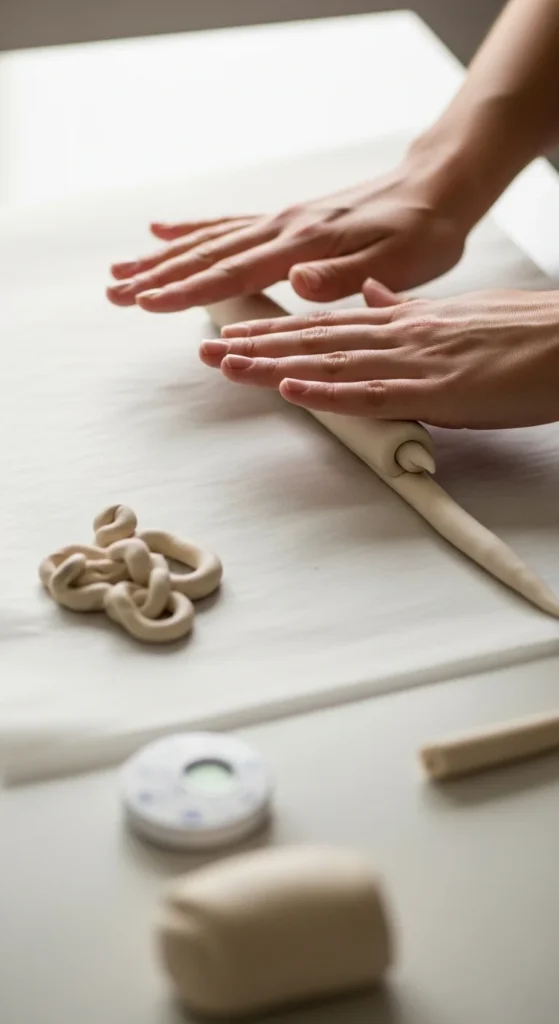
The “slice + snake + fold” method
- Slice the block into thin slabs.
- Roll each slab into a short snake (this warms it fast).
- Bundle the snakes together and twist lightly.
- Fold in half, press flat, repeat.
Wrist-friendly tip
Instead of squeezing with your thumbs (hello hand fatigue), use:
- Palm rolling on the table
- A roller to press and fold
- Short sessions: 60 seconds working, 15 seconds rest
How long by hand?
For most beginner clays, expect 5–10 minutes depending on firmness and room temperature.
Quick Fixes for Common Clay Problems
Polymer clay isn’t always perfect out of the package. Here’s how to fix the big three issues fast.
1) Clay is too sticky or gummy
Sticky clay can smear details and pick up lint.
- Lay it between plain paper (printer paper or paper bag works).
- Press lightly with a book.
- Wait 10–30 minutes, then re-condition.
If it becomes too firm afterward, mix in a small bit of softer clay.
2) Clay is hard, crumbly, or old
Old clay can crumble because the plasticizers aren’t blending evenly yet.
- Chop it into tiny pieces.
- Warm it with your hands (or set the sealed bag near a warm lamp for a few minutes).
- Add a small amount of clay softener or liquid polymer clay, then wait about 10 minutes before conditioning again.
Go slow at first—once it starts to come together, it improves quickly.
3) Air bubbles keep showing up
Bubbles come from trapped air, fast folding, or pushing clay through too thin too soon.
- Condition on a thicker setting for a few passes.
- Fold neatly and feed the fold edge first.
- If a bubble appears in a sheet, pop it with a pin and roll once more.
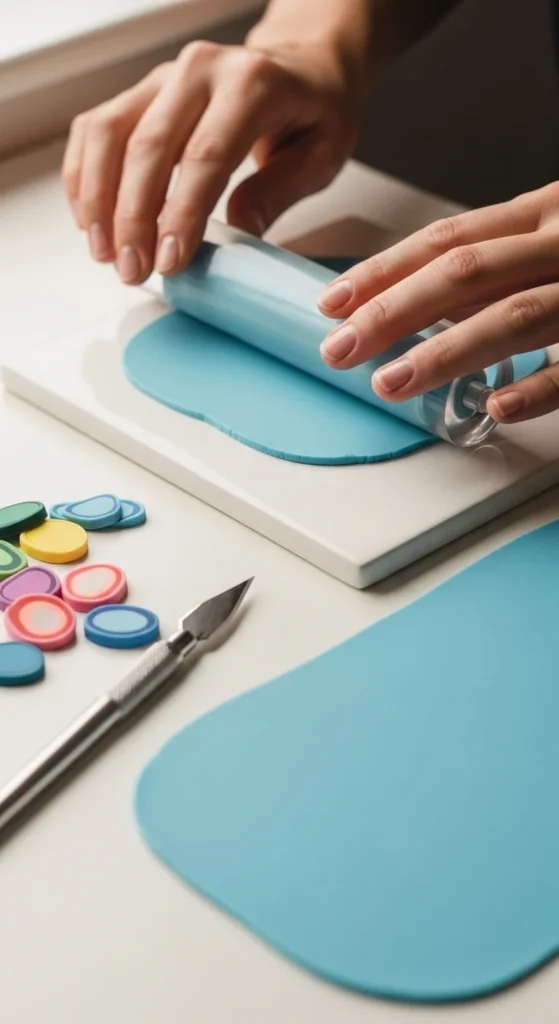
The “Ready” Check: Smooth Sheet + Bend Test
You don’t need to guess when it’s done. Use two checks:
- Sheet test: Roll a thin sheet. It should look even, not grainy.
- Bend test: Fold a thin strip. It should bend without cracking.
If you’re making earrings or thin pieces, this step matters a lot. A well-conditioned thin sheet bakes stronger and is less likely to snap later.
Speed Routine You Can Repeat Every Session
Here’s a simple routine that works even if your clay sat for a while:
- Condition for 1–2 minutes before every project (even “already soft” clay)
- Keep your workspace clean to avoid lint
- If clay gets too soft while you work, chill it for 3–5 minutes before final shaping
This keeps your finish smoother and helps details stay crisp.
Takeaway
Fast conditioning is really about a smart process: slice thin, warm it gently, fold correctly, and test the bend. Do that, and you’ll get smoother surfaces and stronger bakes with fewer cracks.
Want me to tailor this to your exact clay brand (Premo, Sculpey III, Fimo, Kato, etc.) and what you’re making (earrings, charms, mini figures)? Tell me the brand and project, and I’ll give you a quick conditioning plan. Save this guide for later!


