

Old books make some of the prettiest Christmas decor because the paper already has that soft, timeworn look. With a little folding, rolling, and gluing, you can turn thrifted pages into ornaments, mini trees, wreaths, garlands, and gift details that feel cozy and handmade. The best part is the cost. Most of these ideas can be made with basics you already own—scissors, glue, twine, and cardboard—so it’s easy to keep projects low-cost while still looking polished.
1. Folded Paperback Tree (30-Min Tabletop)

Grab an old paperback you don’t mind folding. Start at the first page and fold it toward the spine, creating a long triangle shape. Repeat page after page until the book turns into a full standing “tree.”
Keep your folds consistent. If the tree leans, press the base against the table to flatten the bottom edge.
Once it stands well, wrap twine around it like garland. Add a small bow at the top. You can also glue a small star cut from a page scrap.
Budget tip: thrift stores often have damaged paperbacks for almost nothing. Pick a thicker book for a fuller tree. If the pages are slippery, a tiny dot of glue on every 10th page helps it hold shape.
2. Folded Book Tree With Ribbon Wrap

After folding your tree, add a ribbon spiral from top to bottom. Keep the ribbon loose so the folds stay visible.
Tuck the ribbon into the folds instead of gluing. That way, you can change colors each year. Add a small ornament charm or bell tied to the ribbon near the bottom.
Budget tip: use leftover gift ribbon or torn fabric strips. Fabric looks especially cozy against printed pages.
3. Paper Circle Bauble Sphere (Punch + Glue)

This classic bauble uses lots of circles, but it’s simple. Punch or cut many 2-inch circles from book pages. Fold each circle in half.
Glue folded halves together in a repeating stack so the ornament opens into a sphere. Insert a twine loop at the top seam before you close the final section.
Budget tip: no punch? Trace a jar lid and cut stacks of circles at once. Use a paper clip to hold the stack steady while cutting.
4. Circle Bauble With Cylinder Insert (Holds Shape Better)

If your bauble feels floppy, add a small rolled paper cylinder inside. Roll a strip of cardstock or thick scrap paper into a tube and glue it.
Build the circle sphere around it. The tube helps the ornament keep a round shape and also gives a sturdy spot to anchor the hanger.
Budget tip: use cereal-box cardboard for the tube. It’s free and strong.
5. Honeycomb Page Ornament (Fold + Open)

Cut repeated shapes (oval, circle, or tree silhouette). Stack them and glue in a pattern so the piece opens like honeycomb paper decor.
Use thin glue lines. Let sections dry before adding the next. Add a twine loop at the top.
Budget tip: start with simple circles. Once you understand the glue pattern, switch to tree shapes or stars.
6. Honeycomb Tree Decor Set (Shelf Trio)

Make several honeycomb trees in different sizes for a shelf display. Keep the shapes simple and repeatable.
Place them on a wood tray or stack them with a few pinecones (no glitter required). The paper texture does most of the work.
Budget tip: use one book for the whole set so the paper tone matches.
7. Accordion Rosette Tree Topper

Make a large rosette by accordion folding longer strips. Glue ends to form two half fans, then glue them into a full circle.
Back it with a cardboard circle for strength. Add a small loop or clip on the back so it attaches to the tree top.
Budget tip: if you don’t want a full topper, make two medium rosettes and layer them for a thick look.
8. Glitter-Style Edges on Paper Decor (Metallic Dry Brush)

Add subtle shine by dry-brushing metallic paint on edges. Use almost no paint on the brush. Sweep lightly along folds and cut edges.
This makes rosettes, trees, and baubles catch tree lights without looking messy. Let it dry fully before hanging.
Budget tip: one small craft paint bottle lasts for many projects. Test on a scrap first so the effect stays light.
9. Tea-Dyed “Aged” Pages for Extra Patina

If your pages look too bright, tea-dye them. Dip pages quickly in cooled tea, then blot with a towel.
Dry flat under a book so they don’t curl. Once dry, use them for ornaments, garlands, and cones.
Budget tip: dip only the edges for a “soft border” look. That uses less time and keeps pages easier to fold.
10. Rolled Cone Christmas Wreath (Cardboard Ring Base)
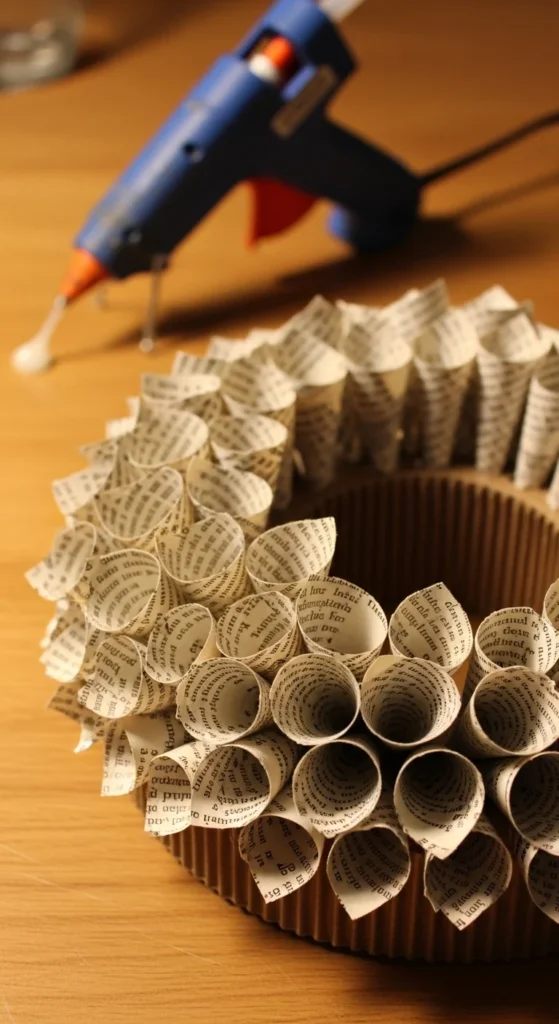
Cut a ring from cardboard. Roll book pages diagonally into cones and glue the tip so they hold shape.
Glue cones tip-down around the outer edge first, then work inward in rows. Overlap wide ends to hide gaps.
Budget tip: use shipping-box cardboard. Add a twine loop on the back for hanging. If you want it lighter, use foam board.
11. Cone Wreath With Center Bow and Picks
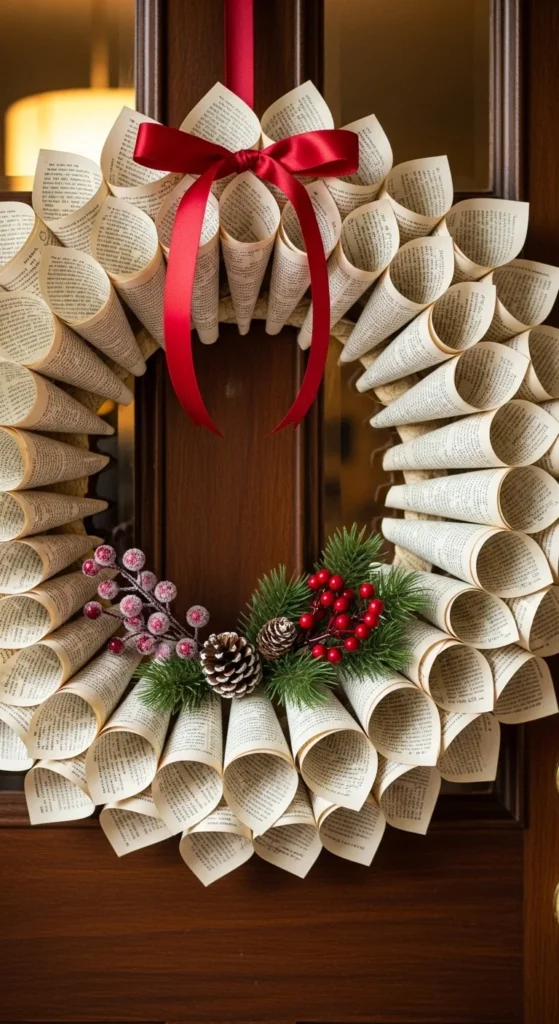
Once your cone wreath is done, add a center accent. A bow works well. Small faux greenery picks also look great tucked into cones.
Keep accents minimal so the paper stays the main texture.
Budget tip: use a page strip twisted into a “paper bow” if you don’t want to buy ribbon.
12. Staggered Cone Tabletop Tree (Cardboard Cone Base)
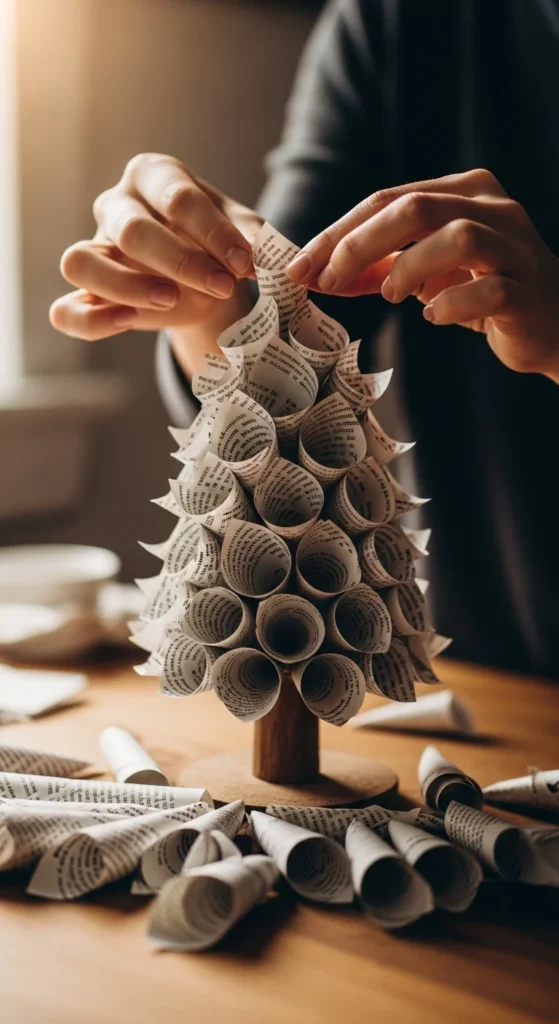
Make a cone base from cardboard. Glue cones around it in staggered rows, starting at the bottom.
As you move upward, use smaller cones so the top looks neat. Add a small rosette or bow at the top.
Budget tip: a cereal box works for the base. Wrap the seam with twine to hide it.
13. Toilet Roll Mini Trees Wrapped With Pages

Use toilet roll tubes as mini tree bases. Cut the top edge into points, then pinch slightly to shape.
Wrap book pages around the tube with glue. Add twine spirals and small paper stars.
Budget tip: make a set in different heights. They look great grouped together on a tray.
14. Mini Book Cluster Ornaments (Fillables or Tied Bundles)

Fold small “mini books” and either tie them in bundles with twine or place them inside clear fillable ornaments.
Add a tiny jingle bell charm if you want a little sound when the tree moves.
Budget tip: skip clear fillables and tie the bundle directly to the branch. It still looks like a tiny hanging library.
15. Crumpled Page Garland (Staple + Twine)
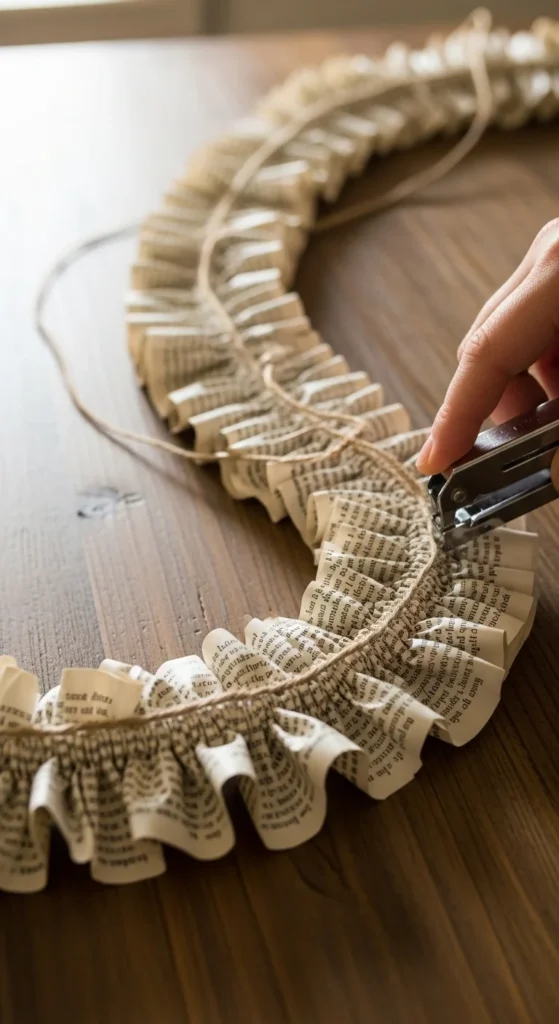
Crumple page pieces into loose ruffles. Fold once and staple near the fold to hold shape. Punch holes through the folded area and thread onto twine.
After hanging, fluff each ruffle so it looks full and cozy.
Budget tip: leave long tails of twine at both ends for easy tying around mantel hooks.
16. Snowflake Cutout Garland (Stack-Cut Fast)
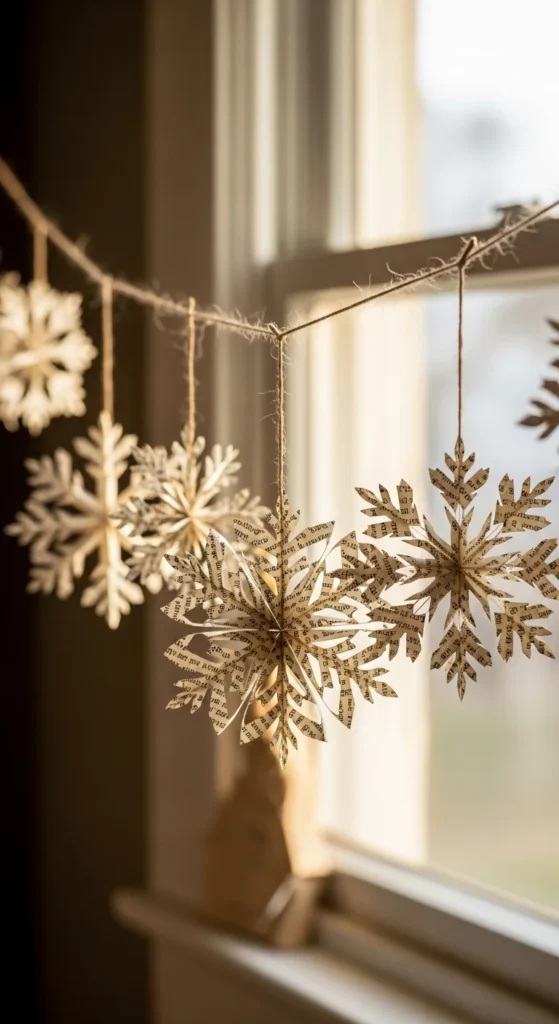
Fold pages and cut simple snowflake shapes. Stack-cut several at once for speed.
Punch a hole at the top and string them with spacing. Curl edges slightly so they catch light.
Budget tip: keep cuts simple so they don’t tear when unfolded.
17. Book Page Gift Wrap (Twine Cross Tie)
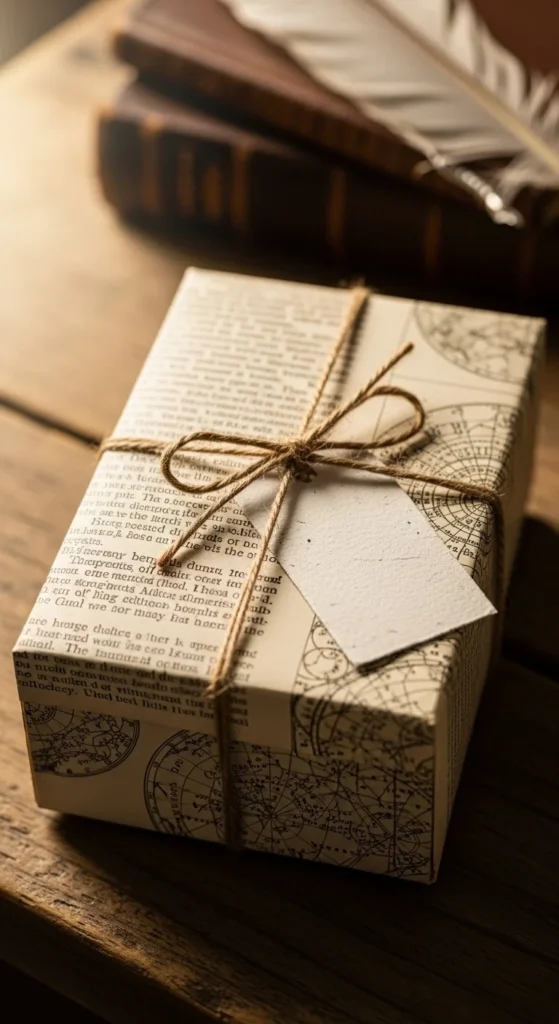
Wrap small gifts with book pages like wrapping paper. Secure with tape on the back.
Tie twine in a cross pattern. Add a simple paper rosette or tiny folded star on top.
Budget tip: this looks great even with plain boxes. Use dictionary pages for a more uniform look.
18. Cardboard “Book Page” Gift Tags
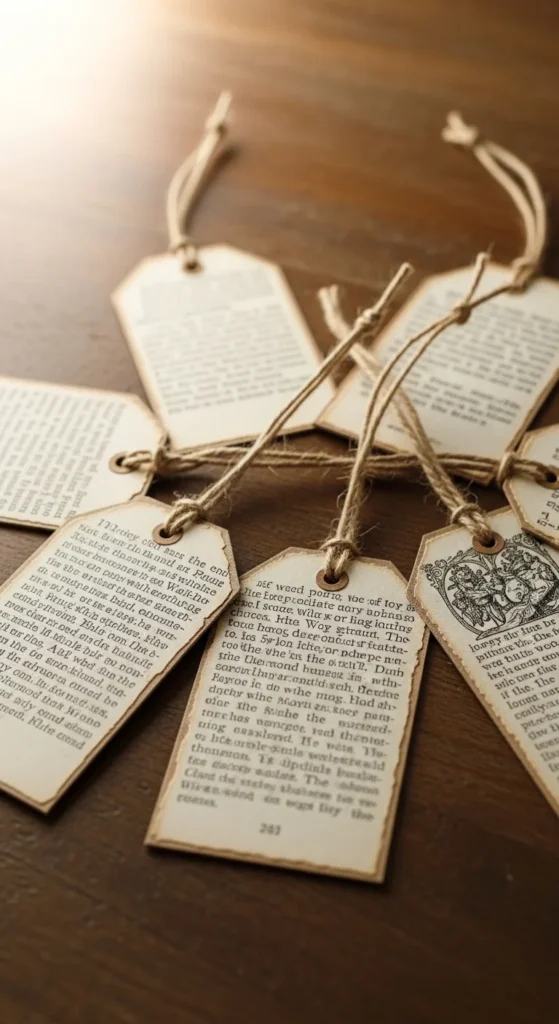
Cut tag shapes from cardboard. Glue book pages on top and trim edges.
Punch a hole and add twine. If you want detail, dry-brush the edges lightly with metallic paint.
Budget tip: use cereal-box cardboard. Make a stack of tags at once.
19. Vintage Paper Star Ornament (Folded Points)

Fold strips into points and assemble a star shape. Glue points together and back with a small paper circle.
Add a twine loop. These look great mixed with rosettes and baubles.
Budget tip: use thicker pages (or double layers) so star points hold shape.
20. Wire-Star Tree Topper With Page Wrap
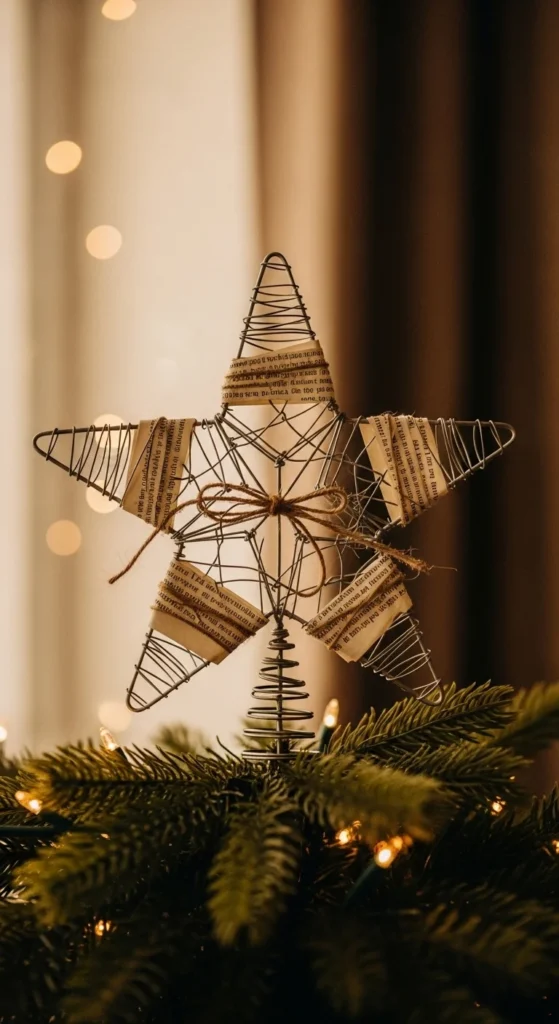
If you have a wire star topper, wrap parts of it with thin page strips. Secure with tiny glue dots.
Leave some wire visible so it doesn’t look heavy. Add a small twine bow where it meets the tree.
Budget tip: you can also make a simple star frame from sturdy craft wire.
21. Hanging “Chandelier” Paper Tree (Ceiling Decor)
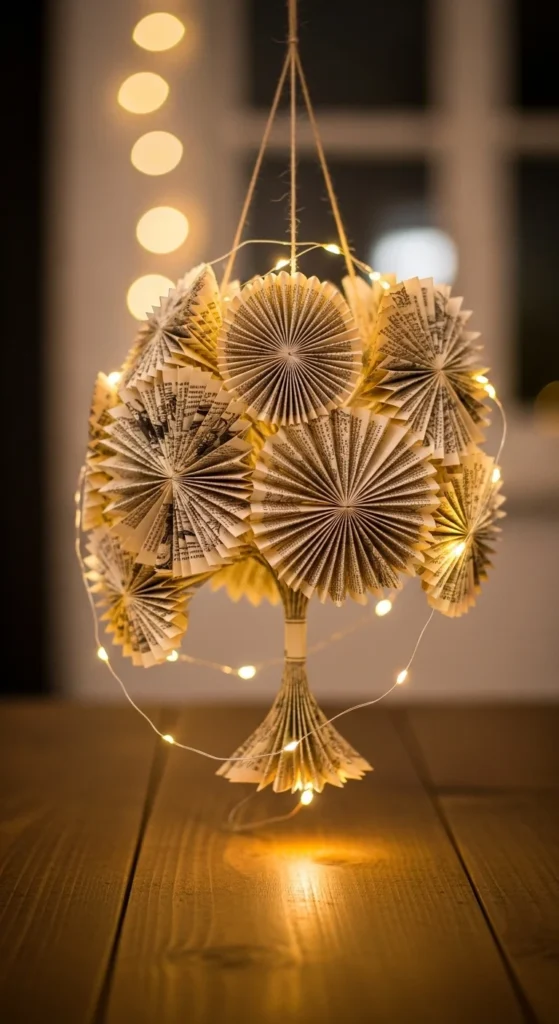
For a statement piece, hang a paper “tree” from the ceiling. Use honeycomb sections or layered cones around a central hanger.
Keep it light so it hangs safely. Add twine and a small bell at the bottom for movement.
Budget tip: hang it from a removable ceiling hook meant for lightweight decor.
22. Page Bauble Bowl (Centerpiece Decor)
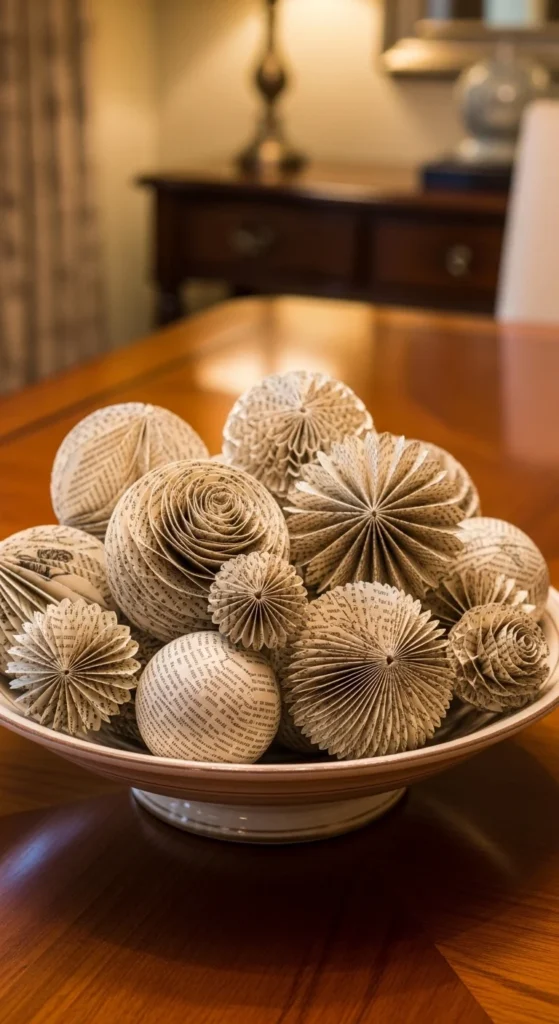
Instead of hanging everything, fill a bowl with paper baubles, mini rosettes, and small folded stars.
Mix sizes for a “full” look. Add a few pinecones if you want extra texture.
Budget tip: imperfect ornaments still look great in a bowl. It’s a good place to use practice pieces.
23. Under-$5 Mantel Set (Tree + Garland + Stars)
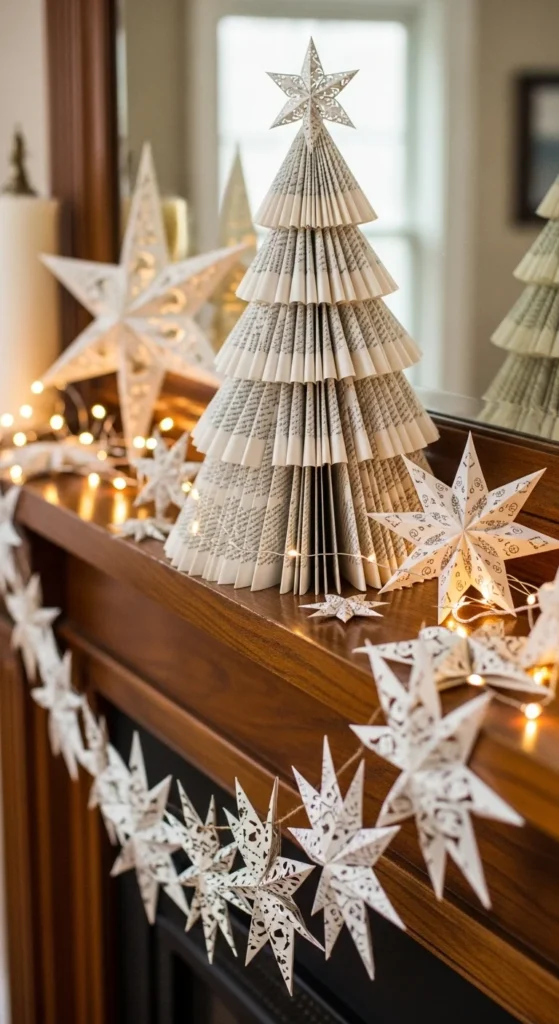
Create a mini set using only book pages, twine, and cardboard. Make one folded book tree. Hang a crumpled ruffle garland. Add a few paper stars taped to the wall above.
It feels cohesive because everything shares the same paper tone.
Budget tip: use only one thrifted dictionary or paperback for the full set so it matches naturally.
24. Sheet Music Swap Decor (Musical Theme)

Swap in sheet music pages for a musical theme. Rosettes and honeycomb ornaments look especially good with music notes.
Mix book pages and music pages together for contrast. Keep the shapes consistent so it still feels calm.
Budget tip: old damaged music books are often cheap. You only need a few pages for accents.
25. Jingle Bell Twine Charm Add-Ons

Tie tiny bells onto twine hangers or garlands. The sound is subtle but adds holiday charm.
Use one bell per ornament or one bell at the end of a garland strand.
Budget tip: if you have a strand of bells from old decor, cut it into small sections and reuse.
26. Quick “Baubles + Bows” Tree Theme Set
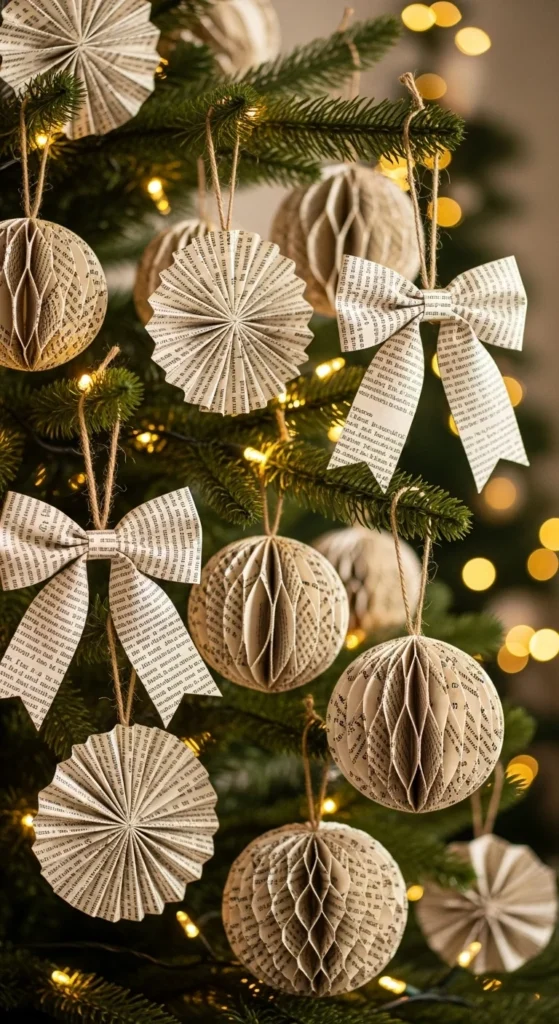
If you want a matching tree fast, pick three items: circle baubles, rosettes, and strip bows. Make a batch of each.
Use the same twine for hangers. Add one small metallic dry-brush detail across everything so the set ties together.
Budget tip: assembly-line crafting saves time. Cut all pieces first, fold second, glue third, add hangers last.
Conclusion
Book page Christmas decor is a budget-friendly way to decorate with soft, vintage texture using materials you can thrift or reuse. Start with one “hero” piece like a folded book tree or a cone wreath. Then add easy fillers like rosettes, circle baubles, and a simple garland. Keep your twine hangers consistent, use thin glue lines, and stick to one paper tone for a calm, coordinated look. Once you make a few pieces, you’ll have a full holiday set you can bring out year after year.


