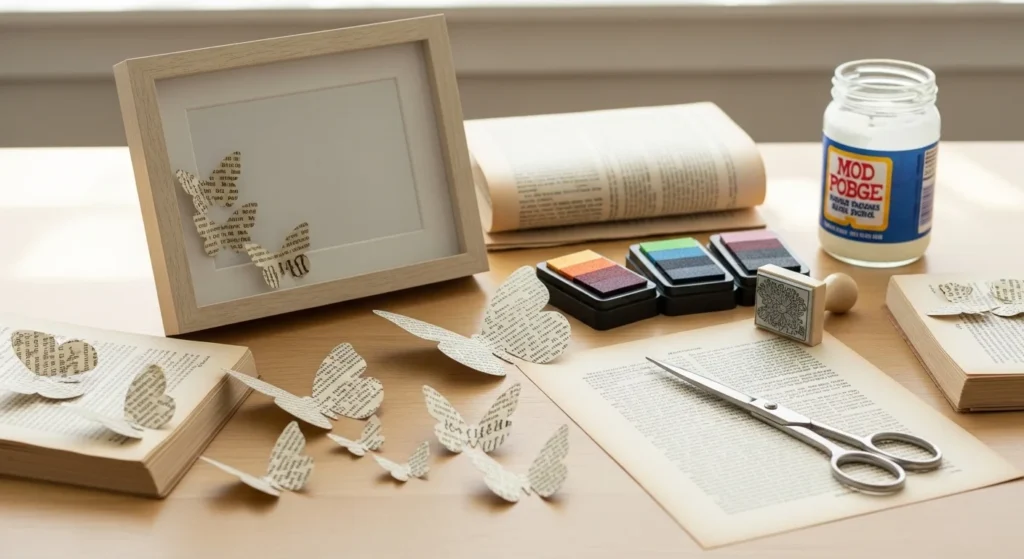
Book page butterfly art is a simple way to turn thrifted books into light, airy decor. You can keep it minimal with folded wings and clean cuts, or add detail with ink shading, stamping, and napkin decoupage. Most projects are low-cost and easy to scale. Make a few butterflies for a small frame, or make dozens for a floating wall swarm or garland that feels dreamy.
1. Note-Card Template Butterflies (Perfect Symmetry)
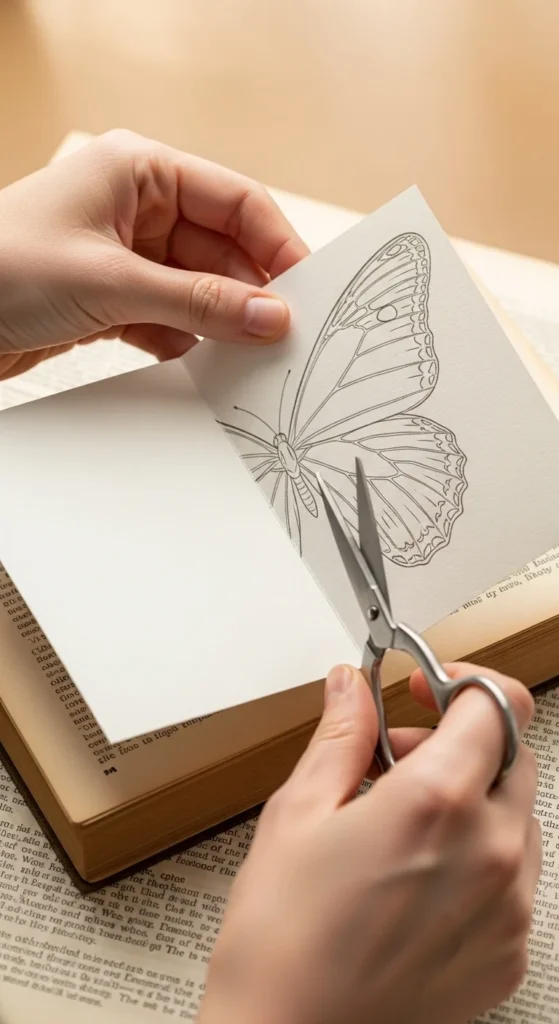
Start with a simple folded note card template. Fold it in half so both wings match. Trace your shape once, then cut it out. Use that as your reusable pattern.
Stack 3–6 book pages and clip them together. Trace the template and cut the stack. You’ll get a little “family” of butterflies fast. For a delicate look, keep wings rounded and slightly narrow.
To make them 3D, crease the butterfly body line with your fingernail. Then bend wings upward gently. Add a tiny dot of glue only on the center body so wings stay lifted.
Budget tip: no cardstock? Use cereal-box cardboard as a template. It lasts longer than paper and keeps your cuts consistent.
2. Size-Gradient Wall Swarm (Small to Large Cluster)
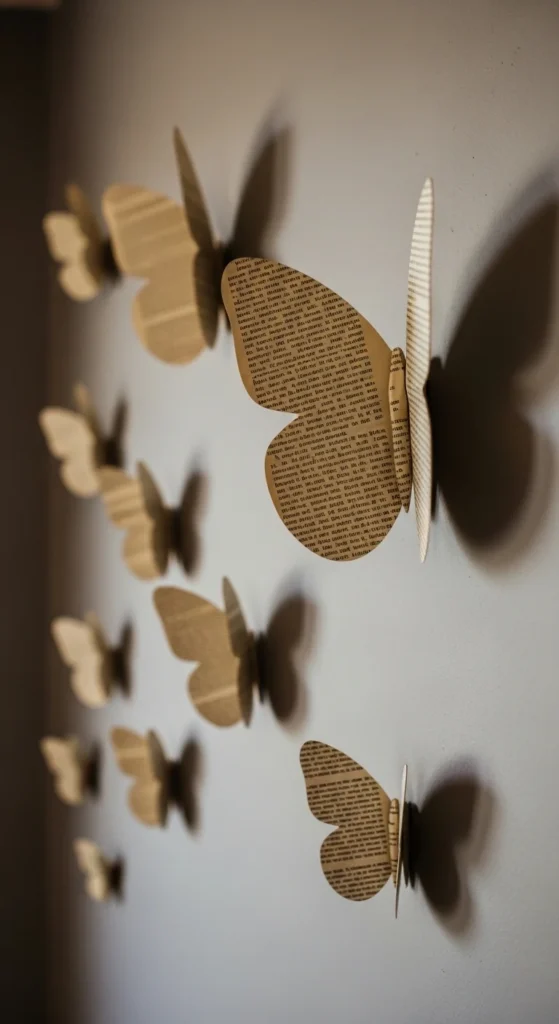
Make 3–5 template sizes. Cut a few large butterflies, then more medium, then lots of small. Arrange them like they’re “floating” outward.
Lay everything on the floor first. Start with a loose center cluster. Then trail smaller ones in a gentle curve. Keep spacing irregular so it feels natural.
Mount each butterfly with a tiny piece of masking tape doubled over, placed only on the body. That way the wings can lift and cast soft shadows.
Budget tip: if you’re worried about tape marks, mount them on a poster board panel first, then hang the panel with removable strips. It’s renter-friendly and easy to move.
3. Torn-Page Decoupage Butterflies (Soft, Organic Texture)
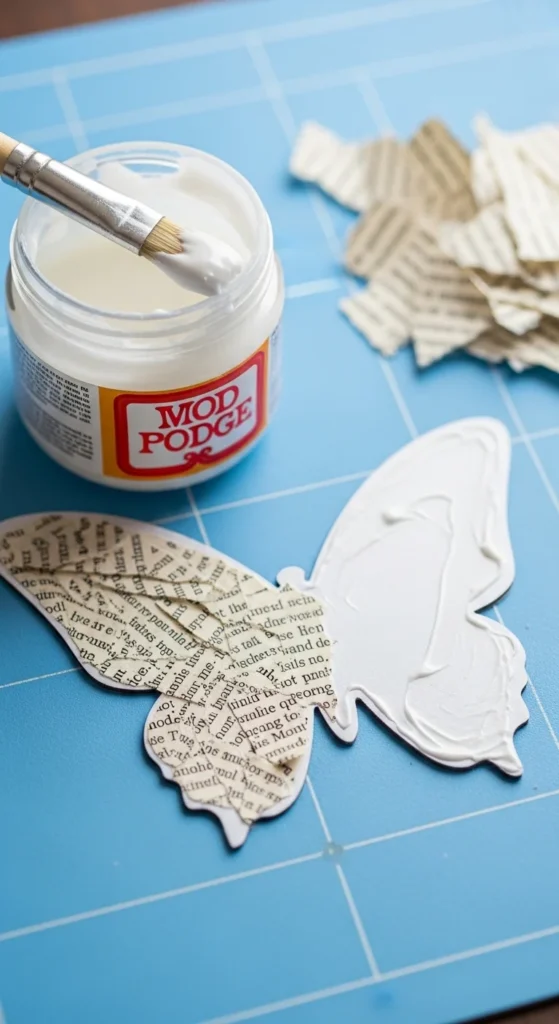
Cut a butterfly shape from cardstock as your base. Tear book pages into small scraps. Glue scraps in sections, overlapping slightly.
Work from the center out. Press scraps flat with a fingertip or a plastic card edge. If bubbles show up, lift the scrap and add a little more glue under it.
Once dry, trim the edges clean with small scissors. Crease the body line and bend wings up.
Budget tip: use thin school glue mixed with a little water if you don’t have decoupage glue. Test the mix on scrap paper first so it doesn’t wrinkle too much.
4. Three-Layer 3D Butterfly Stack (Base + Bent Wings + Top Detail)
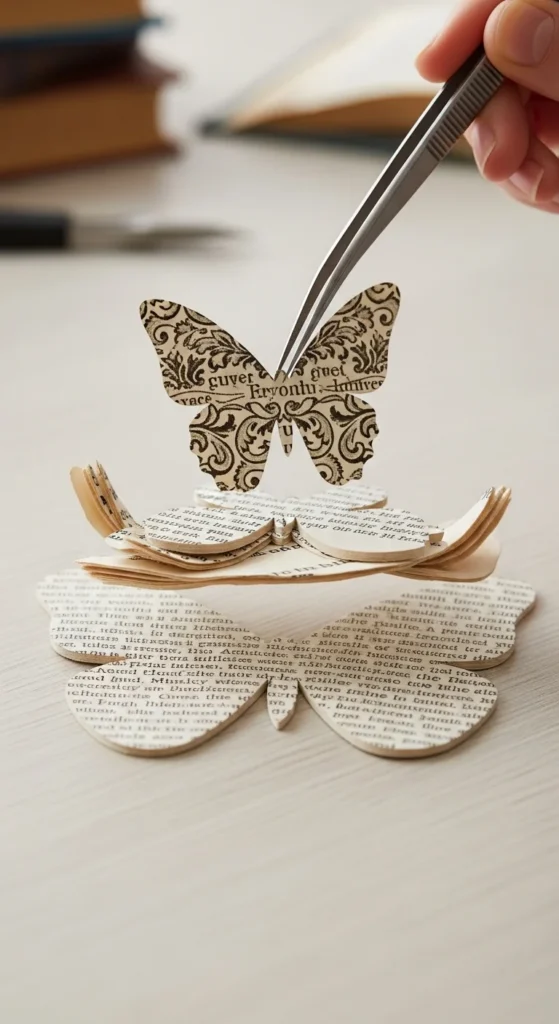
This makes butterflies look sculptural with very little effort. Cut three butterflies the same size.
Layer 1 stays flat. Layer 2 gets wings bent upward. Layer 3 stays mostly flat but can have slightly curved wing tips.
Glue only down the body spine for each layer. Stack them so the wings separate and create depth. Add a tiny rolled paper “body” strip if you want extra lift.
Budget tip: if you don’t have foam dots, roll a thin strip of page paper into a tight coil and glue it under the body as a spacer.
5. Stamped Wings on Book Pages (Vintage Detail Look)

Stamp first, cut second. That keeps the pattern centered and saves time. Ink your butterfly stamp, press onto several pages, then let dry fully.
Cut the stamped shapes. Crease the body line and curve the wings upward. If you want stronger contrast, use a darker ink only around the wing edges.
Budget tip: no stamp? Use a simple stencil and dab ink around it with a makeup sponge. It gives a similar “printed” feel without buying tools.
6. Ink-Shaded Wing Edges (Soft Realism)
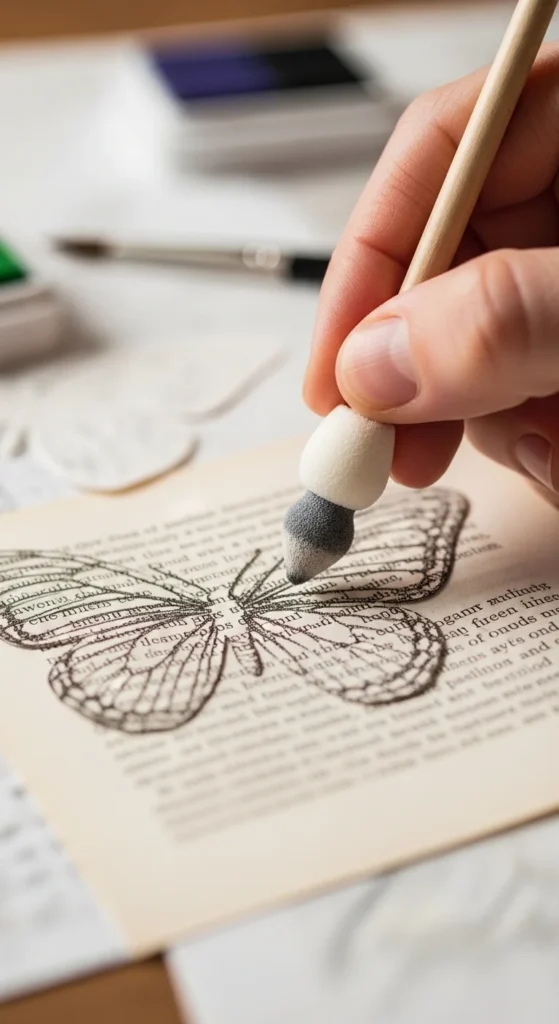
Cut plain book page butterflies. Then shade wing edges with ink. Use a sponge dauber, cotton swab, or a makeup sponge.
Start light. Build color slowly along the outer edge and near the body. This creates depth without heavy coloring.
After shading, crease the body line and bend wings up. Mount only at the body so the shading catches light.
Budget tip: if you don’t have ink pads, use a soft pencil and smudge gently with tissue. Keep it subtle so it doesn’t look dirty.
7. “Eyeshadow Paint” Shading Mix (Crafty Color Wash)
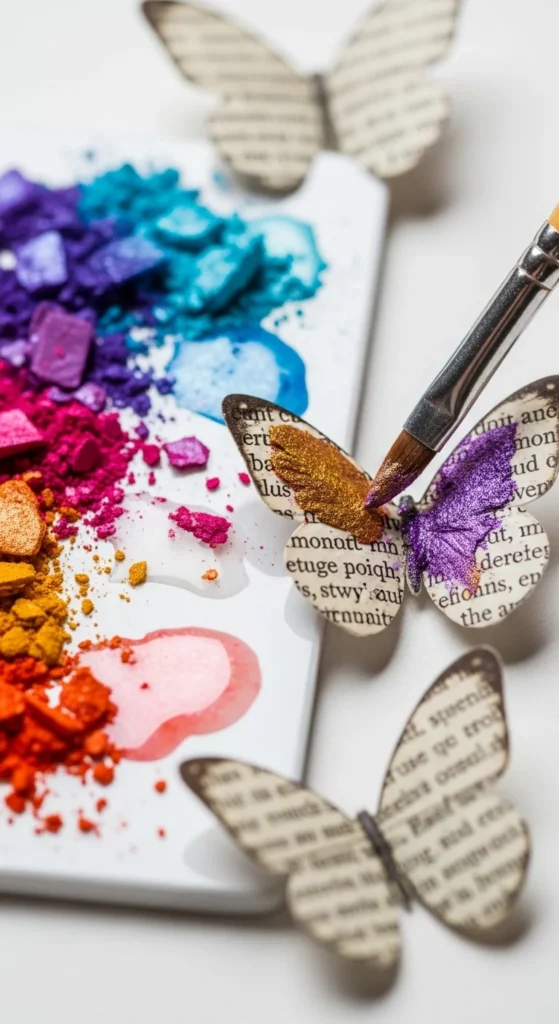
Use an old eyeshadow palette to tint butterflies. Mix a tiny bit of pigment with a dab of glue and a drop of water. Paint lightly along wing edges or wing veins.
This is great for pastel looks. The glue helps pigment stick and keeps it from rubbing off as easily.
Let butterflies dry flat. Then crease and lift wings. Keep mounting minimal to preserve the airy look.
Budget tip: use makeup you don’t wear anymore. Even a cracked pan works. Start with neutral browns for a vintage vibe.
8. Napkin Decoupage Wings (Pattern Without Printing)
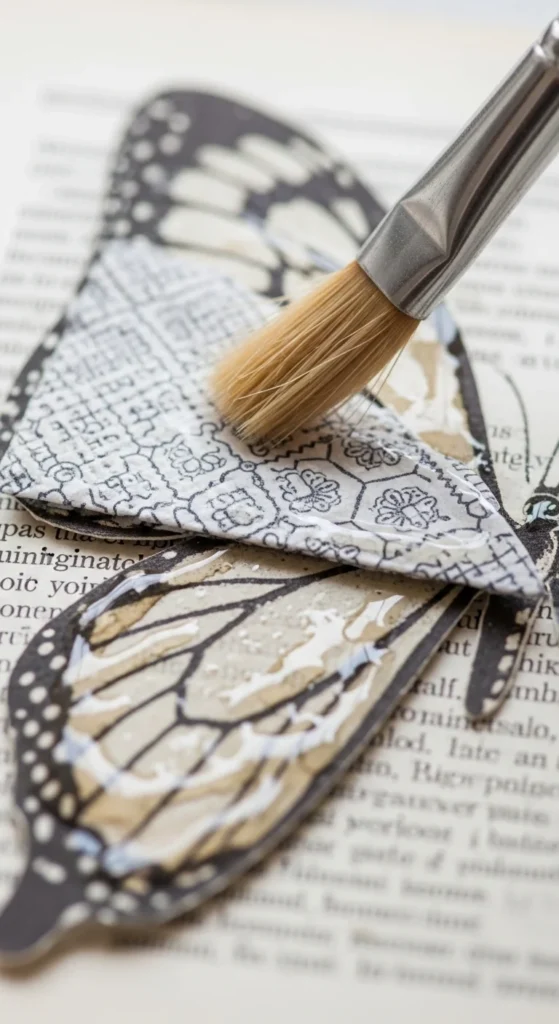
Choose a decorative napkin with small florals or soft patterns. Separate the top printed layer (it’s very thin). Cut butterfly shapes from book pages.
Brush a thin layer of glue on the wing area. Lay the napkin layer on top and smooth gently from center outward. Let dry, then trim edges.
Crease the body line and lift wings. The napkin adds delicate color without making the piece feel heavy.
Budget tip: save napkins from parties. Even one napkin can cover many small butterflies.
9. Watercolor-Style Splatter Butterflies (Light, Artsy Finish)
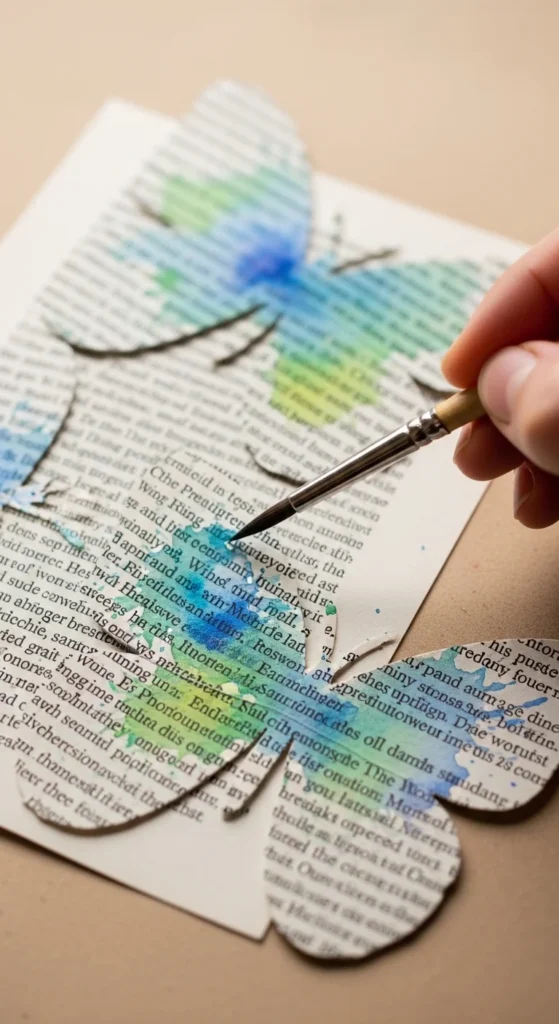
Cut butterflies first. Then add a tiny splatter of watercolor paint across the wings. Keep it light so the printed page still shows.
Use one color or two that work together. Let dry fully. Crease and bend wings up.
Mount in a cluster on a wall or inside a frame. The color variation makes the group look more alive, even with simple shapes.
Budget tip: use watered-down craft paint if you don’t have watercolor. Flick with a toothbrush for tiny speckles.
10. Paperclip Antennae Butterflies (Tiny Realistic Detail)
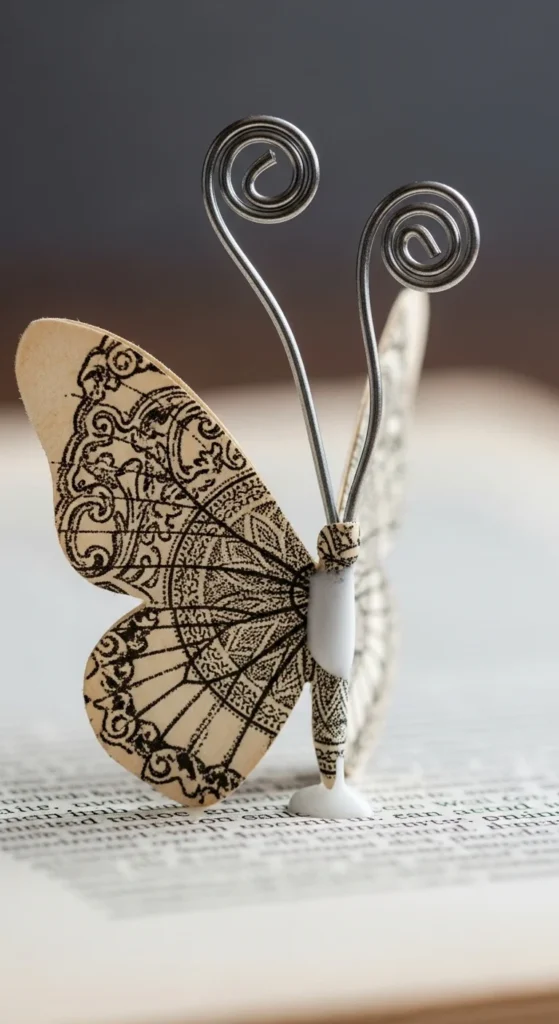
Cut butterflies and form the body crease. For antennae, use a small paperclip or thin wire. Curl the ends around a pencil tip.
Glue the antennae to the back of the butterfly body. Then add a thin rolled paper strip as the body on top, covering the glue point.
This tiny detail makes a big difference in photos, especially close-ups.
Budget tip: if wire feels tricky, cut two thin strips of paper, twist them, and curl the tips. Paper antennae still look cute and stay lightweight.
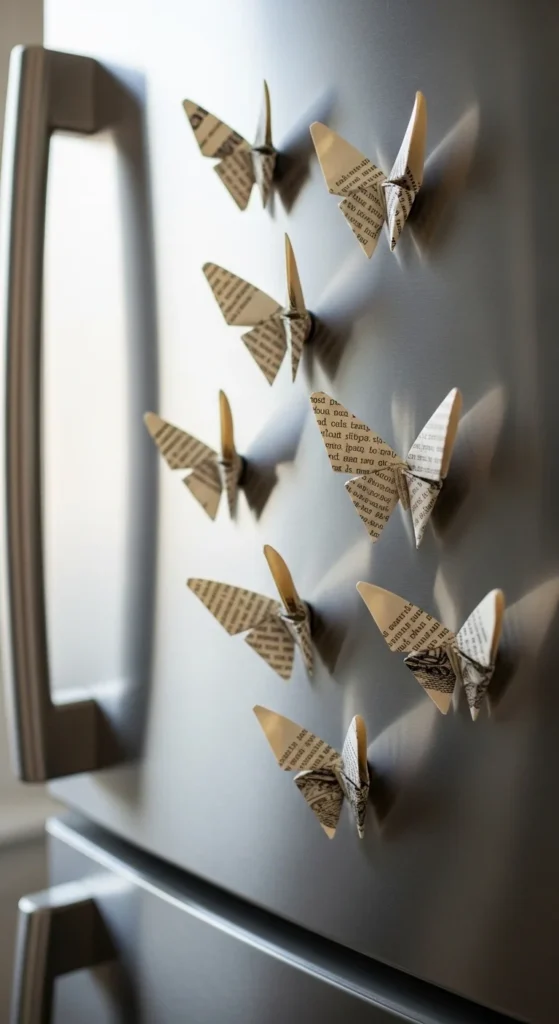
11. Origami Single-Sheet Butterflies (No Cutting Required)
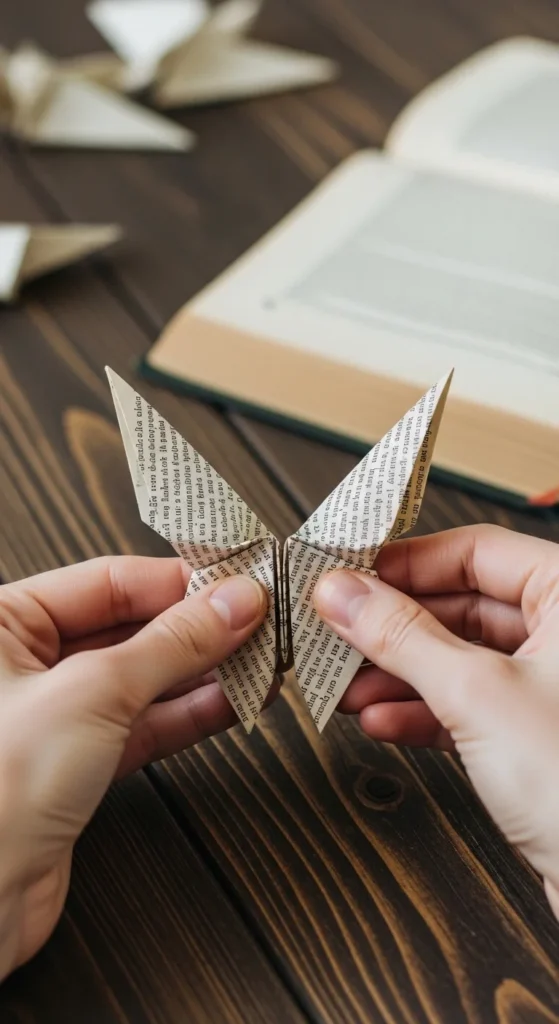
Cut a book page into a square. Follow a simple origami butterfly fold pattern. Crease well so it holds shape.
These are great for garlands and gift decor. They look clean and minimal, with natural texture from the book paper.
Make a mix of sizes by cutting different square sizes. String them on twine through the center fold, or clip them to a line with mini clothespins.
Budget tip: use pages with smaller text for a softer look. Big bold text can look busy on small origami shapes.
12. Shadow Box Butterfly Scene (Layered Depth Display)

Choose a shadow box so wings can lift without getting crushed. Add a neutral backing (kraft paper, linen fabric, or a plain painted sheet).
Mount butterflies at different depths. Use small paper coils or foam pieces behind the body for spacing. Place a few near the front and more toward the back.
Keep the layout light. Leave breathing room so it feels airy, not crowded.
Budget tip: thrift a deep frame. If it’s shallow, remove the glass and use it as an open frame display.
13. Framed “Specimen” Butterflies (Gallery Wall Style)
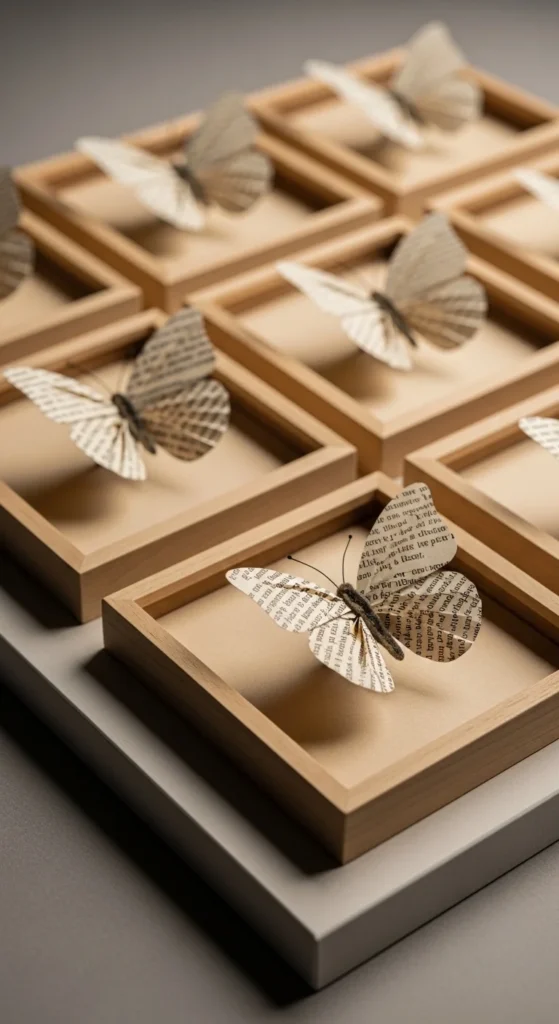
Make one butterfly per frame for a clean look. Cut a simple wing shape. Add light shading or stamping for detail.
Mount each butterfly by the body only. Angle wings slightly differently in each frame so the set feels varied.
Hang 3–6 frames in a row or a grid. This works well in bedrooms, hallways, or craft rooms.
Budget tip: use dollar-store frames and paint them the same color. Matching frames make the set look polished.
14. Butterfly Garland on Twine (Lightweight Hanging Decor)
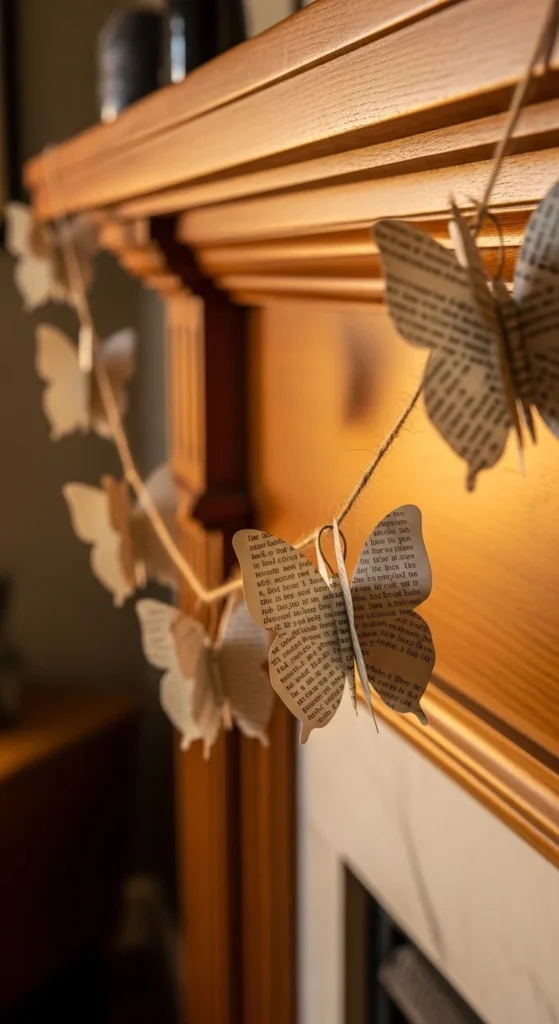
Cut 20–40 small butterflies. Crease and lift wings. Attach each butterfly to twine with a dot of glue on the body, or clip with tiny clothespins.
Space them evenly or cluster them. Add a few larger butterflies near the center for interest.
Hang across a mantel, shelf, or photo wall. Keep it out of direct wind so wings don’t flatten.
Budget tip: use sewing thread if you want the string to disappear. The butterflies look like they’re floating.
15. “Flight Path” Corner Wall Arrangement (Up the Corner)
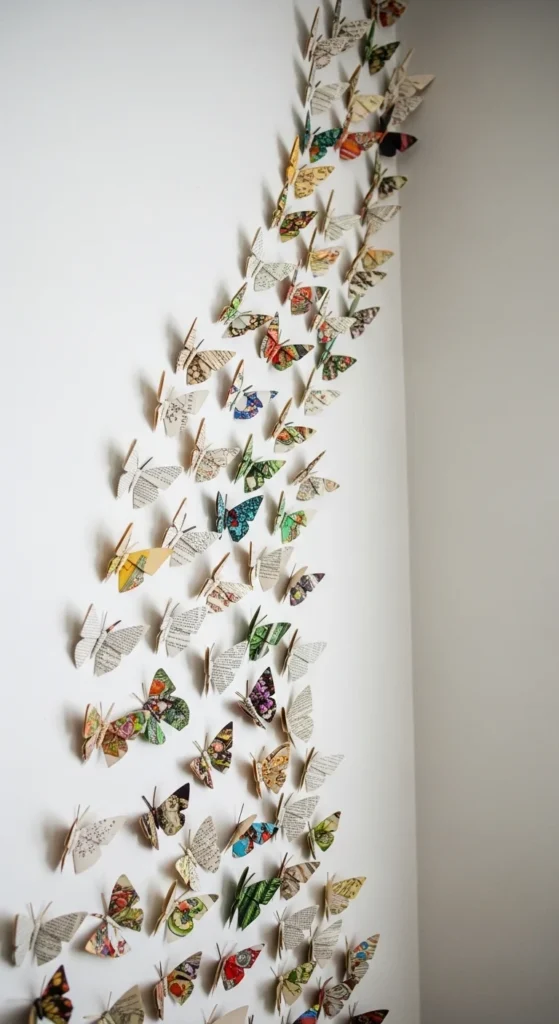
Butterflies look amazing when they travel across a corner. Start low on one wall, then curve up and over to the other wall.
Use a size gradient, with larger butterflies lower and smaller ones higher. It creates a sense of motion.
Mount with double-sided tape at the body only. Bend wings more on some butterflies to add variety and shadow.
Budget tip: if tape worries you, mount butterflies onto clear acetate strips first, then mount the strips. It reduces wall contact points.
16. Dragonfly-Inspired “Butterfly Cousin” (Heart-Wing Hybrid)
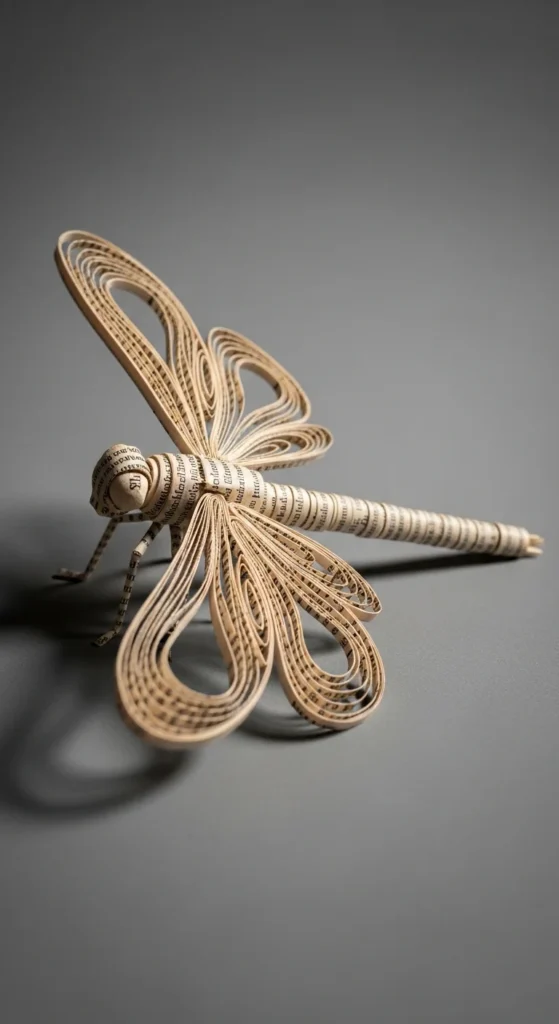
For a fun twist, make a dragonfly-style piece using butterfly methods. Cut two heart-like wings and a long thin body strip.
Layer wings for depth. Add light shading. Use thin wire or paper strips for antennae or small details.
These look great mixed into a butterfly wall swarm. They break up repetition and add variety while staying in the same paper style.
Budget tip: use page scraps for bodies. Long thin strips are easy to pull from margins or torn edges.
17. Book Page Butterfly Plant Picks (Skewer Perches)
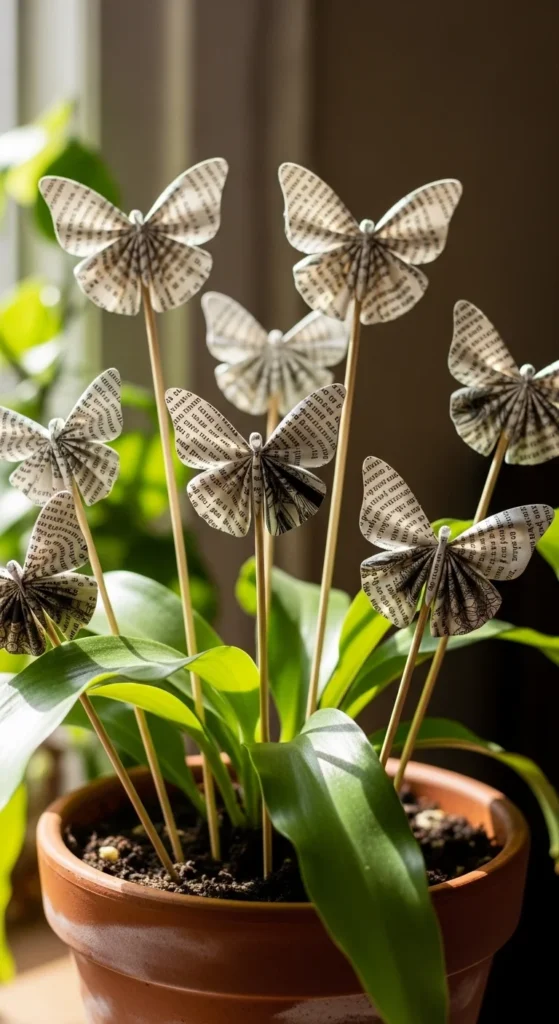
Glue a butterfly to a thin skewer or floral wire. Attach at the body with a small paper wrap so it looks neat.
Place picks in plants for spring decor or party tables. Bend wings slightly higher so they read from a distance.
You can shade the edges or add a napkin layer for color. Keep finishes light so paper doesn’t sag.
Budget tip: use toothpicks for small pots and bamboo skewers for larger planters.
18. Butterfly Bookmarks (Folded Corner Mini)
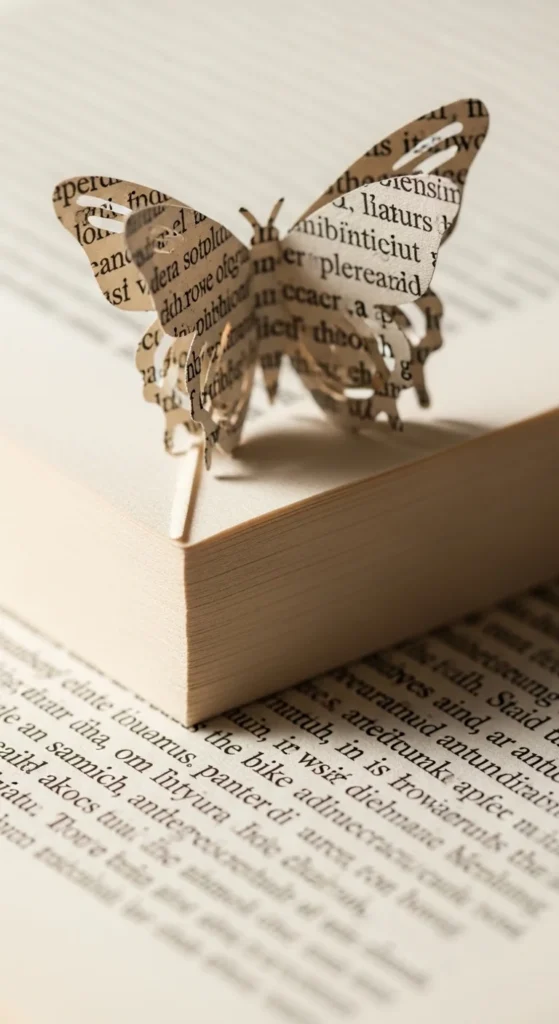
Make tiny butterflies that clip onto page corners. Fold a small square into a corner bookmark, then add butterfly wings on top.
This is cute for gifts and party favors. You can make a batch quickly with small paper squares.
Add a tiny ink edge detail if you want them to stand out. Keep wings small so they don’t catch and tear.
Budget tip: use leftover scraps from larger projects. Small squares are easy to cut from page edges.
19. Glitter Highlight Wing Tips (Subtle Shine Points)
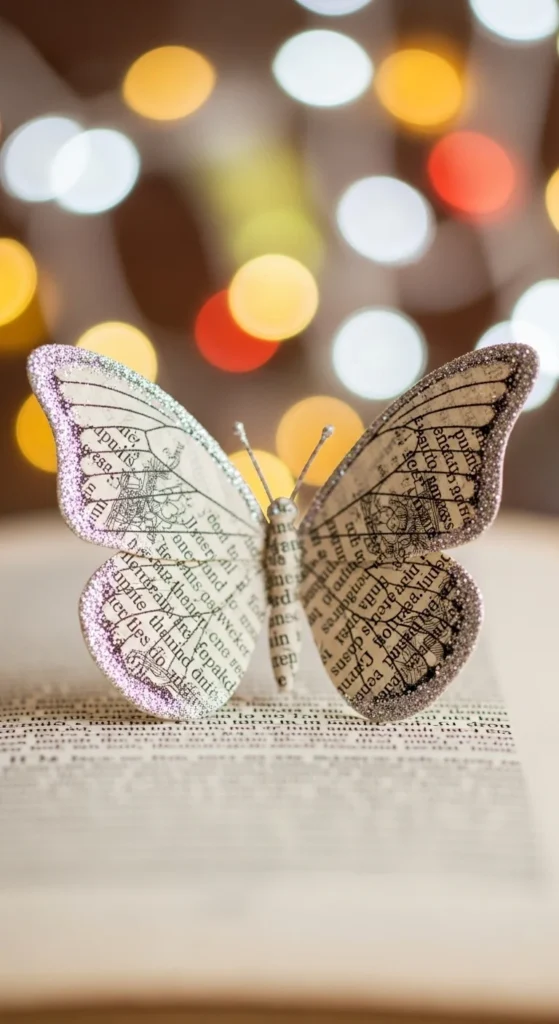
Add a touch of sparkle without covering the paper. Apply a tiny amount of glitter glue on the wing tips or along a few wing lines.
Let dry completely before bending wings. Otherwise glitter smears. Use it on just a few butterflies in a group so it feels special, not loud.
This looks great in holiday decor, party backdrops, and photo corners.
Budget tip: mix a pinch of loose glitter into white glue. Apply with a toothpick so it stays controlled.
20. Rippled Wing Texture (Fold Lines as “Veins”)
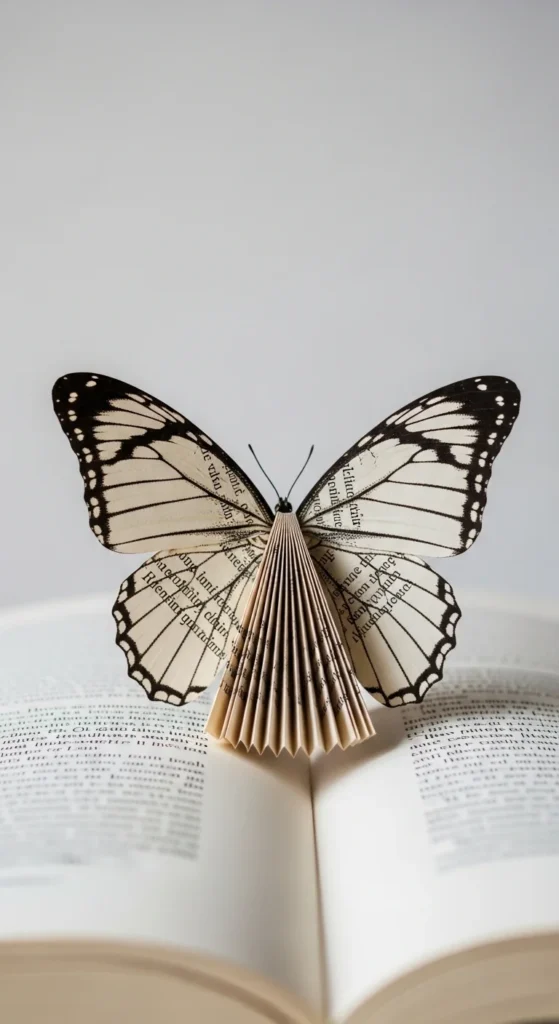
Before cutting, lightly accordion-fold the page. Then trace and cut your butterfly. When you unfold slightly, the wing has soft texture lines.
Crease the body and lift wings. The folds read like wing veins and help wings hold shape.
Mount with tape at the body. The wing ripples cast tiny shadows that look delicate on the wall.
Budget tip: this is a no-ink way to add detail. Great when you want a clean paper-only look.
21. Mixed-Paper Butterflies (Book + Sheet Music Combo)
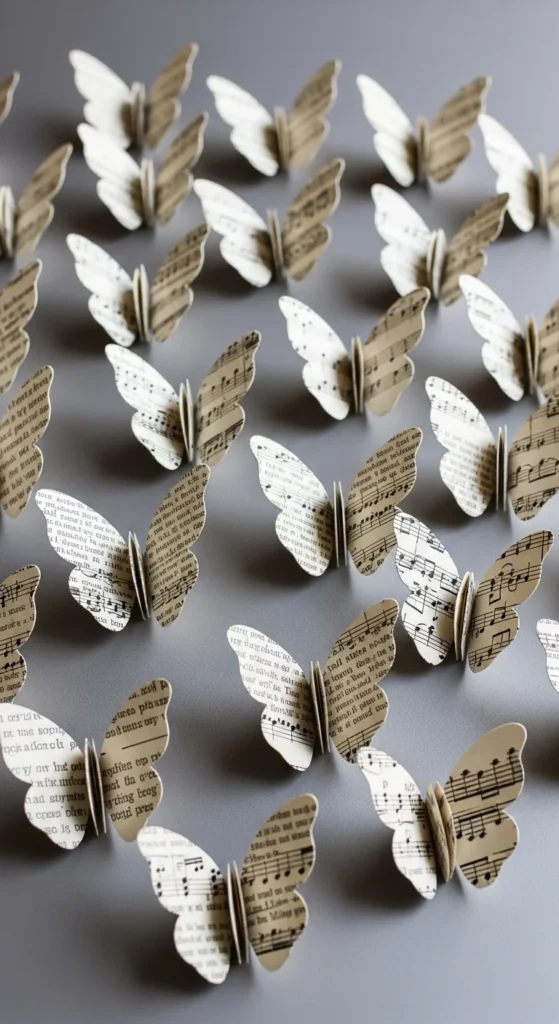
Cut some butterflies from book pages and some from sheet music pages (or any similar paper). Keep sizes consistent so the mix feels intentional.
Use one finishing style across all of them, like light ink shading or stamping. That ties the set together.
Arrange in a cluster. Alternate paper types so it looks balanced.
Budget tip: sheet music can be printed on regular paper from free public-domain scans, then lightly tea-dyed for a vintage look.
22. Butterfly Mobile (Hanging 3D Decor)
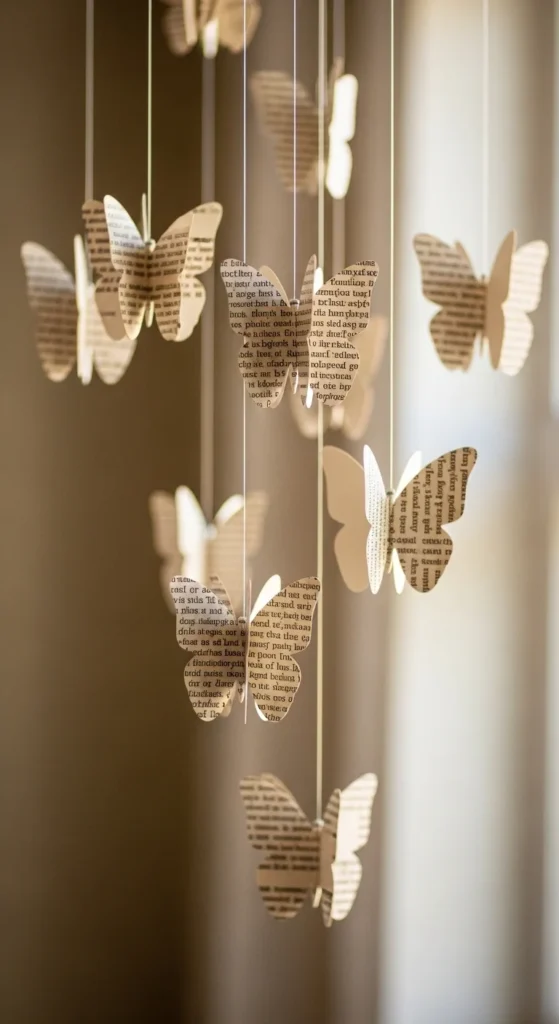
Cut butterflies in several sizes. Crease and lift wings. Attach each butterfly to clear thread at the body.
Tie threads to a hoop or crossed sticks. Vary heights so the mobile feels light and airy. Keep the overall shape balanced so it hangs straight.
Hang near a window but away from strong wind. Gentle movement is pretty, but strong airflow can bend wings flat.
Budget tip: use an embroidery hoop, or make a hoop from a wire hanger bent into a circle.
23. Magnet-Back Butterflies (Functional Decor)
Make small butterflies and glue a tiny magnet to the back of each body. Keep wings free so they lift.
These are cute on fridges, metal boards, or craft carts. Make a set in one color style for a clean look.
If magnets feel bulky, use thin magnetic tape cut into small rectangles.
Budget tip: salvage small magnets from old promo items and reuse them. Clean off old glue first.
24. Bulletin Board Pin Butterflies (Rearrange Anytime)
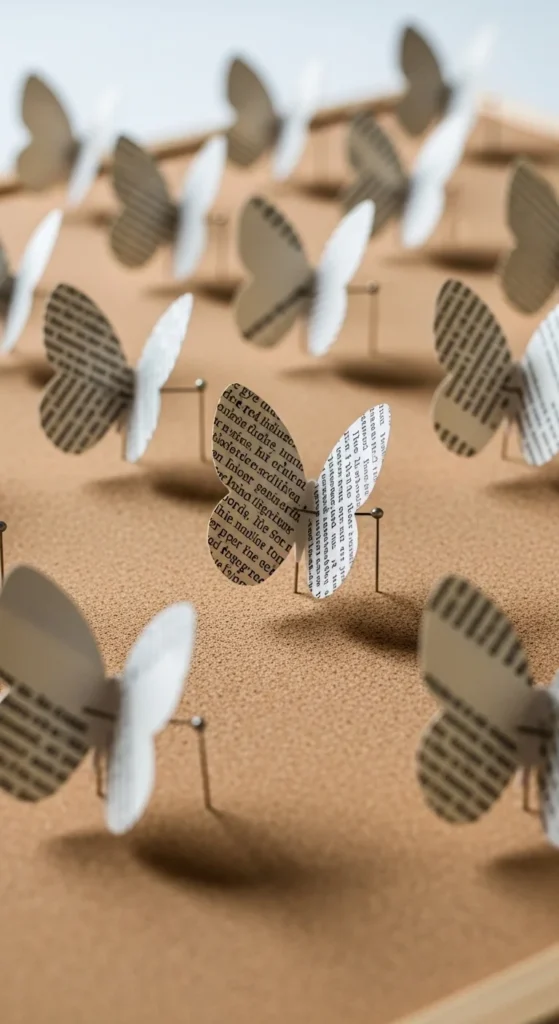
Pin butterflies to a cork board through the body only. This makes wings hover and keeps everything moveable.
Arrange them as a cluster, a diagonal “flight path,” or a wreath shape. Add a few stamped butterflies among plain ones for variety.
This is great for craft rooms, kids’ rooms, or seasonal swaps. You can rearrange in minutes without messing with wall tape.
Budget tip: use a thrifted cork board and cover it with neutral fabric. Then pin butterflies on top for a cleaner background.
Conclusion
Book page butterfly art is easy to scale, low-cost, and perfect for soft 3D decor. Start with one simple template, then add detail with stamping, ink shading, or a napkin layer. Mount butterflies by the body so wings stay lifted and cast gentle shadows. Try a small framed set first, then expand into a wall swarm or garland once you find the style you like.


