Dollar store DIYs have a bad reputation for one reason: most people stop at the “cheap” stage instead of finishing with intention. The truth is, many store-bought decor items start with the same basic materials—you just don’t see them before they’re styled, painted, and polished.
This guide shows you how to turn low-cost dollar store finds into DIY decor that looks refined, cohesive, and far more expensive than it is—even if you’re a beginner.
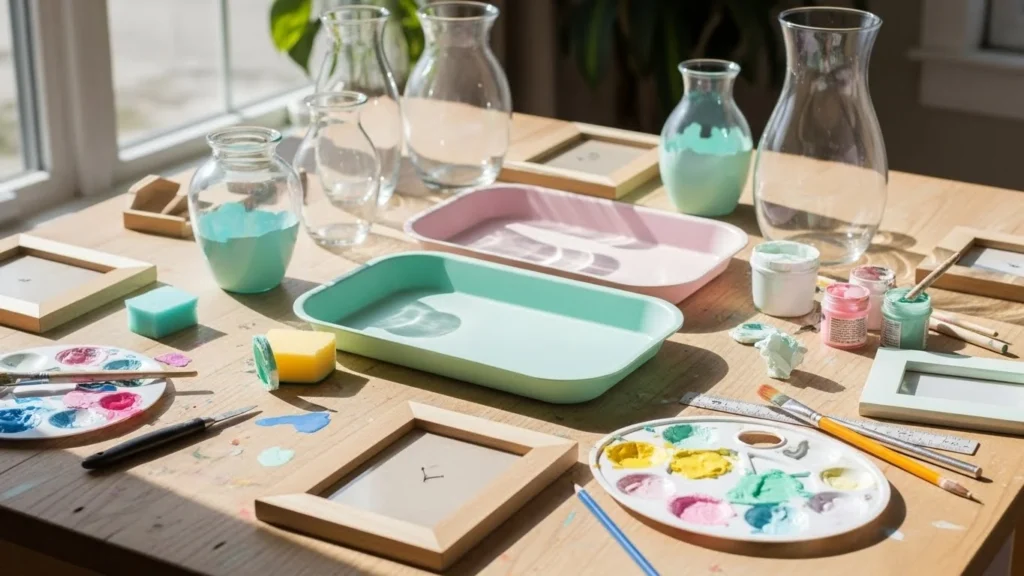
Choose the Right Base Items (This Matters Most)
Not every dollar store item is worth DIYing. The goal is to start with shapes that already look clean.
Look for:
- Plain vases and containers
- Simple trays and bowls
- Basic picture frames
- Neutral baskets
- Glass or ceramic pieces
Avoid:
- Items with loud patterns
- Bright plastic colors
- Decorative text or logos
If the shape looks good on its own, it can be upgraded easily.
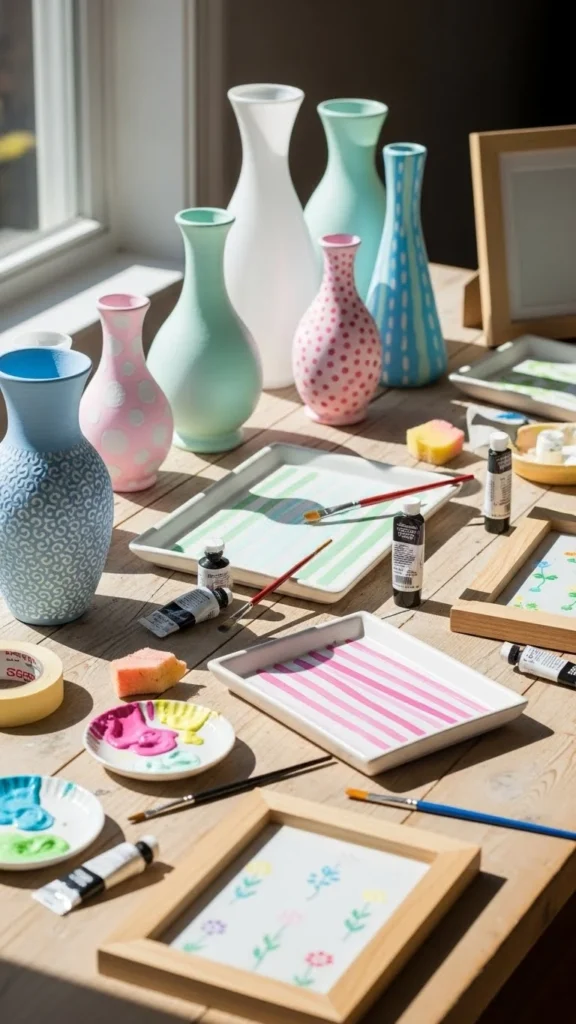
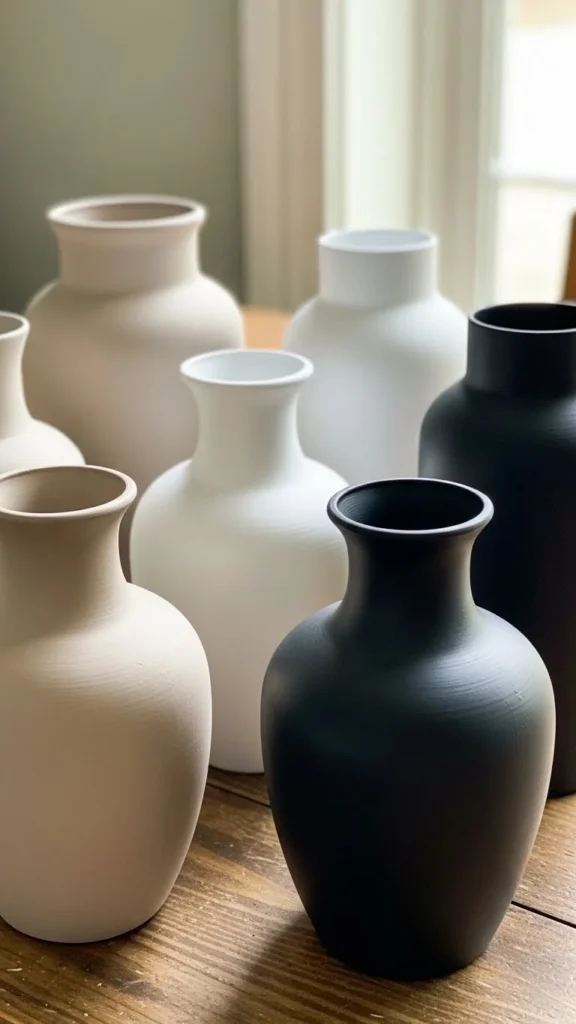
Stick to a Neutral Color Palette
High-end decor almost always uses calm, limited colors. This single step makes the biggest difference.
Good choices:
- White, cream, beige
- Black or charcoal
- Soft gray
- Muted green
Tips for painting:
- Use matte or satin finishes
- Apply thin layers
- Let each coat dry fully
One color across multiple items instantly creates a cohesive, store-style look.
Make Cheap Materials Look Solid
Lightweight items often look cheap because they feel cheap. You can fix this.
Easy upgrades:
- Fill vases with sand, stones, or plaster
- Add felt pads under trays
- Use wood filler to smooth seams
- Wrap thin items with linen or rope
These small changes give items visual weight and stability.
DIY example:
Fill a plastic vase with sand, seal the opening, then paint it matte white. It will look and feel ceramic.
Simplify the Design (Remove, Don’t Add)
Expensive decor is rarely busy. Dollar store DIYs look better when you remove details instead of adding them.
Before decorating, ask:
- Can I remove this rim or sticker?
- Does this pattern distract from the shape?
- Would it look better plain?

Avoid:
- Glitter
- Rhinestones
- Over-layering textures
Clean shapes always look more refined.
Use Texture Instead of Decoration
Texture adds depth without clutter.
Simple texture ideas:
- Wrap vases with linen or cotton fabric
- Use plaster or joint compound for subtle texture
- Lightly sand painted surfaces for a stone effect
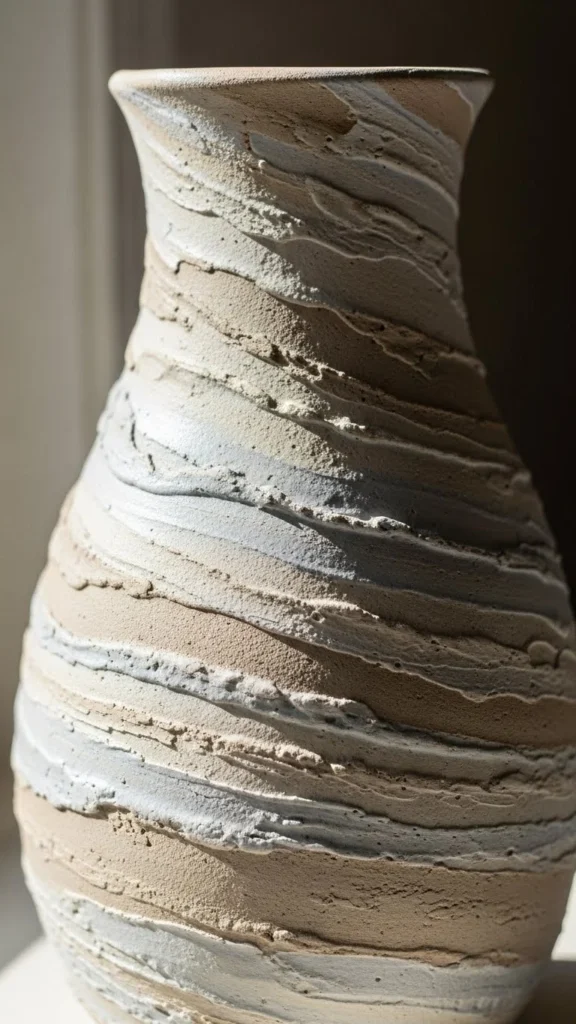
Texture works especially well when colors stay neutral.
Upgrade Hardware and Small Details
Small details make a big difference.
Easy swaps:
- Replace plastic knobs with metal ones
- Add wooden beads to handles
- Use leather or faux-leather pulls
- Paint hardware black or brass
These changes take minutes but dramatically improve the final look.
Style Like a Store Display
Even a well-made DIY can look cheap if it’s styled poorly.
Use this simple styling formula:
- One tall item
- One medium item
- One small accent
Group decor in odd numbers and leave space between items.
Styling is where the “expensive” feeling really shows.
Repeat the Same Finish Across Multiple Pieces
Stores sell collections, not single items. You can do the same.
Try:
- Painting three vases the same color
- Creating a matching tray and bowl set
- Using the same texture on different objects
Repetition creates intention and makes DIY decor feel curated.
Let Pieces Fully Dry Before Using Them
Rushing the final step ruins many good DIYs.
Before displaying:
- Let paint cure fully
- Clean edges and drips
- Wipe surfaces gently
A fully dried piece always looks more polished.
Final Takeaway
Dollar store DIYs don’t look expensive by accident—they look expensive because of simplicity, restraint, and finishing touches. When you choose clean shapes, limit colors, add subtle texture, and style thoughtfully, low-cost materials can look surprisingly refined.

DiyVisual is a DIY ideas resource for makers of every level. Our small editorial team researches and curates easy, budget-friendly craft, home decor, and handmade gift projects — explained step by step so anyone can recreate them at home with simple materials.


