DIY crafts should feel fun and satisfying—not confusing or half-finished on the table. The best projects are the ones you can actually complete, enjoy, and proudly use or display. You don’t need special tools, artistic talent, or hours of free time. You just need the right approach.
This guide shows you how to choose and complete easy DIY crafts that anyone can finish, even if you’re a beginner or short on time.
Start With Projects That Have Clear End Points
One reason DIY projects stall is because the goal isn’t clear. Crafts that feel endless quickly lose their appeal.
Choose projects that:
- Can be finished in one sitting
- Have a visible “done” stage
- Don’t require drying overnight unless necessary
Good beginner-friendly options:
- Paper crafts
- Painted containers
- Simple wall decor
- Basic handmade gifts
If you can describe the finished result in one sentence, it’s probably a good project to start.
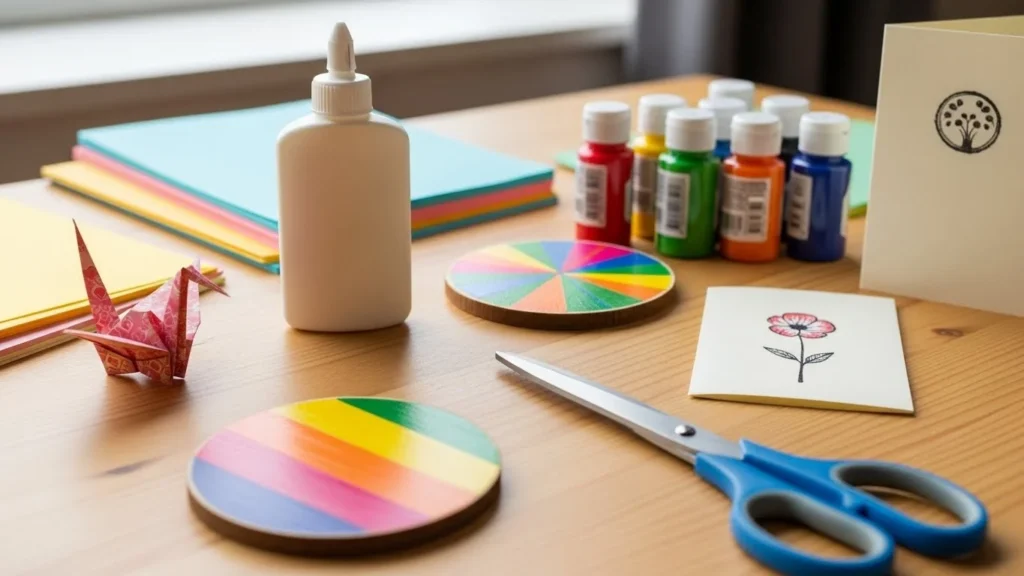
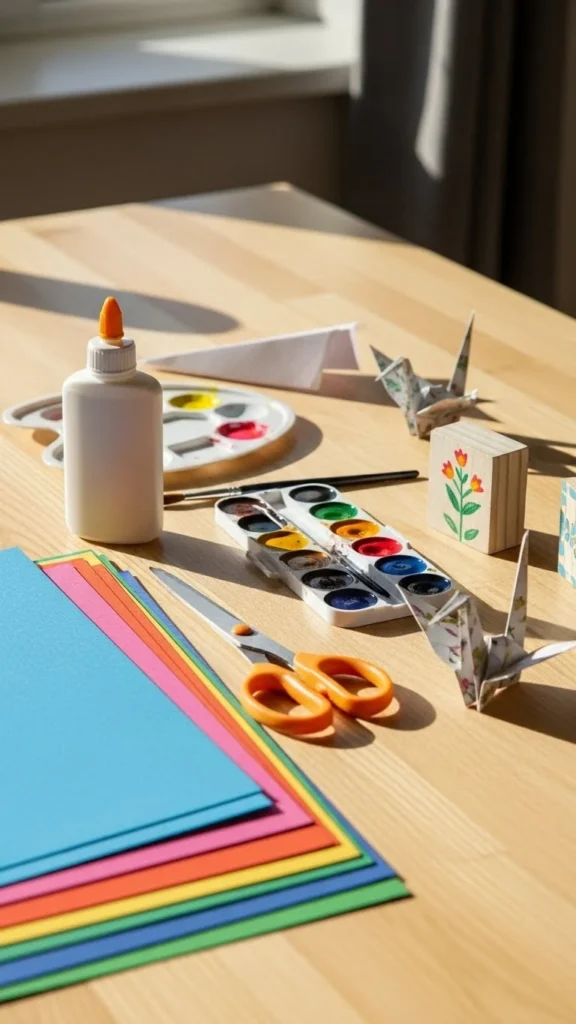
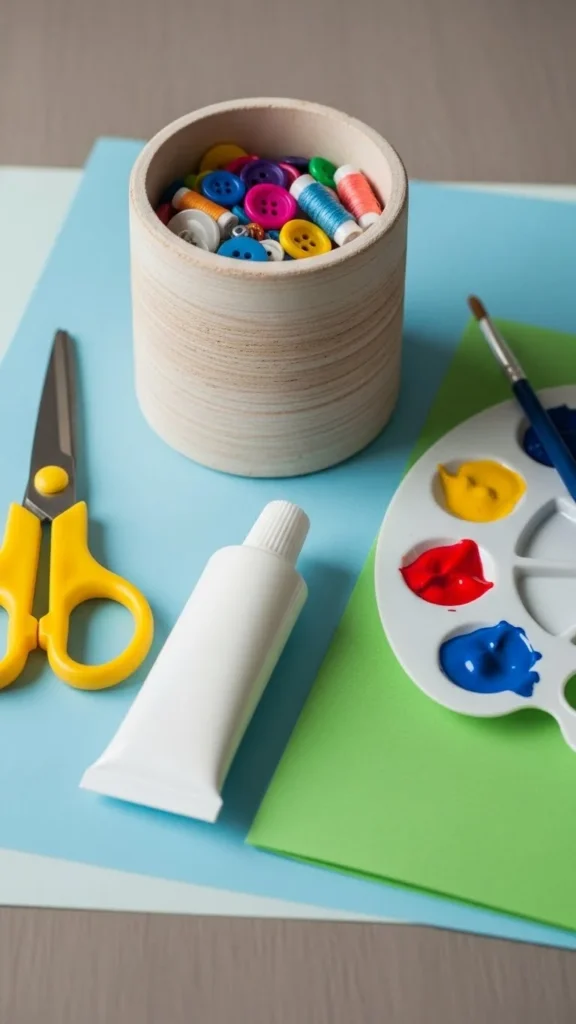
Use a Short Supply List Only
Complicated supply lists slow people down. If a project requires ten different tools, it’s easy to give up before starting.
Stick to:
- 3–5 main materials
- Common household tools
- Items that don’t require measuring with precision
Before starting, lay everything out. Seeing all supplies ready builds momentum and reduces interruptions.
Choose Crafts With Flexible Results
The easiest DIY crafts allow room for mistakes. If something goes slightly off, the project still works.
Look for crafts where:
- Shapes don’t have to be perfect
- Brush strokes add character
- Colors can vary naturally
Examples:
- Abstract wall art
- Painted jars or pots
- Handmade cards
- Simple fabric projects
Avoid crafts that rely on exact measurements or symmetry if you’re just starting out.
Break the Craft Into Small Steps
Large projects feel overwhelming. Small steps feel doable.
Instead of thinking:
“I need to finish this craft.”
Think:
- Step 1: Prepare the surface
- Step 2: Add color or shape
- Step 3: Let it dry
- Step 4: Final touch
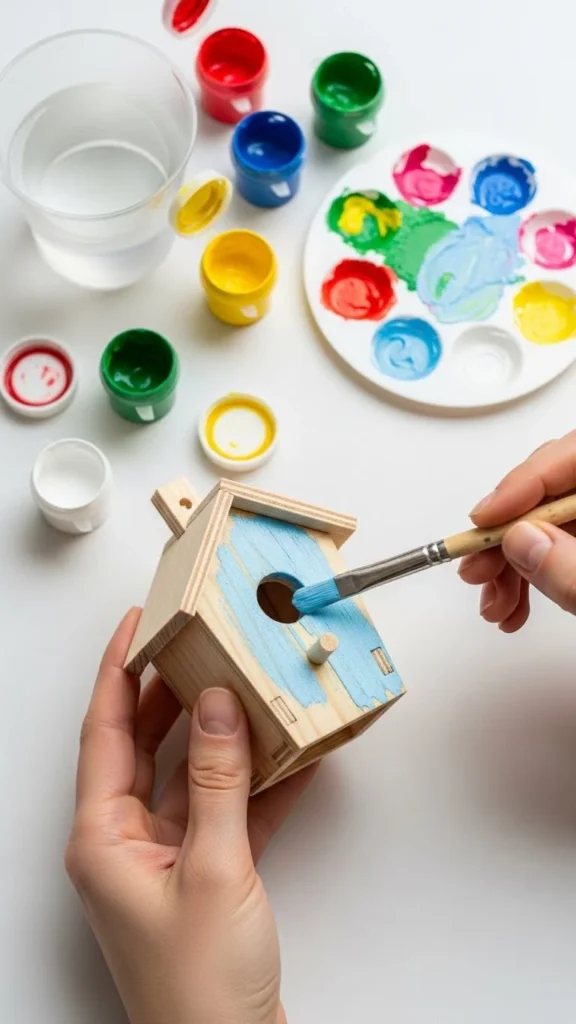
Checking off steps creates a sense of progress and keeps you moving forward.
Set a Time Limit Before You Start
Open-ended crafting often leads to unfinished projects. Setting a time boundary helps.
Try this:
- Decide how long you’ll work (30–60 minutes)
- Choose a project that fits that time
- Stop when time is up
Many crafts don’t need perfection to be finished. A completed imperfect craft is better than a perfect idea left undone.
Use Simple Finishing Touches
Finishing is what makes a DIY craft feel complete.
Easy finishing ideas:
- Trim rough edges
- Add a simple border
- Clean off excess glue or paint
- Let the piece dry fully before using
Even one small finishing step can turn a project from “almost done” to “finished.”
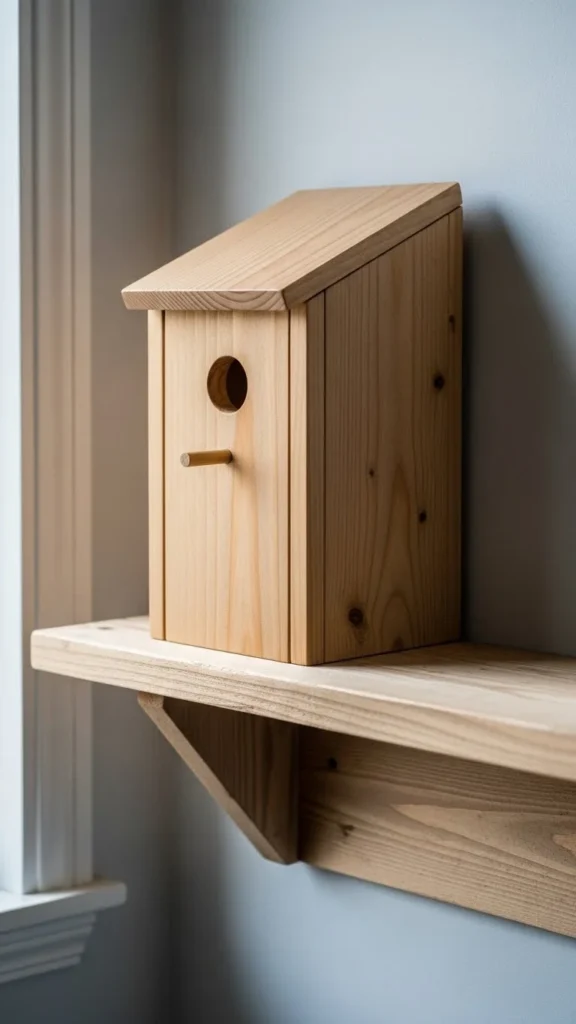
Pick Crafts You Can Actually Use
Projects feel more satisfying when they serve a purpose.
Practical DIY ideas:
- Storage jars
- Desk organizers
- Wall hooks
- Gift wrap accessories
When a craft has a use, you’re more likely to complete it and enjoy the result.
Stop Editing and Call It Done
Many unfinished crafts are actually finished—they just don’t feel “perfect.”
Ask yourself:
- Does it work?
- Does it look decent from a distance?
- Would I keep this or gift it?
If the answer is yes, it’s done.
Final Takeaway
DIY crafts don’t have to be complicated to be rewarding. By choosing simple projects, limiting supplies, and working in small steps, anyone can finish what they start.

DiyVisual is a DIY ideas resource for makers of every level. Our small editorial team researches and curates easy, budget-friendly craft, home decor, and handmade gift projects — explained step by step so anyone can recreate them at home with simple materials.


