Ever picked up a polymer clay sculpture and thought, “Why is this so heavy… and still fragile?” That’s where foil armatures come in—they’re the secret to making your creations both lightweight and strong at the same time.
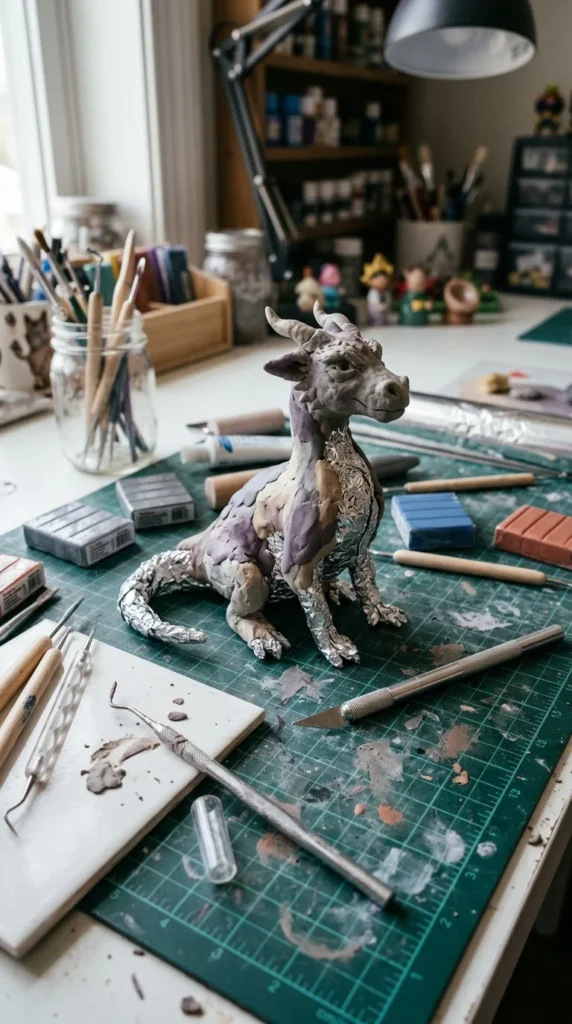
Whether you’re making figurines, animals, or decorative pieces, using foil inside your clay can completely change your results. Let’s break it down step by step so you can build smarter—not heavier.
Why Use a Foil Armature?
Before we get into the how, let’s talk about the why.
Benefits of foil armatures:
- Makes sculptures lighter and easier to handle
- Helps save clay (and money!)
- Reduces baking time
- Adds internal support and stability
- Prevents collapse in larger pieces
👉 Foil is widely used as a core material because it creates volume without adding weight or stress.
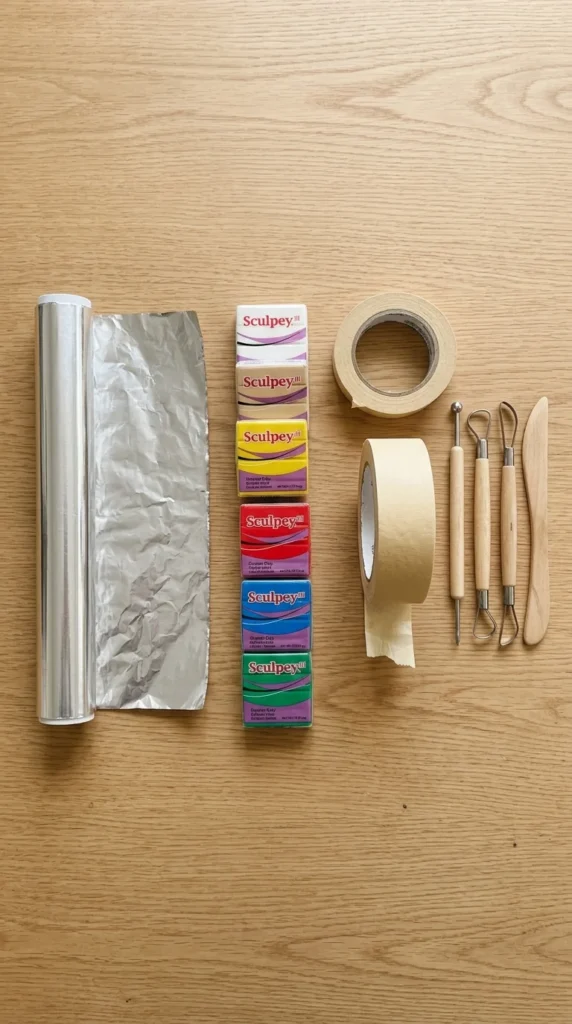
What You’ll Need
You don’t need anything fancy—just a few basics:
- Aluminum foil
- Polymer clay
- Optional: armature wire
- Masking tape (optional)
- Sculpting tools
Beginner tip:
Foil alone works for simple shapes, but combining it with wire gives you even more control for complex designs.
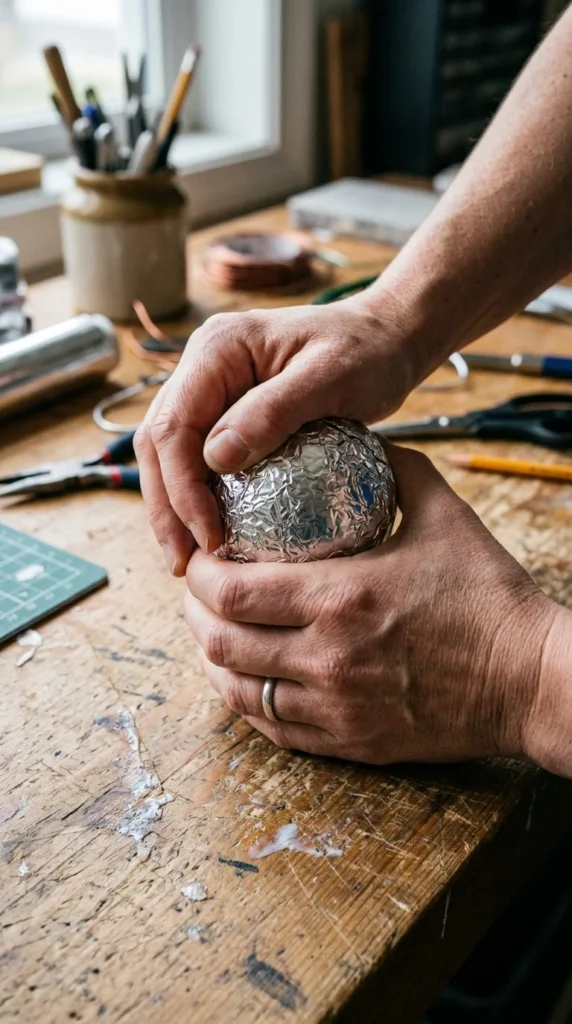
Step 1: Shape Your Foil Core
Start by forming the rough shape of your sculpture using foil.
How to do it:
- Tear off a piece of foil
- Crumple it loosely at first
- Then compress it into the desired shape
Examples:
- A ball for a head
- An oval for a body
- A long shape for tails or limbs
👉 The goal is to create the basic form before adding clay.
Step 2: Compress It Tightly
This step is super important.
Loose foil = weak structure.
What to do:
- Press and squeeze the foil firmly
- Eliminate soft spots
- Make sure it holds its shape
Why it matters:
- Prevents wobbling under clay
- Reduces bumps and dents
- Creates a stable base
👉 Most guides emphasize tightly packed foil to avoid instability.
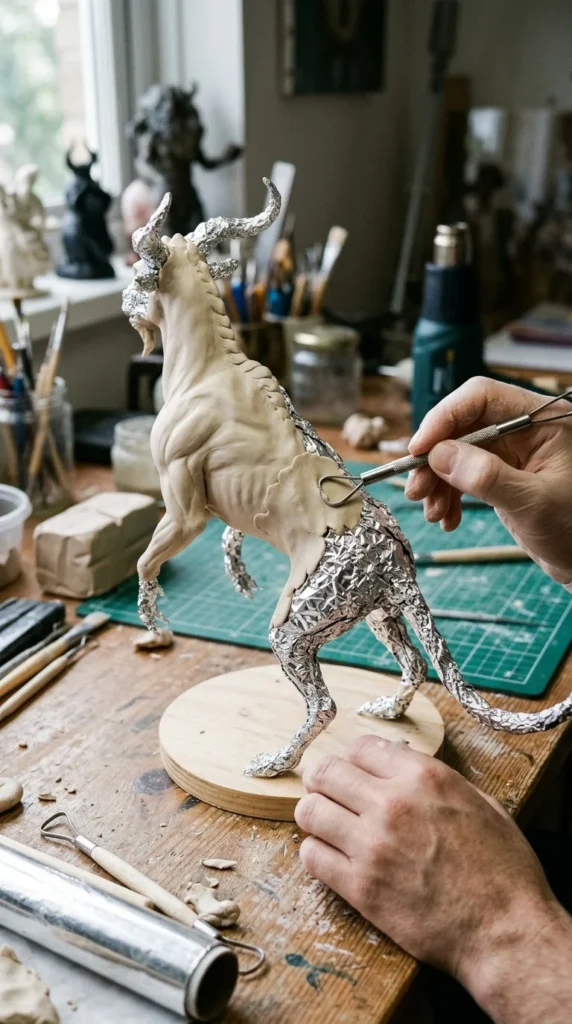
Step 3: Add Wire for Extra Support (Optional)
For more complex sculptures, combine foil with wire.
Use wire for:
- Legs, arms, or thin parts
- Structural balance
- Holding poses
How to combine:
- Build a wire frame first
- Wrap foil around it
- Shape everything together
👉 Wire + foil is the most common and effective armature combo.
Step 4: Refine the Shape Before Adding Clay
Before you reach for your clay, take a moment to adjust your base.
Check for:
- Smooth contours
- Correct proportions
- Balanced structure
Fix now, not later:
It’s much easier to reshape foil than to redo clay layers.
Step 5: Cover with Polymer Clay
Now comes the fun part—adding clay!
Best approach:
- Apply a thin base layer first
- Press gently so it sticks
- Build up layers gradually
Keep it even:
- Avoid thick blobs
- Smooth transitions between areas
👉 Most sculptors follow a “bulk first, detail later” method for better control.
Step 6: Sculpt and Add Details
Once your base layer is stable, start refining.
Focus on:
- Facial features or textures
- Edges and curves
- Final proportions
Because your foil core is already supporting the shape, you can focus on detail without worrying about collapse.
Common Mistakes to Avoid
Let’s save you some trial and error:
- ❌ Using loose foil (causes dents and movement)
- ❌ Making the foil core too large (leaves clay too thin)
- ❌ Skipping compression
- ❌ Adding clay before shaping the base properly
- ❌ Ignoring balance and structure
Foil Thickness: How Much Is Too Much?
This is a common beginner question.
General rule:
- Foil should create the bulk, not the final shape
- Leave enough room for a solid clay layer on top
Think of it like this:
- Foil = skeleton and muscle
- Clay = skin and detail
👉 Avoid making the armature too thick, or your clay layer may become too thin and fragile.
Is It Safe to Bake Foil Inside Clay?
Yes—foil is completely safe when used properly.
Why:
- It has very low expansion during heating
- It won’t damage your clay when fully covered
Just make sure:
- The foil is fully enclosed
- Your clay layer is even
Pro Tips for Better Results
- Use foil to build large shapes quickly
- Combine foil with wire for stability
- Smooth foil before adding clay
- Keep your clay layer consistent
- Test small builds before big projects
Final Thoughts: Build Smart, Not Heavy
Foil armatures are one of the easiest ways to level up your polymer clay skills.
With just a bit of foil, you can:
- Save materials
- Improve strength
- Create larger, lighter designs
The simple formula:
- Shape → compress → support → cover → refine
Once you try this method, you’ll never want to build solid clay pieces again.
Save This for Later!
If you’re planning to make figurines, sculptures, or larger designs, this guide will make your process easier and your results stronger. Pin it, bookmark it, and keep it handy for your next clay project!

DiyVisual is a DIY ideas resource for makers of every level. Our small editorial team researches and curates easy, budget-friendly craft, home decor, and handmade gift projects — explained step by step so anyone can recreate them at home with simple materials.


