You’ve shaped something amazing—maybe a tiny figurine, delicate earrings, or a detailed sculpture. But then comes the worry: Will this hold up… or snap later?
Here’s the truth: strong polymer clay isn’t just about the clay itself—it’s about what’s inside it.
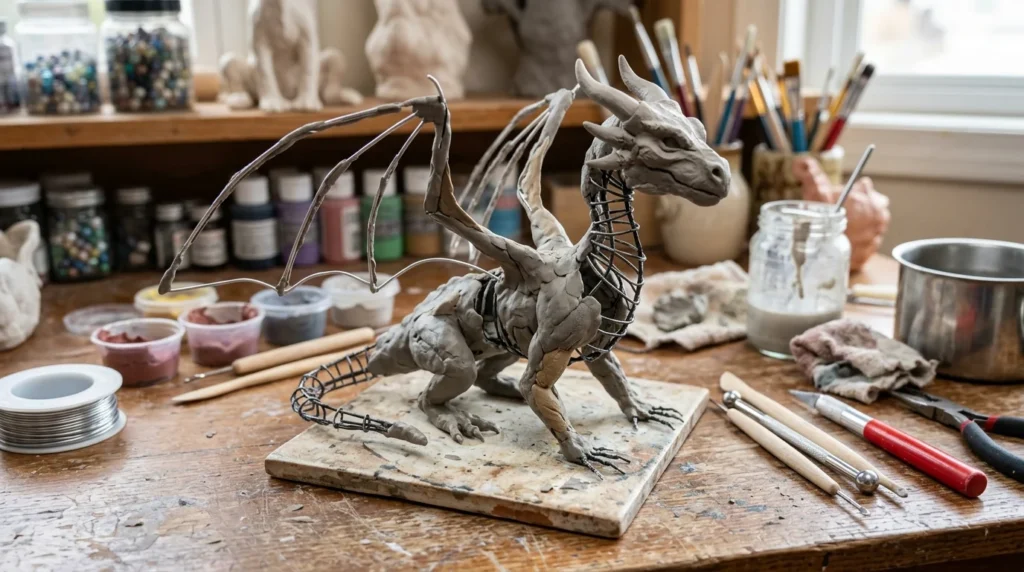
That hidden support system is called an armature, and it can completely transform how durable your creations are. Let’s break down exactly how to use armatures (and other smart techniques) to make your pieces stronger and longer-lasting.
What Is an Armature (And Why It Matters)
An armature is a support structure inside your clay—usually made from wire, foil, or other lightweight materials.
Why use one?
- Prevents breakage in thin or delicate parts
- Reduces stress during baking
- Keeps shapes stable and balanced
- Saves clay (less bulk needed!)
👉 Armatures are especially important for larger pieces and thin projections like arms, legs, or connectors.
When You Should Use an Armature
Not every project needs one—but many benefit from it.
Use an armature if your piece has:
- Thin or long parts (like limbs or stems)
- Large solid sections
- Hollow shapes
- Uneven weight distribution
Skip it if:
- You’re making small, thick beads or charms
- The design is compact and sturdy
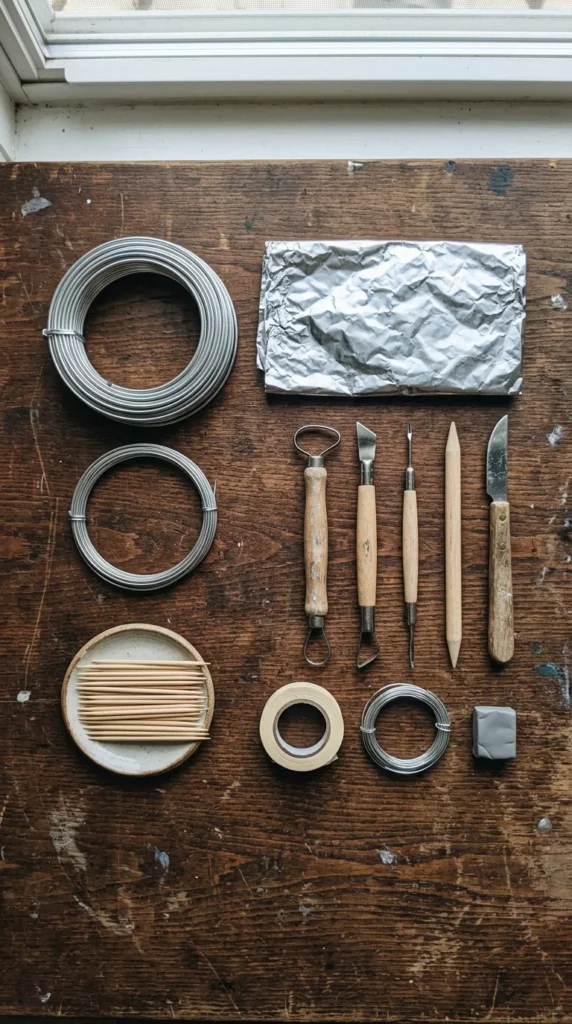
Step 1: Choose the Right Armature Material
Different projects call for different supports.
Common armature materials:
- Aluminum wire – flexible, strong, easy to shape
- Aluminum foil – great for bulking out larger forms
- Toothpicks or skewers – helpful for small pieces
- Paper or foil balls – for lightweight cores
Pro tip:
Use materials that are oven-safe and lightweight—you don’t want anything that expands or melts.
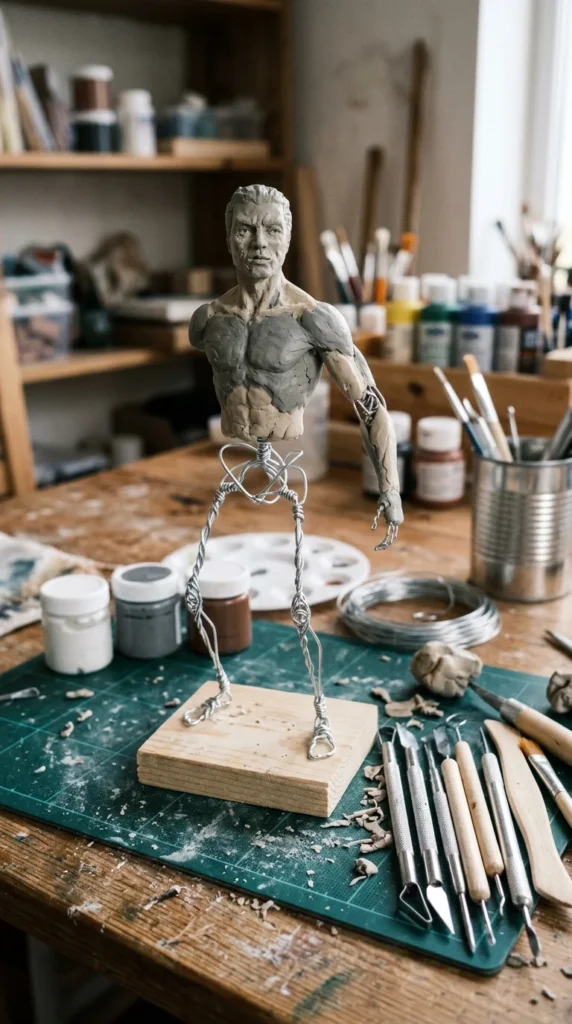
Step 2: Build the Armature First
Think of your armature like a skeleton—it should match the basic shape of your piece.
How to do it:
- Shape wire into the structure (e.g., stick figure form)
- Wrap foil around larger areas
- Secure everything tightly
Keep in mind:
- Make it slightly smaller than your final design
- Leave room for a clay layer on top
👉 A good armature provides strength without showing through the clay.
Step 3: Cover with Even Layers of Clay
Once your armature is ready, it’s time to add clay.
Best approach:
- Apply clay in even layers
- Avoid thick lumps in one area
- Smooth and blend as you go
Why this matters:
- Even thickness = even baking
- Reduces stress and cracking
- Improves overall durability
👉 Uneven thickness is a common weak point in polymer clay designs.
Step 4: Reinforce Thin or High-Stress Areas
Even with an armature, some spots need extra attention.
Focus on:
- Joints (like where arms meet the body)
- Narrow connectors
- Edges and tips
Strengthening tips:
- Slightly thicken these areas
- Blend seams carefully
- Add extra support underneath
Step 5: Bake Properly for Maximum Strength
Even the best armature won’t help if your clay isn’t fully cured.
Follow these rules:
- Bake at the correct temperature (per package)
- Use an oven thermometer
- Bake long enough for full curing
👉 Proper baking is still the #1 factor in strength—armatures just support it.
Bonus tip:
Longer baking (at the correct temperature) often makes clay stronger.
Step 6: Combine Armatures with Smart Design
Strength isn’t just about what’s inside—it’s also about shape.
Design for durability:
- Use rounded shapes instead of sharp edges
- Avoid super-thin projections
- Keep proportions balanced
👉 Thin, unsupported parts are the most common failure points.
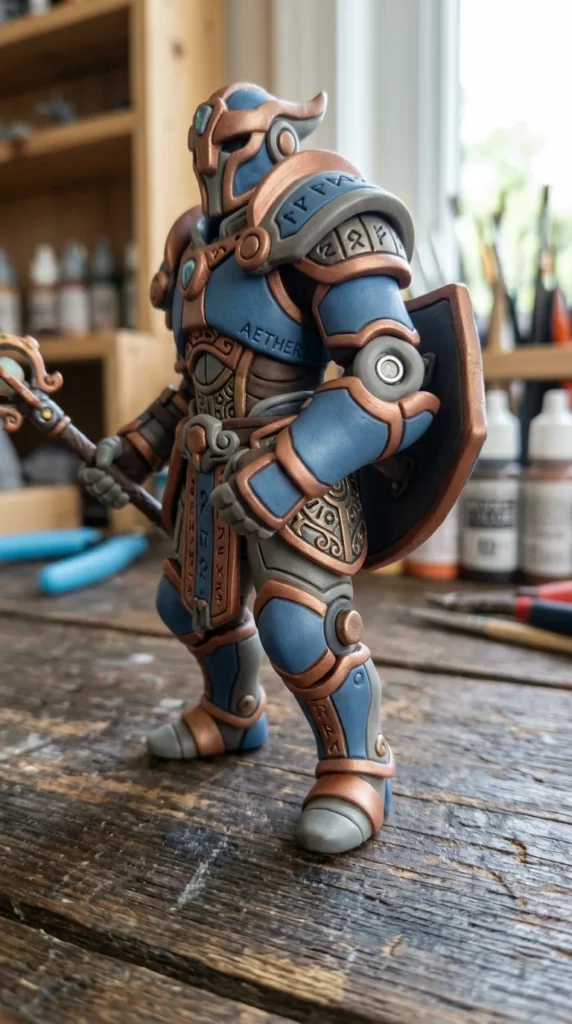
Optional: Add Post-Bake Reinforcement
For extra durability (especially jewelry or wearable pieces):
Try:
- UV resin coating
- Strong adhesives for joins
- Protective sealants
These add a protective layer and help resist wear and tear.
Common Armature Mistakes to Avoid
- ❌ Using materials that aren’t oven-safe
- ❌ Making the armature too large (causes thin clay layers)
- ❌ Skipping support for thin parts
- ❌ Leaving loose or unstable internal structures
Quick Strength Checklist
Before baking, ask yourself:
- ✅ Is there support for thin areas?
- ✅ Is thickness even?
- ✅ Is the armature secure?
- ✅ Are joints reinforced?
- ✅ Is the clay properly conditioned and ready?
Final Thoughts: Strong from the Inside Out
If you want stronger polymer clay creations, don’t just focus on the surface—focus on what’s underneath.
The winning formula:
- Smart armature
- Even clay layers
- Reinforced weak points
- Proper baking

Once you start using armatures, you’ll notice a huge difference—your pieces will feel sturdier, more professional, and much more durable.
Save This for Later!
Whether you’re making figurines, jewelry, or detailed sculptures, these armature tips will help your creations last. Bookmark it, pin it, and keep it handy for your next project!

DiyVisual is a DIY ideas resource for makers of every level. Our small editorial team researches and curates easy, budget-friendly craft, home decor, and handmade gift projects — explained step by step so anyone can recreate them at home with simple materials.


