You finish baking your polymer clay piece… it looks perfect… and then snap. It breaks way too easily. Sound familiar?
Don’t worry—you’re not doing everything wrong. Polymer clay breakage is super common, especially for beginners. The good news? It’s almost always fixable once you understand why it happens.
Let’s go step-by-step and turn your fragile pieces into strong, durable creations that actually last.
Why Polymer Clay Breaks
Breaking usually happens after baking, and it’s often confused with cracking (which happens during baking).
The most common causes:
- Underbaked clay
- Poor conditioning
- Thin or unsupported parts
- Weak clay brands
- Trapped air or poor structure
👉 Most breakage is not a material problem—it’s a curing or preparation issue.
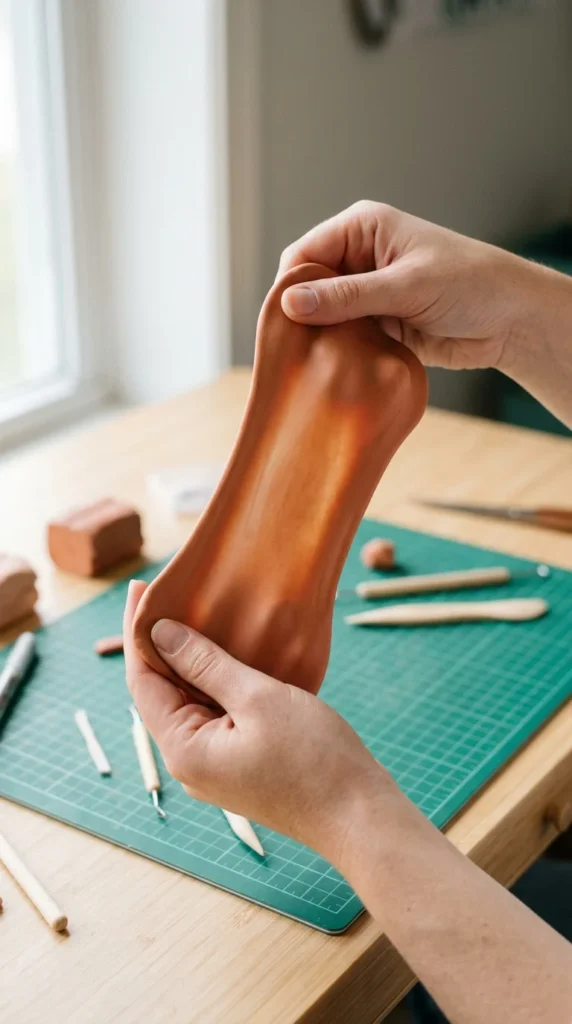
Step 1: Fully Condition Your Clay
This is the foundation of strong polymer clay.
Conditioning redistributes the clay’s plasticizers—the ingredients that keep it flexible and durable.
How to do it properly:
- Knead until smooth and soft
- Roll and fold repeatedly
- Use a pasta machine if available
What to look for:
- No cracks while bending
- Even texture
- Smooth, slightly warm feel
👉 Poorly conditioned clay is much more likely to break after baking.
Step 2: Bake Long Enough (Don’t Underbake!)
This is one of the biggest mistakes.
Many people lower the temperature or shorten bake time out of fear—but that leads to weak, brittle clay.
The better approach:
- Follow package instructions
- Bake at the correct temperature
- Extend time if needed (safely)
Rule of thumb:
- About 15–30 minutes per ¼ inch (6 mm) thickness
👉 Underbaking is one of the top reasons polymer clay breaks easily.
Step 3: Use an Oven Thermometer
Your oven might be lying to you.
Even small temperature differences can affect how strong your clay becomes.
Do this:
- Place a thermometer inside the oven
- Check the actual temperature
- Adjust your dial if needed
👉 Accurate heat is key to achieving a fully cured, durable piece.
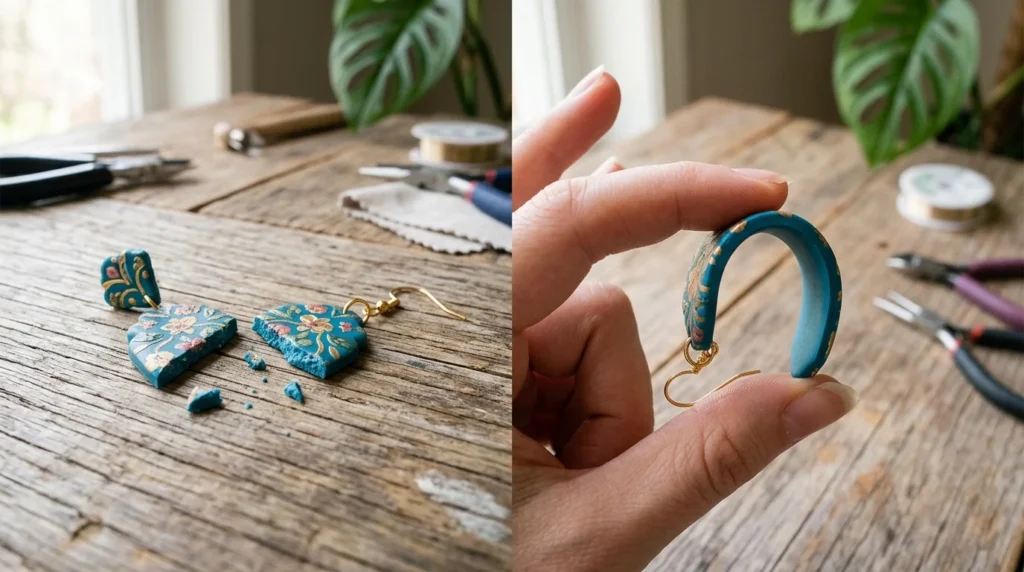
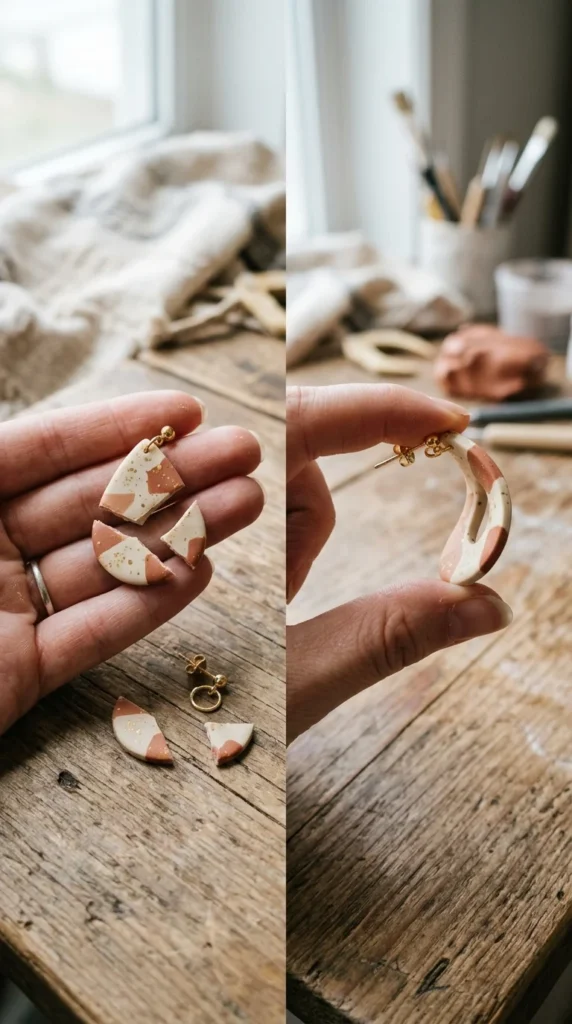
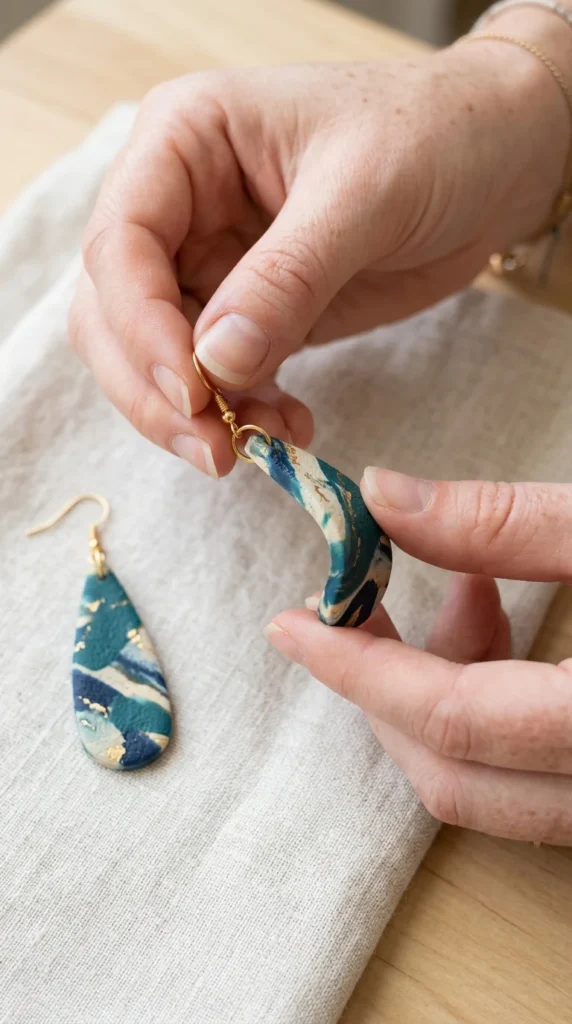
Step 4: Reinforce Thin or Fragile Parts
Thin areas are the weakest points.
Common problem spots:
- Earring posts
- Small connectors
- Limbs or projections
- Narrow bridges between shapes
How to strengthen them:
- Add a bit more thickness
- Use armatures (wire, toothpicks)
- Keep designs slightly rounded instead of razor-thin
👉 Thin, unsupported parts are far more likely to snap.
Step 5: Choose the Right Clay Brand
Not all polymer clay is equally strong.
Some softer clays are easier to shape but become brittle when thin.
General rule:
- Softer beginner clays → easier to work, but weaker
- Firmer clays → harder to shape, but stronger after baking
What to consider:
- Use stronger lines (like Premo or similar) for thin designs
- Avoid ultra-soft clay for delicate pieces
👉 Brand choice plays a big role in final durability.
Step 6: Avoid Air Bubbles and Weak Spots
Air pockets can weaken your structure.
Prevent them by:
- Tearing clay instead of folding
- Pressing firmly while shaping
- Rolling slowly and evenly
Air bubbles don’t just cause cracks—they can create weak internal areas that lead to breakage later.
Step 7: Let It Cool Properly
After baking, your clay is still vulnerable.
Do this:
- Let pieces cool completely before handling
- Avoid bending while warm
- Allow gradual cooling
Rapid temperature changes can stress the material and reduce strength.
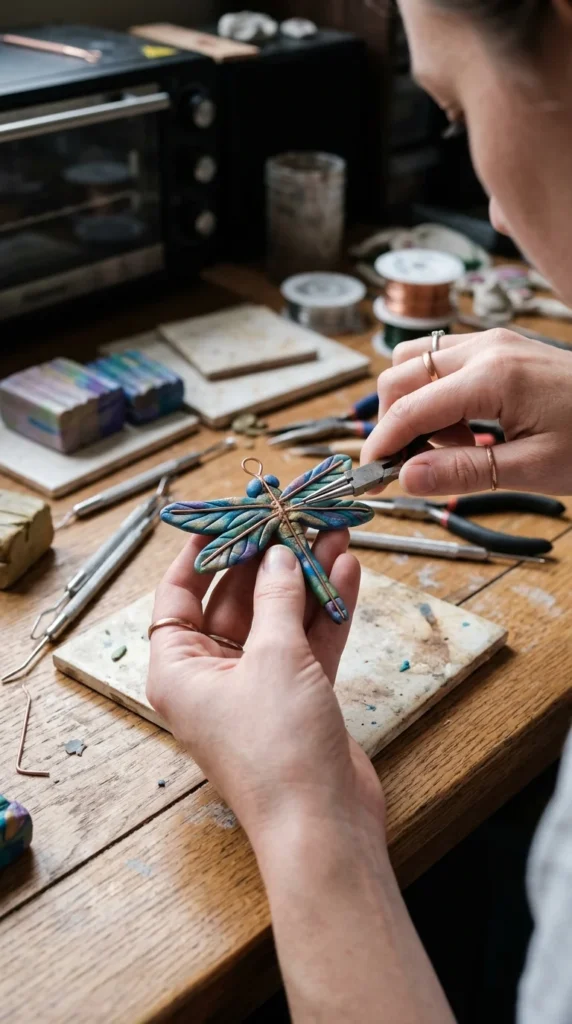
Step 8: Strengthen Joints and Connections
If your design has multiple parts:
- Use liquid clay as a bonding agent before baking
- Score (scratch) surfaces before joining
- Press connections firmly
After baking:
- Use strong adhesives if needed
- Reinforce weak joints
👉 Strong connections are just as important as strong clay.
Quick Troubleshooting Guide
Breaks easily after baking?
- Likely underbaked
Snaps at thin points?
- Needs more thickness or support
Crumbles or feels chalky?
- Poor conditioning or old clay
Breaks at joints?
- Weak bonding or no reinforcement
Bonus Tips for Extra-Strong Pieces
- Bake slightly longer at the correct temperature
- Use foil cores for larger designs
- Avoid over-leaching (removing too much oil)
- Test small pieces before final projects
Final Thoughts: Build Strength from the Start
Strong polymer clay isn’t about luck—it’s about process.
When you combine:
- Proper conditioning
- Accurate baking
- Smart design choices
- Good support structures
…you’ll create pieces that don’t just look good—they last.
Save This for Later!
If you’re making jewelry, charms, or detailed designs, this guide will help you avoid breakage and get stronger results every time. Pin it, bookmark it, and keep it handy for your next clay project!

DiyVisual is a DIY ideas resource for makers of every level. Our small editorial team researches and curates easy, budget-friendly craft, home decor, and handmade gift projects — explained step by step so anyone can recreate them at home with simple materials.


