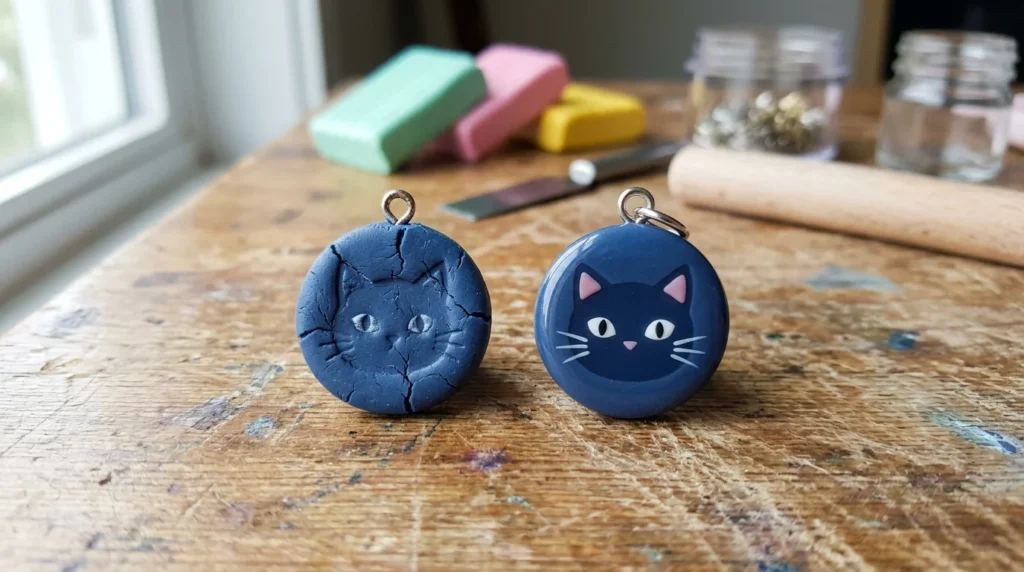
Nothing is more frustrating than spending time shaping the perfect polymer clay piece… only to see cracks appear after baking. Whether it’s tiny surface lines or deep splits, cracking can ruin an otherwise beautiful project.

The good news? Cracks aren’t random—they’re usually caused by a few common issues that are easy to fix once you know what to look for. Let’s break down the causes and how to prevent them step by step.
Why Polymer Clay Cracks
Cracking usually happens because of stress inside the clay during baking or cooling.
The most common causes include:
- Poor conditioning
- Trapped air bubbles
- Uneven thickness
- Incorrect baking temperature
- Rapid cooling
👉 In simple terms: the outside and inside of the clay don’t behave the same way, which leads to splitting.
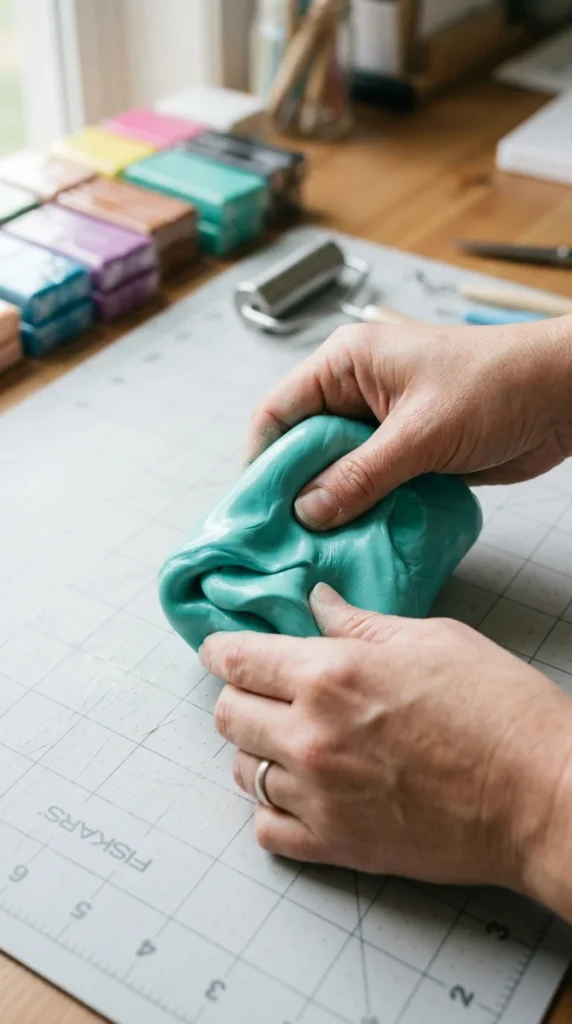
Step 1: Fully Condition Your Clay
This is the #1 rule—and the most skipped step.
Conditioning means softening and mixing the clay until it’s smooth and flexible.
How to do it:
- Knead by hand until soft
- Roll and fold repeatedly
- Use a pasta machine if you have one
Why it matters:
- Prevents weak spots
- Reduces cracking during baking
- Ensures even curing
👉 Poorly conditioned clay is one of the biggest causes of cracking.
Step 2: Eliminate Air Bubbles
Air bubbles are tiny troublemakers.
When heated, trapped air expands and creates pressure inside the clay—leading to cracks.
How to avoid them:
- Tear clay instead of folding it
- Press firmly while shaping
- Roll out slowly and evenly
- Pop visible bubbles with a needle
👉 Trapped air is a major cause of cracks during baking.
Step 3: Keep Thickness Even (and Not Too Thick)
Thick clay pieces are much more likely to crack.
Why? Because:
- The outside cures faster than the inside
- Internal stress builds up
Smart solutions:
- Keep thickness consistent
- Build in layers instead of one solid chunk
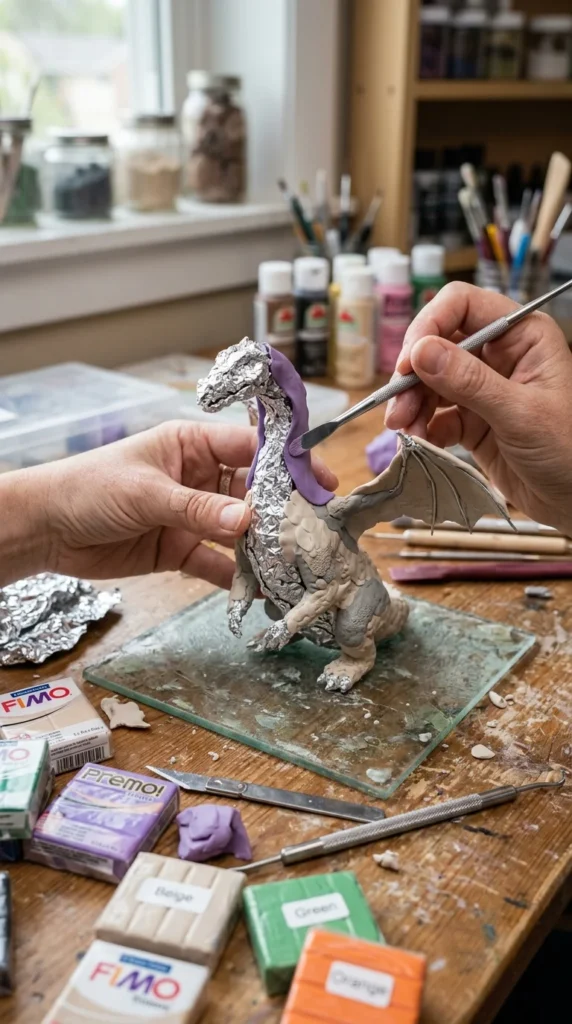
- Use a foil core or armature for larger pieces
👉 Thick, solid pieces without support are more prone to cracking.
Step 4: Bake at the Correct Temperature
Temperature problems are a hidden cause of cracks.
Avoid these mistakes:
- Baking too hot
- Guessing the temperature
- Skipping preheating
Do this instead:
- Follow your clay brand’s instructions
- Use an oven thermometer
- Preheat fully before baking
👉 Temperature spikes or incorrect heat can lead to cracking and damage.
Step 5: Don’t Rush the Cooling Process
This one surprises a lot of beginners.
If clay cools too quickly:
- The surface contracts faster than the inside
- Stress forms → cracks appear
Best practice:
- Let pieces cool slowly
- Leave them in the oven with the door slightly open
- Avoid moving them while hot
👉 Rapid cooling is a common trigger for cracks after baking.
Step 6: Check Your Clay Quality
Not all clay behaves the same—especially older clay.
Watch for:
- Dry, crumbly texture
- Hard-to-condition blocks
- Cracking before baking
Fix it:
- Add a small amount of clay softener
- Mix with fresh clay
- Warm it slightly before conditioning
👉 Older clay can crack due to lost flexibility over time.
Step 7: Support Large or Complex Shapes
If your design includes:
- Hollow sections
- Thin extensions
- Large sculptures
…you’ll need extra support.
Try using:
- Aluminum foil cores
- Armature wire
- Paper or fiberfill for structure
This reduces stress during baking and helps prevent cracks from forming.
Quick Troubleshooting Guide
Cracks after baking?
- Likely uneven thickness or fast cooling
Cracks during baking?
- Air bubbles or temperature issues
Cracks before baking?
- Clay not conditioned properly
What If Your Clay Already Cracked?
Don’t panic—you can fix it!
Simple fixes:
- Fill cracks with fresh clay
- Re-bake the piece
- Sand and smooth the surface after curing
Small imperfections can often be repaired without starting over.
Pro Tips for Crack-Free Results
- Always condition your clay thoroughly
- Work slowly to avoid trapping air
- Keep thickness even
- Use proper temperature and timing
- Let clay cool gradually
- Test bake small samples if unsure
Final Thoughts: Crack-Free Confidence
Preventing cracks isn’t about perfection—it’s about understanding how polymer clay behaves.
Once you focus on:
- Good conditioning
- Air bubble control
- Even thickness
- Proper baking and cooling
…you’ll notice a huge difference in your results.
Save This for Later!
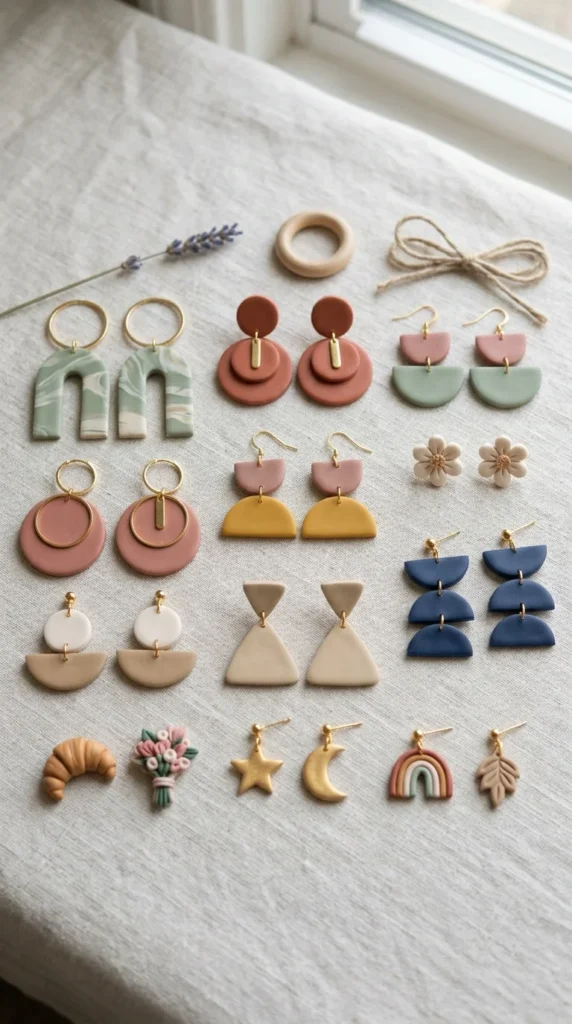
If you’re working on earrings, sculptures, or detailed designs, this guide will save you from so many cracked pieces. Pin it, bookmark it, and keep it handy for your next project!

DiyVisual is a DIY ideas resource for makers of every level. Our small editorial team researches and curates easy, budget-friendly craft, home decor, and handmade gift projects — explained step by step so anyone can recreate them at home with simple materials.


