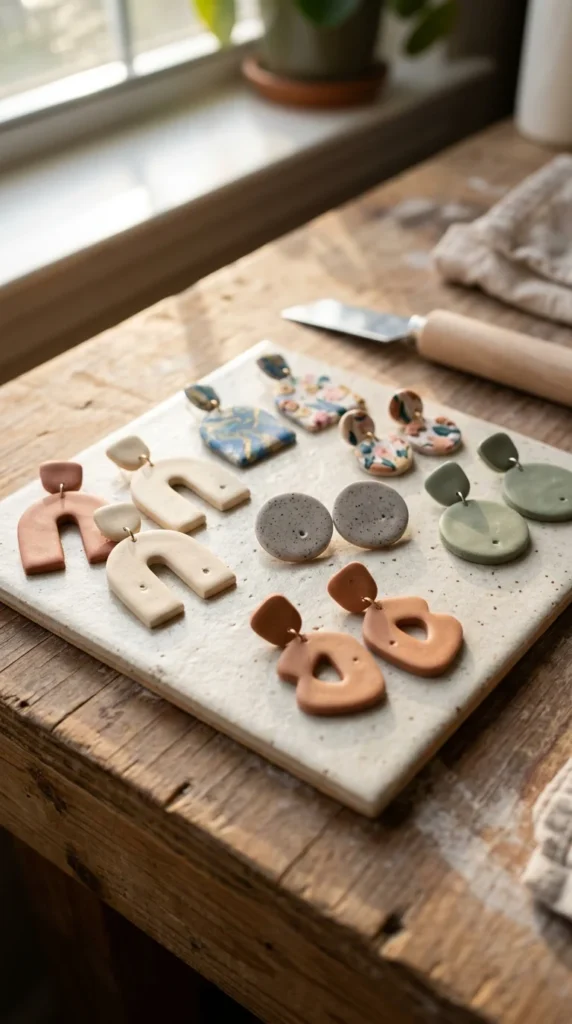
If you’ve ever flipped over your polymer clay piece and found a shiny, uneven, or slightly warped back—ugh, it ruins the whole vibe. The secret to that clean, professional finish? Baking on a tile… the right way.
Tile baking is a favorite among polymer clay artists because it creates a stable, flat surface. But here’s the twist: using a tile alone isn’t enough. Let’s walk through the best method to get that smooth, matte, perfectly flat back every time.
Why Use a Tile for Baking Polymer Clay?
Ceramic tiles aren’t just random craft tools—they’re actually super useful in baking.
Benefits of baking on a tile:
- Keeps pieces flat and stable
- Distributes heat evenly
- Reduces warping during baking
- Easy to move in and out of the oven
But there’s one catch…
👉 Baking directly on tile can leave shiny spots on the back.
That’s why the setup matters.
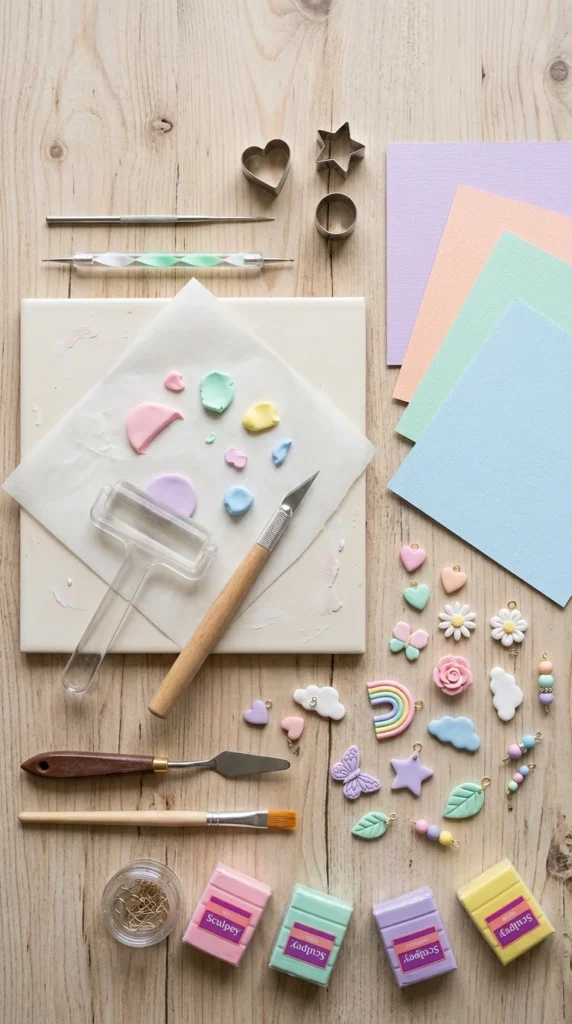
What You’ll Need for the Perfect Setup
Before you start, gather these essentials:
- Ceramic tile (smooth, oven-safe)
- Polymer clay pieces
- Plain paper, cardstock, or parchment
- Oven thermometer
- Baking tray (optional)
- Aluminum foil (optional for tenting)
Pro tip:
Use the smooth glazed side of the tile for the most even surface.
Step 1: Preheat and Check Your Oven
Most polymer clay brands bake around:
- 275°F / 130°C
But always check your clay’s packaging.
Do this before baking:
- Preheat fully
- Place an oven thermometer inside
- Verify the real temperature
Why? Because ovens can run hotter than expected—and that’s how scorching happens.
Step 2: Add a Barrier (The Real Secret!)
This is the step many beginners miss.
Never place clay directly on the tile if you want a matte finish.
Instead, add a layer:
- Plain copy paper
- Cardstock (best for ultra-smooth backs)
- Parchment paper
This barrier prevents:
- Shiny spots
- Surface impressions
- Uneven textures
👉 This method is widely recommended because direct contact with tile can create glossy marks.
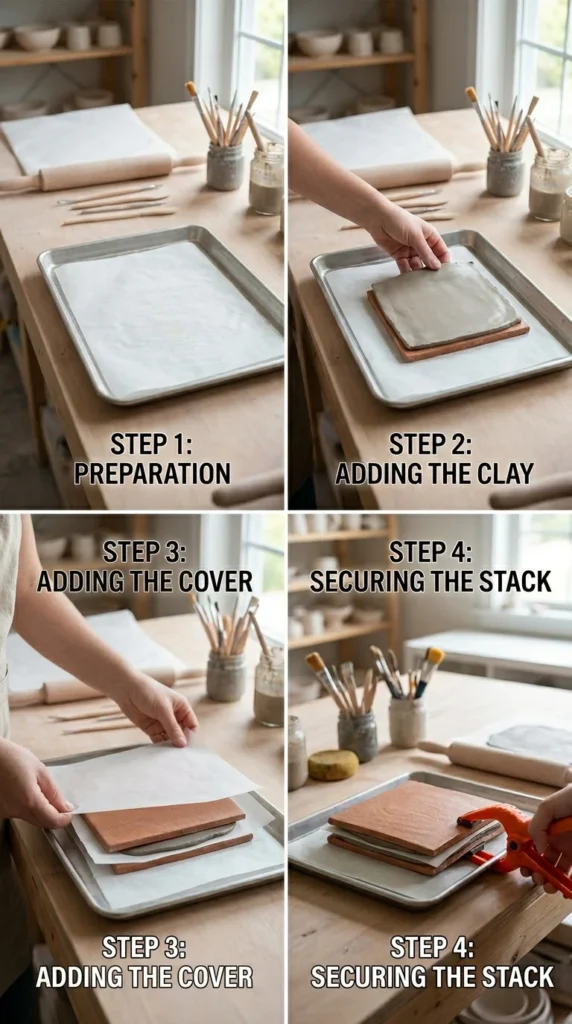
Step 3: Try the “Tile Sandwich” Method
Want ultra-flat results? This trick is gold.
How it works:
- Place tile on tray
- Add paper layer
- Place clay pieces
- Add another sheet of paper
- Place a second tile on to
Why it works:
- Applies gentle pressure
- Keeps pieces perfectly flat
- Prevents curling or warping
Best for:
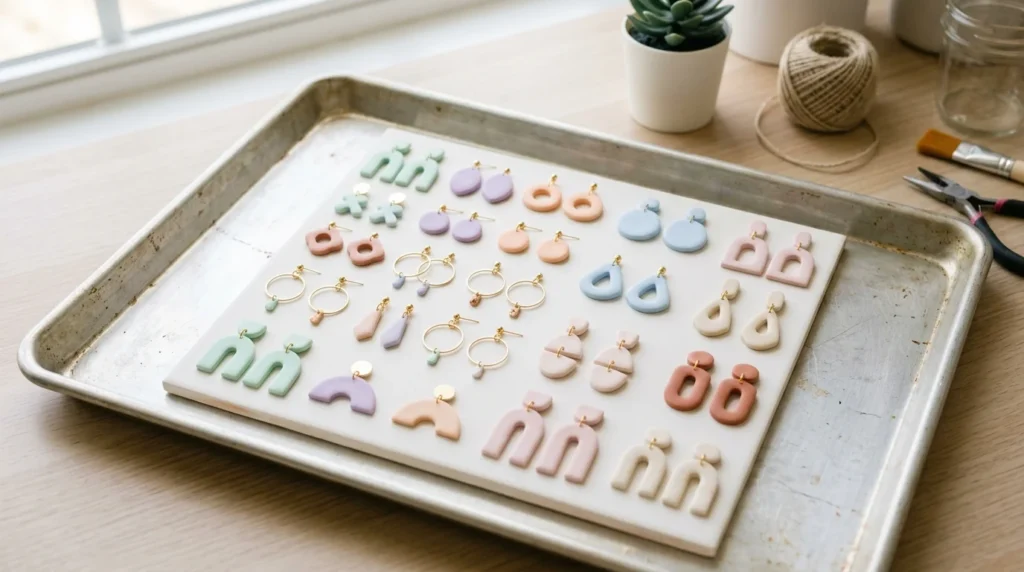
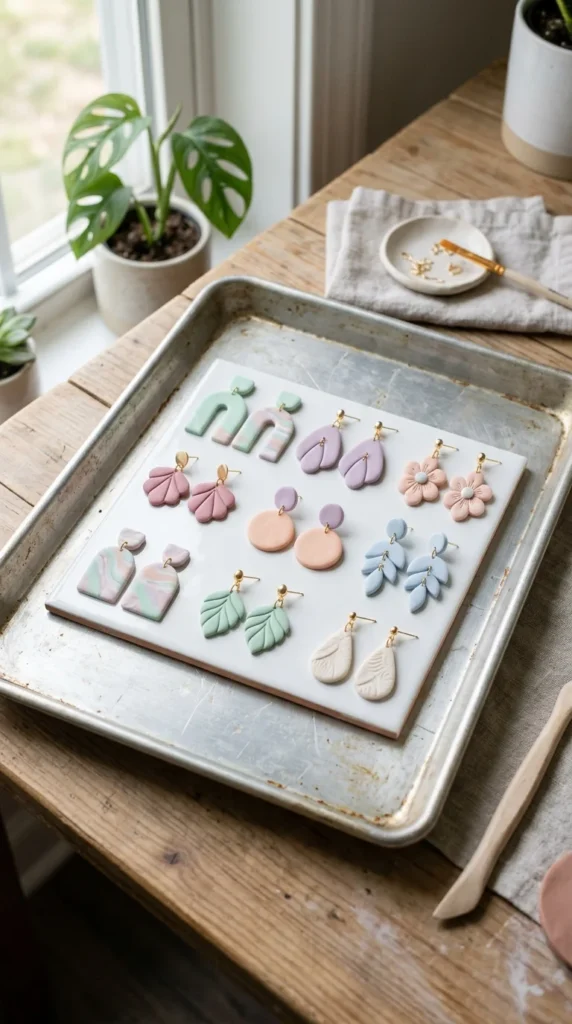
- Earrings
- Pendants
- Flat charms
Step 4: Bake by Thickness (Not Guesswork)
Follow this simple rule:
- 30 minutes per ¼ inch (6 mm) thickness
Avoid the temptation to:
- Lower temperature
- Rush the baking time
👉 Underbaked clay is weak and brittle, which is a bigger issue than slight overbaking.
Step 5: Use a Foil Tent for Extra Protection
If your oven runs hot or your clay is light-colored:
- Create a loose foil tent
- Place it over your setup (without touching clay)
This helps:
- Prevent browning
- Block direct heat
- Keep colors vibrant
Common Mistakes to Avoid
Let’s save you some trial and error:
- ❌ Baking directly on tile (causes shine)
- ❌ Skipping the paper barrier
- ❌ Not checking oven temperature
- ❌ Placing clay too close to heating elements
- ❌ Moving pieces while still hot
How to Get the Smoothest Back Possible
For that perfect finish:
- Use cardstock instead of parchment
- Keep clay thickness even
- Avoid textured surfaces underneath
- Use the tile sandwich method for flat designs
Bonus tip:
If you still get slight shine, you can:
- Lightly sand the back
- Buff for a soft matte finish
Cooling Matters More Than You Think
Once baking is done:
- Leave pieces on the tile to cool slowly
- Don’t touch or bend them immediately
Cooling helps:
- Firm up the structure
- Prevent distortion
- Lock in that smooth surface
Final Thoughts: Your Flat-Back Formula
Getting a flat, smooth back isn’t about fancy tools—it’s about smart setup.
Here’s your winning combo:
- Tile for stability
- Paper barrier for a matte finish
- Correct temperature for proper curing
- Optional tile sandwich for perfection
Once you dial this in, your polymer clay pieces will look cleaner, more professional, and way more satisfying to hold.
Save This for Later!
If you love making earrings, charms, or flat designs, this method is a total game-changer. Pin it, bookmark it, or keep it in your craft notes—you’ll use it every time you bake.

DiyVisual is a DIY ideas resource for makers of every level. Our small editorial team researches and curates easy, budget-friendly craft, home decor, and handmade gift projects — explained step by step so anyone can recreate them at home with simple materials.


