There’s nothing more frustrating than finishing a beautiful polymer clay piece… only to notice fingerprints all over it 😩. Those tiny ridges can ruin an otherwise smooth, professional look—but the good news? They’re completely fixable (and preventable!).
Whether you’re a beginner or a seasoned crafter, this guide will walk you through simple, effective ways to remove fingerprints before baking, so your creations come out flawless every time.
Why Fingerprints Happen (And Why It’s Better to Fix Them Early)
Polymer clay is soft and sensitive to touch—especially when it’s warm. That means even gentle handling can leave marks behind.
According to common crafting insights, fixing fingerprints before baking is much easier than after, when the clay hardens and requires sanding or buffing .
Common causes:
- Warm or overly soft clay
- Pressing too hard while shaping
- Dry hands with visible ridges
- Repeated handling during detailing
The key? Work smart and fix as you go.
Step-by-Step: How to Remove Fingerprints Before Baking
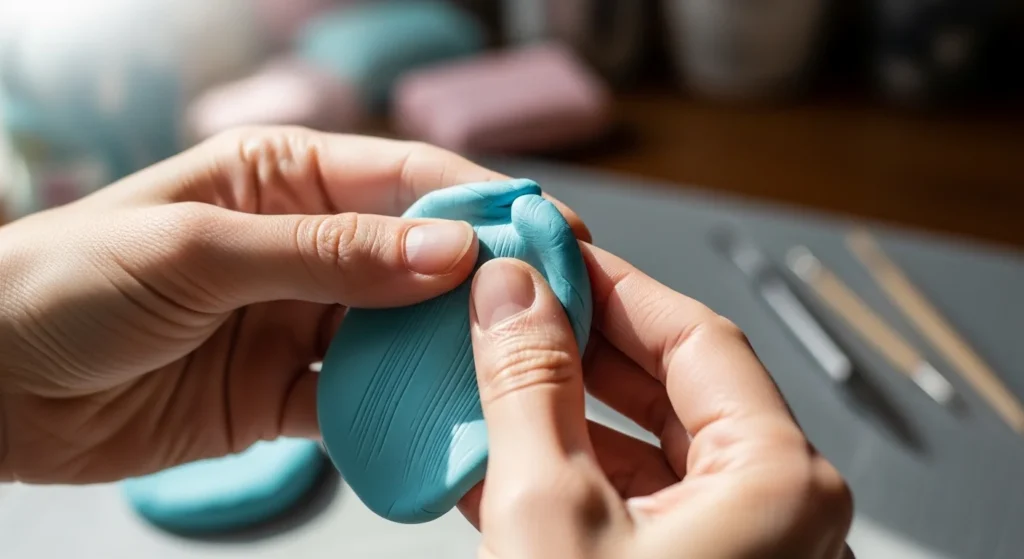
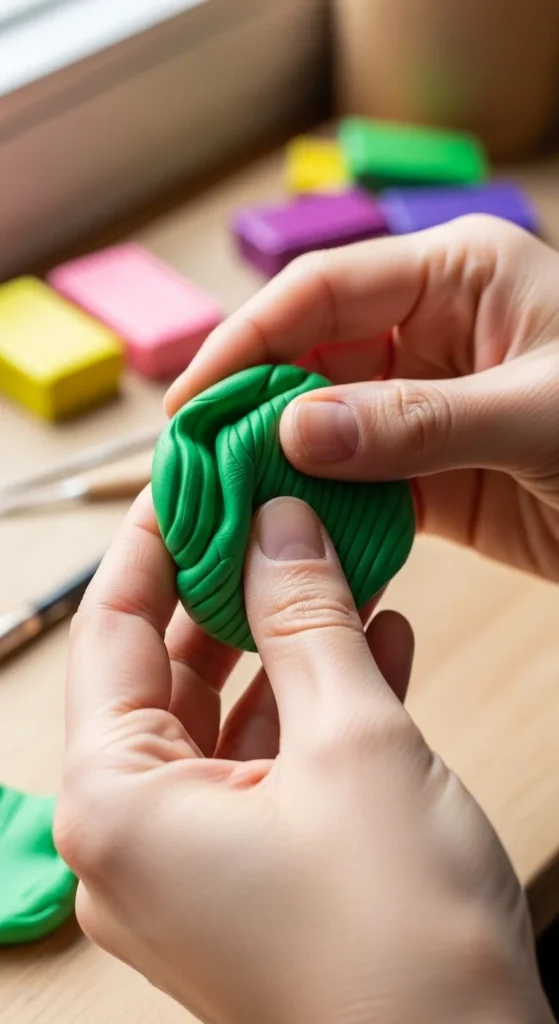
1. Smooth with Your Fingers (Yes, Really!)
Start simple. Lightly rub the surface with clean fingers using minimal pressure.
- Use the pads of your fingers, not the tips
- Move in gentle circular motions
- Avoid pressing too hard
This works best for fresh, shallow marks.

2. Use Isopropyl Alcohol (Quick & Effective)
One of the most popular methods! Isopropyl alcohol (IPA) helps dissolve and smooth the surface slightly.
How to use:
- Dip a cotton swab (Q-tip) in alcohol
- Lightly dab or glide over the surface
- Let it air dry
✨ Tip: Use higher concentration (like 90%+) for best results.
This method is widely recommended as a fast and accessible smoothing solution .
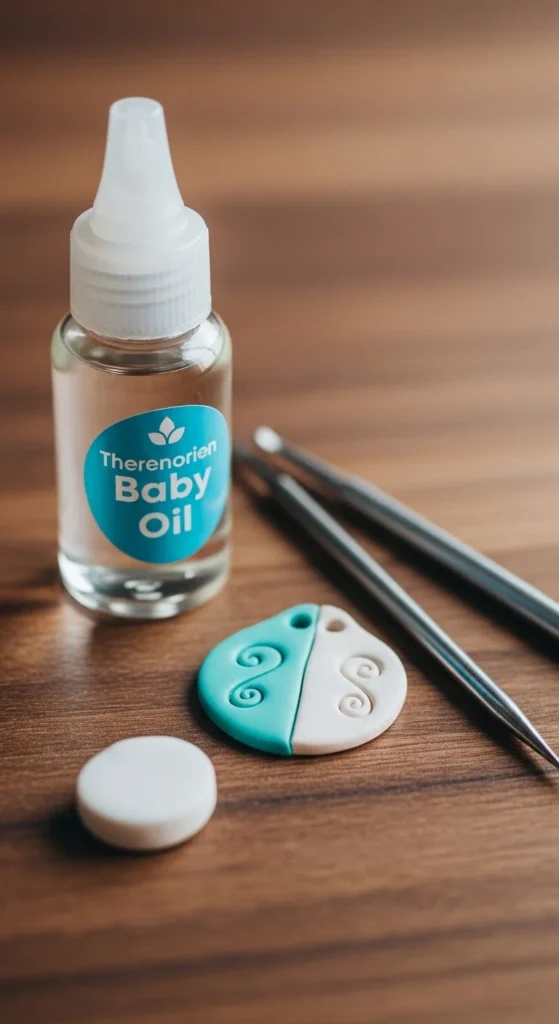
3. Try a Tiny Bit of Baby Oil or Mineral Oil
Oil can help “melt away” surface imperfections.
- Apply a very small amount using your fingertip or a soft cloth
- Gently smooth over the clay
- Wipe off excess
⚠️ Don’t overdo it—too much oil can make the surface sticky.
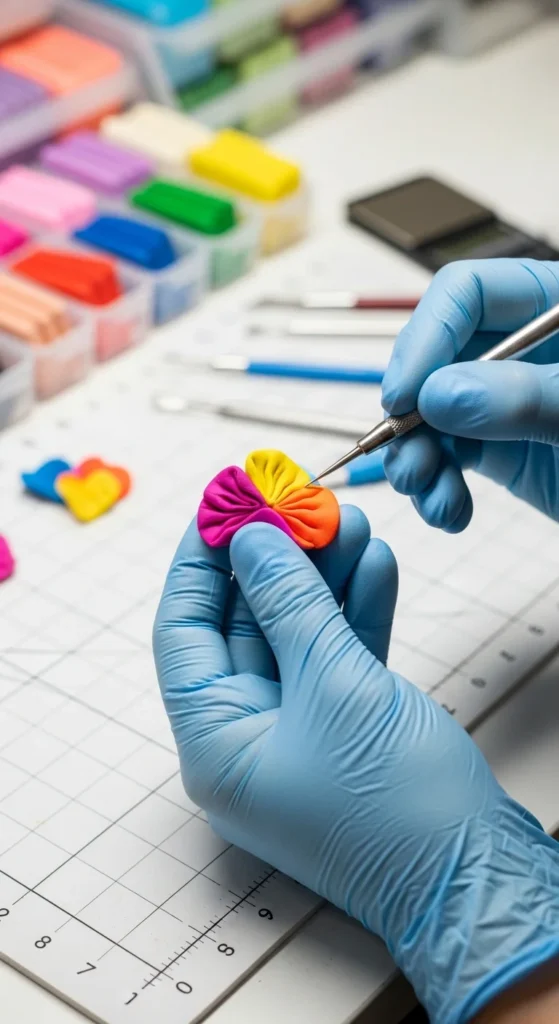
4. Use a Soft Brush or Silicone Tool for Details
Fingerprints love to hide in tiny crevices. That’s where tools come in.
Best options:
- Soft paintbrush
- Silicone sculpting tools
- Micro brushes
These tools help you reach tight spots without damaging details, which is a common challenge for crafters .
5. Dust with Cornstarch (Underrated Trick!)
Cornstarch isn’t just for baking—it’s a secret weapon here too.
How it helps:
- Fills in fingerprint ridges
- Reduces stickiness
- Makes smoothing easier
Lightly dust your hands or the clay surface, then smooth again.
Bonus: Prevention Tips (So You Don’t Have to Fix Them!)
The best fix is not needing one at all 😉. Prevention is actually the top advice across most tutorials .
Smart habits to adopt:
- Wear gloves for a flawless finish
- Keep clay slightly cool and firm
- Use a light touch (no “death grip”!)
- Handle pieces with tools instead of fingers when possible
- Work on a clean, smooth surface
What If Fingerprints Don’t Fully Disappear?
Sometimes, especially with soft clay, faint marks may remain. Don’t panic!
Before baking:
- Repeat alcohol smoothing
- Try switching tools
- Let clay rest and firm up slightly
After baking (if needed):
- Sand lightly (start around fine grit)
- Buff for a polished finish
But remember—pre-bake fixes are always easier and faster.
Safety Tips You Shouldn’t Ignore
When using products like alcohol or acetone:
- Work in a well-ventilated area
- Avoid open flames
- Use small amounts only
- Keep away from children
Safety matters just as much as a smooth finish!
Final Thoughts: Smooth Clay = Professional Results
Fingerprints are part of the learning process—but they don’t have to ruin your work. With a few simple tools and techniques, you can turn a marked-up piece into a smooth, polished creation in minutes.
The secret formula is simple:
- Prevent when possible
- Fix early
- Use the right tools
✨ Loved this guide? Save it for your next clay session and come back whenever those fingerprints try to sneak in again!

DiyVisual is a DIY ideas resource for makers of every level. Our small editorial team researches and curates easy, budget-friendly craft, home decor, and handmade gift projects — explained step by step so anyone can recreate them at home with simple materials.


