Mini rangoli designs are perfect for people who want something festive but quick. Large rangoli patterns can take time, space, and many colors. Small designs solve that problem. They fit nicely at entrances, balconies, puja corners, and apartment doorways.
The charm of mini rangoli designs comes from their simplicity. A few dots, small flowers, curved lines, or geometric shapes can create a beautiful pattern within minutes. Many people prefer these designs for daily decoration during festivals like Diwali, Navratri, Pongal, or New Year.
Another reason people love mini rangoli is that they are beginner-friendly. You do not need professional skills or many materials. Even two or three colors can create a clean and attractive design.
This list shares adorable mini rangoli ideas that can be completed quickly. Each one focuses on simple shapes, small layouts, and practical tips so you can decorate your home floor without stress.
1. Simple Three-Dot Flower Rangoli
This rangoli starts with only three dots arranged in a small triangle. It is one of the easiest patterns for beginners.
Draw three dots on the floor with white powder. Connect the dots using curved lines so the shape resembles flower petals. Once the outline is ready, add color inside each petal.
You can use two colors only. That keeps the design neat and avoids clutter. A white outline around the petals helps the pattern stand out clearly.
The beauty of this design is how little space it requires. It fits perfectly on a doorstep or near a small puja area.
Budget tip: use leftover rangoli powder from larger designs. Even tiny amounts work here.
If you want a slightly richer look, place a few flower petals around the design. The petals add texture without making the rangoli complicated.
This small pattern proves that a few dots and simple curves can create a charming rangoli in minutes.
2. Mini Daisy Rangoli
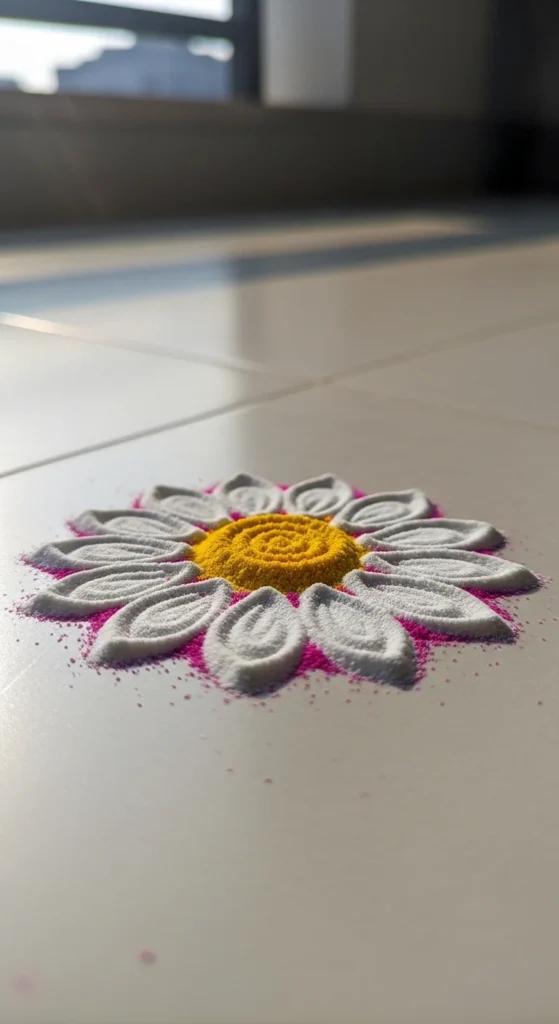
A daisy pattern works beautifully in mini rangoli designs. The shape is clean and instantly recognizable.
Start by drawing a small circle in the center. Fill it with yellow powder. Around the circle, draw short oval petals using white powder.
Once the petals are complete, lightly fill them with pastel colors. Pink, orange, or light blue work well.
Keep the petals evenly spaced. That gives the rangoli a balanced appearance.
This design is great for balconies or small apartment entrances because it stays compact.
Budget tip: you only need two or three colors to complete the pattern.
To make the rangoli stand out more, draw a thin border around the entire flower. Even a simple ring around the petals can make the design look more finished.
The result is a cute floral rangoli that takes less than ten minutes to create.
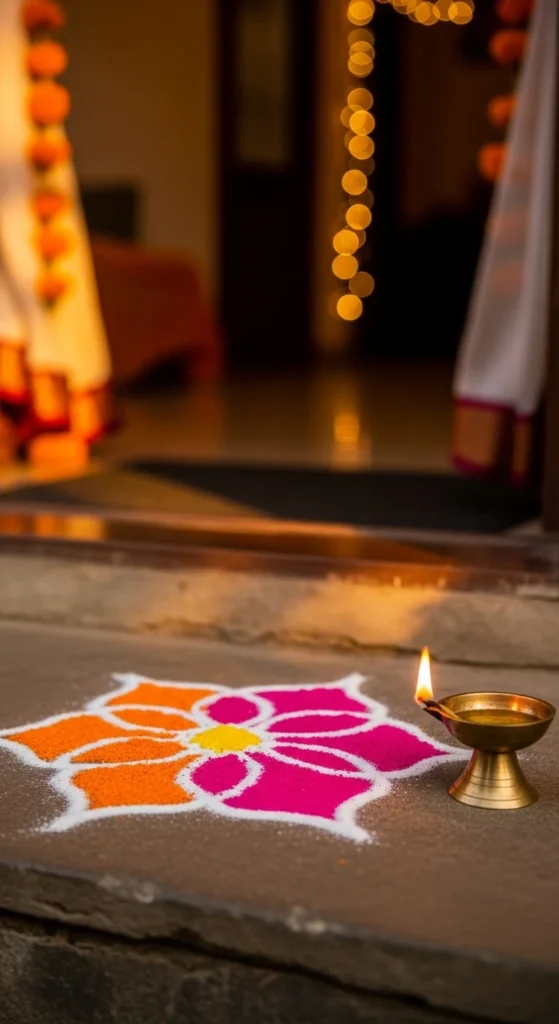
3. Tiny Diya Rangoli
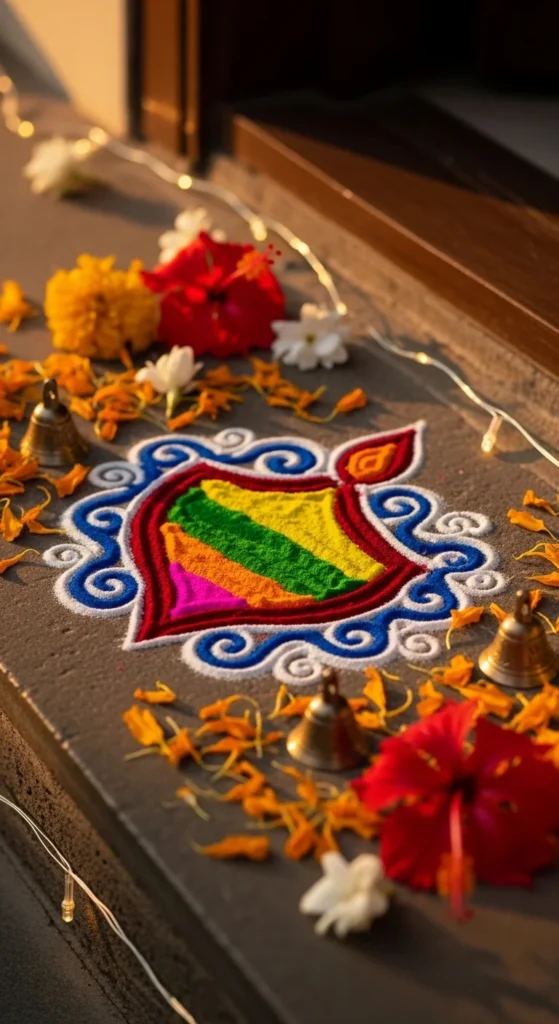
The diya symbol represents light and celebration. A mini diya rangoli is perfect for festival mornings or evenings.
Begin by sketching the curved bowl shape of the diya using white powder. Add a small flame shape above it.
Fill the bowl area with bright colors such as orange, red, or yellow. Use a contrasting color for the flame.
Keep the lines bold so the shape remains clear even though the design is small.
This rangoli looks especially nice near a doorway or next to real lamps during celebrations.
Budget tip: use two colors and focus on neat outlines instead of complex filling patterns.
You can also place a few rice grains or flower petals around the diya to frame the design.
This quick pattern creates a warm festive look without taking much time or space.
4. Mini Peacock Eye Rangoli
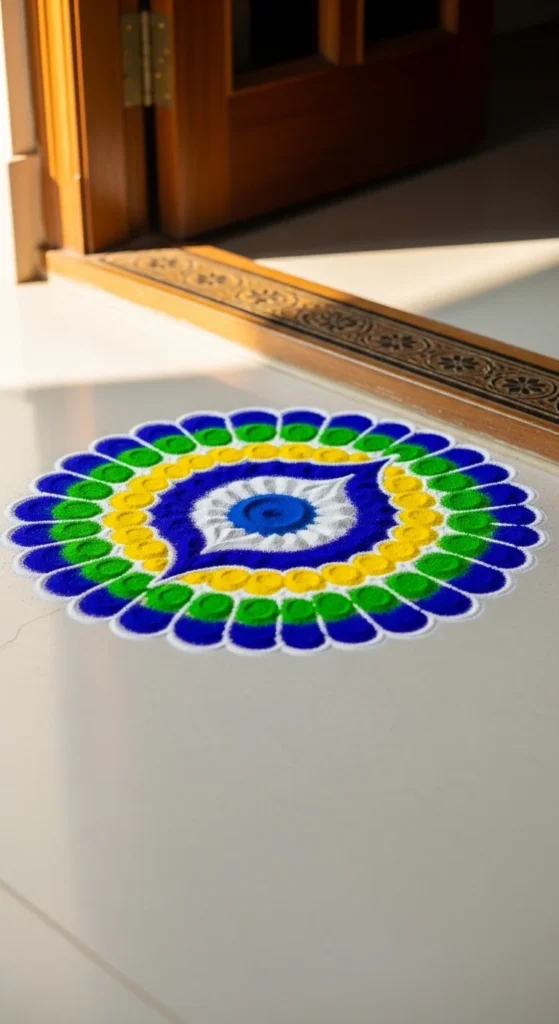
Peacock motifs are common in rangoli art. A mini peacock eye pattern captures the beauty of the feather in a tiny design.
Draw an oval shape first. Inside it create a smaller oval to form the “eye” of the feather.
Fill the center with dark blue powder. Surround it with green and yellow shades.
Add short curved lines around the oval to represent feather strands.
The design remains compact but still feels decorative.
Budget tip: three colors are enough to achieve a peacock effect.
If you want a richer look, add tiny white dots along the outer edge.
This pattern works nicely at entrances because the oval shape fits easily into narrow spaces.
Even beginners can complete this elegant mini peacock rangoli quickly.
5. Small Rainbow Arc Rangoli
This design uses curved lines arranged like a rainbow.
Start by drawing three small arcs side by side. Each arc should be slightly larger than the previous one.
Fill each arc with a different color such as pink, yellow, and green.
Add tiny white dots around the arcs to decorate the border.
Because the shapes are simple, the rangoli takes very little time to complete.
Budget tip: choose colors that contrast strongly with the floor color.
The arcs look neat even without complicated detailing.
This rangoli style works well in narrow spaces like balconies or small hallways.
The final result feels cheerful and modern while still staying traditional.
6. Mini Border Rangoli
Border rangoli patterns decorate the edges of spaces instead of the center.
Draw a straight line along the entrance edge using white powder. Add small curved loops along the line.
Inside each loop place a tiny dot of color.
This design looks neat and symmetrical without requiring a large area.
Budget tip: use white powder for most of the pattern and only small touches of color.
Border rangoli designs are ideal for apartments where floor space is limited.
The thin pattern frames the entrance beautifully.
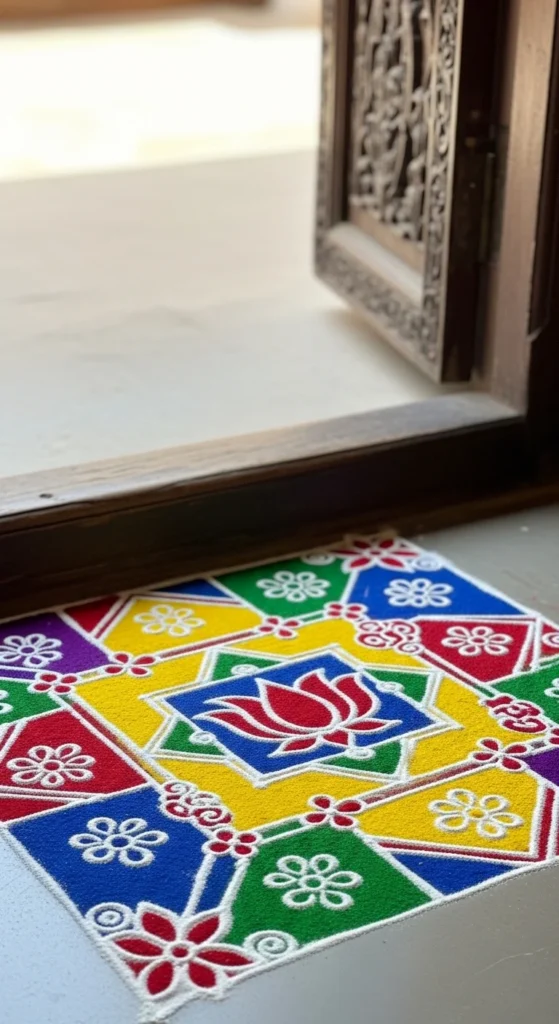
7. Tiny Lotus Rangoli
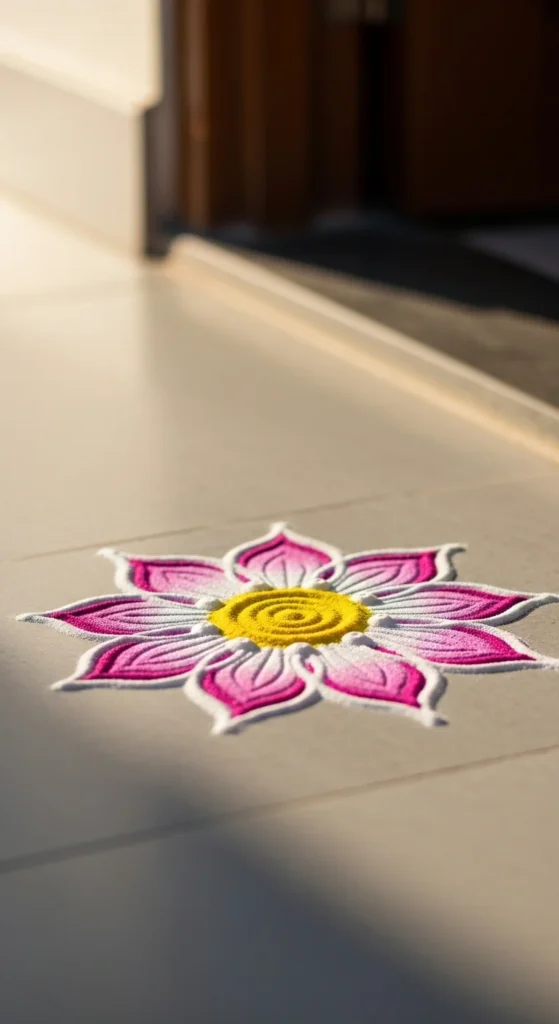
Lotus shapes are widely used in rangoli designs.
Begin with a small circle center. Draw five or six pointed petals around it.
Fill the petals with pink powder and the center with yellow.
Outline the entire flower with white powder.
This creates a neat and devotional look.
Budget tip: two colors are enough for this design.
The lotus motif fits well in puja spaces or meditation corners.
8. Three Color Triangle Rangoli
Geometric rangoli patterns are easy for beginners.
Draw a small circle first. Around the circle create four triangles.
Fill each triangle with different colors.
Add tiny white dots between shapes to decorate the border.
The triangle pattern gives the rangoli a structured look.
This design is perfect for people who prefer simple shapes.
9. Mini Petal Ring Rangoli

This rangoli uses real petals instead of powder.
Create a small colored circle in the center.
Arrange flower petals around the circle to form a ring.
Marigold and rose petals work beautifully.
The natural texture adds a festive feeling.
This design is eco-friendly and easy to clean.
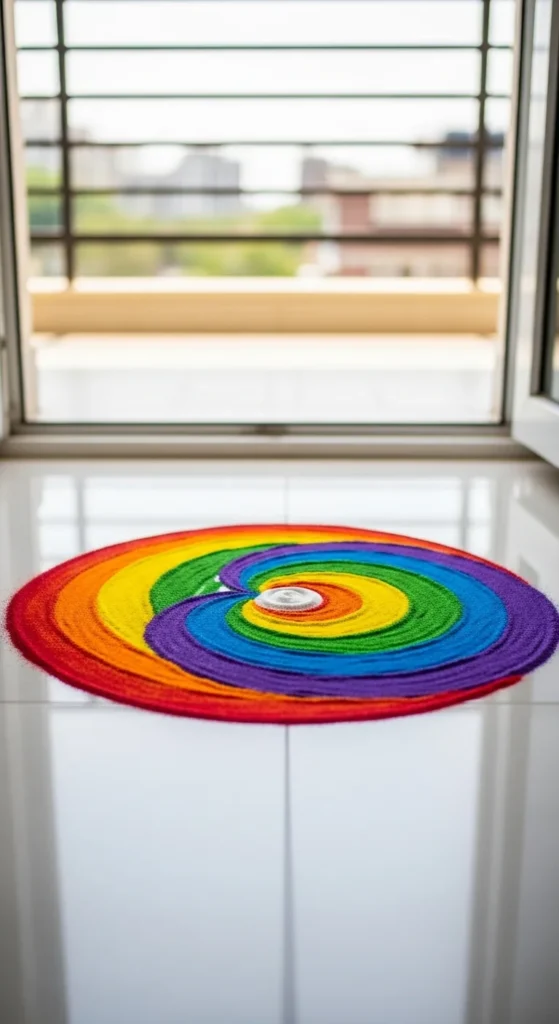
10. Tiny Spiral Rangoli
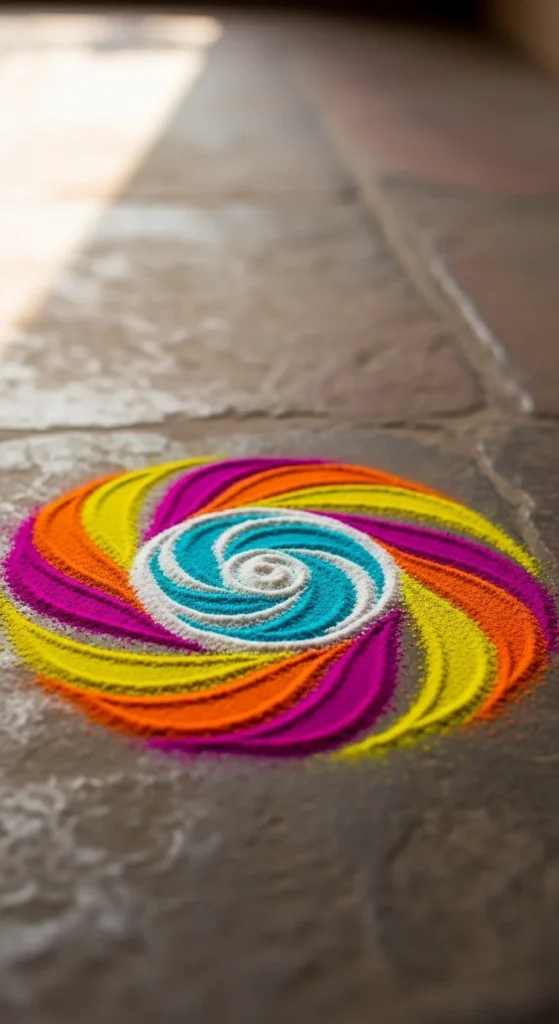
Spiral designs create movement and look artistic.
Start with a small center dot.
Draw a curved spiral line moving outward.
Add colored sections along the spiral path.
Even one or two colors create a lively effect.
The spiral pattern feels modern and playful.
11. Mini Square Rangoli
Create a small square frame using white powder.
Divide the square into four smaller sections. Each section can hold a different color.
This design works well when you want symmetry without complex curves.
Fill each block with a simple shade like red, yellow, green, or blue.
Add a tiny white dot in the center of each square for decoration.
The layout looks neat because the straight lines keep the powder organized.
Budget tip: a square rangoli uses very little powder, so leftover colors from other designs work perfectly.
This design also helps beginners practice straight lines and clean corners.
You can place it directly in front of an entrance door or at the center of a balcony floor.
If you want to decorate further, draw small petals outside each corner.
The finished pattern looks balanced and tidy even though it only takes a few minutes to create.
12. Mini Butterfly Rangoli
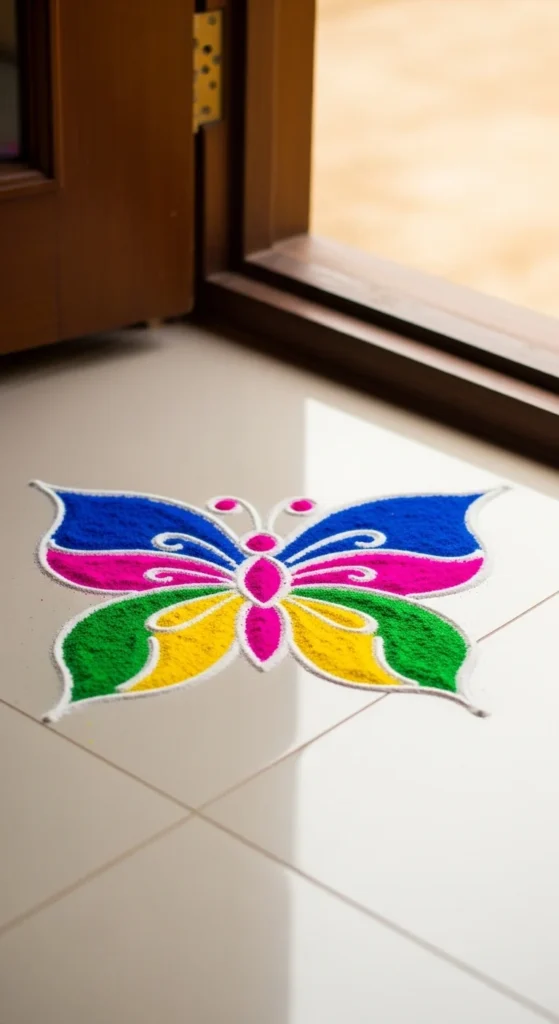
Butterfly shapes bring a cheerful touch to rangoli designs.
Start by drawing two small oval wings on each side of a center line.
Fill the wings with bright shades like pink, blue, or yellow.
Add tiny white dots inside the wings for decoration.
Draw two short curved lines on top for antenna shapes.
Because the wings are small, the entire design remains compact and easy to draw.
Budget tip: using only two colors still creates a beautiful butterfly effect.
This rangoli looks lovely in balconies or small entry spaces.
Children also enjoy helping with this design since the shapes are easy to recognize.
A thin white border around the wings makes the pattern stand out clearly.
The result is a cute rangoli that adds a playful festive vibe to your home floor.
13. Mini Leaf Rangoli
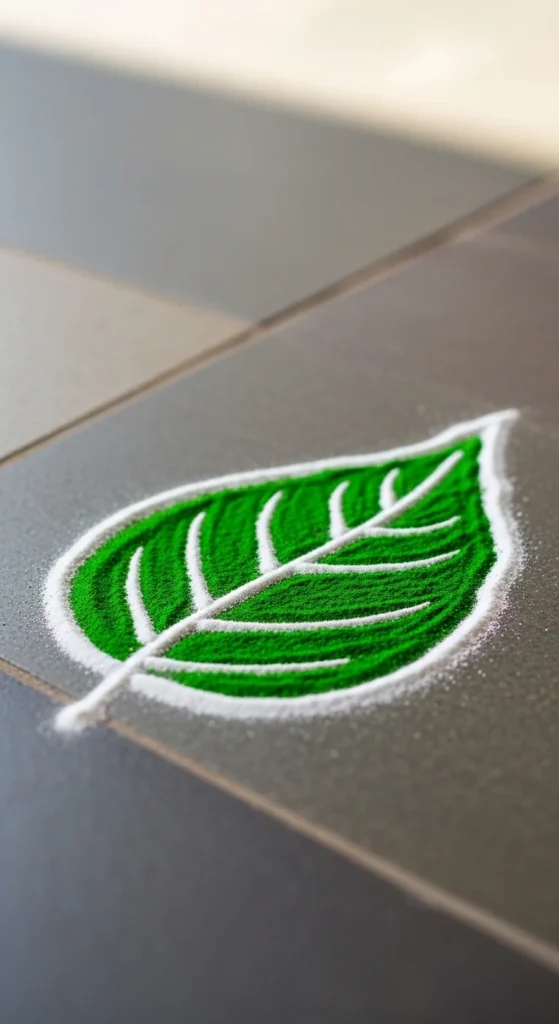
Leaf motifs are simple yet elegant in rangoli art.
Draw a single leaf outline using white powder.
Add a line through the center to represent the leaf vein.
Fill the shape with green powder.
You can lightly shade the edges with a darker green tone for extra detail.
This design looks beautiful near plant areas or garden entrances.
Budget tip: using only one color keeps the pattern quick and tidy.
If you want a fuller design, draw two leaves crossing each other.
The organic shape gives the rangoli a natural look without requiring complex lines.
It works perfectly for daily rangoli practice because it takes only a few minutes.
14. Mini Star Rangoli
Star patterns look festive and bright.
Begin by drawing a small five-point star using white powder.
Fill each section with a different color.
Use vibrant shades like orange, yellow, pink, or blue.
Once filled, outline the star again with white powder so the edges appear crisp.
Tiny dots around the star create a decorative frame.
Budget tip: leftover powder from previous rangoli designs works perfectly here.
The star shape stands out even on small floors or narrow spaces.
This rangoli is ideal for festive evenings when you want a quick decorative pattern without spending much time.
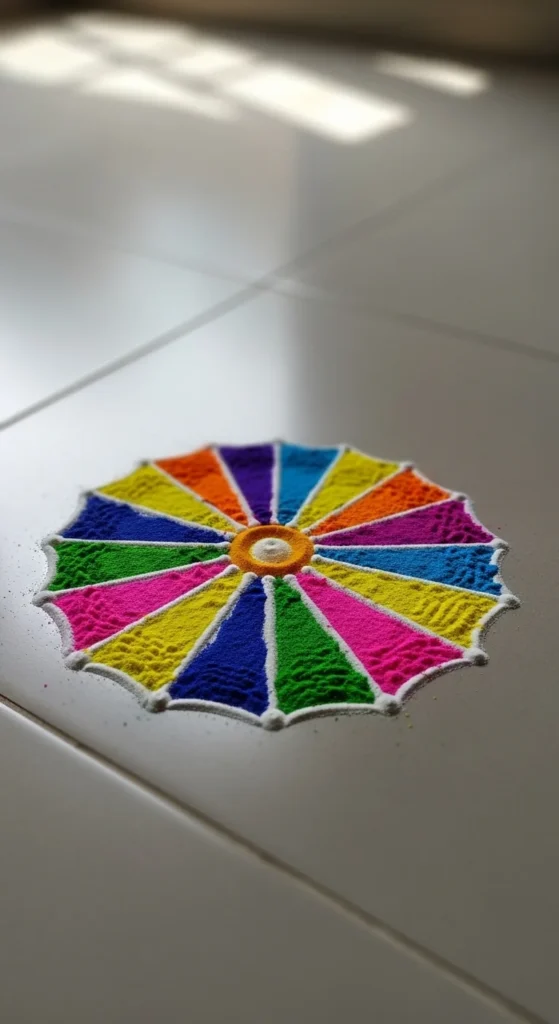
15. Mini Concentric Circle Rangoli
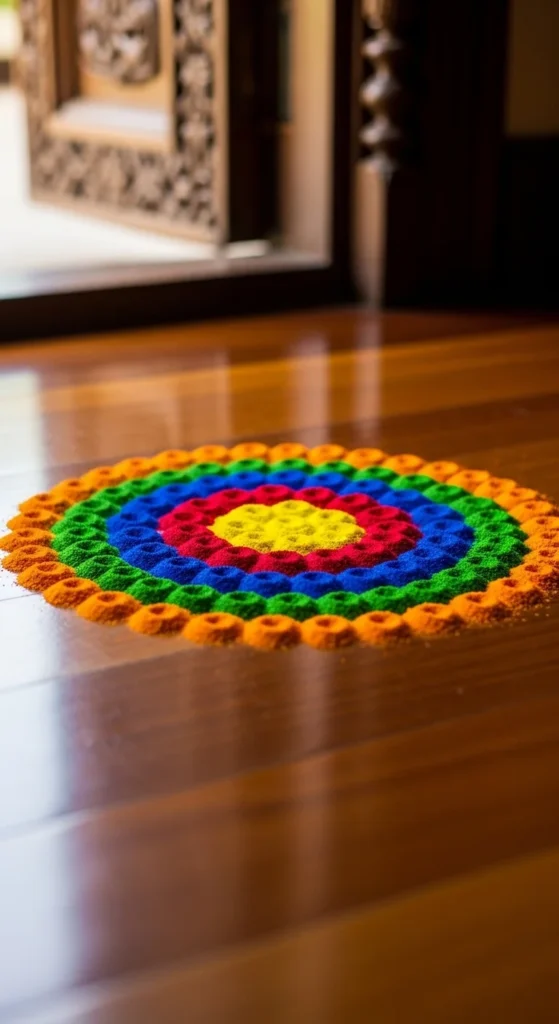
Concentric circles create a neat layered look.
Start with a small center dot.
Draw a circle around it using white powder.
Add another larger circle around the first one.
Fill each ring with different colors.
For example, yellow in the center, pink in the middle, and blue on the outer ring.
Even three circles can create a pleasing design.
Budget tip: circles require very little powder compared to large patterns.
If you want extra decoration, add small white dots around the outer ring.
This rangoli feels balanced and calm while staying very compact.
16. Mini Heart Rangoli
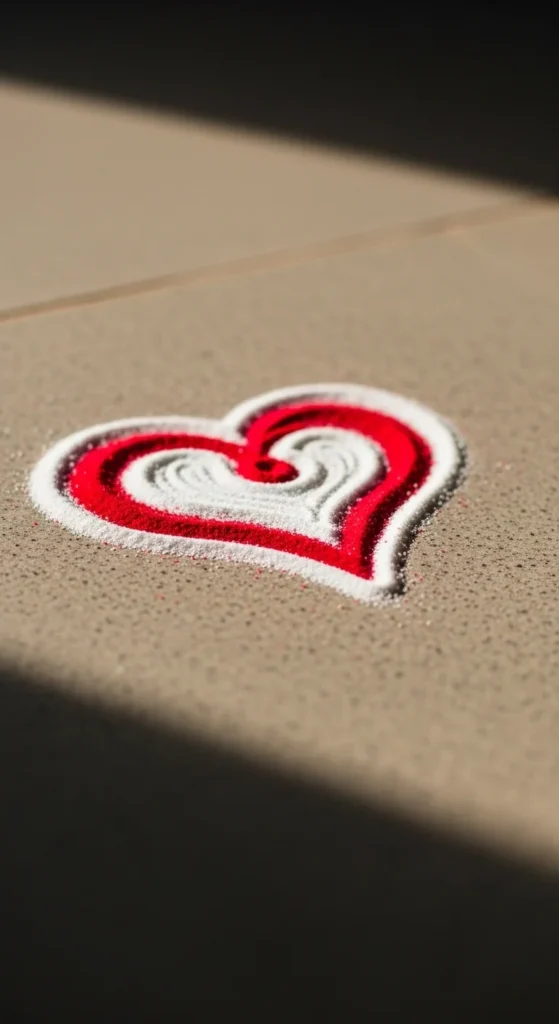
Heart shapes bring a soft and friendly look to rangoli designs.
Draw a small heart outline using white powder.
Fill the inside with red or pink powder.
Add tiny white dots along the border to highlight the shape.
You can place two small hearts side by side for a cute double pattern.
This design works nicely near entrances or living room corners.
Budget tip: one color plus a white outline creates a complete design.
The heart motif feels welcoming and decorative without being complicated.
17. Mini Bird Rangoli
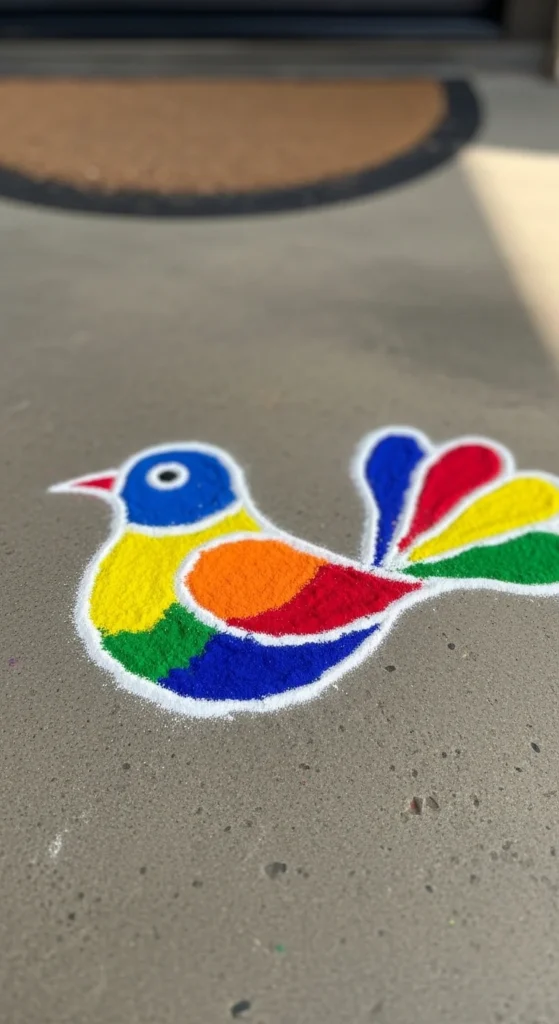
Bird shapes appear often in rangoli traditions.
Draw a curved body shape first.
Add a small triangular beak and short tail lines.
Fill the body with bright color such as blue or green.
Add a tiny dot for the eye.
Even a small bird pattern can look lively.
Budget tip: using only two colors keeps the design neat and quick.
This rangoli looks lovely near windows, balconies, or entrances.
18. Mini Diamond Rangoli
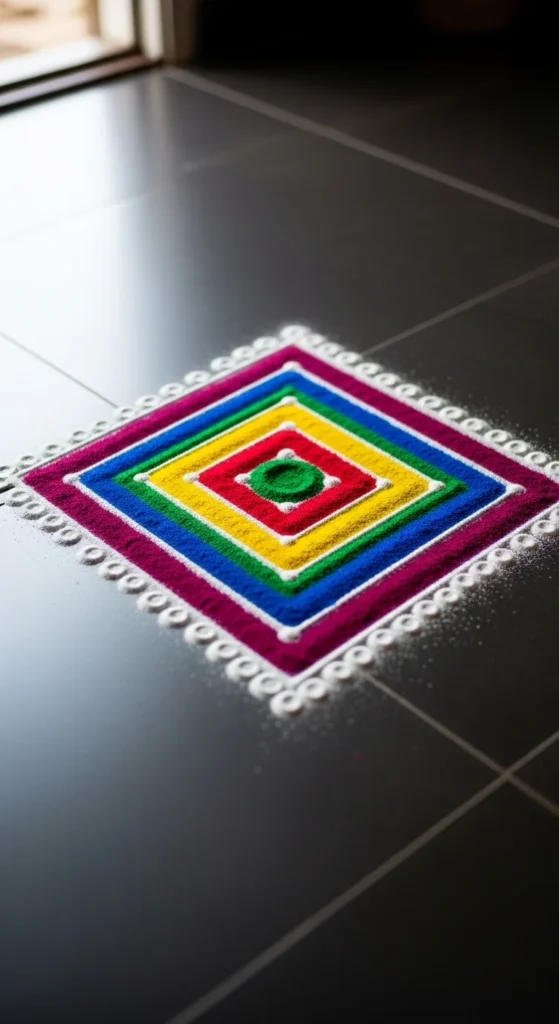
Diamond shapes are easy to draw and create a geometric look.
Draw a small diamond outline using white powder.
Divide the shape into four smaller triangles.
Fill each section with a different color.
The pattern appears symmetrical and tidy.
Add tiny dots around the outer border for decoration.
Budget tip: four small color pinches are enough for the whole design.
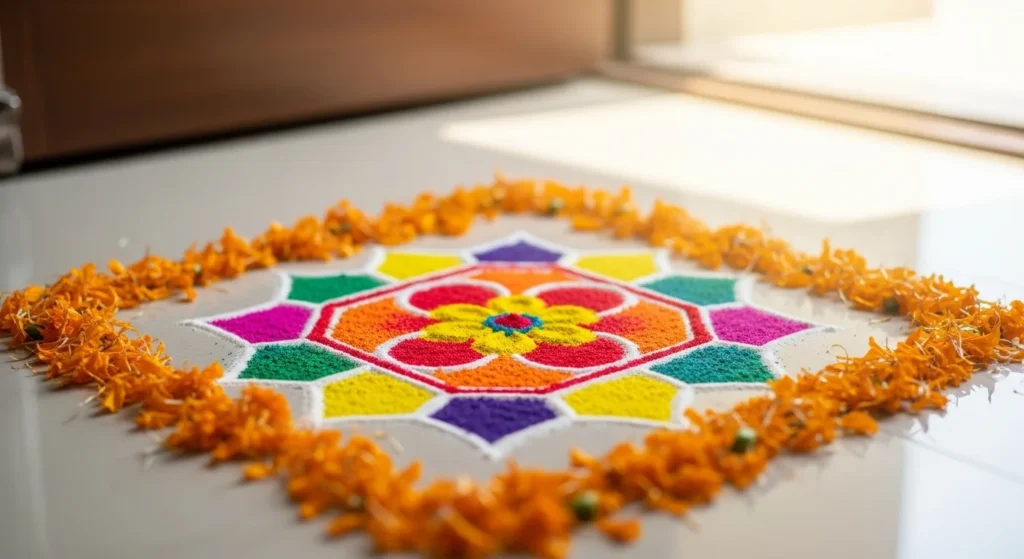
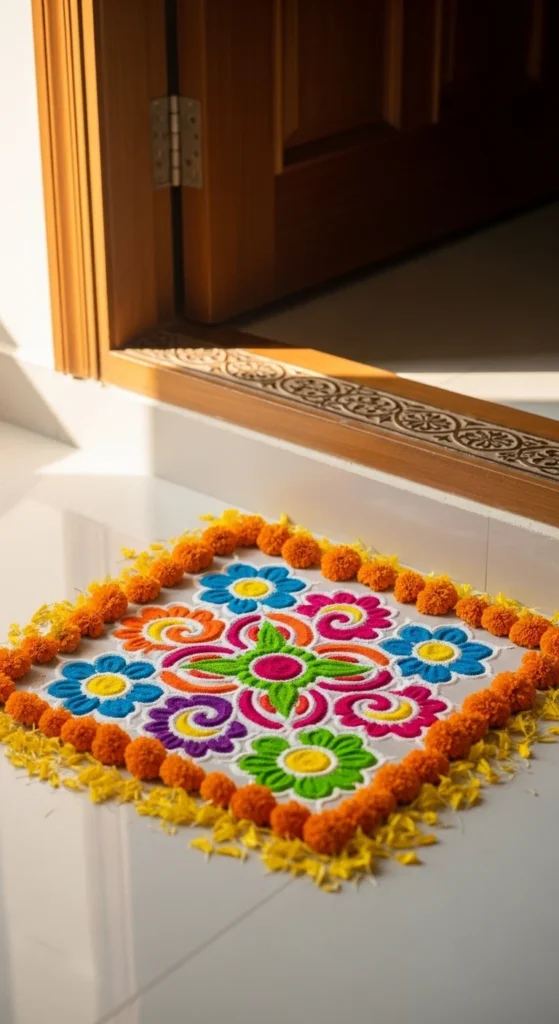
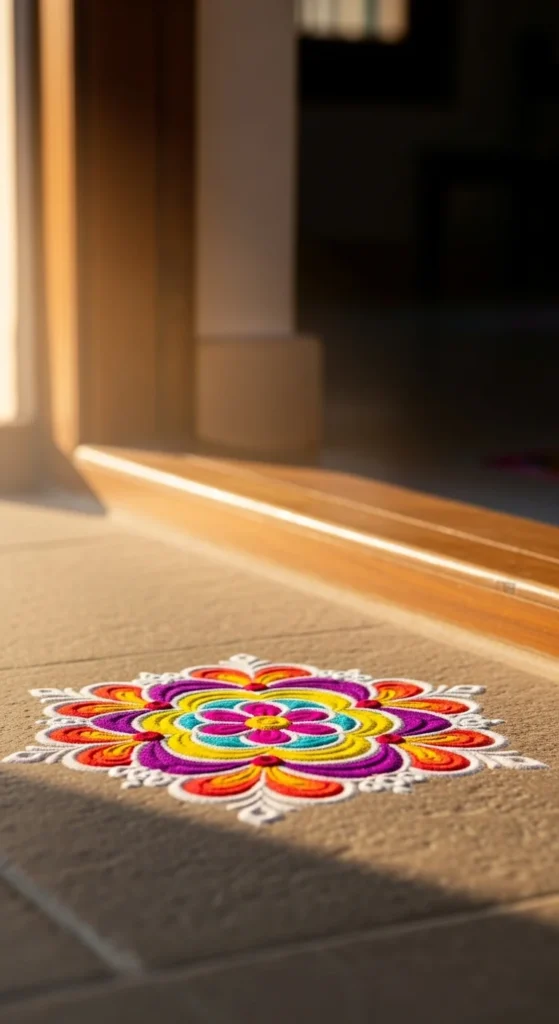
19. Mini Flower Ring Rangoli
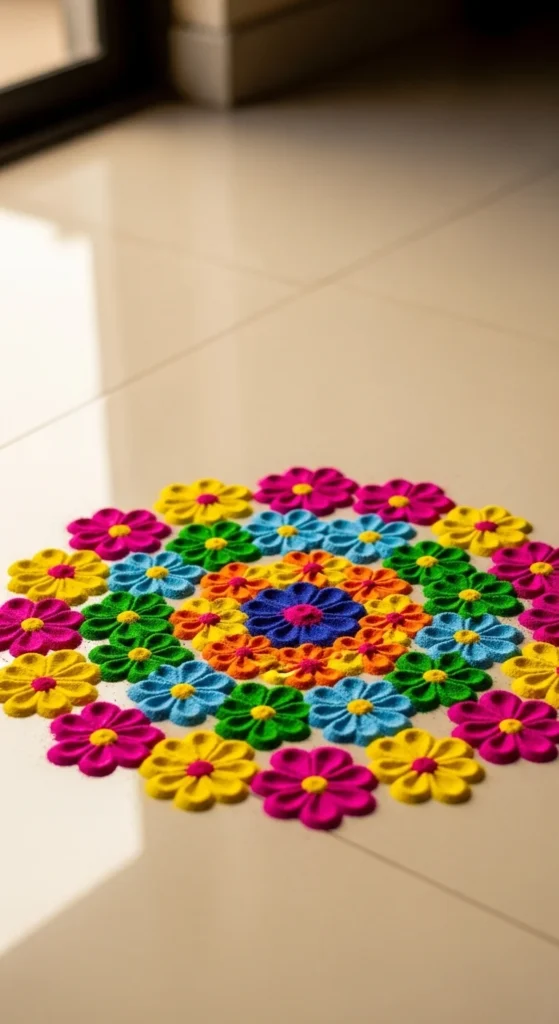
Draw a small circle in the center.
Around it add tiny flower shapes using curved lines.
Each flower can contain two colors.
This creates a beautiful circular arrangement.
The pattern looks festive but remains small enough for daily use.
20. Mini Freehand Rangoli
Freehand rangoli designs remove the stress of perfect shapes.
Start with a curved line and continue building small patterns around it.
Add dots, loops, or petals as you go.
Fill sections with simple colors.
The organic shapes create a natural artistic look.
This design is perfect for beginners who want to practice creativity.
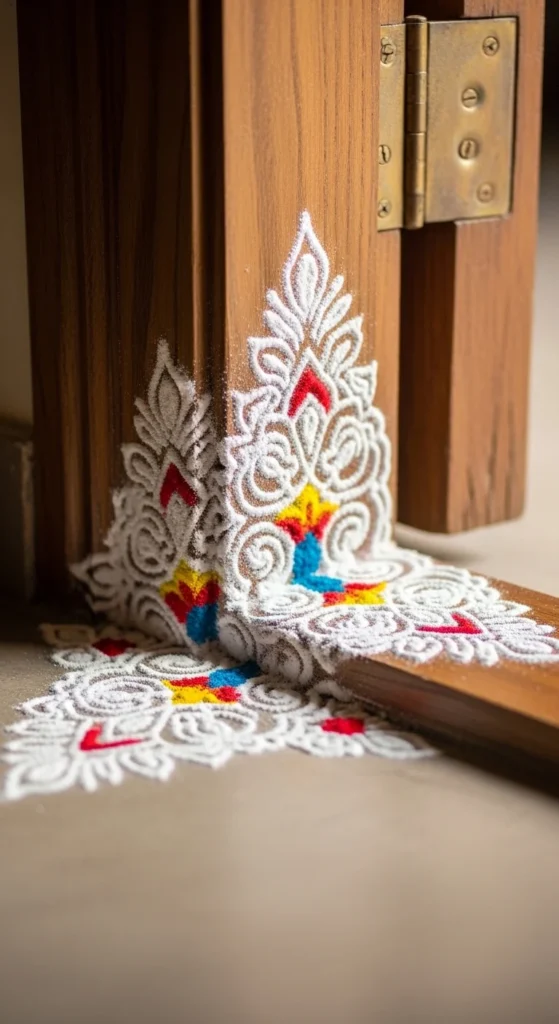
21. Mini Border-Only Rangoli
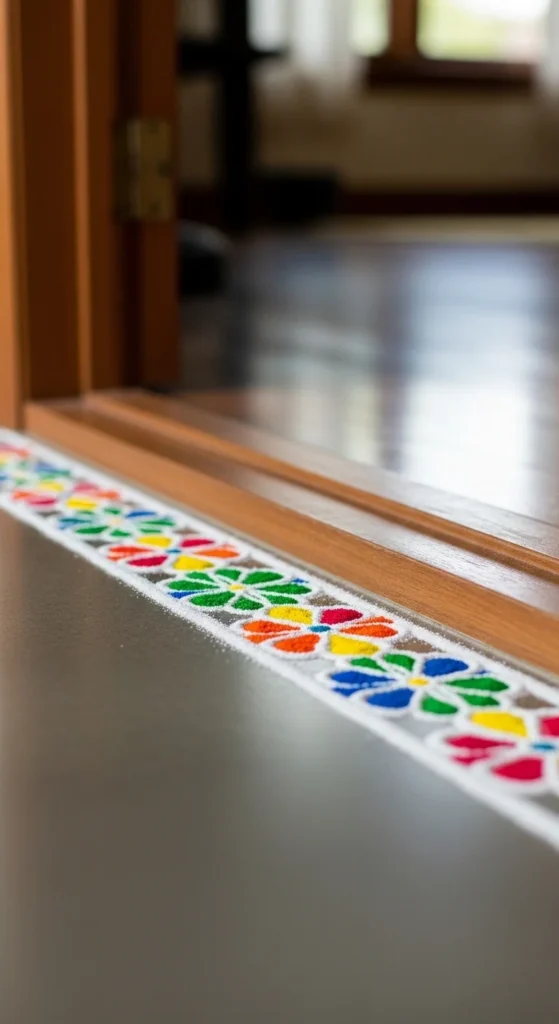
A border-only rangoli is perfect when you have almost no floor space in the center.
Instead of making one full design, create a slim pattern along the edge of the entrance.
Start with one straight white line. Add tiny loops, scallops, or petal shapes along that line.
Then place a small colored dot inside every second loop.
This keeps the border decorative without making it look crowded.
The biggest advantage of this pattern is speed. You do not have to measure a center point or build a circle.
It works especially well for narrow apartment entrances, balcony edges, or puja room thresholds.
Budget tip: most of the pattern can stay white. Use only tiny pinches of color for highlights. That keeps the design neat and low-cost.
If your hand control feels shaky, border rangoli is a great choice because small imperfections are less noticeable in repeated shapes.
This design looks elegant because it frames the space instead of filling it.
The final result is a quick and graceful mini rangoli that can be finished in just a few minutes and still make the entrance feel festive.
22. Mini Ganesha Face Rangoli
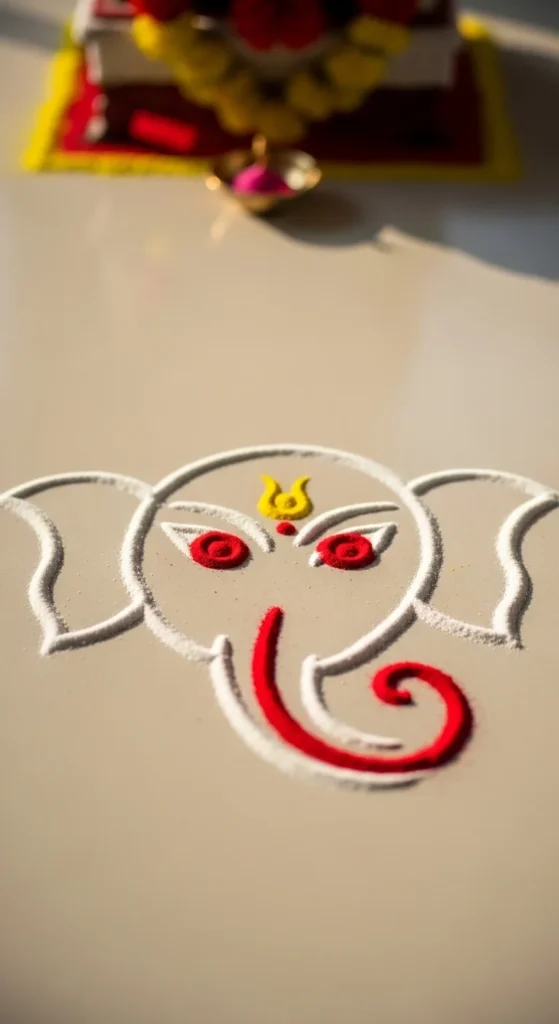
A mini Ganesha face rangoli is a lovely option for puja corners and festive mornings.
The goal here is not a highly detailed deity illustration. Keep it symbolic and simple.
Start with a curved line for the trunk. Add two rounded ear shapes on each side. Then place a small tilak-like mark above the trunk area.
Use white powder for the outline so the shape stays clear. Fill the trunk or forehead area lightly with yellow, orange, or red powder.
Because the design is tiny, just a few lines are enough to create the recognizable form.
This rangoli works well in front of small home temples, near a prayer shelf, or just beside a diya.
Budget tip: use only two colors plus white. That keeps the pattern devotional and clean without making it busy.
If you feel nervous about drawing the face directly, sketch the lines lightly with chalk first. Then fill with rangoli powder afterward.
The finished look feels calm and spiritual. It is a compact devotional rangoli that fits beautifully in small spaces while still feeling meaningful.
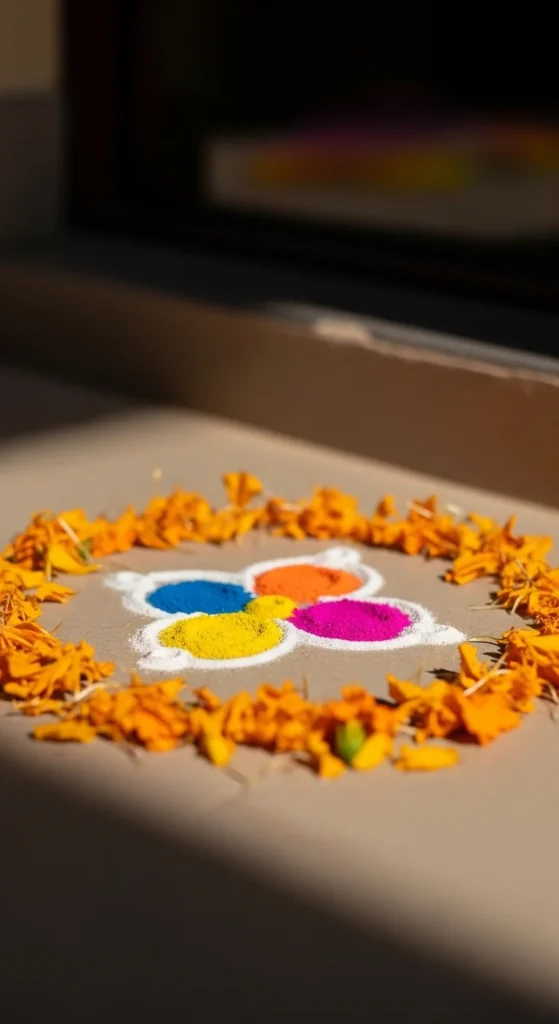
23. Mini Eco Rangoli With Petals and Rice
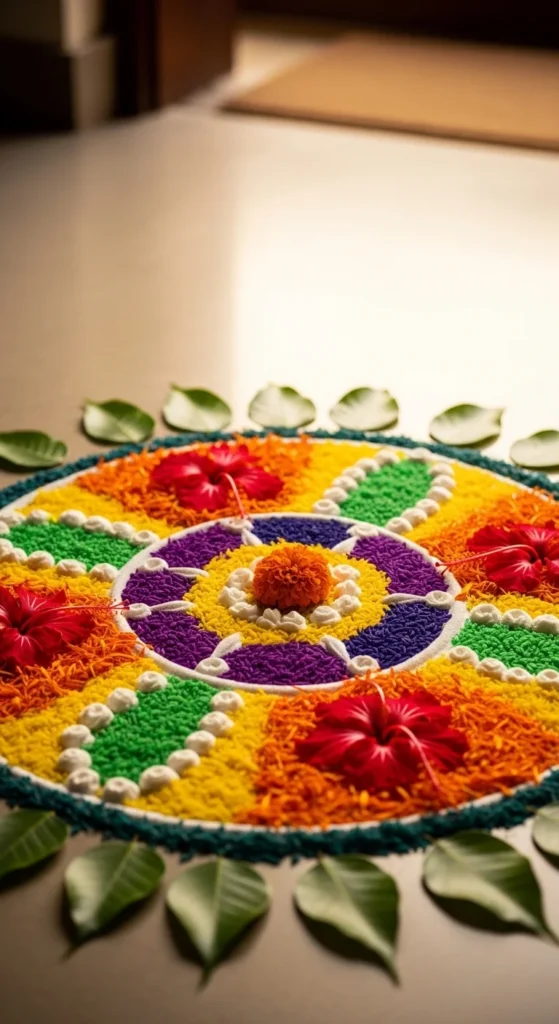
Eco-friendly mini rangoli designs are perfect for people who want color without using a lot of powder.
This style works beautifully in balconies, puja areas, and front door entrances because it stays compact and easy to clean.
Start with a tiny center circle made from colored rice. Around it, arrange marigold petals, rose petals, or small green leaves in a neat ring.
You can also make a simple four-petal flower or small diya shape using only petals and rice.
The natural texture makes even a basic pattern look festive.
This type of rangoli is especially useful when children are around because petals and rice are easier to manage than loose powder.
Budget tip: use flowers already available at home from prayer plates or decorations. Even leftover petals can create a lovely mini layout.
Keep the palette small. Yellow petals, green leaves, and white rice already look rich without extra materials.
This design stands out because it feels soft, natural, and traditional while staying very easy to arrange.
It is a great choice for quick festival decoration when you want something charming but low-mess.
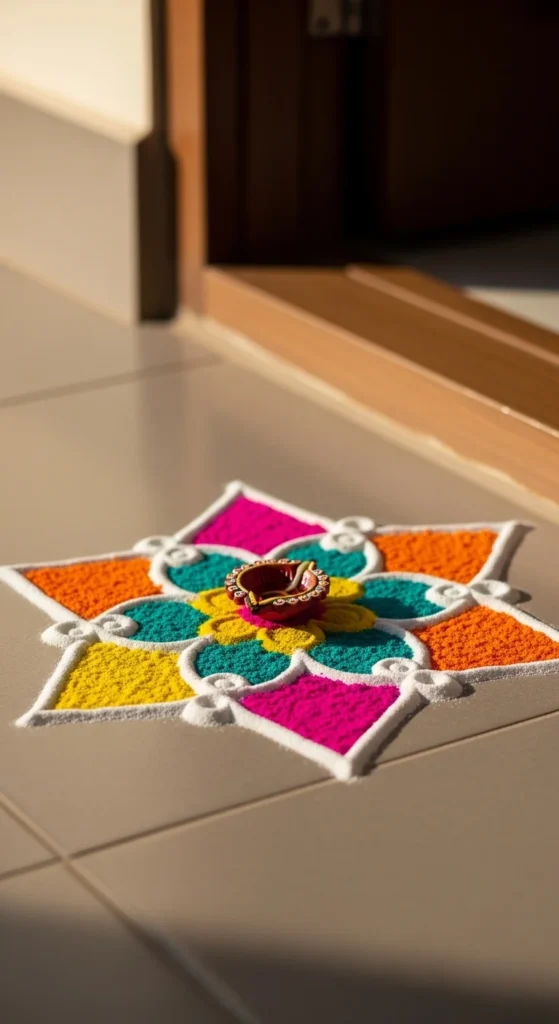
24. Mini Last-Minute Festival Rangoli
Sometimes guests arrive, a festival starts, or evening puja time comes close, and there is no time for a detailed rangoli.
That is where a last-minute mini rangoli helps.
Draw one small center circle. Around it add four quick petals or four curved loops. Fill two opposite sections with one color and the remaining two with another.
Finish with tiny dots around the outside.
That is enough to create a complete rangoli in less than ten minutes.
The key to this design is not complexity. It is confidence. Use bold simple lines and stop early rather than adding too many details.
This pattern works at the entrance, near a diya, beside a threshold, or on a balcony corner.
Budget tip: just one packet of white powder and two bright shades can create many quick mini rangoli designs throughout the festive season.
If the floor is dark, keep the white outline thicker so the design stays visible.
This final idea is useful because it proves that a lovely rangoli does not have to be large or time-consuming. Even a tiny pattern can make a home feel welcoming and festive.
Conclusion
Mini rangoli designs are perfect when time is short, floor space is limited, or you simply want something easy and beautiful. Small flowers, border patterns, diya shapes, peacock eyes, geometric layouts, and eco-friendly petal designs all show how a tiny rangoli can still make a strong festive impression. These patterns are beginner-friendly, low-cost, and easy to repeat for daily decoration or special occasions. Try a few styles, keep your colors simple, and do not worry about perfect lines. The charm of mini rangoli comes from its warmth, not its size.

DiyVisual is a DIY ideas resource for makers of every level. Our small editorial team researches and curates easy, budget-friendly craft, home decor, and handmade gift projects — explained step by step so anyone can recreate them at home with simple materials.


