Sticky polymer clay can feel impossible to control. It grabs fingerprints, sticks to tools, and slumps before you finish shaping. This usually happens in warm weather, humid rooms, or when clay contains excess plasticizers.
The good news? You can firm it up fast—without ruining strength after baking.
Below are quick, reliable tricks to stiffen sticky clay while keeping it workable.
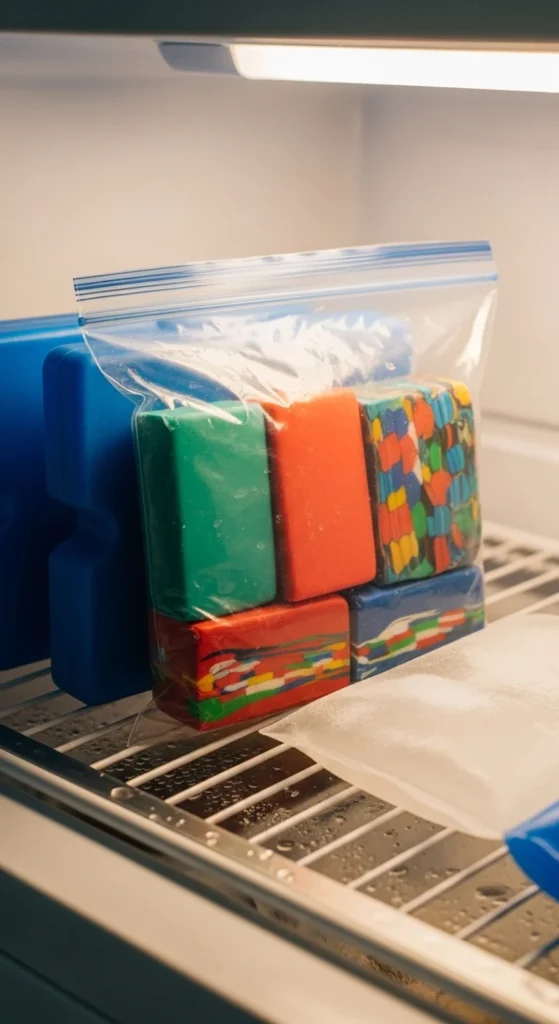
1. The 10-Minute Freezer Trick
Cooling is the fastest fix.
Cold temperatures temporarily firm up polymer clay by slowing plasticizer movement.
How to do it:
- Place clay in a sealed plastic bag.
- Put it in the freezer for 5–10 minutes max.
- Remove and work quickly before it warms again.
Important:
- Don’t leave it in too long.
- Frozen clay can crack if bent aggressively.
- This is a short-term firming trick, not a permanent fix.
If you’re sculpting fine details, repeat short chill cycles as needed.
2. Cool Your Hands (Yes, Really)
Sometimes the clay isn’t the problem—your hands are.
Warm hands transfer heat directly into clay, making it softer as you work.
Quick fix:
- Dip hands in ice water for 10–20 seconds.
- Dry completely.
- Resume shaping.
You can repeat this throughout your session.
Pro tip:
Work in the coolest part of the day, like early morning. It makes a noticeable difference.
3. Leach the Clay (Paper Sandwich Method)
If the clay feels greasy or overly soft, it likely has too much plasticizer. Leaching removes some of that excess.
This method firms clay more permanently than freezing.
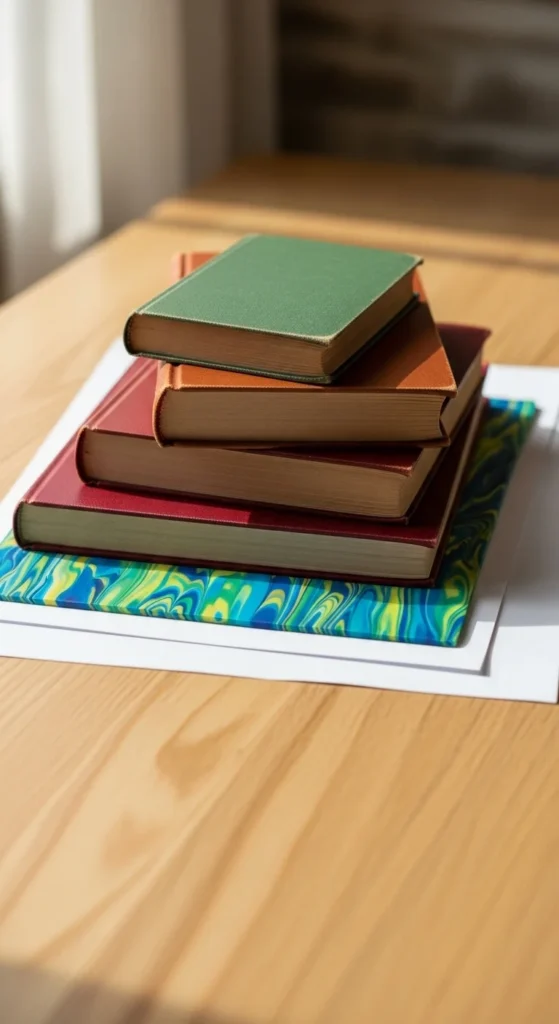
How to leach properly:
- Roll clay into a flat sheet.
- Place between two sheets of plain copy paper.
- Add a heavy book on top.
- Leave for 1–12 hours depending on softness.
Check every few hours.
Warning:
Over-leaching can make clay brittle. If it starts cracking when bent, stop immediately.
For most sticky clay, 2–4 hours is enough.
4. Mechanical Leaching with a Pasta Machine
This is a faster variation of the paper method.
Steps:
- Sandwich clay between copy paper.
- Run it through the pasta machine on the thickest setting.
- Repeat once or twice.
This pulls some plasticizer out quickly without long wait times.
Afterward, condition lightly to restore smoothness.
5. Mix in Firmer Clay
Blending sticky clay with older or firmer clay balances texture naturally.
Example ratio:
- 50% soft clay
- 50% firm clay
This redistributes plasticizers instead of removing them completely.
Brands known for firmness can help offset very soft clay. Even aged clay scraps work well.
Mix thoroughly before shaping.
6. Air Exposure (Slow but Effective)
If you’re not in a rush, you can let clay breathe.
Method:
- Roll into a sheet.
- Leave uncovered on a tile.
- Let sit for 1–3 days.
This allows minor plasticizer evaporation.
It’s subtle but helpful for extremely sticky batches.
Keep dust away by covering loosely with a mesh or container lid.
7. Control Your Workspace Temperature
Environment matters more than most people realize.
Sticky clay often happens in:
- Warm summer rooms
- Humid climates
- Direct sunlight workspaces
Quick adjustments:
- Close curtains.
- Turn on air conditioning or a fan.
- Work on a cool tile surface instead of a warm desk.
Even switching rooms can change how clay behaves.
8. Avoid Over-Leaching (Prevent Brittleness)
It’s tempting to firm clay aggressively—but too much plasticizer removal weakens the baked result.
Signs you went too far:
- Clay cracks when folded.
- Edges crumble.
- Surface looks dry or chalky.
If this happens:
- Mix back in a tiny amount of softer clay.
- Or add a very small amount of liquid polymer clay.
Balance is the goal—not maximum firmness.
9. Quick Surface Tricks for Detail Work
If clay is only slightly sticky and you’re working on detail:
- Lightly dust tools with cornstarch.
- Use a cool metal sculpting tool.
- Chill small pieces briefly before adding fine textures.
These tricks improve control without changing the whole batch.
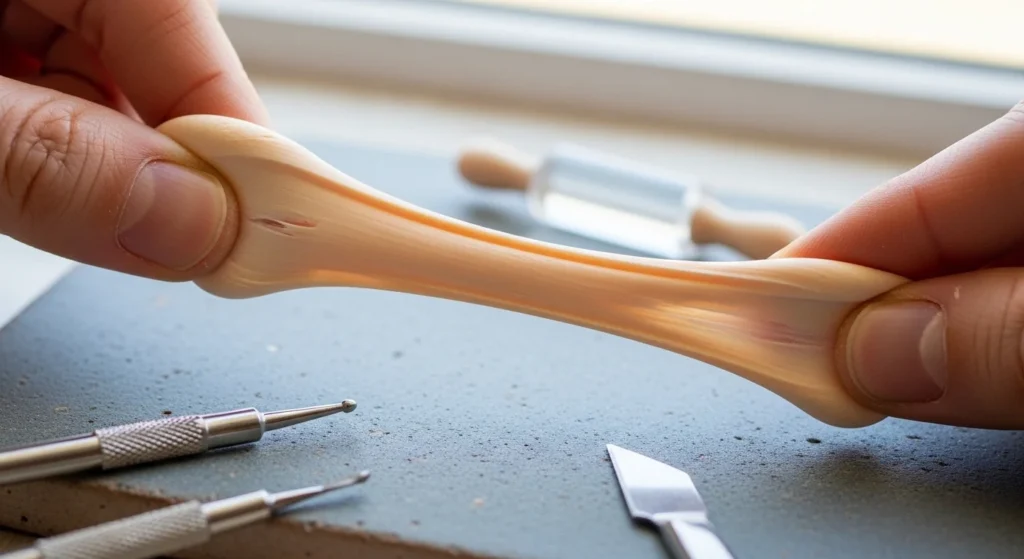
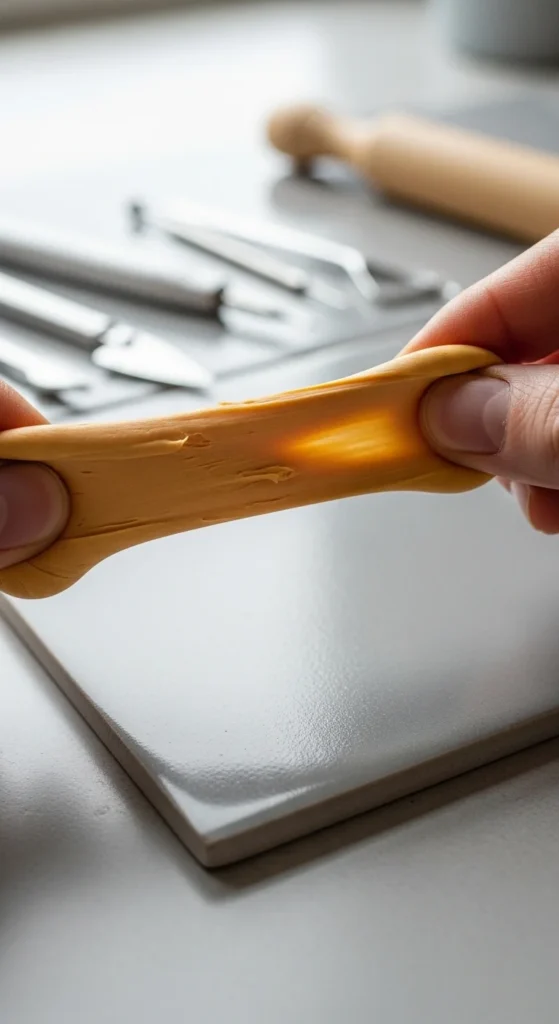
10. Readiness Check
Before baking, test firmness:
- Roll a thin strip.
- Bend gently.
- It should hold shape without slumping or cracking.
The surface should feel smooth—not greasy.
If it still sticks heavily to fingers, do a short chill or brief leach cycle.
Final Thoughts
Sticky polymer clay isn’t ruined—it just needs balance.
Use:
- Freezer chill for quick control
- Paper leaching for lasting firmness
- Mixing for texture balance
- Cool workspace habits for prevention
Small adjustments make a big difference in clean edges, sharper details, and stronger baked pieces.
Save this guide for your next warm-weather crafting session—and keep your clay under control.

DiyVisual is a DIY ideas resource for makers of every level. Our small editorial team researches and curates easy, budget-friendly craft, home decor, and handmade gift projects — explained step by step so anyone can recreate them at home with simple materials.


