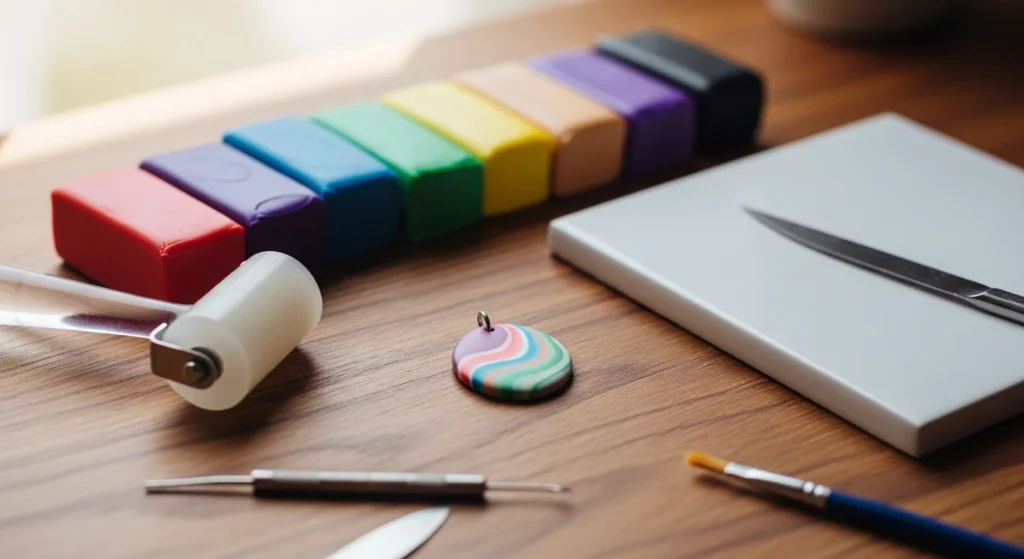
Polymer clay looks simple until you open a block and realize… it’s either too sticky, too crumbly, or it fingerprints if you breathe near it. The good news: choosing the right clay gets you 80% of the way to a clean result—especially if you’re a beginner.
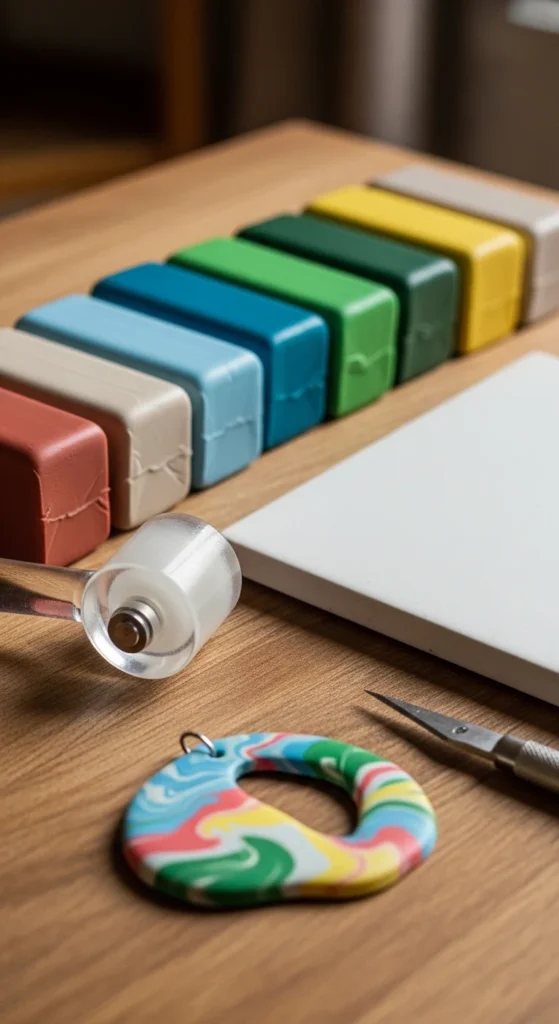
Below is a practical, beginner-friendly way to pick polymer clay by firmness, project type, and how it behaves after baking—plus what to skip so you don’t waste money.
Step 1: Match the Clay Firmness to What You’re Making
Firmness is the biggest “why is this so hard?” factor.
Choose softer clay if you want:
- Quick jewelry pieces (beads, simple charms)
- Easy conditioning with your hands
- Bright colors with less mixing
Choose firmer clay if you want:
- Crisp edges and tiny details (faces, textures, sharp lines)
- Less fingerprint drama
- Better control while sculpting
Beginner shortcut:
If you’re unsure, start with a medium-firm clay. It’s usually easiest to handle and still holds detail well.
Tip for fingerprints (works with any clay):
- Roll your final surface with a clean fingertip + a tiny bit of lotion, then wipe lightly.
- Or wear thin gloves for finishing touches.
Step 2: Pick a Brand Based on Your Project
Brands can feel confusing, so think in “best use” categories.
Best “all-around” clay for beginners (jewelry + small crafts)
- Sculpey Premo: Great color range, strong after baking, reliable for earrings and canes.
- Fimo Professional: Firmer and clean for detail work, great if you like crisp lines.
Best for super-easy conditioning (when you want it soft fast)
- Sculpey III: Very easy to soften and comes in lots of colors.
Heads-up: it can be softer than ideal for very fine detail or thin pieces that get handled a lot.
Best for sculpting (faces, figures, doll parts)
- Super Sculpey (and its variants): Popular for sculpting because it’s made for shaping and smoothing, especially in skin-tone style blocks.
Best for special effects (translucent looks, “glow” depth)
- Cernit (often praised for translucent and effect options): Great for faux stone, translucent petals, and soft blends.
Best for super crisp cane work (pattern slices, millefiori style)
- Kato Polyclay: Firmer and very precise.
Heads-up: conditioning can take more effort, so it’s not everyone’s first pick.
Beginner pick if you just want one:
Start with Premo (or a similar medium-firm line). It’s forgiving and durable for most projects.
Step 3: Learn the “What to Avoid” List (So You Don’t Rage-Quit)
Some clay isn’t “bad,” it’s just bad for your specific goal.
Avoid very soft, gummy clay for tiny detail sculpting
Soft clay can:
- Smear when you add texture
- Pick up fingerprints quickly
- Sag on thin parts before baking
If you’re making mini faces, leaves with veins, or sharp geometric shapes, go firmer.
Avoid “kid-style” chalky clay if you want strong color and durability
These can feel dry or dull, and finished pieces may not look as clean. If you’re making gifts or items to sell, start with a better line.
Avoid buying a huge pack before you test-bake
Different clays behave differently in your oven. A small test saves a lot of frustration.
Step 4: Baking Basics That Keep Pieces Strong
Polymer clay is cured with heat, so baking matters as much as the brand.
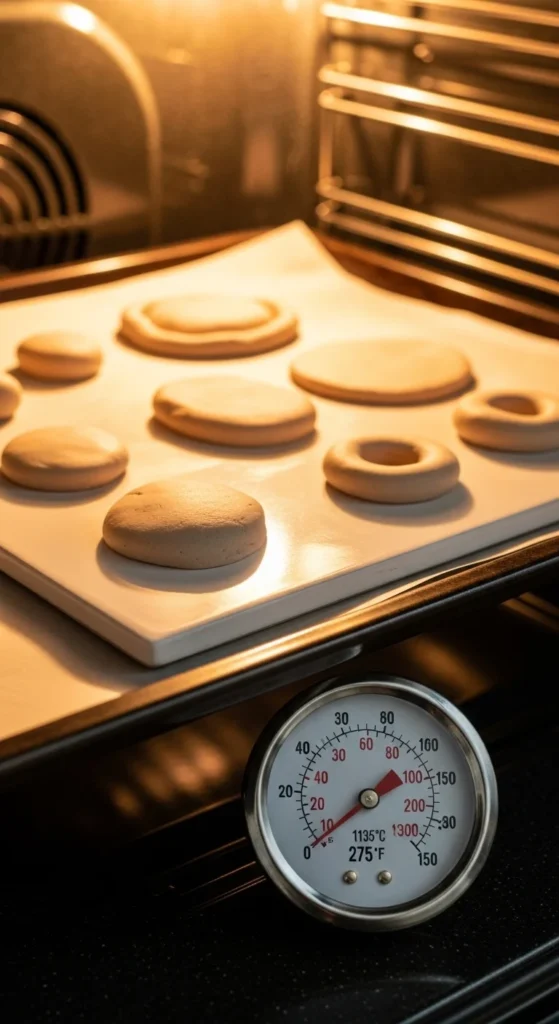
Quick baking checklist:
- Use an oven thermometer (many ovens run hot or cool).
- Bake on a ceramic tile or thick tray for steadier heat.
- Tent with foil if pieces brown on top.
- Don’t rush cooling—let pieces cool fully before bending or sanding.
Simple strength test after baking:
- Thin test strip should flex a bit before snapping (depending on brand).
- If it crumbles easily, the cure may be underdone or the temperature was off.
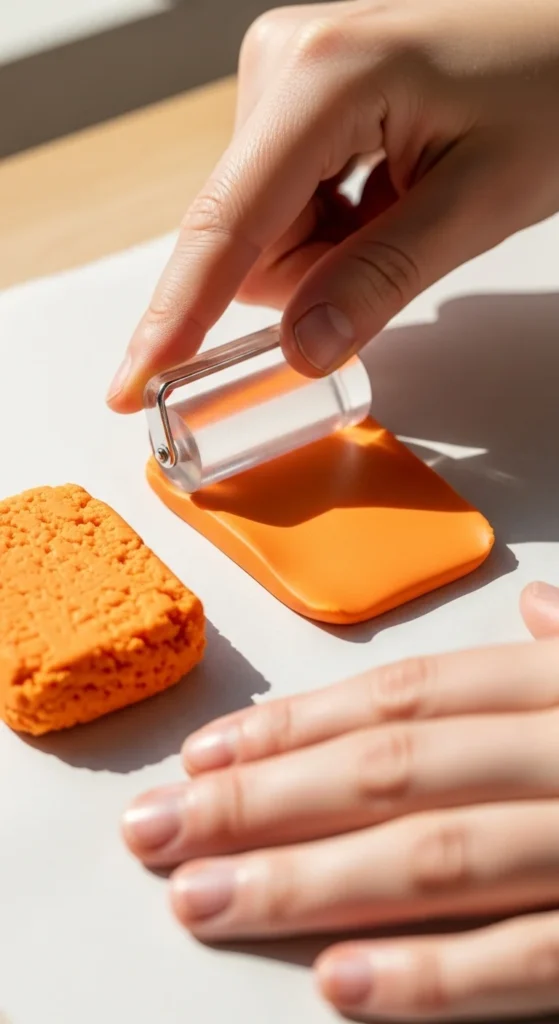
Step 5: Conditioning Tips (No Fancy Setup Required)
Conditioning just means warming and mixing the clay until it’s smooth.
No pasta machine? Totally fine.
- Cut clay into thin slices.
- Warm it in your hands for 1–2 minutes.
- Roll it flat, fold, roll again (like folding dough).
If clay is too sticky:
- Let it rest on plain paper for a few minutes (some oils can leach out).
- Work on a cool surface like tile.
- Use cornstarch lightly for handling, then brush off before baking.
If clay is too firm:
- Warm it with body heat (sit on it in a zip bag for a minute—yes, really).
- Slice smaller and roll repeatedly.
- Mix in a tiny bit of a softer clay from the same brand line.
Quick Buyer Guide: What to Grab First
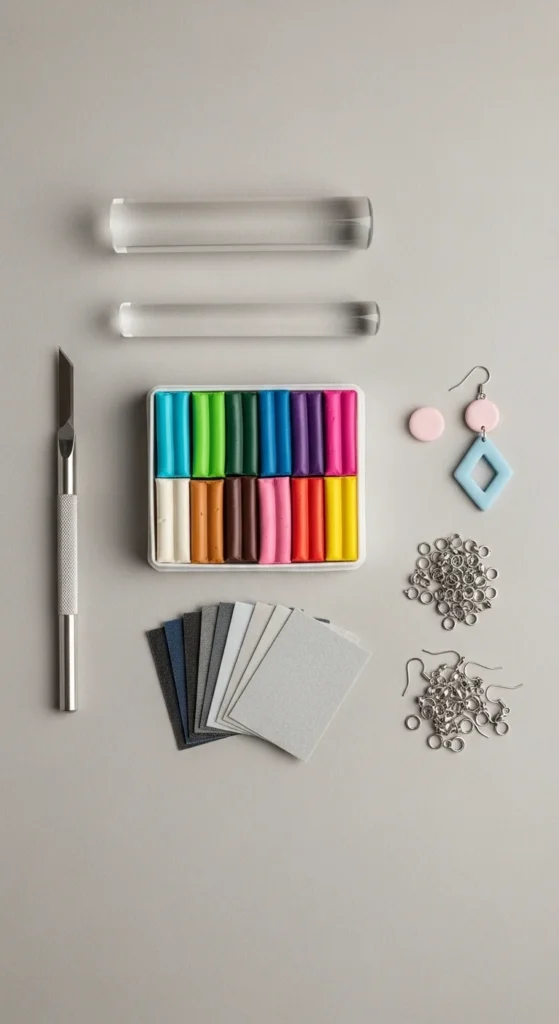
If you want earrings and small accessories:
- Premo (or a similar durable jewelry-friendly line)
- Blade + roller + tile + simple cutters
If you want mini figures or realistic sculpting:
- Super Sculpey-style sculpting clay
- Basic sculpting tools (even toothpicks work)
If you want translucent petals / faux stone effects:
- A translucent or effect line (Cernit-style clays are popular for this)
- Soft chalk pastels for shading (optional)
Final Takeaway
Choosing polymer clay doesn’t have to be complicated. Start by matching firmness to your project, pick a brand that fits your goal (jewelry, sculpting, effects), and always do a small test bake before you commit to a big haul.
If you want, tell me what you’re making (earrings, keychains, mini figures, canes, etc.), and I’ll recommend one best clay + one budget backup for that exact project. Save this guide for later!

DiyVisual is a DIY ideas resource for makers of every level. Our small editorial team researches and curates easy, budget-friendly craft, home decor, and handmade gift projects — explained step by step so anyone can recreate them at home with simple materials.


