
DIY wood projects are one of the fastest ways to make a home feel more organized, warm, and personal—without spending a lot. You don’t need a full workshop either. Many of these builds use basic boards, simple cuts, wood glue, and a drill. Start with small upgrades like shelves and organizers, then move into benches and tables when you feel ready. Below are 30 must-try DIY wood projects that add real function and style, even if you’re a beginner working with scrap wood.
1) Floating Shelf Trio for Instant Wall Storage
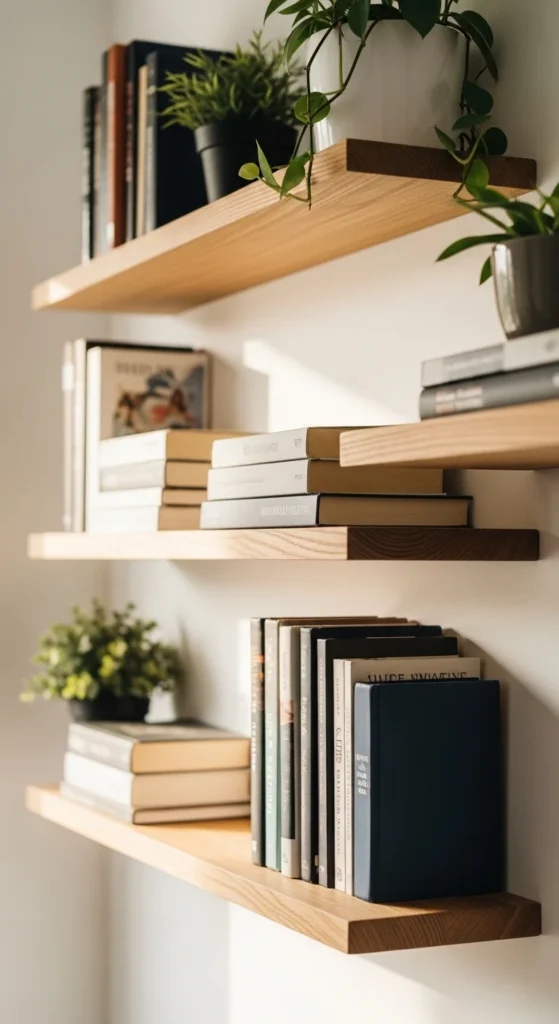
Floating shelves are a quick home upgrade that looks clean and intentional. Use affordable pine boards and simple L-brackets, or a hidden bracket kit if you prefer a “no hardware” look. Measure the wall space first, then decide on shelf length. A common beginner-friendly size is 24–30 inches.
Sand the shelf edges well. Rounded edges look more finished and feel better to touch. Paint, stain, or seal with a clear coat. If you want a budget look that still feels high-end, use one stain color across all shelves for consistency.
Mount into studs when possible. If not, use quality wall anchors rated for the load. Keep items lightweight at first—small plants, framed photos, or candles. Add more weight only after you’re confident in the mount.
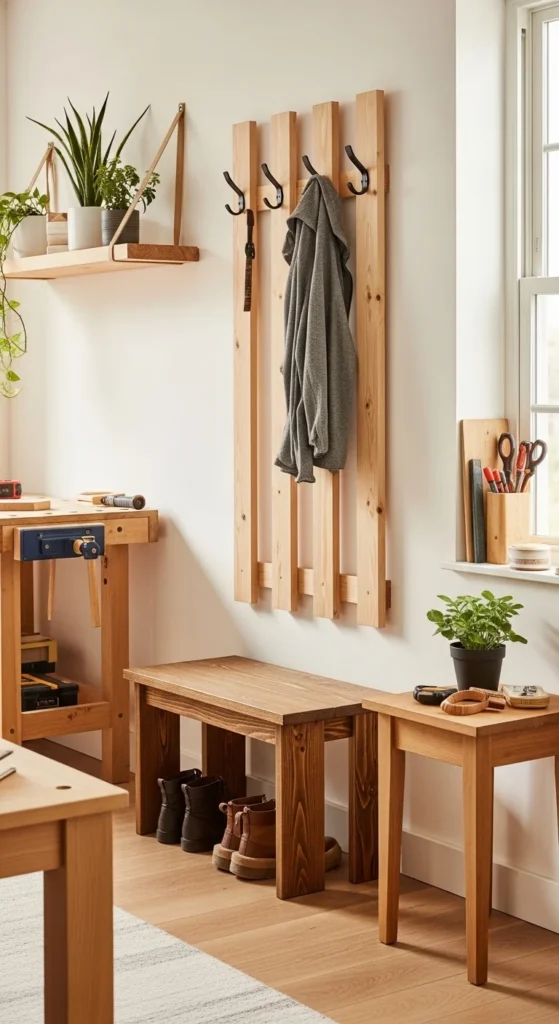
2) Entryway Coat Rack With Hooks
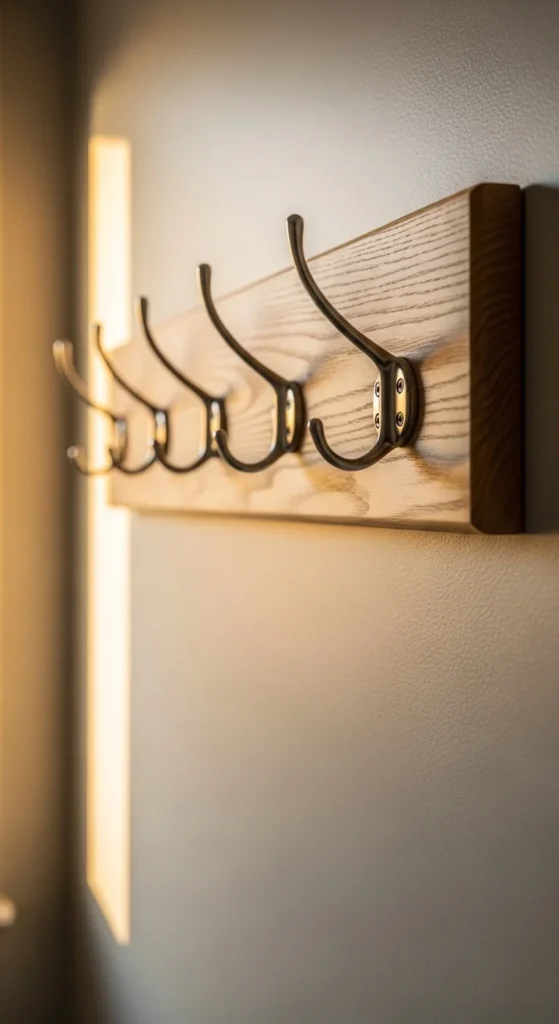
A coat rack makes an entryway feel organized right away. Start with one sturdy board, around 4–6 inches wide. Sand it smooth and soften the corners. Mark hook spacing with a pencil so hooks look evenly aligned. Drill pilot holes to prevent wood splitting.
Choose hooks based on your style. Matte black looks modern. Brass looks warm and classic. Mount the board into studs for strength. If you can’t hit studs, use heavy-duty anchors.
To add personality, stain the board dark and leave hooks black. Or paint the board white for a clean look. This build is also easy to sell locally. People love functional, ready-to-hang pieces.
3) Simple Shoe Rack for Small Spaces
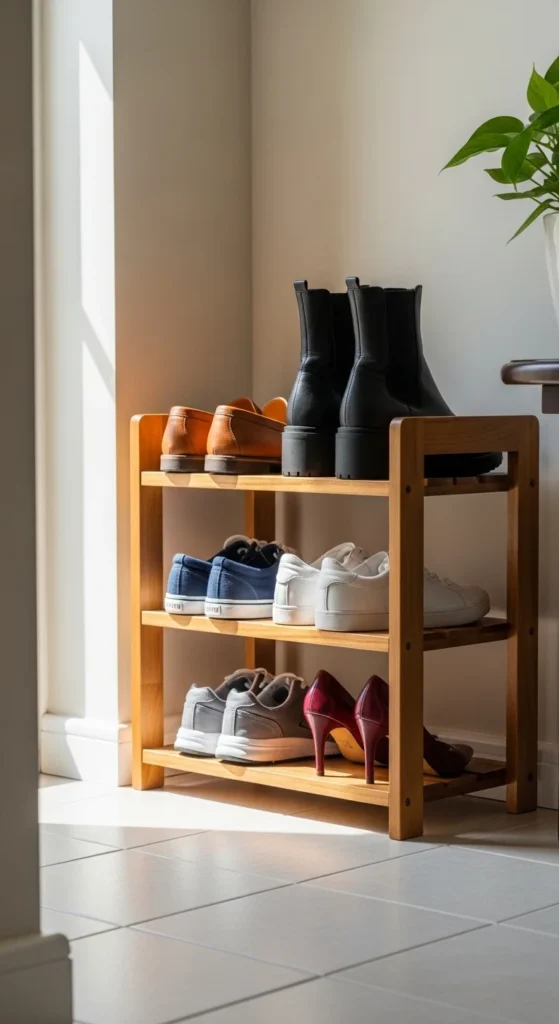
A shoe rack helps instantly, especially in small homes. Use two side panels and two shelf boards. Keep the height short so it doesn’t feel bulky. A two-shelf rack fits most daily footwear and stays easy to move.
Use screws and wood glue. Pre-drill holes. That keeps boards from cracking. Sand the shelf tops well since shoes drag across them. If you want a cleaner look, paint the rack a single color and seal it. For a rustic look, use pallet wood and leave some saw marks.
Add rubber feet under the legs to protect floors. This small detail makes the project feel finished.
4) Wooden Bench With a Clean, Modern Shape
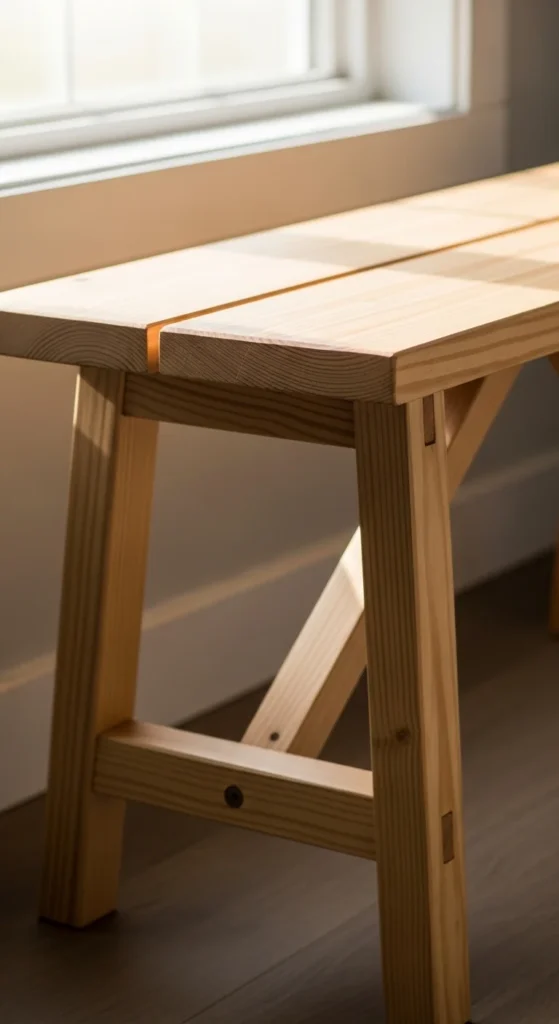
A bench upgrades bedrooms, entryways, and balconies. Keep it simple: a rectangular top, two sturdy legs, and optional stretcher support. Pine boards work well for beginners because they’re easy to cut and sand.
Start by cutting the top board. Then attach legs using screws and glue. Check that the bench sits flat before tightening everything. Sand edges round for comfort. Finish with clear sealer if you like natural wood, or stain for warmth.
Want it to feel custom? Add a thin cushion on top. Even a basic foam pad with fabric staples makes the bench look styled.
5) Wall-Mounted Key Holder Shelf
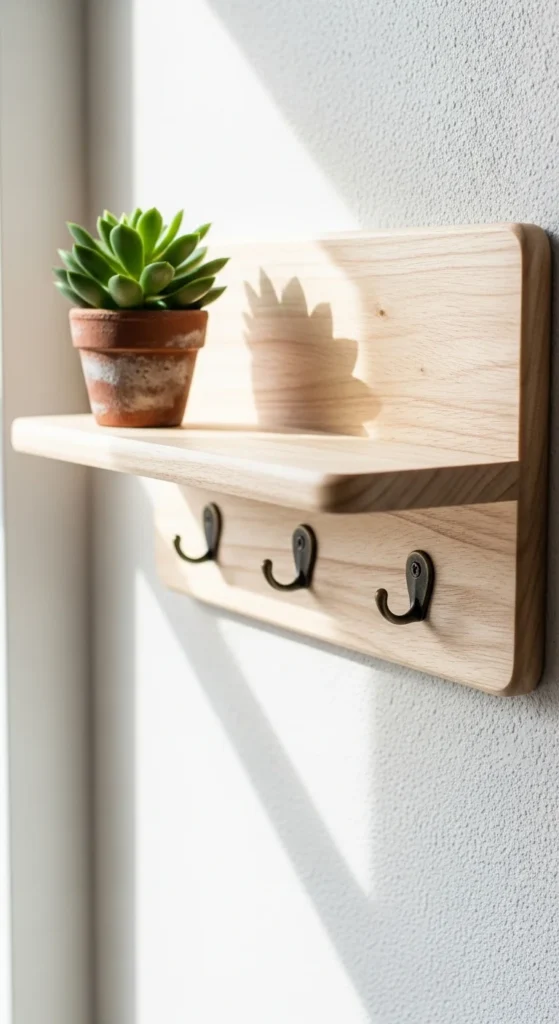
This is one of the most practical mini builds. Make a small top ledge for wallets or mail. Add hooks underneath for keys. Keep it about 12–18 inches wide so it fits narrow walls.
Sand, finish, and mount securely. The best part is daily convenience. It also looks great on Pinterest-style home photos because it’s both pretty and useful.
6) Cutting Board With Simple Edge Details

Cutting boards are a great skill builder. Use a hardwood if possible, but pine can work for practice boards. Glue strips together, clamp, then sand flat. Round the edges with sandpaper. Finish with food-safe oil.
Keep the shape simple. A rectangle with a small handle cutout looks clean and sells well. You can gift it or list it at craft markets.
7) Planter Box With Drainage Holes
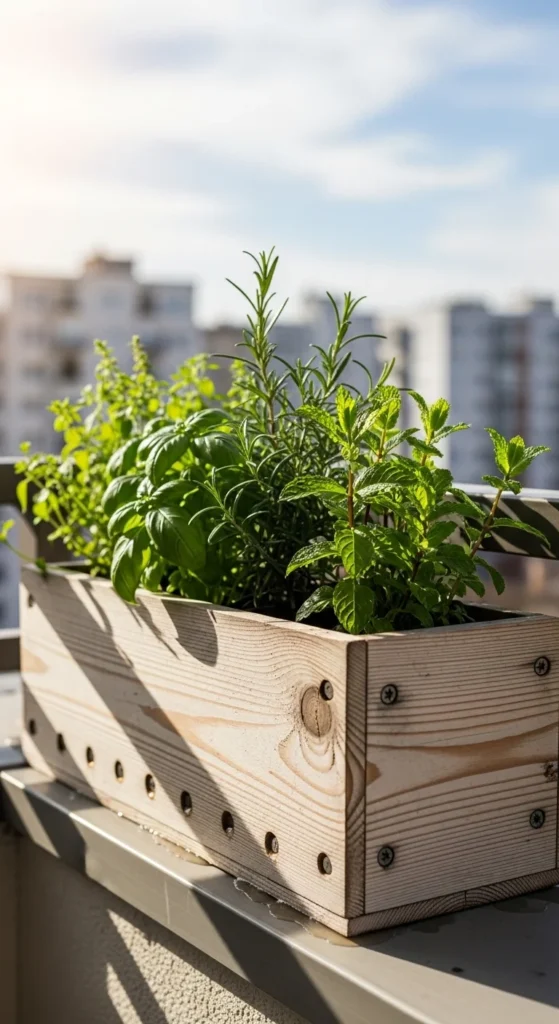
Planter boxes upgrade balconies and patios fast. Use simple side boards and a base. Drill drainage holes before assembling. Line the inside with plastic if you want longer life, but leave holes open.
Paint it for a colorful look or seal it for natural wood style. This project pairs well with small herb pots and can be repeated as a set.
8) Minimal Bedside Table
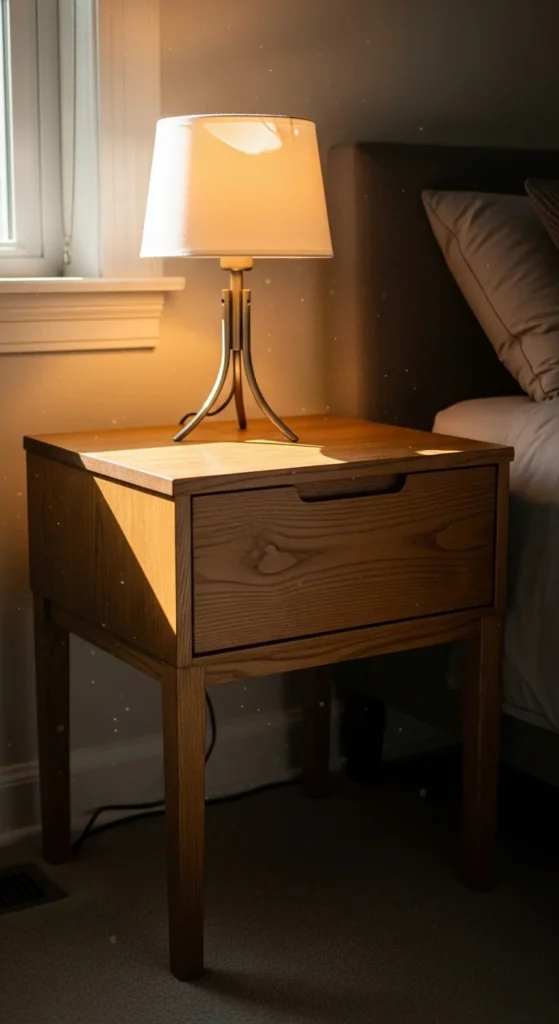
A simple side table adds instant polish to a bedroom. Use a small top panel and four legs. Keep legs straight to avoid tricky angles. Add a lower shelf if you want extra storage.
Sand well. Sharp corners make furniture feel unfinished. A simple stain makes it look store-bought.
9) Rustic Storage Crates for Shelves
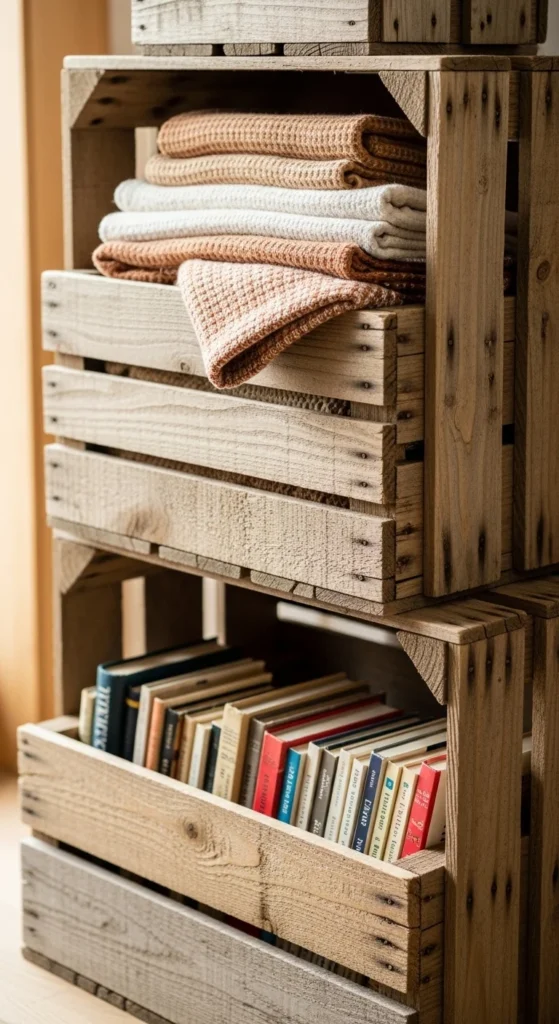
Crates are great for storage and resale. Use scrap or pallet wood. Nail and glue panels together. Sand the top edges so hands don’t catch on splinters.
Add rope handles for a finished look. Stack them on the floor or slide them into shelving units.
10) Picture Ledge Shelf
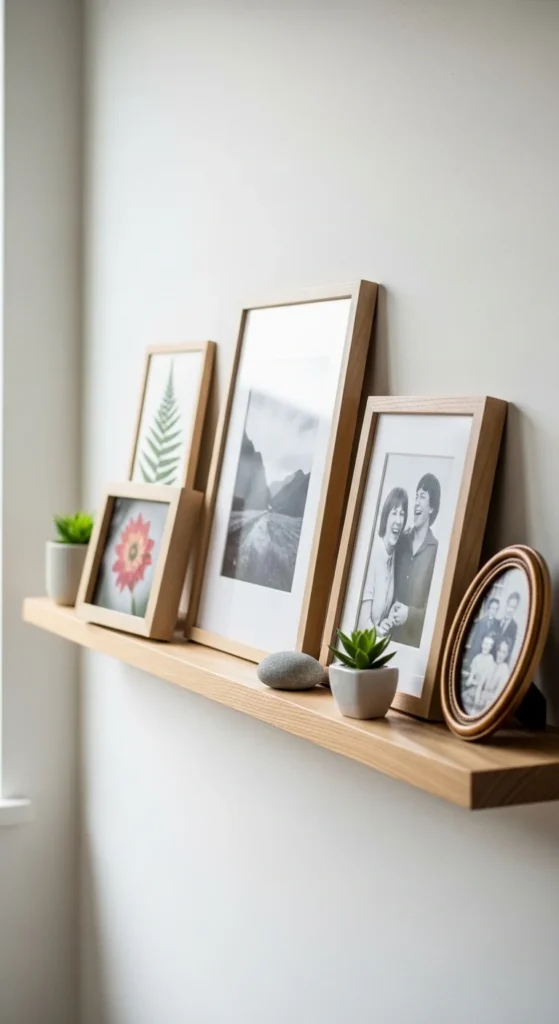
Picture ledges let you style walls without lots of nail holes. Build a narrow shelf with a small front lip. Mount it level. Start with lightweight frames.
This build looks high-end but is easy.
11) Bathroom Towel Shelf With Hooks
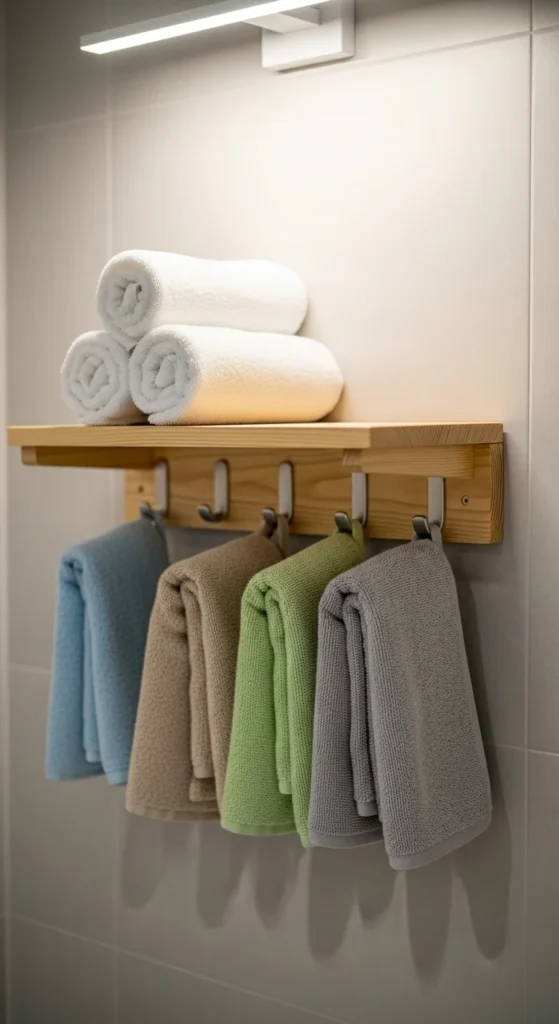
Use a small shelf plus hooks underneath. Seal with water-friendly finish. Keep it compact. It makes a bathroom feel organized instantly.
12) Desk Organizer Tray
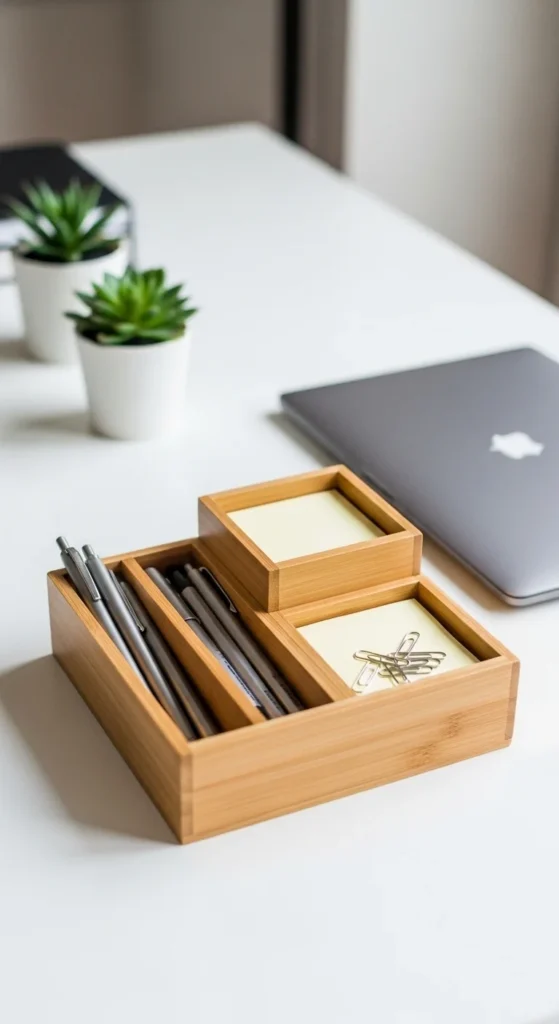
Build small compartments with thin boards. Glue and clamp. Sand edges smooth. Paint or stain to match your desk.
13) Wooden Serving Tray With Handles
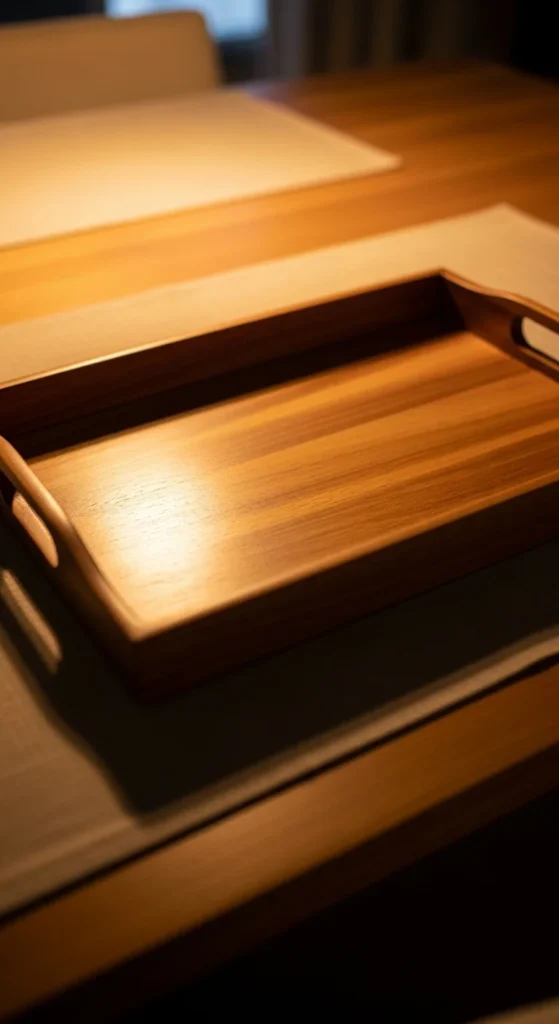
Trays sell well and feel useful. Build a flat base with short side walls. Add handles. Sand corners smooth. Seal with clear coat.
14) Simple Spice Rack
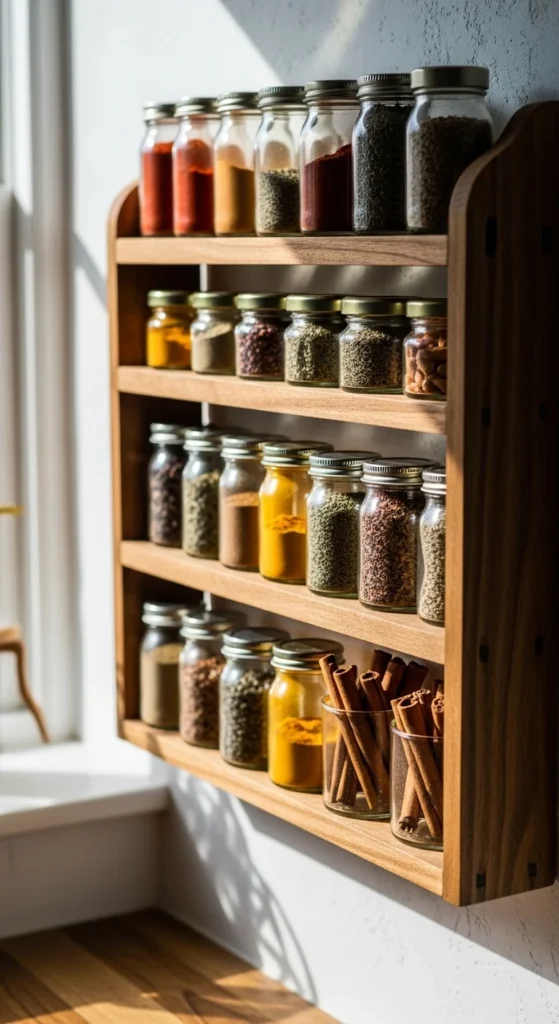
Use narrow shelves and a front lip. Mount firmly. Keep it small if your kitchen is tight.
15) Jewelry Organizer Wall Board
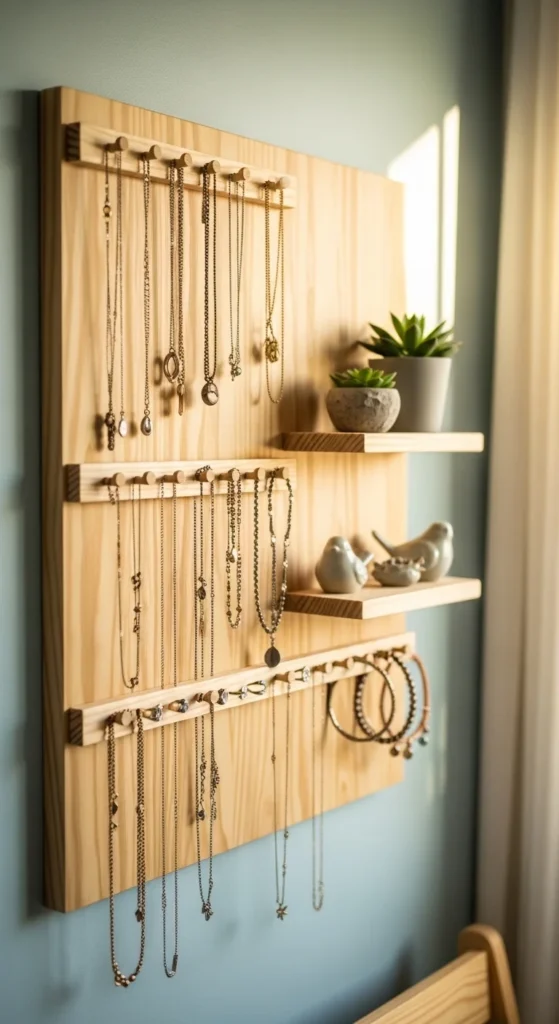
Add hooks for necklaces and a small ledge for rings. Paint it for a clean look. This is great for small bedrooms.
16) Blanket Ladder
Cut two long side rails and several rungs. Screw rungs evenly. Sand well. Lean against a wall for easy styling.
17) Under-Sink Slide-Out Tray
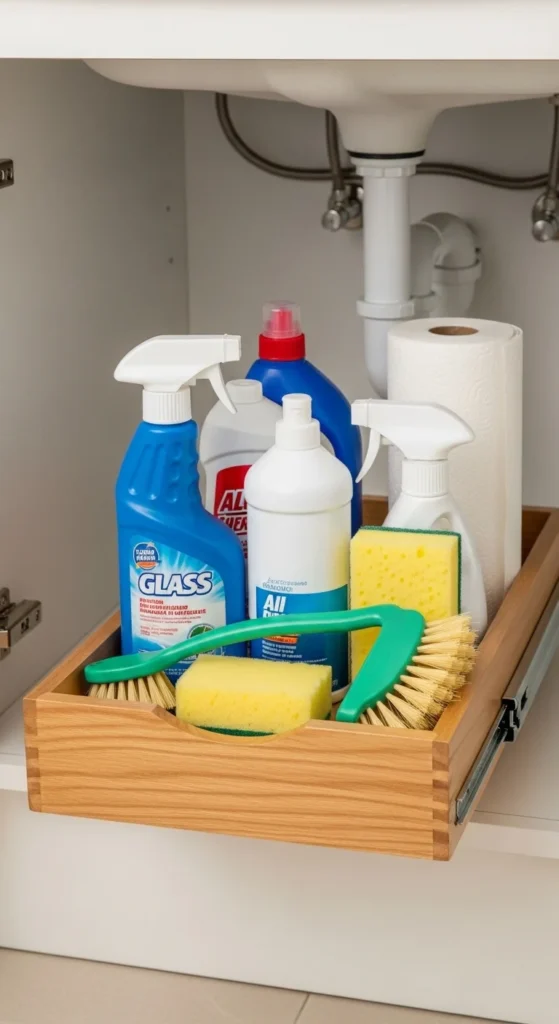
Use a shallow box plus drawer slides. This turns messy cabinets into usable storage quickly.
18) Window Plant Shelf
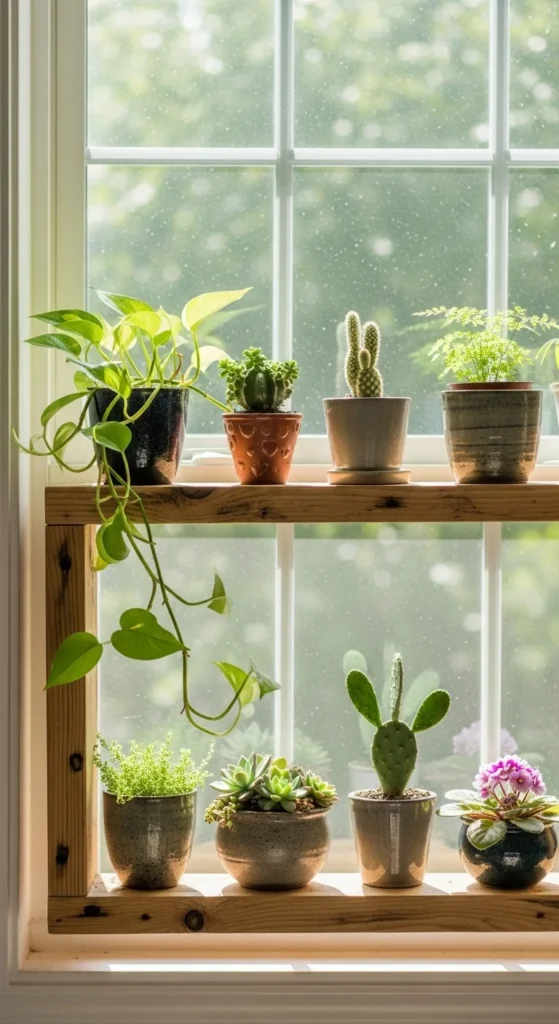
Keep it narrow and sturdy. Plants look great in natural light. Seal the shelf to handle water drips.
19) Corner Wall Shelf Set
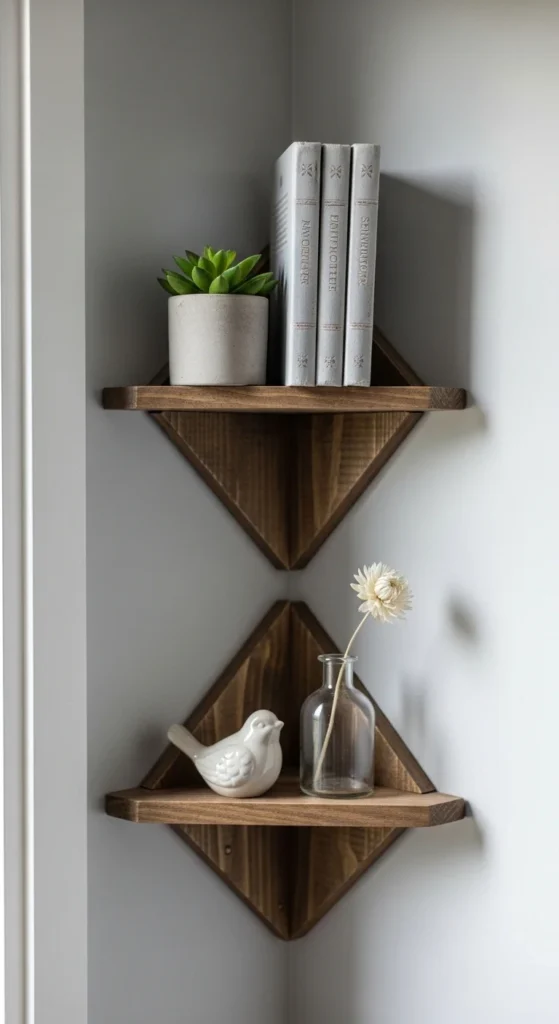
Corner shelves use dead space well. Cut simple triangles. Mount level. Great for small rooms.
20) Mail Organizer With Slot
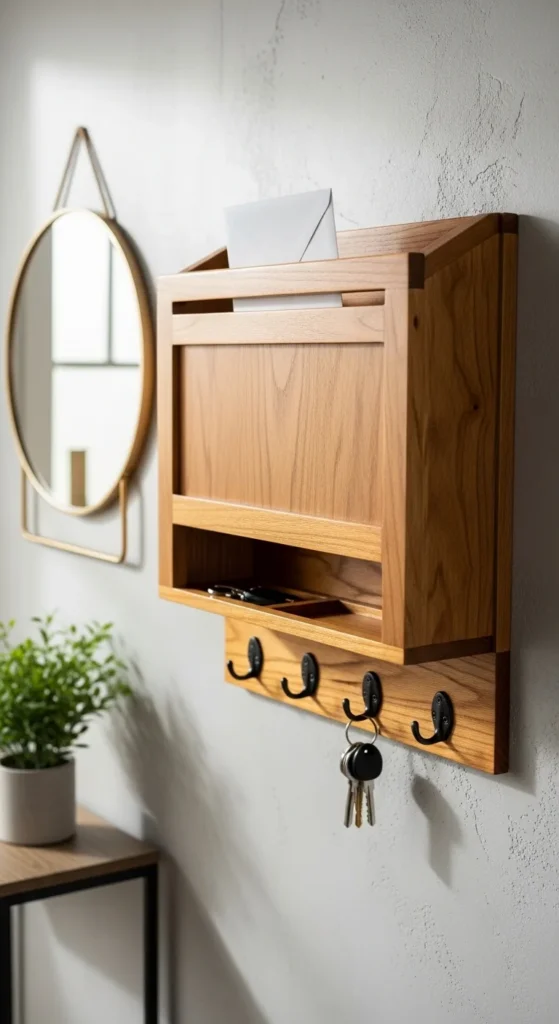
Create a slot for envelopes and a small ledge for keys. This removes clutter fast.
21) Toy Box With Soft Edges
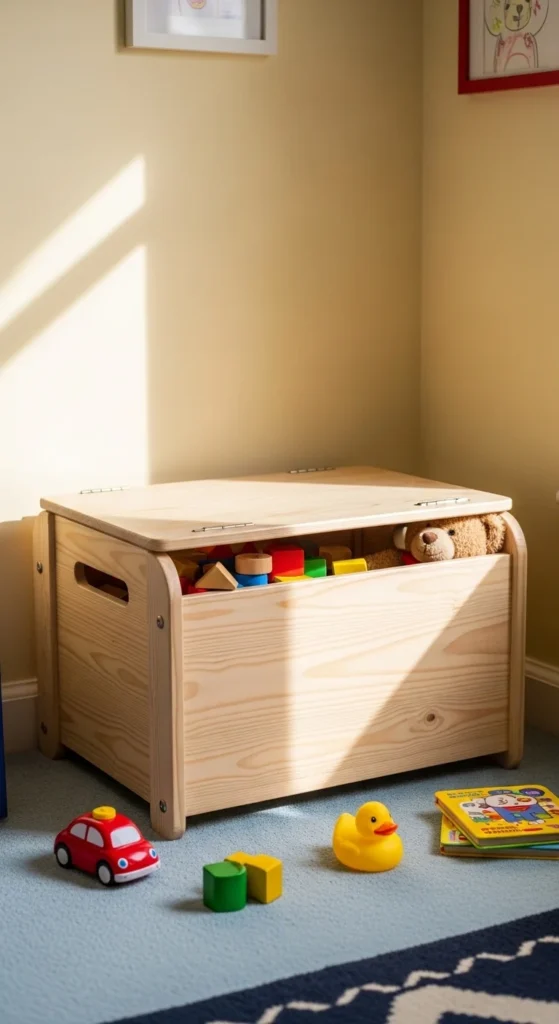
Keep edges rounded. Use sturdy hinges. Sand carefully. Paint if you want a kid-friendly look.
22) Simple Headboard Panel
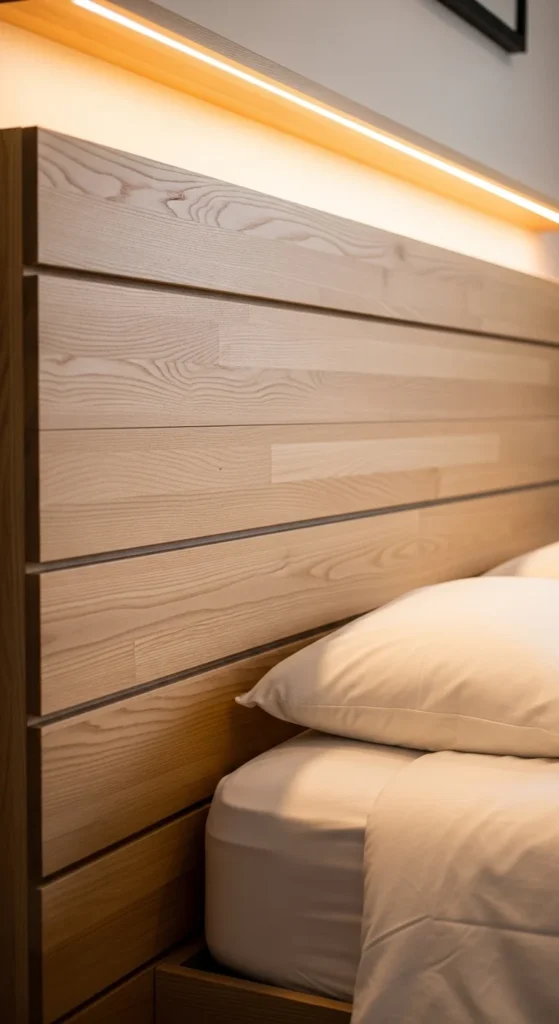
A headboard changes the whole bedroom feel. Use plywood plus trim boards. Paint or stain. Mount to wall or bed frame.
23) Outdoor Birdhouse Row

Birdhouses are quick and customizable. Great for gifts or selling.
24) Wooden Bookends
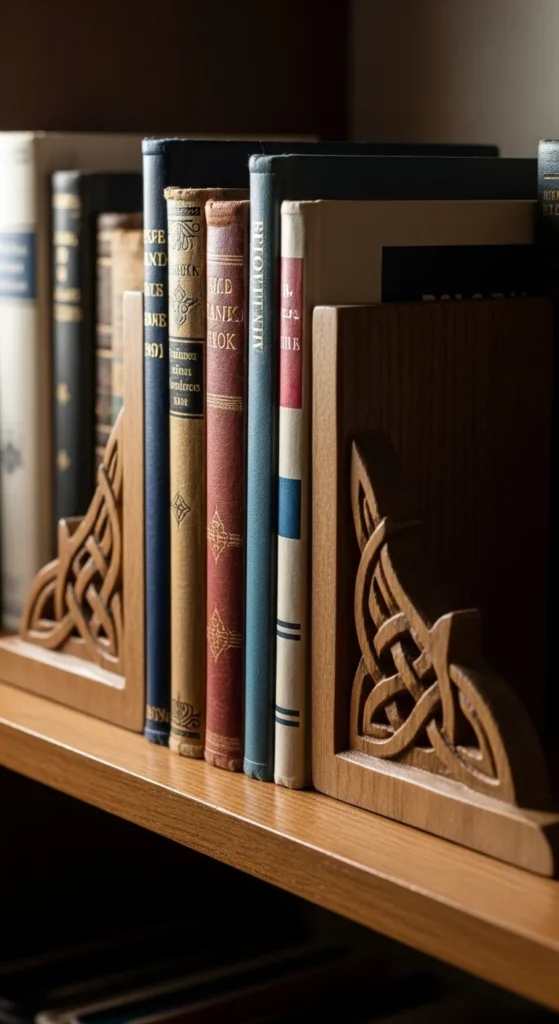
Simple L-shapes, sanded smooth. Paint or stain. Easy and useful.
25) Coffee Table Caddy
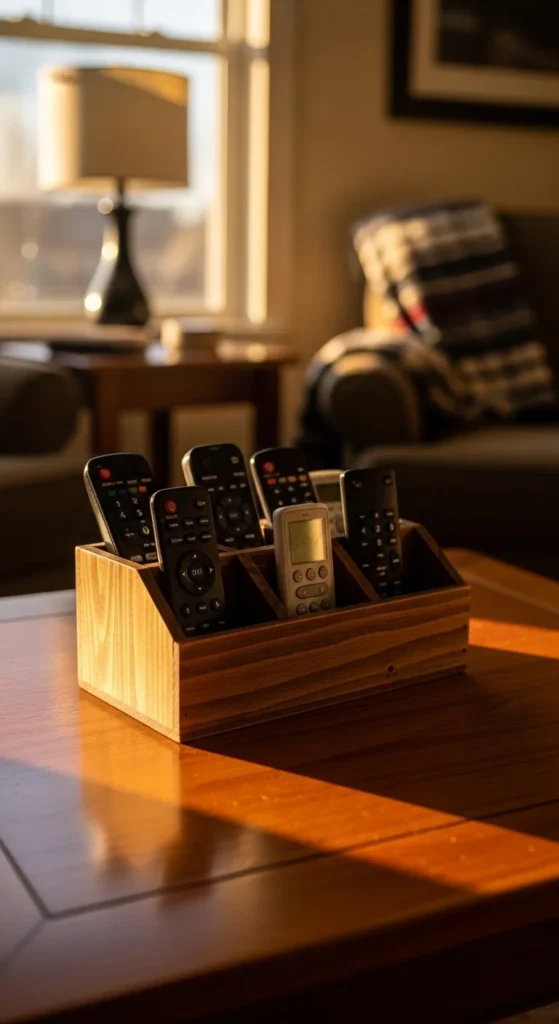
Build a small box with compartments. Add a handle. Keeps living rooms tidy.
26) Pallet Wood Wall Art Panel
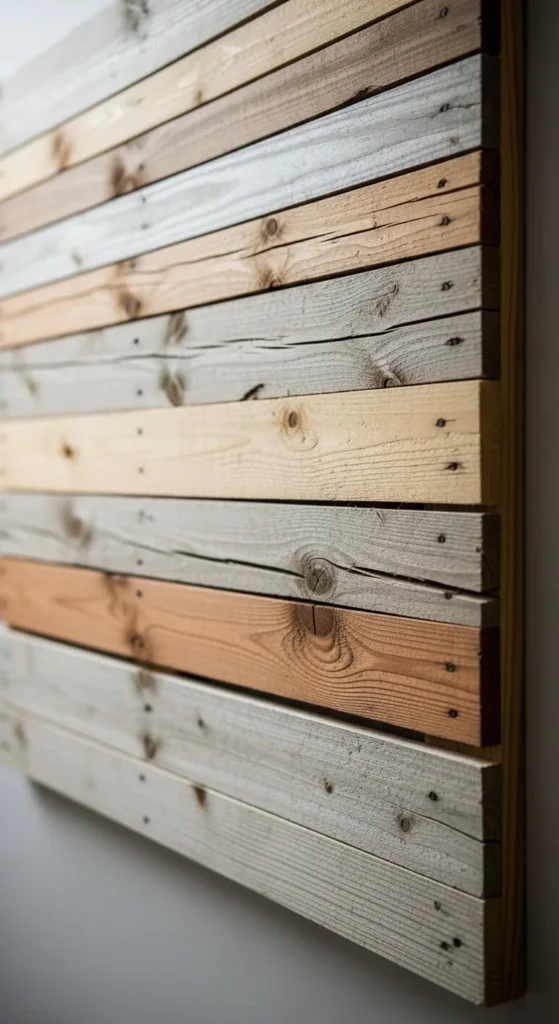
Arrange pallet slats in a panel. Sand lightly. Seal. Adds texture to blank walls.
27) Simple Laptop Stand
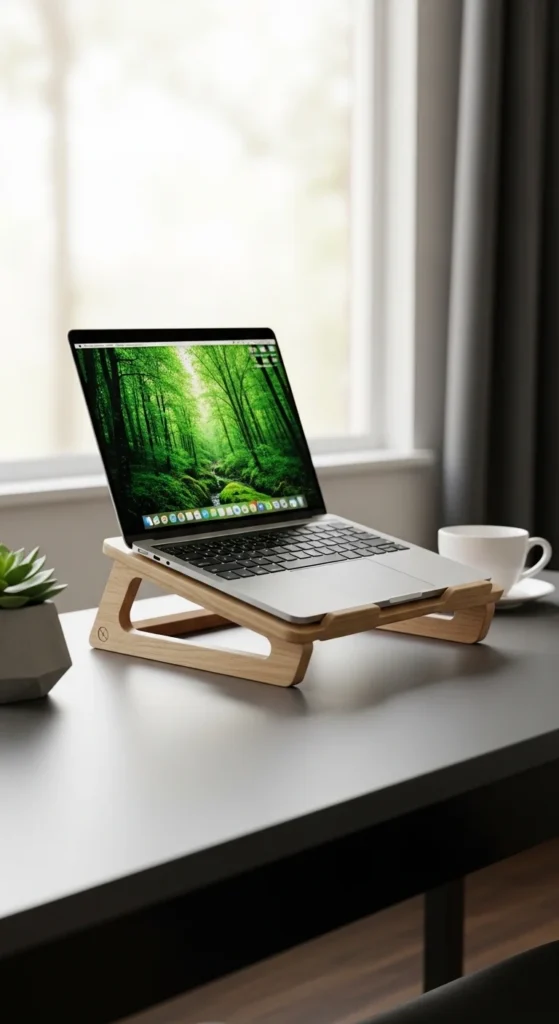
Two side supports plus a top surface. Sand well. Great for home offices.
28) Drawer Dividers
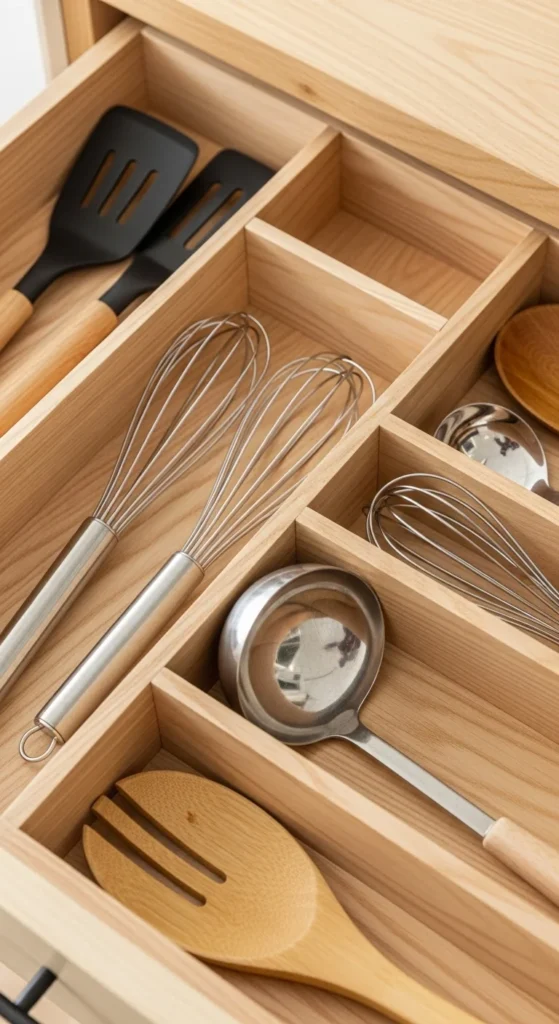
Measure the drawer. Cut thin boards. Fit snugly. No glue required.
29) Picnic Table Side Shelf (Small Patio Add-On)
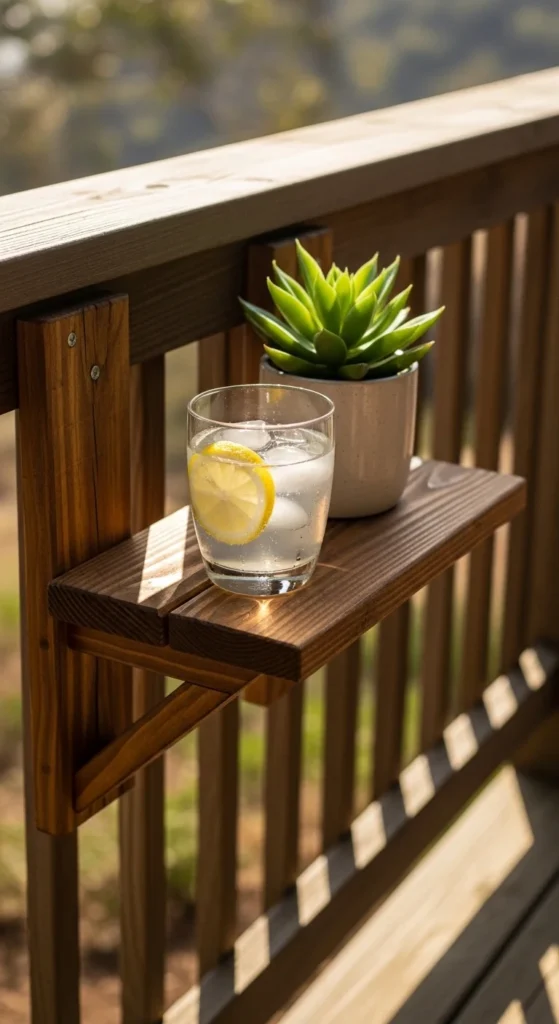
A tiny patio shelf makes outdoor spaces more usable. Use weather sealer. Keep it compact.
30) Set of Wood Coasters With Simple Finish
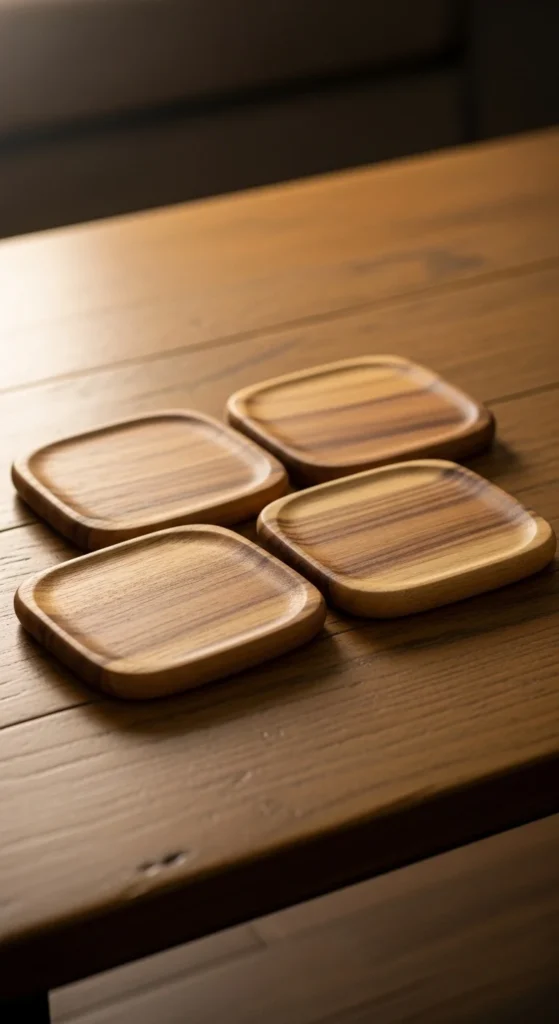
Coasters are quick wins and giftable. Sand well. Seal. Add felt pads. Make sets for sale.
Conclusion
DIY wood projects upgrade a home when they solve real problems: storage, clutter, and comfort. Start with shelves, racks, and small organizers using pine or scrap boards. Sand carefully, keep cuts straight, and use simple joints with glue and screws. Pick one project from this list, finish it in a weekend, and you’ll quickly build both skill and confidence—plus a home that looks more put together with every build.

DiyVisual is a DIY ideas resource for makers of every level. Our small editorial team researches and curates easy, budget-friendly craft, home decor, and handmade gift projects — explained step by step so anyone can recreate them at home with simple materials.


