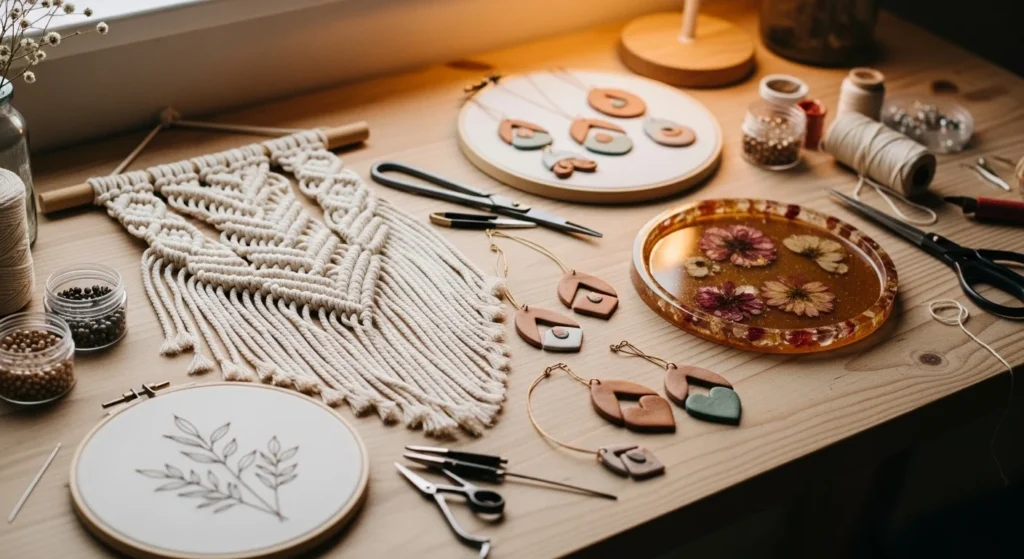
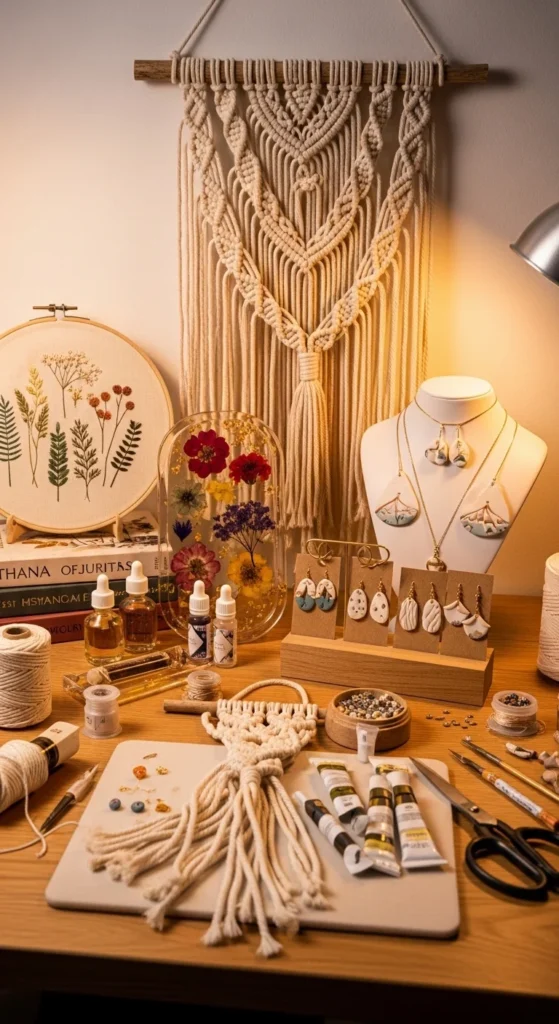
Beautiful handmade decor does not have to drain your wallet. Many adult craft ideas use simple materials but still create pieces that look boutique-worthy. The key is choosing projects with clean finishes, modern textures, and thoughtful details. This curated list focuses on budget-friendly DIYs that feel polished and giftable while staying beginner friendly. Pick a project, clear a small workspace, and enjoy the calm satisfaction of making something that looks far more expensive than it actually is.
1. Minimal Macrame Plant Hanger
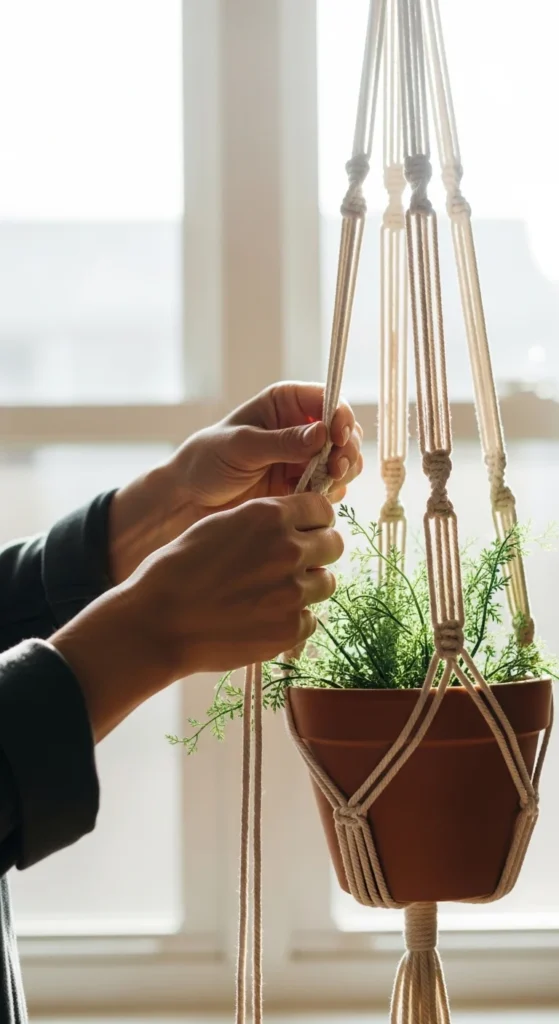
A macrame plant hanger instantly adds soft texture to any room. The best part is how little material you actually use.
Start with cotton cord and learn two basic knots. Most beginner hangers rely on simple repeating patterns. Work slowly and keep the cords evenly spaced.
Keep your first hanger short and minimal. Clean lines create a high-end look faster than complex knot work.
Budget tip: buy cord in one neutral color. Cream and soft beige look more polished.
Hang the finished piece near a window with trailing greenery. The combination of rope and plant creates strong visual impact.
This project feels calm because the knotting rhythm is steady and predictable.
2. Polymer Clay Statement Earrings
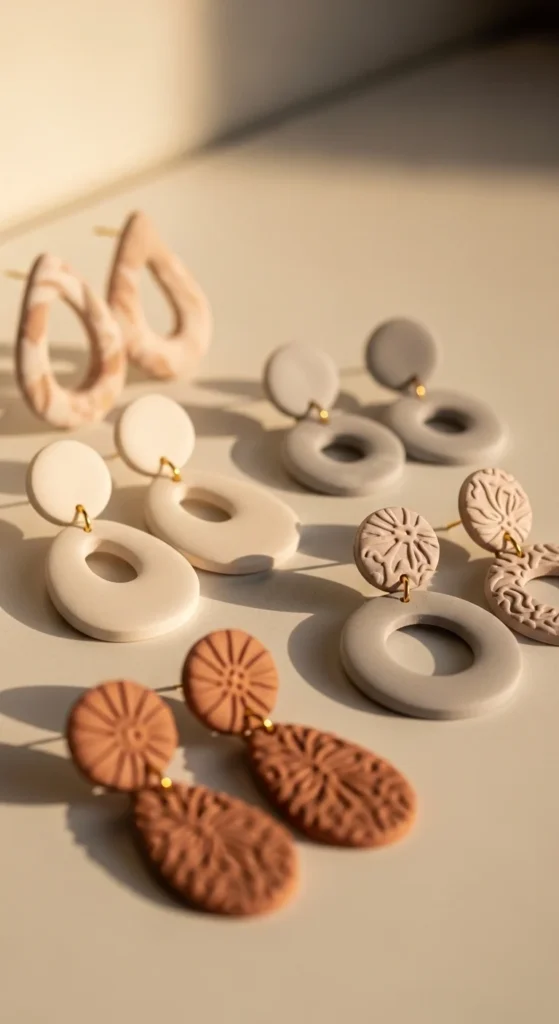
Polymer clay earrings are trending because they look boutique-made but cost very little.
Roll clay evenly and cut simple shapes using small cutters or a knife. Smooth edges gently with your fingers.
Bake according to package directions and allow to cool fully before adding hooks.
Stick to muted color palettes for a more expensive appearance.
Budget tip: one clay pack makes several pairs.
Keep shapes clean and modern. Simple arches and circles often look best.
These earrings are quick to finish and make great handmade gifts.
3. Mosaic Tile Coasters
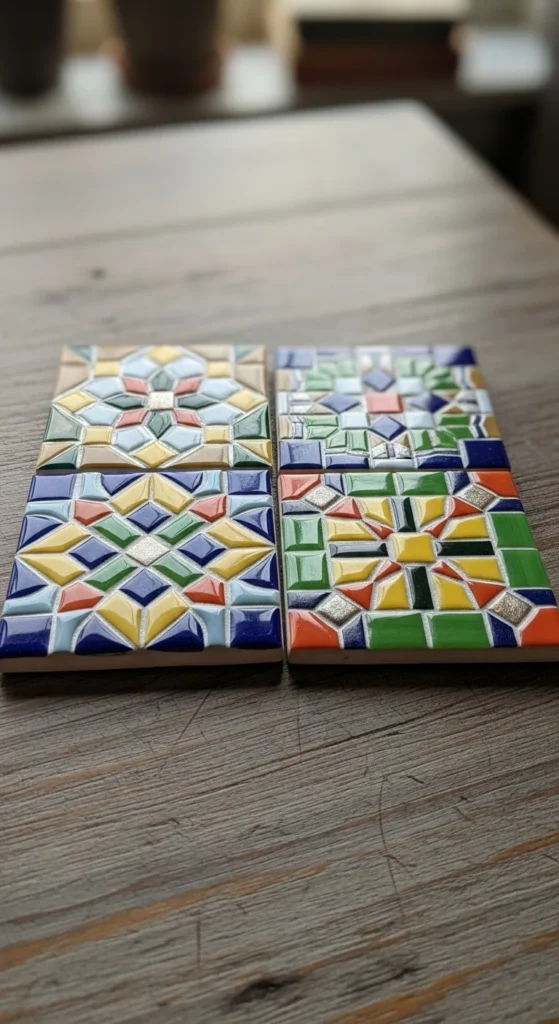
Mosaic coasters add texture and shine to your table without much cost.
Start with plain wood or cork coaster bases. Arrange small tiles in simple patterns before gluing.
Use tile adhesive sparingly and allow proper drying time.
Apply grout slowly and wipe excess gently for clean lines.
Budget tip: broken tile pieces often cost less than full packs.
Neutral tile colors create the most polished finish.
This project looks detailed but follows very simple steps.
4. Embroidery Affirmation Hoop
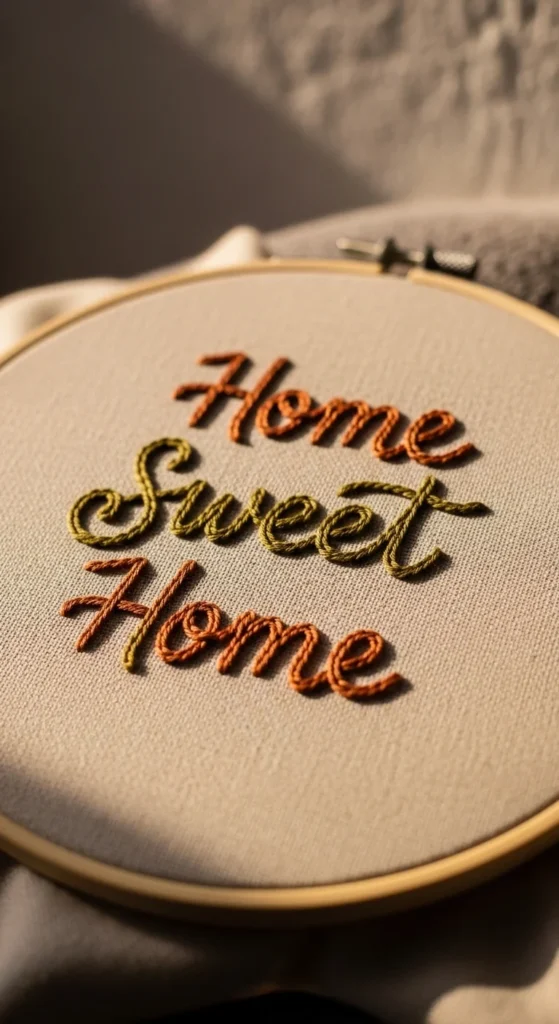
Letter embroidery combines calm stitching with meaningful decor.
Transfer a short phrase onto fabric using light pencil marks. Use backstitch for clean lettering.
Work slowly and keep thread tension even.
Display the finished hoop directly on the wall.
Budget tip: starter embroidery kits are very affordable.
Simple fonts create the most refined look.
This craft is quiet and relaxing, perfect for evening creative time.
5. Gold Leaf Decorative Stones
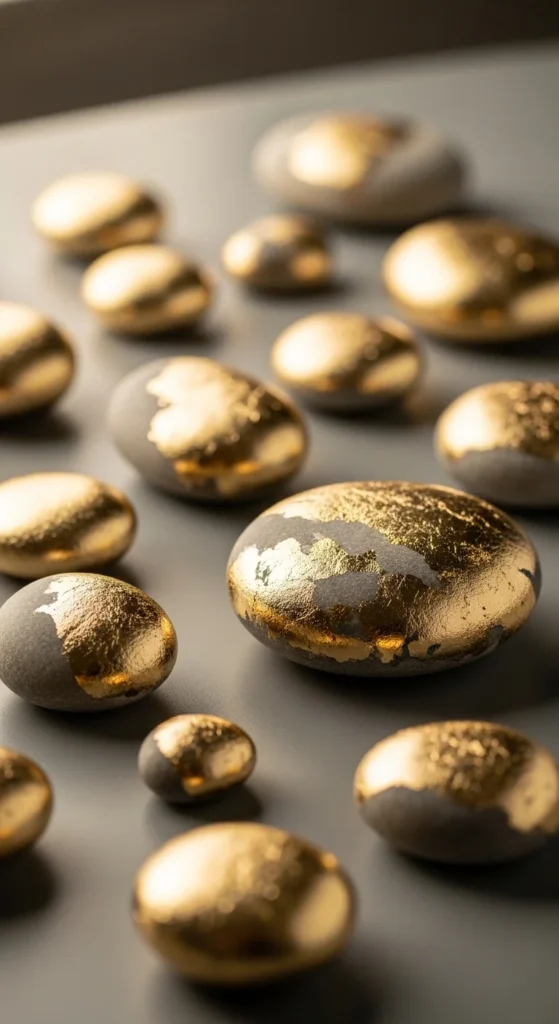
Gold leaf transforms ordinary stones into elegant decor pieces.
Clean and dry smooth rocks first. Apply adhesive only where you want metallic detail.
Press gold leaf gently and brush away loose flakes.
Seal with clear coat for durability.
Budget tip: imitation gold leaf works well and costs less.
Group several stones together for a styled look.
This project is quick but visually striking.
6. Punch Needle Accent Pillow
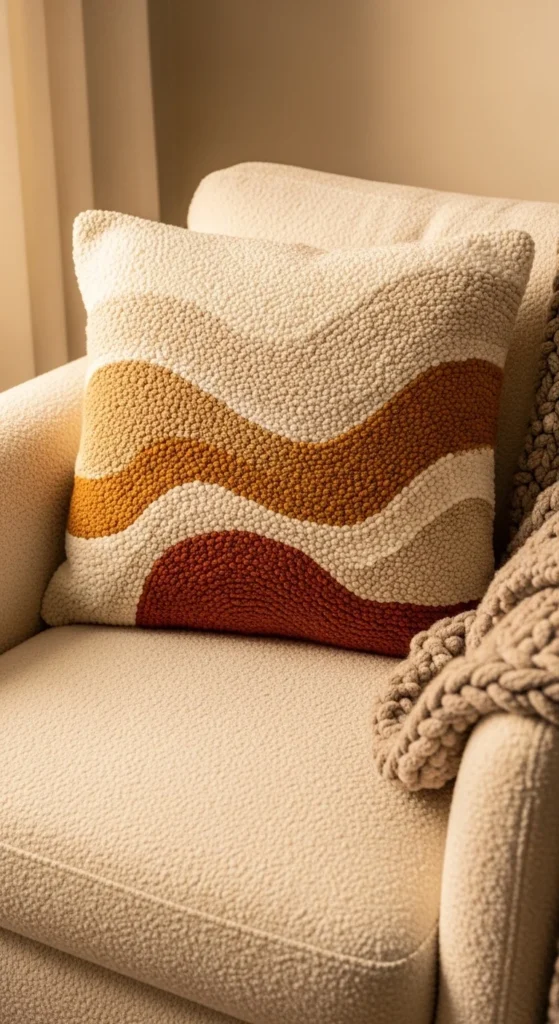
Punch needle projects create plush texture that looks store-bought.
Use monk’s cloth and bulky yarn for best results. Follow a simple pattern for your first pillow front.
Work slowly and keep loops even.
Attach the finished panel to a plain pillow cover.
Budget tip: small punch kits are widely available.
Neutral yarn colors give a modern finish.
This craft is repetitive and very calming.
7. Epoxy Resin Serving Tray
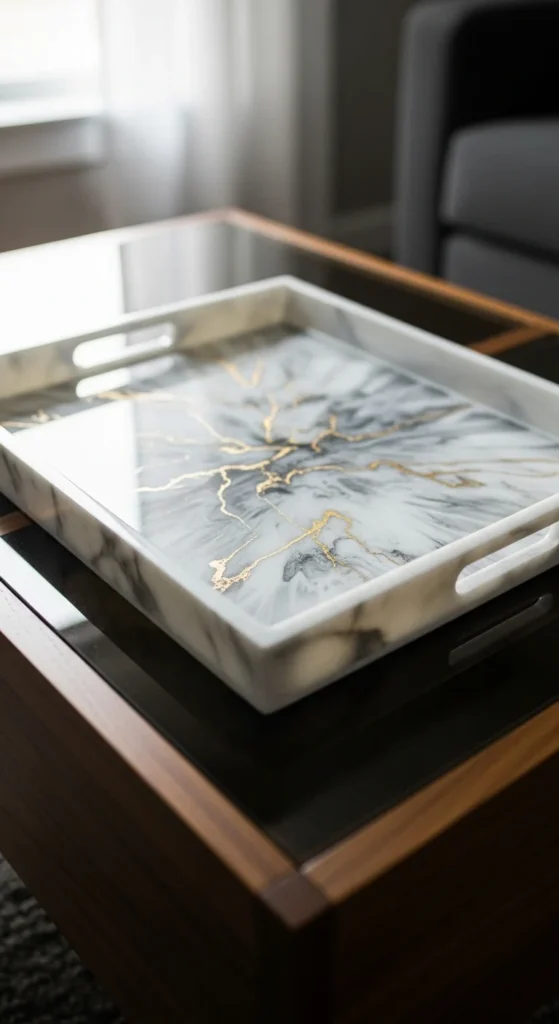
Resin trays create that glossy boutique look many people love.
Mix epoxy carefully and pour slowly over a wood or acrylic base.
Use a heat tool lightly to remove bubbles.
Keep color swirls minimal for a more refined style.
Budget tip: start with a small tray mold.
Allow full curing time before use.
The smooth finish makes this project look far more expensive than its materials.
8. Diamond Painting Wall Art
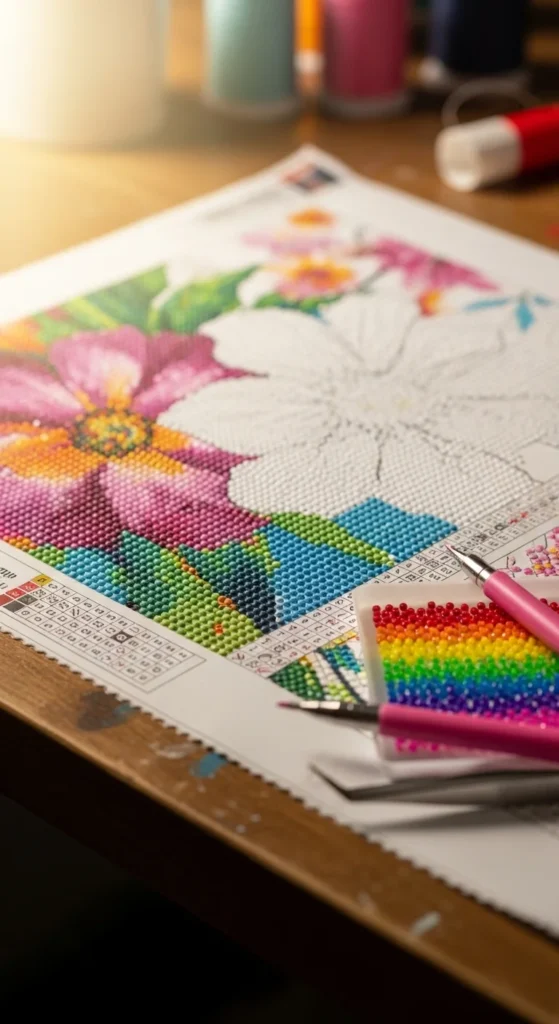
Diamond painting is known for its calming, repetitive placement.
Use the stylus tool to place tiny gems one by one.
Work in small sections to stay organized.
Frame the finished canvas for wall display.
Budget tip: beginner kits are very affordable.
Choose soft landscape designs for a sophisticated feel.
This craft is slow, quiet, and very satisfying.
9. Yarn-Wrapped Wooden Letters

Yarn-wrapped letters are simple to make yet look styled and intentional. They work well for home offices, bedrooms, or gift sets.
Start with plain wooden or cardboard letters. Apply a thin line of glue and wrap yarn tightly around the surface. Work slowly so the layers sit close together.
Change yarn colors only if you want a playful look. For a more expensive feel, stick to one soft neutral tone.
Trim the end neatly and secure it on the back.
Budget tip: leftover yarn from other projects works perfectly.
Display a single initial or spell a short word for maximum visual impact.
The repetitive wrapping motion feels calm and focused.
10. Glass Etched Vase
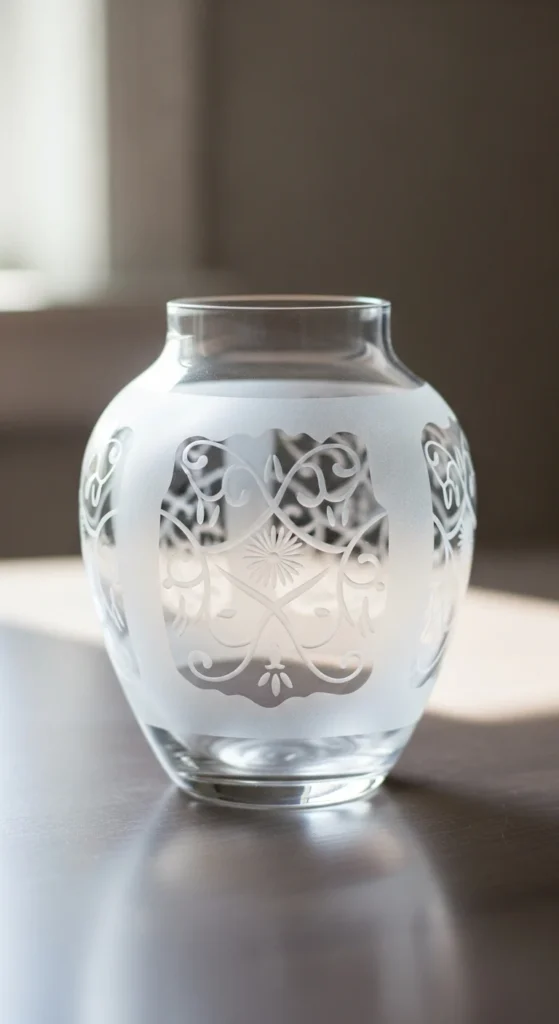
Glass etching creates that frosted boutique look with very little effort.
Clean the vase thoroughly before starting. Apply stencil shapes firmly so edges stay sharp.
Brush on glass etching cream evenly and wait according to instructions.
Rinse carefully to reveal the frosted design.
Keep patterns minimal for the most refined result.
Budget tip: thrift store glassware works great for this project.
Pair the finished vase with simple greenery.
This craft feels precise but is beginner friendly.
11. Fabric Tie-Dye Napkins
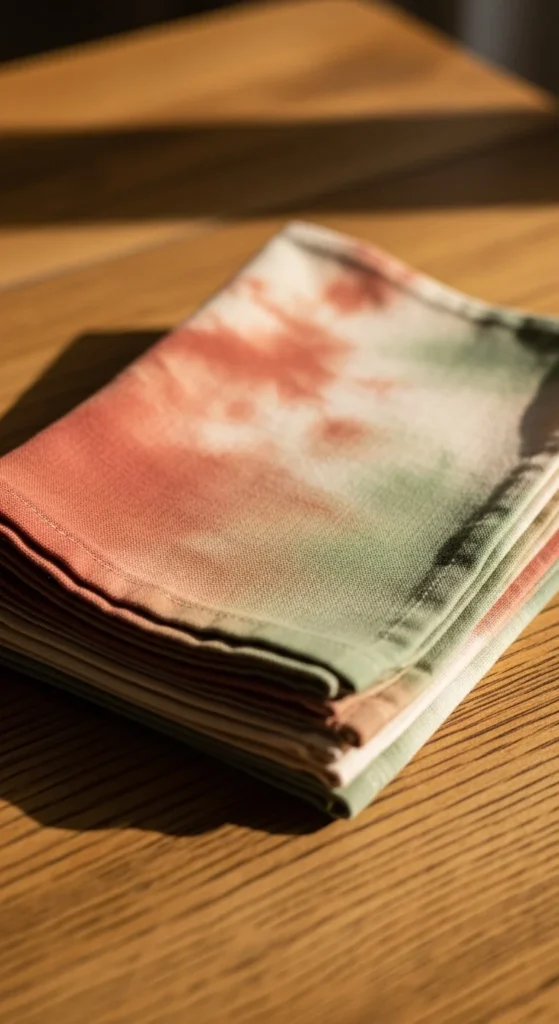
Modern tie-dye can look very polished when done in soft tones.
Fold plain cotton napkins neatly and secure with rubber bands.
Dip lightly into diluted dye for gentle color transitions.
Rinse and allow to dry fully.
Muted colors like sage, clay, or soft blue look more refined than bright rainbow styles.
Budget tip: white cotton napkins are inexpensive in multipacks.
Press the fabric after drying for a crisp finish.
This project adds handmade charm to your table.
12. Leather Stamped Keychains

Leather keychains are small but very giftable.
Cut simple shapes from thin leather sheets. Stamp initials or small symbols using metal stamps.
Keep impressions centered for a professional look.
Attach a basic key ring through a punched hole.
Budget tip: leather scraps are often sold cheaply.
Stick with clean shapes like rectangles or circles.
This project is quick and produces polished results.
13. Wood-Burned Coasters
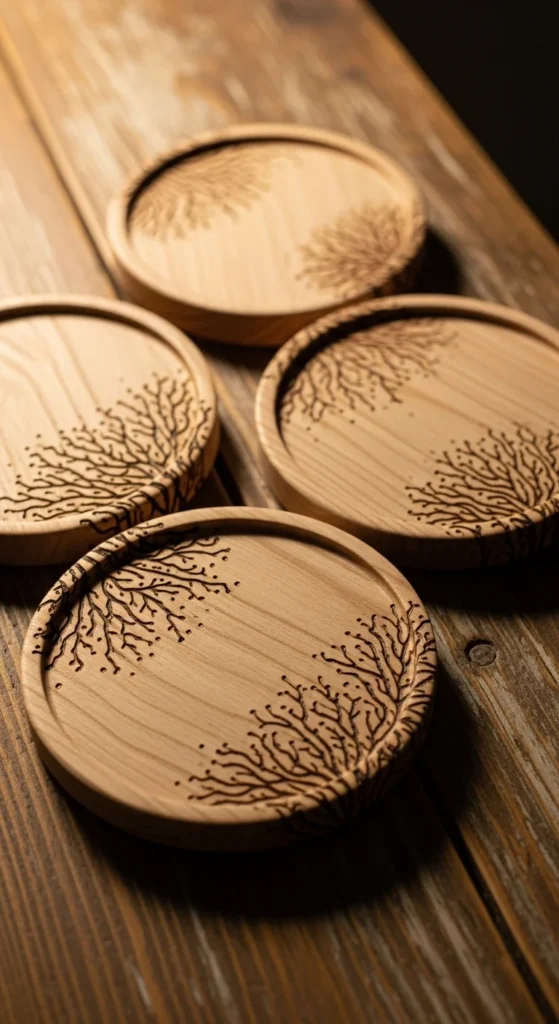
Wood burning adds handcrafted detail without complicated steps.
Start with plain wood coaster blanks. Lightly sketch your design first.
Use a wood-burning tool on low heat and move slowly.
Keep patterns minimal such as lines or small botanicals.
Seal with clear coat when finished.
Budget tip: coaster blanks are inexpensive in bulk.
This craft improves control while creating useful pieces.
14. Beaded Statement Brooch
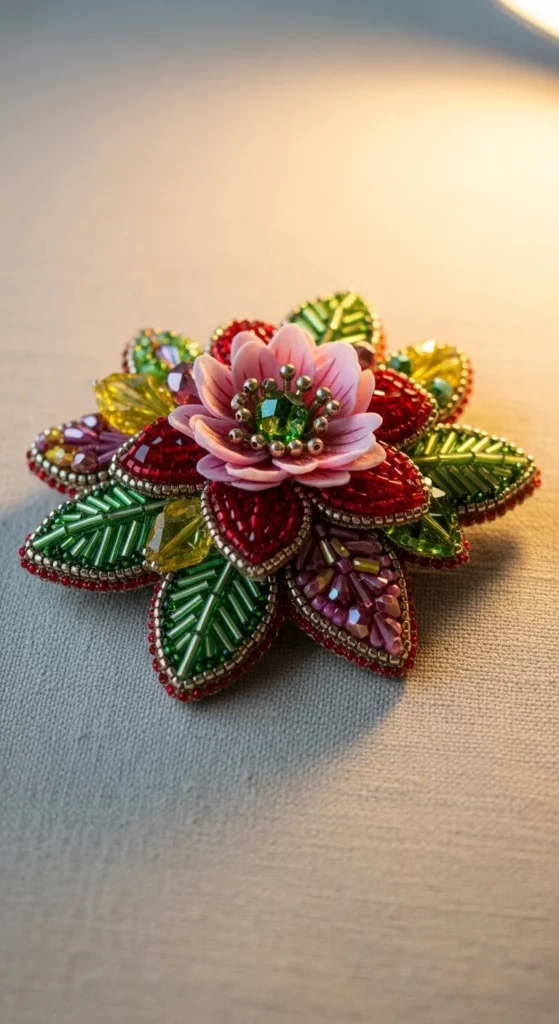
Beaded brooches look detailed but rely on simple stitching.
Draw a small shape on felt backing. Sew beads one section at a time.
Work slowly and keep rows tight together.
Attach a brooch pin securely on the back.
Budget tip: bead variety packs provide many options.
Stick to one color family for a refined look.
This project rewards patience and steady hands.
15. Cyanotype Sun Print Art
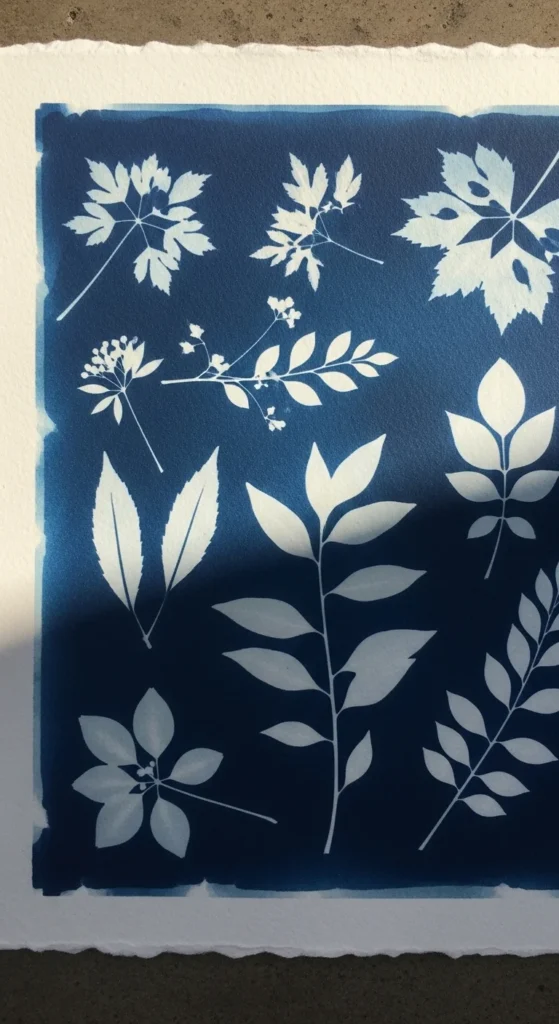
Cyanotype printing uses sunlight to create striking blue artwork.
Coat special paper with cyanotype solution and place leaves or objects on top.
Expose in direct sunlight until the color changes.
Rinse in water to reveal the print.
Keep compositions simple for the best effect.
Budget tip: small cyanotype kits are beginner friendly.
Frame the finished piece for instant wall decor.
This process feels calm and slightly magical.
16. Tufted Mini Rug Panel
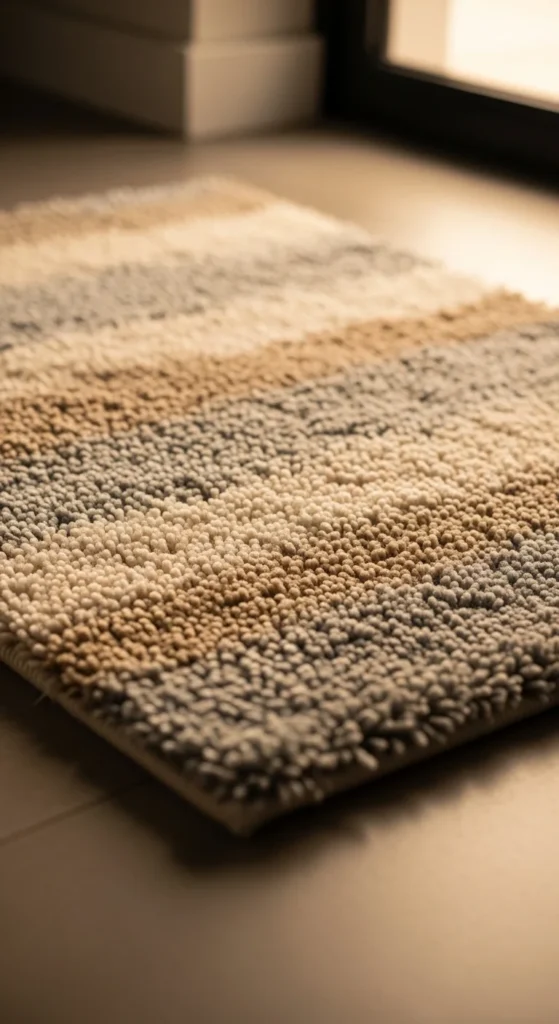
Tufted panels create plush texture that feels high-end.
Use a latch hook or tufting tool on a small canvas base.
Work one color block at a time.
Trim loops evenly for a clean surface.
Budget tip: start with a small kit before larger rugs.
Neutral patterns often look more expensive.
This craft is repetitive and satisfying.
17. Paper Quilling Frame Accent

Paper quilling adds delicate detail using simple strips.
Roll paper tightly and shape into small loops.
Glue carefully along the frame edges.
Work slowly to keep spacing even.
Budget tip: colored paper strips are inexpensive.
Keep designs minimal for a modern look.
This craft is quiet and very focused.
18. Propagation Test Tube Stand
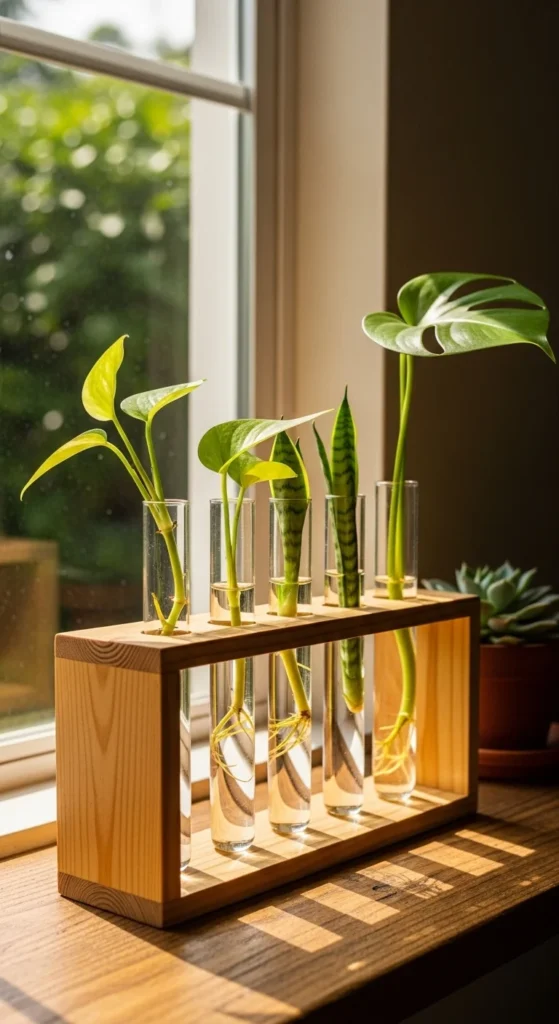
Propagation stands combine plants with clean decor.
Build a small wooden base and insert glass tubes.
Keep cuts straight and sand smooth.
Place plant cuttings in water.
Budget tip: reuse small glass tubes or bottles.
This project adds living decor to any space.
19. Cork Board Geometric Trivet
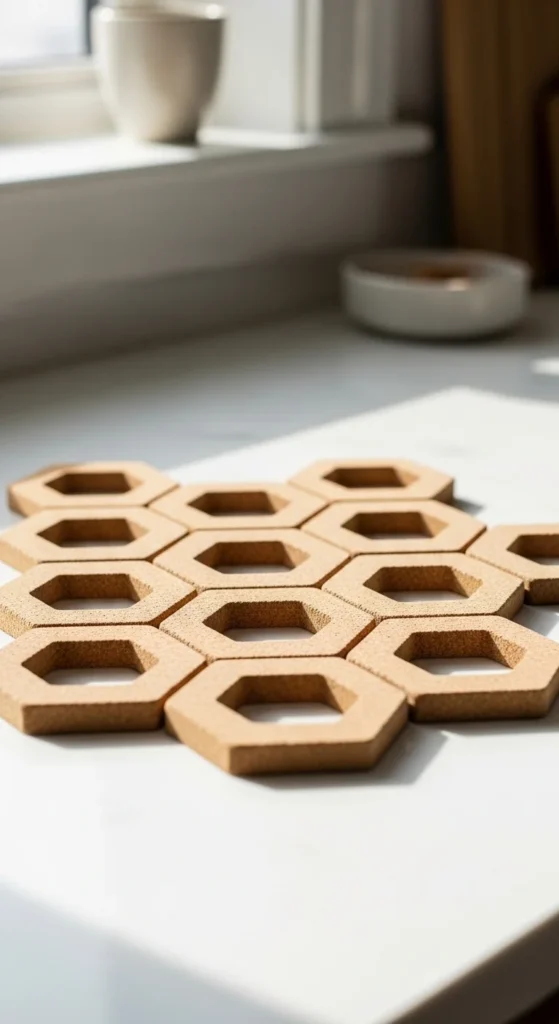
Cork trivets look clean and modern while staying very affordable to make. They protect surfaces and double as simple decor.
Start with cork sheets or wine cork slices. Cut into triangles or hexagons for a geometric layout. Arrange the pieces on a flat surface before gluing.
Work slowly so the edges line up neatly. Clean spacing gives the trivet a store-ready look.
Use strong craft glue and press the pieces under a heavy book while drying.
Budget tip: reuse corks from home or ask local cafes.
Keep the color natural for a refined style.
This project is quiet, quick, and very beginner friendly.
20. Minimal Clay Ring Dish
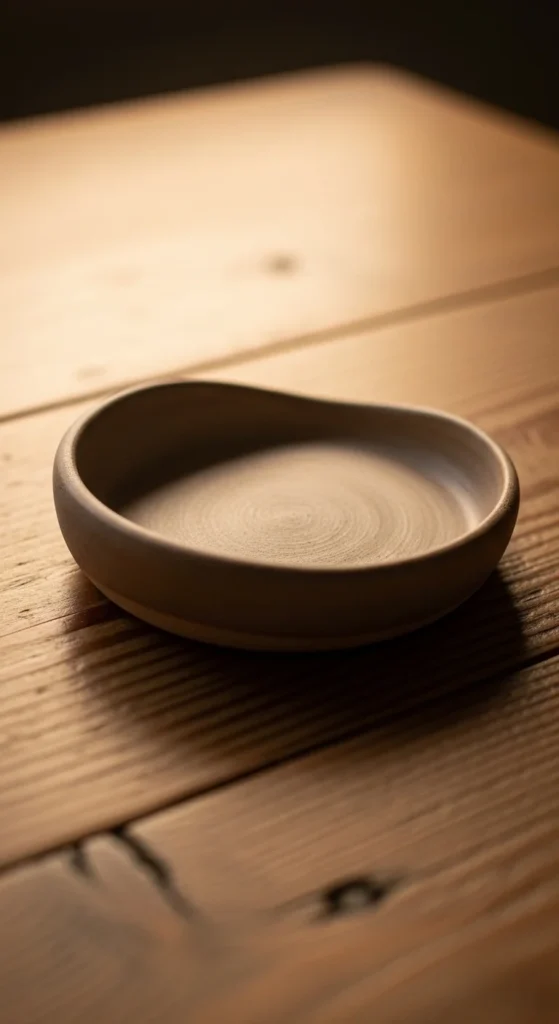
A clay ring dish is a small project that feels polished and giftable.
Roll air-dry clay evenly and cut a soft circular or organic shape. Press gently into a small bowl to form the curve.
Smooth the edges with damp fingers. Let the dish dry fully before painting.
Stick to soft neutral colors or leave the clay natural for a high-end look.
Budget tip: one pack of air-dry clay makes several dishes.
Seal with clear glaze if desired.
This craft is calm and tactile, perfect for short creative sessions.
21. Fabric Covered Storage Boxes
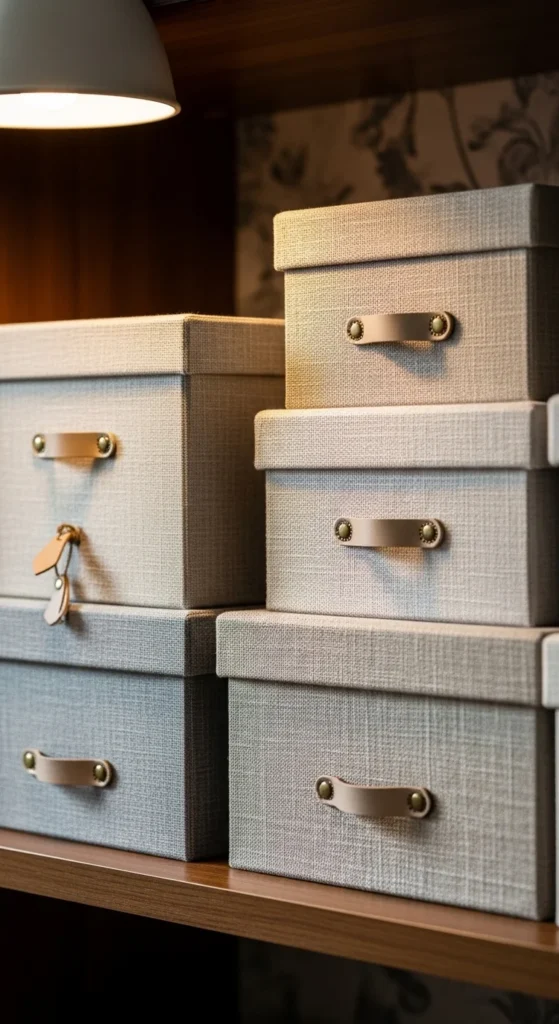
Fabric-covered boxes turn plain storage into something that looks styled.
Start with simple cardboard boxes. Cut fabric slightly larger than each side.
Apply craft glue evenly and smooth the fabric carefully to avoid wrinkles.
Fold corners neatly for a tailored finish.
Budget tip: reuse fabric from old linens or clothing.
Choose neutral patterns for the most refined look.
These boxes work beautifully for shelves or closets.
The slow smoothing process feels very calming.
22. Minimal Beaded Curtain Tiebacks
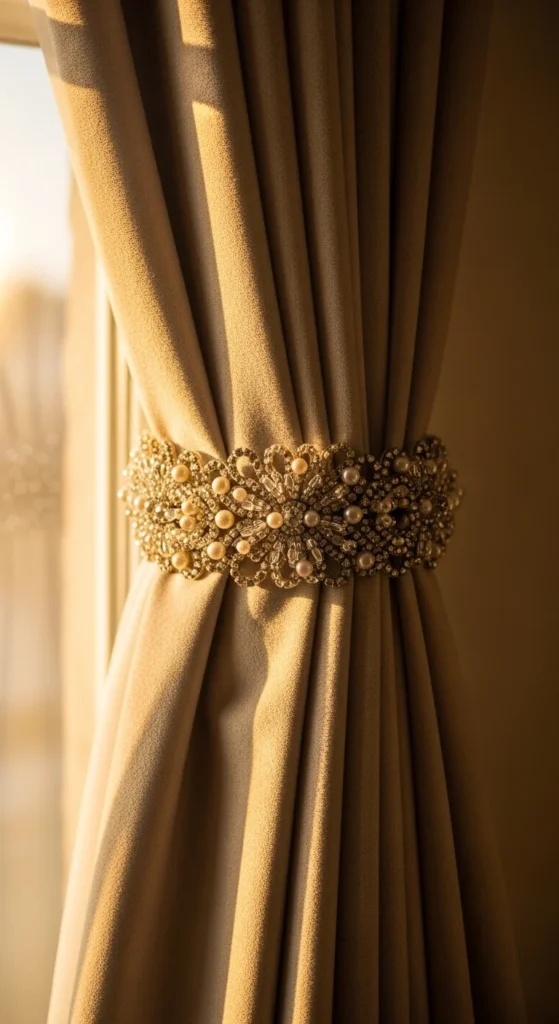
Beaded tiebacks add subtle detail to window treatments.
String medium-size beads onto strong cord. Keep spacing even for a clean look.
Attach simple loops on each end.
Stick to wood or neutral beads for a more expensive feel.
Budget tip: mixed bead packs offer plenty of material.
Wrap gently around curtains to style.
This project is repetitive and relaxing to assemble.
23. Painted Terracotta Pot Set
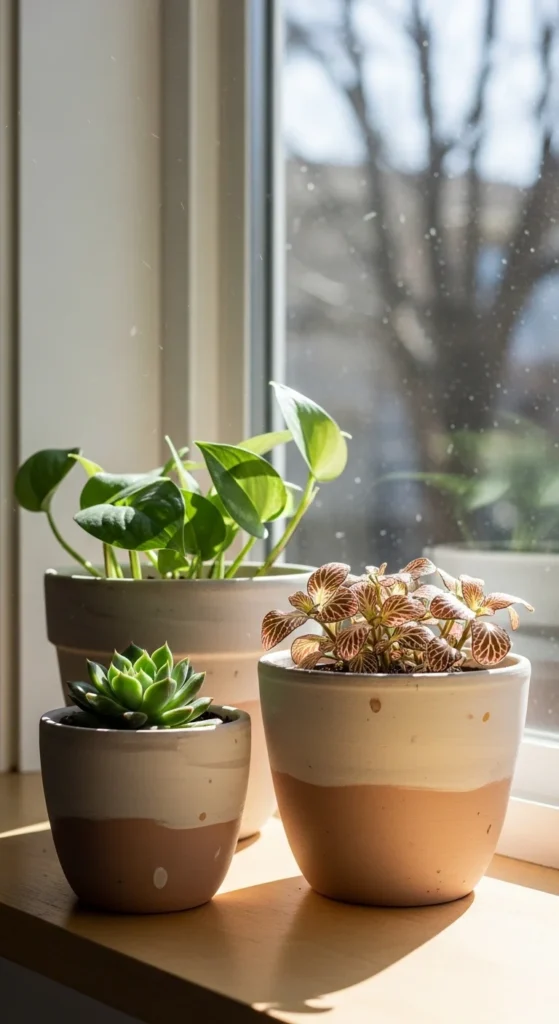
Painted terracotta pots are easy to customize and always useful.
Clean the pots first and apply a light base coat.
Add simple lines, half-dips, or soft color blocking.
Avoid overly busy patterns. Minimal designs look more polished.
Seal with clear matte finish when dry.
Budget tip: small terracotta pots are inexpensive in bulk.
Group several pots together for stronger visual impact.
This craft is calm and beginner friendly.
24. Simple Rope Basket
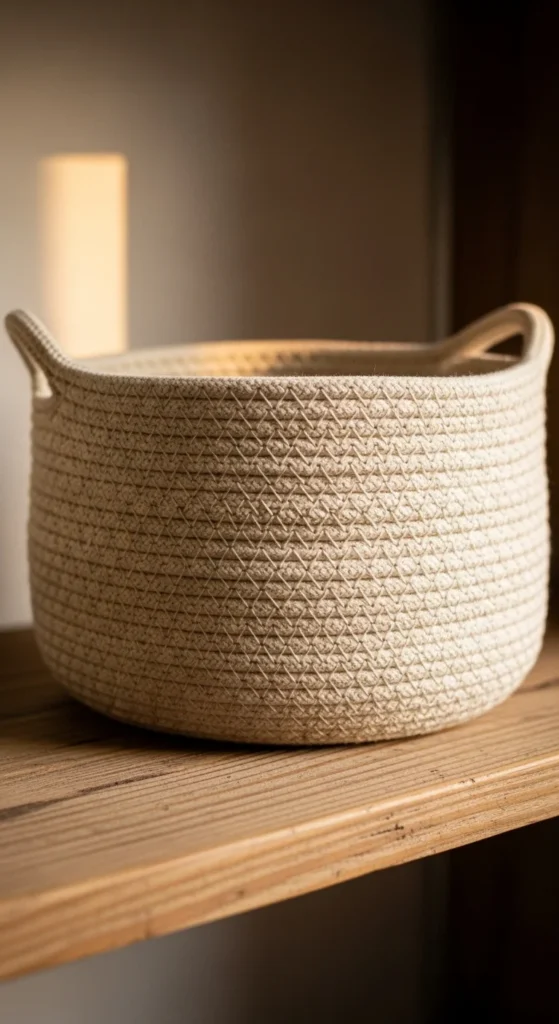
Rope baskets look high-end but rely on very simple steps.
Coil cotton rope tightly while applying hot glue gradually.
Press gently to keep the sides even as the basket grows.
Work slowly and keep the base flat.
Budget tip: cotton rope from hardware stores works well.
Keep the shape small for your first attempt.
These baskets are useful for keys, remotes, or craft supplies.
The steady coiling motion feels very soothing.
25. Minimal Wall Collage Grid
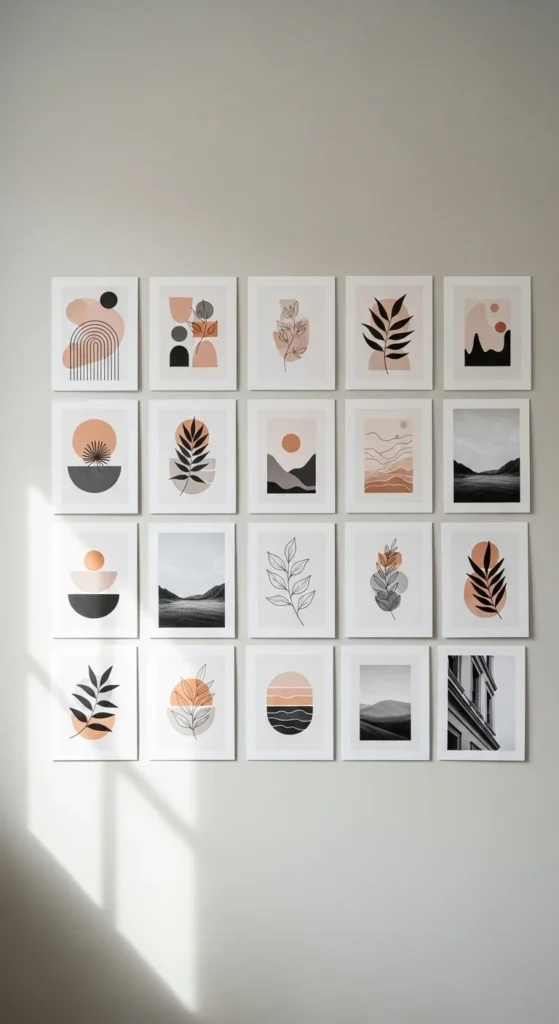
A wall collage grid creates designer-style decor with simple materials.
Print small photos or artwork in matching tones.
Arrange them evenly using painter’s tape as a guide.
Keep spacing consistent between each piece.
Budget tip: print at home on matte paper.
Stick to a tight color palette for a cohesive look.
This project requires patience but very little cost.
The careful arranging process is calm and satisfying.
26. Handmade Scented Candle Jars
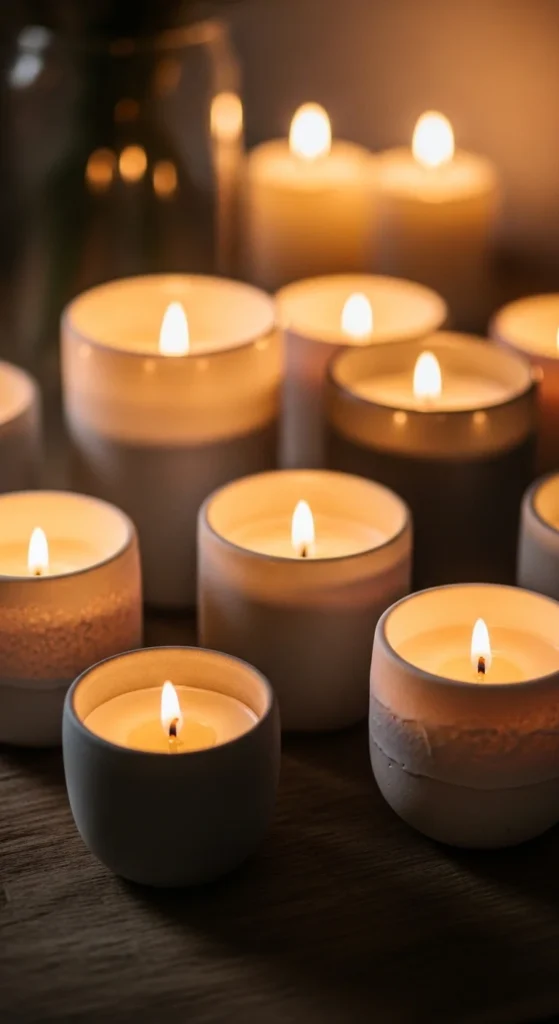
Candle making is a sensory craft many adults enjoy.
Melt soy wax slowly and add fragrance oil.
Pour carefully into clean jars with centered wicks.
Allow full cooling time before trimming the wick.
Budget tip: reuse glass jars from home.
Keep scents subtle for a more refined feel.
These candles make excellent handmade gifts.
27. Pressed Botanical Wall Frame

Pressed botanicals create timeless natural decor.
Press small leaves or flowers between heavy books for several days.
Arrange them carefully on neutral paper.
Place inside a simple frame.
Keep layouts minimal for the most elegant result.
Budget tip: collect plants from your garden.
This craft is slow and very peaceful.
28. Neutral Punch Needle Wall Hoop
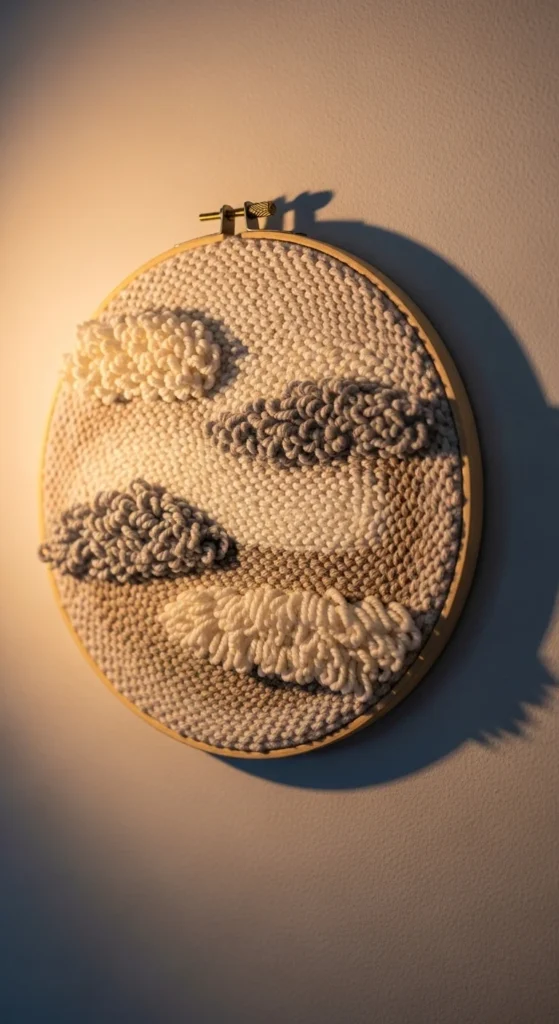
Punch needle hoops add plush texture that looks store-bought.
Use monk’s cloth and neutral yarn.
Follow a simple curved or abstract pattern.
Keep loops even and trim lightly if needed.
Budget tip: small punch kits are affordable.
Display the finished hoop as wall art.
This craft is rhythmic and deeply relaxing.
Conclusion
Creating beautiful crafts at home does not require expensive supplies or advanced skills. With simple materials, calm repetition, and clean finishing touches, you can make pieces that look carefully styled and gift-ready. Start with one small project that fits your time and space. Consistent creative sessions often bring both relaxation and confidence.

DiyVisual is a DIY ideas resource for makers of every level. Our small editorial team researches and curates easy, budget-friendly craft, home decor, and handmade gift projects — explained step by step so anyone can recreate them at home with simple materials.


