Simple wood builds can turn leftover lumber into useful home pieces that look shop-made. Whether you are working with scrap wood, pallet boards, or basic 2x4s, the right project helps you practice skills while creating items people actually use. This list focuses on beginner-friendly builds that look polished without requiring expensive tools. Each idea is practical, affordable, and perfect for weekend progress.
1. Scrap Wood Key Holder
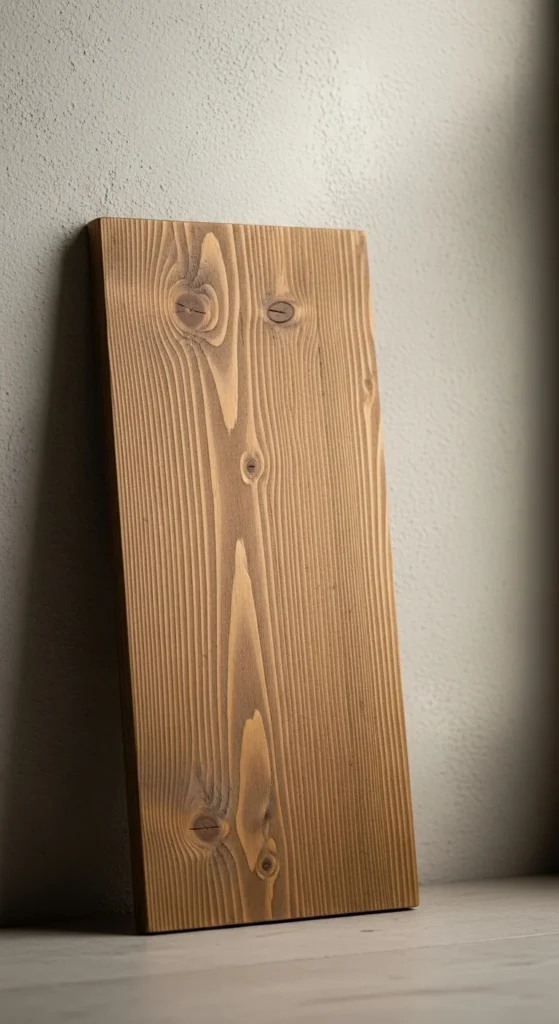
A scrap wood key holder is one of the fastest ways to turn leftovers into something useful. It takes very little material and helps clear the clutter near your door.
Start with any flat scrap board. Sand it smooth so it looks clean. Add a simple stain or clear coat for a polished finish. Then attach inexpensive hooks from the hardware store.
The magic is in the spacing. Measure carefully so the hooks look evenly placed. That small detail makes the project look store-bought.
You can hang it using sawtooth hangers or simple wall anchors. Both work well for beginners.
Budget tip: use leftover stain from another project. Small pieces do not require much.
This build is perfect practice for sanding and finishing. It also sells well at local craft markets because everyone uses a key rack.
2. Simple 2×4 Outdoor Bench
A 2×4 bench looks impressive but stays beginner friendly. It uses common lumber and straight cuts.
Cut your boards carefully and dry-fit everything before driving screws. This prevents gaps later. Use exterior screws so the bench holds up outdoors.
Pocket holes make the frame stronger, but basic screws work fine if you pre-drill. Take your time keeping the legs square.
For a smooth look, sand all edges lightly. Sharp corners make projects look unfinished.
Finish with an outdoor sealer or paint. This step protects your work and keeps the wood from cracking.
Cost stays low because 2×4 lumber is widely available. Many builders complete this in one afternoon.
The result looks like patio furniture from a store. That is why this project is popular with beginners who want fast results.
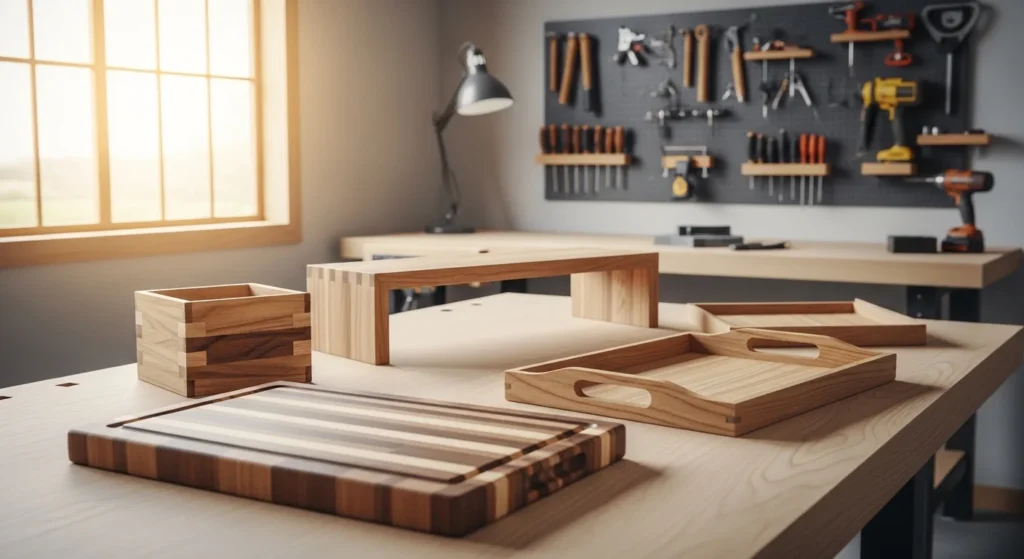
3. End-Grain Style Cutting Board
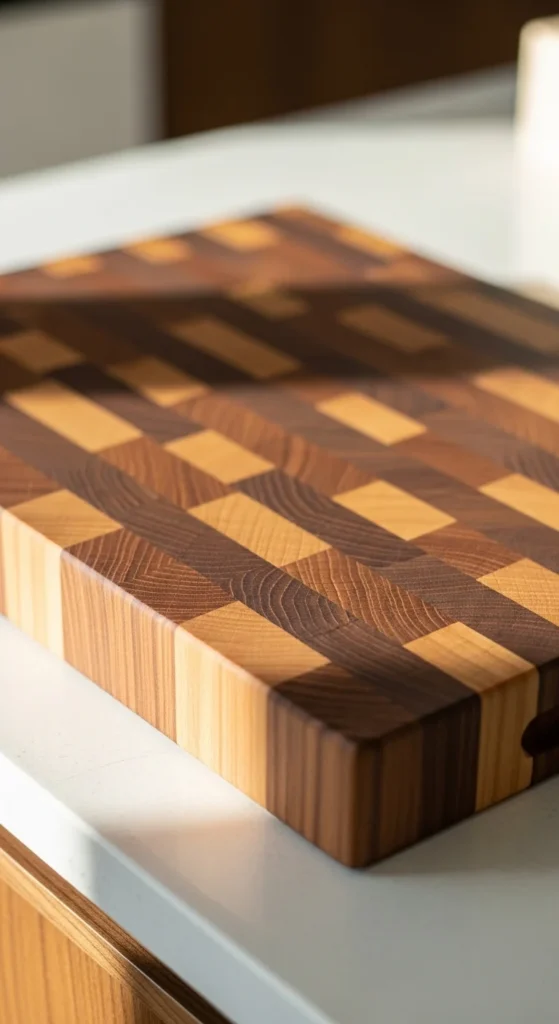
A cutting board is one of the best small builds for skill growth. It also has strong selling potential.
Start with hardwood scraps if possible. Arrange pieces in a simple pattern and glue them tightly. Clamp well and allow full drying time.
After curing, sand slowly through multiple grits. Smooth surfaces make the board look professional.
Round the edges slightly. This small touch improves both comfort and appearance.
Finish using food-safe mineral oil. Apply several coats and wipe off the excess.
Budget tip: many lumber yards sell hardwood offcuts cheaply. These work great for boards.
Keep the design simple for your first attempt. Clean lines always look better than crowded patterns.
This project teaches glue-ups, sanding, and finishing in one compact build.
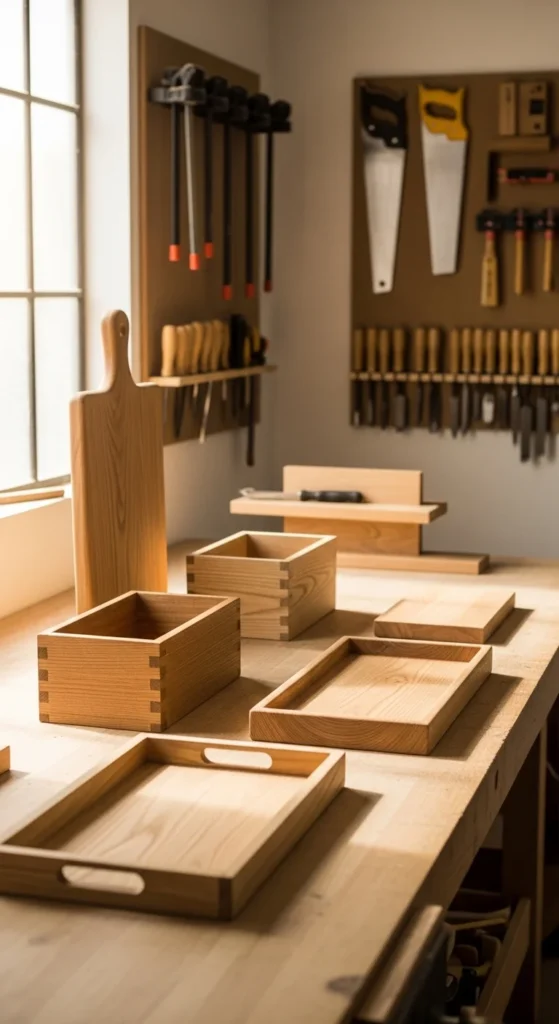
4. Rustic Pallet Planter Box

Pallet planter boxes are perfect for garden lovers and budget builders. The wood is often free.
Disassemble pallets carefully using a pry bar. Remove nails fully before cutting. This protects your tools.
Cut boards to equal lengths for a clean box shape. Use simple butt joints with exterior screws.
Line the inside with landscape fabric. This keeps soil from leaking through gaps.
Light sanding keeps the rustic look while removing splinters. Do not over-sand if you want that reclaimed feel.
Apply outdoor sealer for longer life.
These boxes work well for herbs, flowers, or small vegetables. They also sell quickly in spring markets.
It is a practical project that turns discarded wood into something useful.
5. Wall-Mounted Floating Shelf
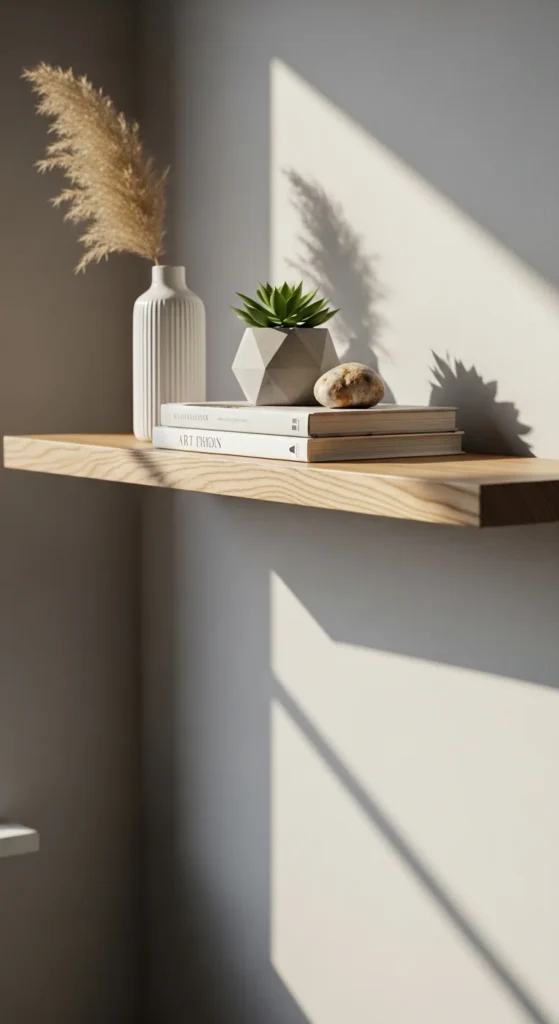
Floating shelves make any room look cleaner. They also teach careful measuring.
Start with straight boards. Warped wood makes shelves difficult to mount level.
Build a simple hollow shelf or use hidden brackets. Beginners often prefer bracket support for easier installation.
Measure twice before drilling wall holes. Level placement makes the biggest visual difference.
Sand thoroughly and apply a smooth finish. Light wood tones work well in most homes.
Budget tip: scrap hardwood plywood can work for shelves if edged cleanly.
Keep depth practical. Around 8–10 inches works for most uses.
This project improves confidence with wall mounting and alignment.
6. Burned Finish Serving Tray
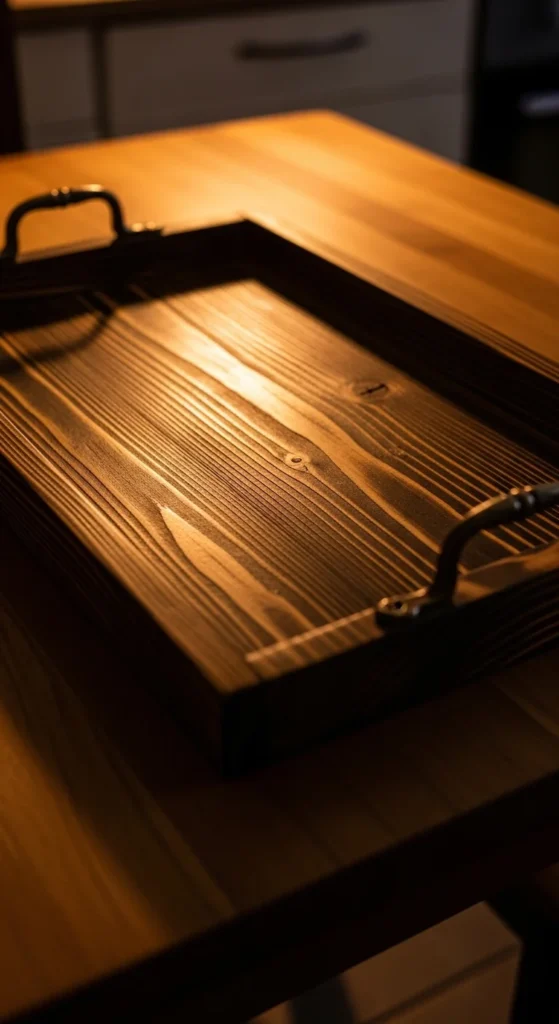
A serving tray looks high-end but stays beginner friendly. The burned finish adds character quickly.
Build a simple rectangular frame with a flat base. Keep corners square.
Use a small propane torch to lightly char the surface. Move steadily to avoid uneven spots.
Brush off soot and seal with clear coat. This locks in the look and keeps hands clean.
Attach handles carefully and centered. Hardware placement strongly affects the final appearance.
Budget tip: basic pine works fine for this project.
These trays are popular gift items. Many makers sell them easily online or at markets.
7. Tiered Wooden Plant Stand

A tiered plant stand is great for indoor gardening fans. It also teaches simple framing skills.
Use straight boards and pre-drill all screw holes. This prevents splitting.
Keep spacing between tiers even. Symmetry makes the stand look professional.
Sand edges smooth and apply a clear or light stain finish.
Compact designs work best for beginners. Large stands require more precise cuts.
Budget tip: combine scrap boards of similar width.
This project looks impressive but uses basic techniques.
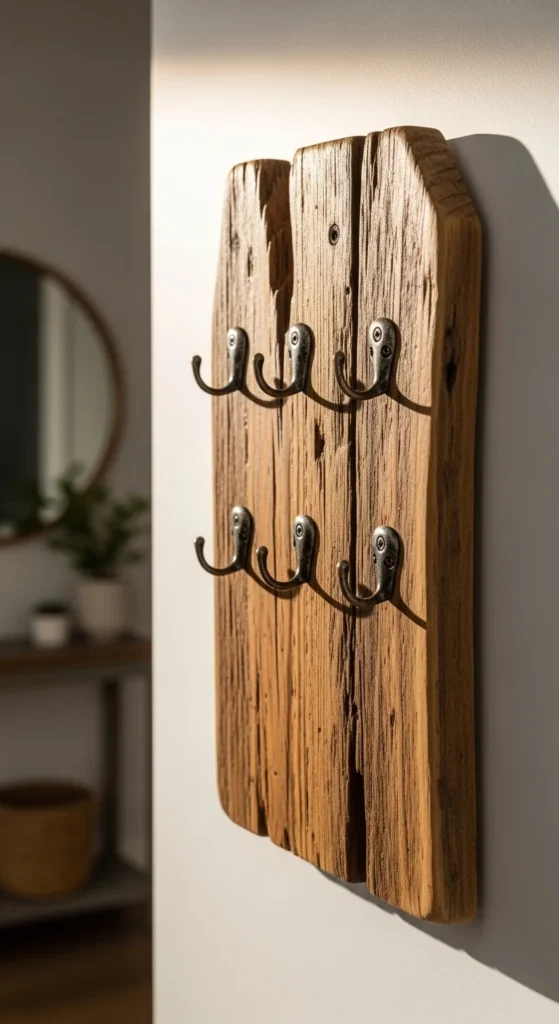
8. Pocket-Hole Entryway Coat Rack
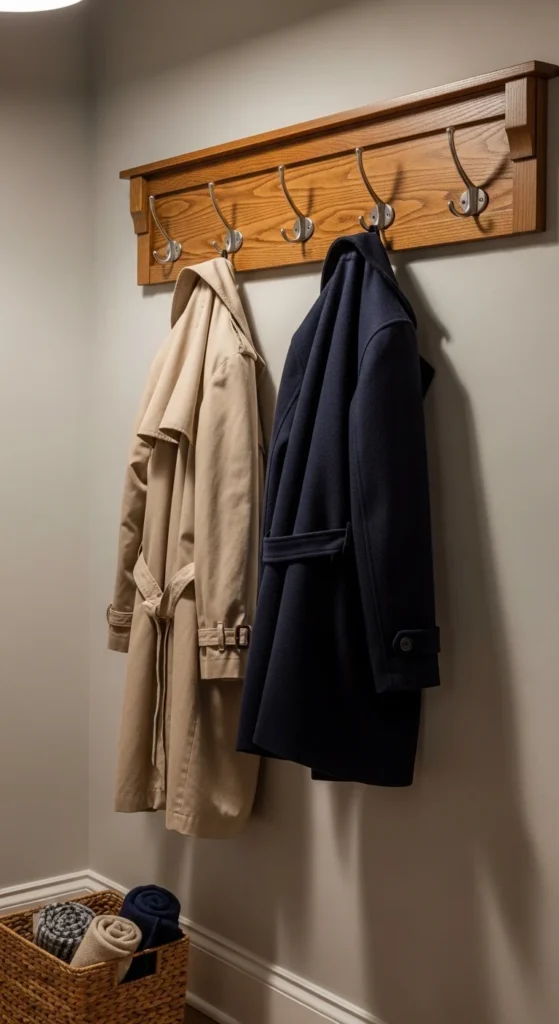
A coat rack is simple but highly useful. Pocket holes make the build strong and clean.
Cut one solid back board and attach hooks evenly spaced.
If using pocket holes, hide them on the back for a cleaner front.
Mount into wall studs when possible. This improves weight support.
Light sanding and medium stain give a polished look.
Budget tip: buy hooks in multi-packs to save money.
This project is fast and very beginner friendly.
9. Simple Wooden Bookends
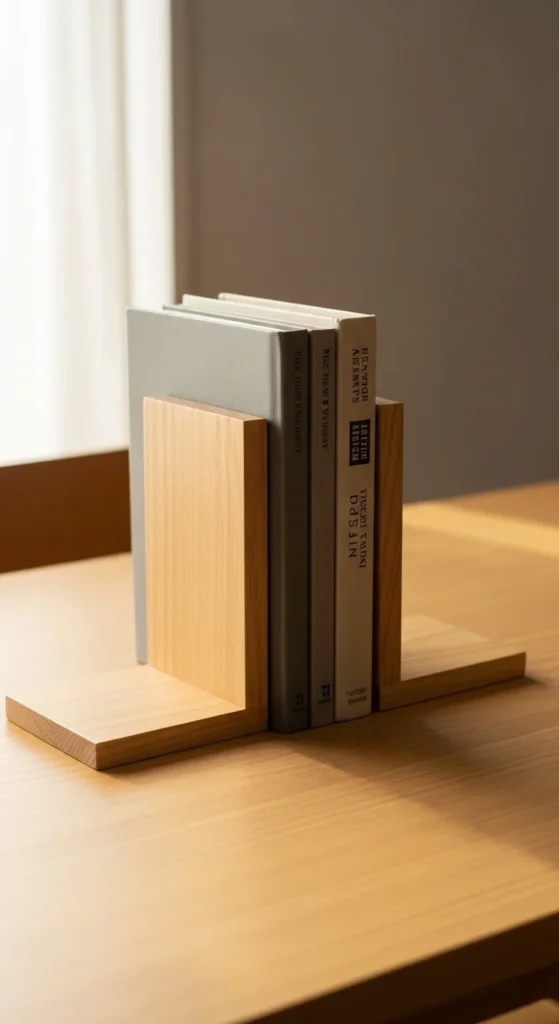
Wooden bookends are quick wins for new builders. They use very little material.
Cut two matching L-shaped pieces. Keep angles square.
Add felt pads underneath to protect surfaces.
Light sanding and clear finish are usually enough.
These also make good handmade gifts.
10. Basic Raised Garden Bed

Raised beds are great for outdoor projects. They use simple cuts and large pieces.
Use exterior screws and weather-safe lumber when possible.
Keep corners square and level on the ground.
Line the bottom with cardboard or fabric to block weeds.
This project scales easily for bigger gardens.
11. Compact Phone Charging Station
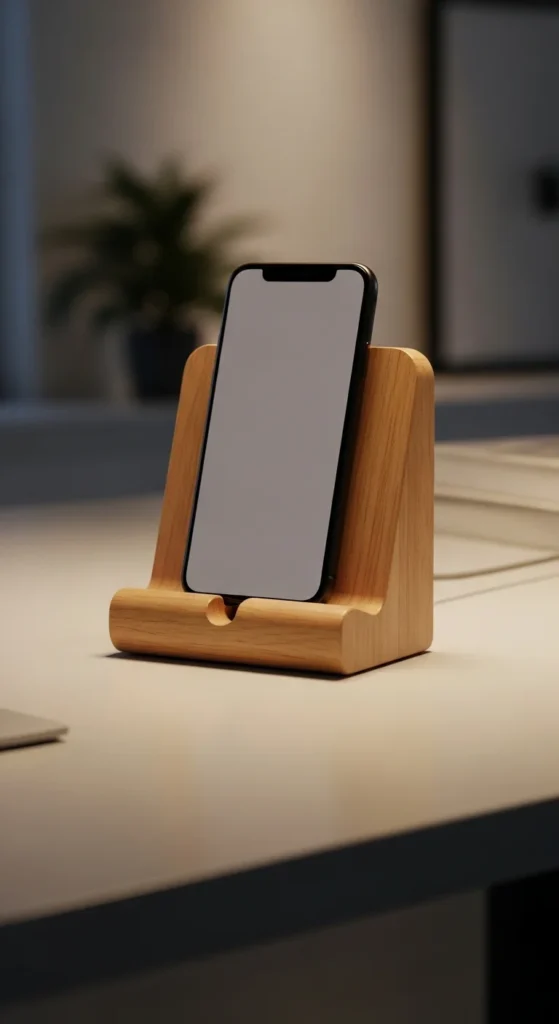
A charging station combines woodworking with everyday function.
Cut clean slots sized for your devices.
Drill cable holes carefully and sand smooth.
Keep the design simple for best results.
This project sells well as a handmade gift item.
12. Rustic Wooden Wine Rack
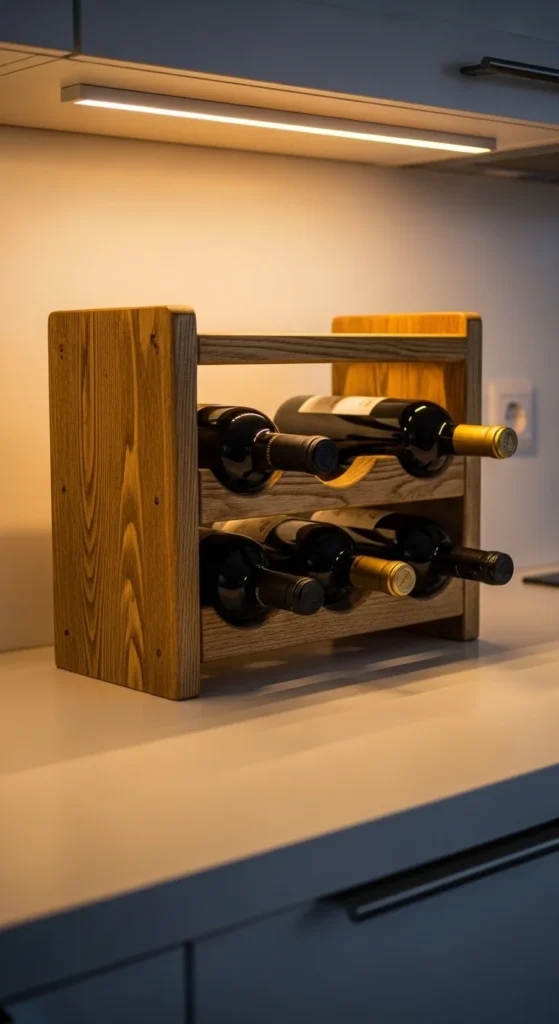
A small wooden bottle rack is a great step up from basic builds. It looks impressive but uses simple cuts and straight joinery.
Start with solid boards and mark bottle spacing carefully. Even spacing makes the rack look clean and intentional. Drill smooth circular openings or build horizontal rails depending on your design.
Sand all edges well so the rack feels smooth to the touch. Sharp edges make projects feel unfinished.
Use wood glue along with screws for stronger joints. Let the glue dry fully before applying finish.
Budget tip: pine boards work well for beginner versions. Hardwood can come later when your skills grow.
A compact rack fits easily on a counter or wall. It also makes a popular handmade gift item.
This project builds confidence with layout accuracy and repeat cuts.
13. Scrap Wood Wall Art Panel
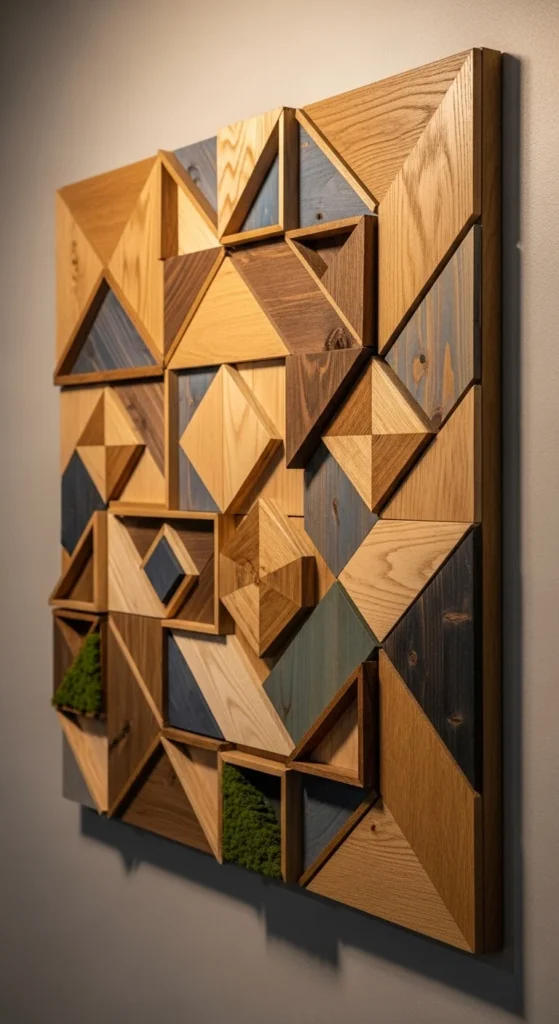
Scrap wood wall art is perfect when you have many small offcuts. It turns leftovers into something decorative.
Cut scrap pieces into similar widths. Arrange them in a simple pattern before gluing. Clean alignment makes the final piece look intentional rather than random.
Attach pieces to a plywood backing for stability. Clamp or weight the surface while glue dries.
Light sanding blends the surface while keeping the layered look. Apply clear finish or light stain to unify the tones.
Budget tip: this project works well with pallet leftovers.
Keep patterns simple for the best visual impact. Clean geometry always looks more professional.
It is a fast weekend build that adds character to blank walls.
14. Wooden Door Stop Wedge

A wooden door wedge is one of the easiest beginner builds. It uses very little material and teaches basic shaping.
Cut a simple angled wedge from scrap wood. Keep the bottom flat so it grips the floor properly.
Sand thoroughly, especially along the sloped edge. Smooth surfaces prevent floor scratches.
You can add rubber grip material underneath for better hold. This small upgrade makes the piece more useful.
Apply a clear coat or light stain for protection.
Budget tip: this is perfect for using very small leftover pieces.
These wedges make quick handmade gifts and are great practice for precise cuts.
15. Mini Jewelry Box
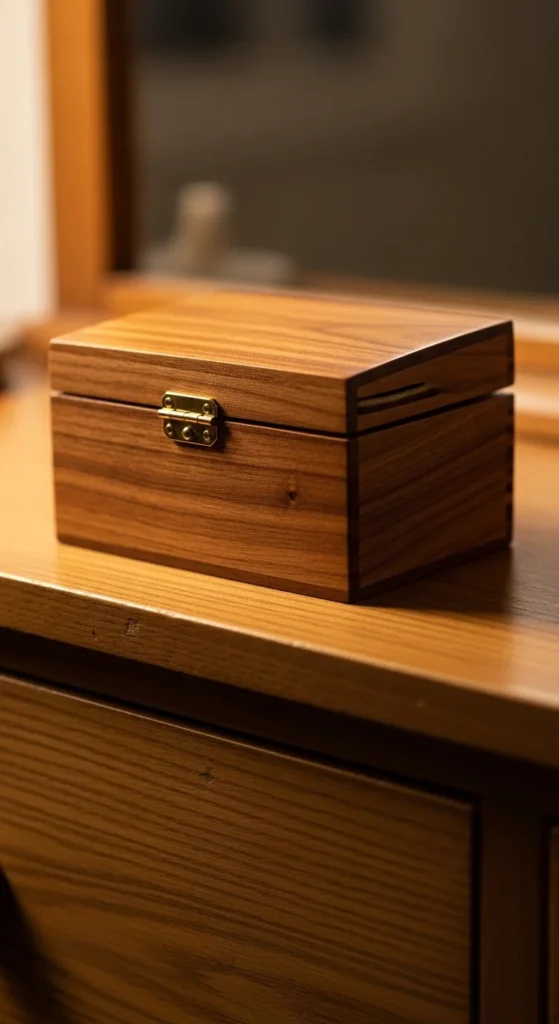
A small jewelry box looks impressive but can be beginner friendly if you keep the design simple.
Start with a basic rectangular box. Focus on square corners and tight glue joints.
Use small hinges and install them carefully. Slow, careful placement makes a big difference.
Line the inside with felt or soft fabric for a finished look. Adhesive spray works well for beginners.
Sand slowly through fine grits before applying stain or clear finish.
Budget tip: use thin plywood for the bottom panel to save solid wood.
Simple designs sell well because they look clean and gift-ready.
This project teaches box construction and hardware installation.
16. Wooden Tool Organizer Caddy
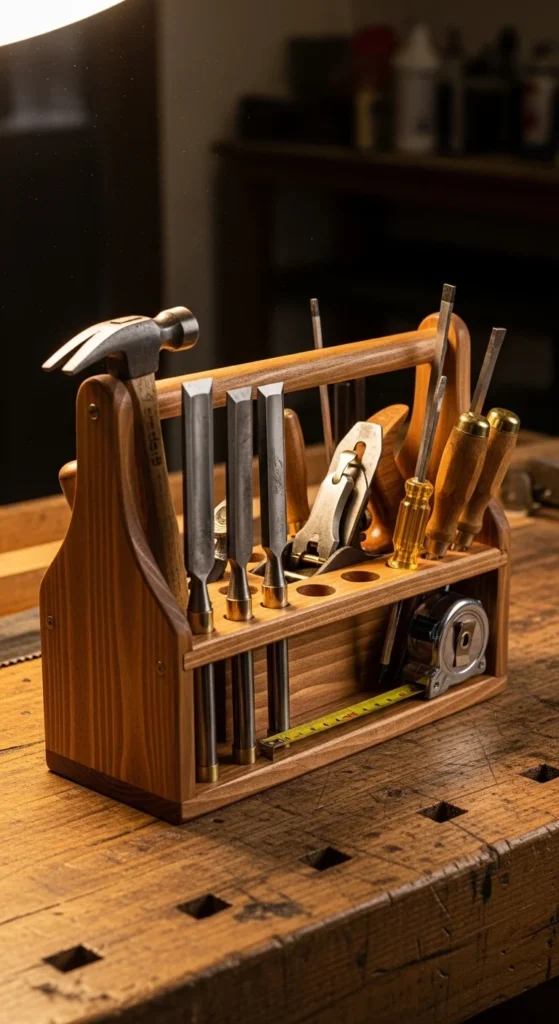
A tool caddy is both practical and skill-building. It helps keep your workspace organized.
Build a simple open box with a center handle. Straight cuts are the key to a clean look.
Pre-drill all screw holes to prevent splitting. Use wood glue for added strength.
Round over the handle edges slightly for comfort when carrying.
Sand and apply a durable finish since this piece sees heavy use.
Budget tip: scrap plywood works well for this build.
This project is excellent for beginners who want something useful in the shop.
17. Wooden Mail Organizer
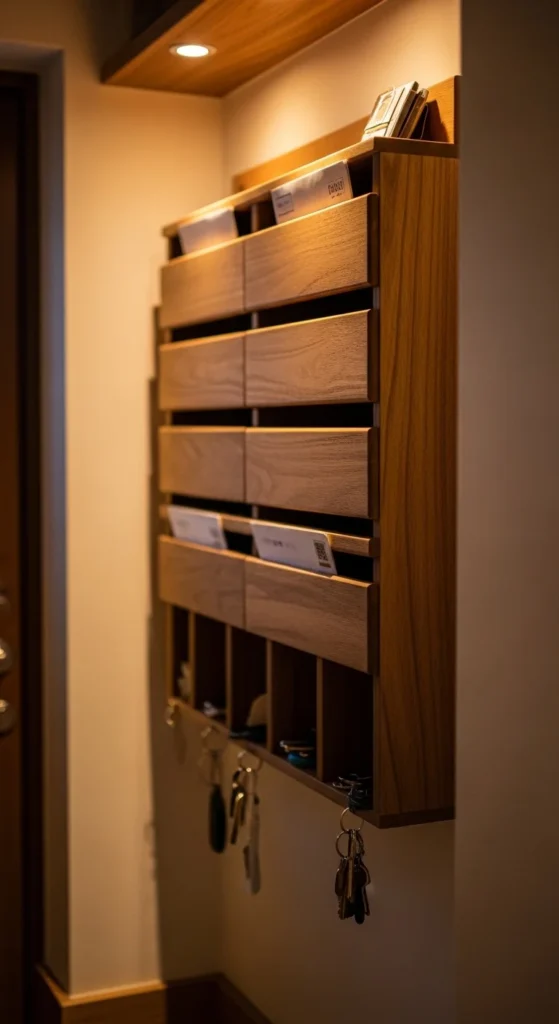
A wooden mail organizer brings order to busy entryways. It also builds your confidence with small box construction.
Start with a flat back board and add simple divider pieces. Keep all cuts square so the slots line up cleanly. Uneven spacing quickly makes the project look homemade in the wrong way.
Use wood glue first, then reinforce with small brad nails or screws. Clamp while drying for tight joints.
Sand the front edges well because these are most visible. A soft round-over makes the piece look store-ready.
Mount using wall anchors or by screwing into studs. Level placement matters a lot here.
Budget tip: thin plywood works well for divider panels.
This project is practical and sells well because many homes need better paper storage.
18. Farmhouse Style Wooden Sign Base
A simple wooden sign base is a smart beginner project, especially if you plan to add paint or vinyl later.
Start with straight boards joined edge to edge. Use glue and clamps to create a flat panel. Take your time aligning the edges.
Light sanding across the surface removes glue residue and keeps the finish smooth.
Frame the sign with thin trim boards if you want a farmhouse look. Mitered corners add a clean touch but are optional for beginners.
Apply stain or paint depending on your style.
Budget tip: pallet boards can work well once properly sanded.
These sign blanks are popular with crafters and easy to batch-produce for small sales.
19. Simple Wooden Step Stool
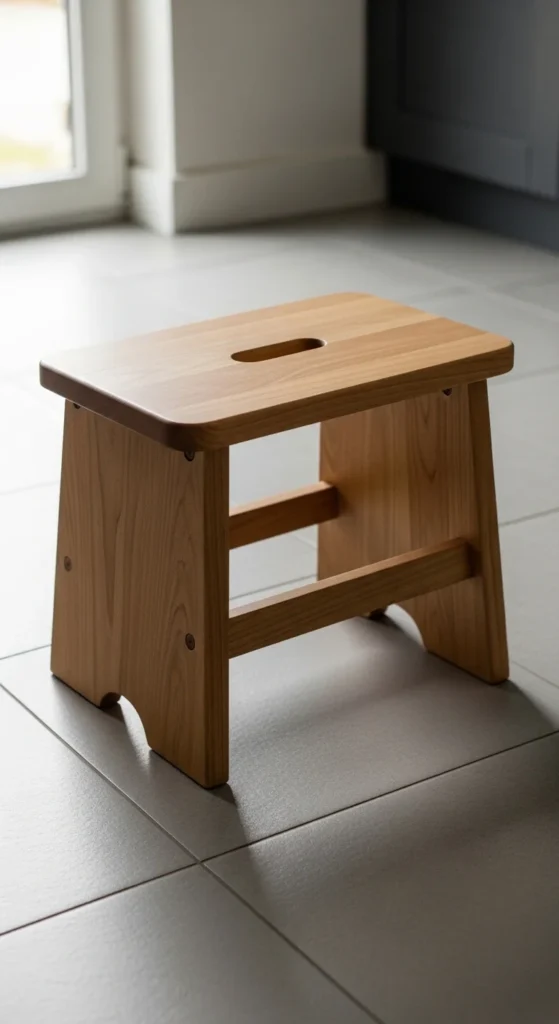
A step stool is a very practical household build. It also teaches strong joinery basics.
Use thick boards for the top step and solid legs. Stability is the main goal.
Pre-drill every screw hole and use wood glue at all joints. This keeps the stool rigid over time.
Test the stool on a flat surface before finishing. If it rocks, adjust the legs with light sanding.
Round over the top edges slightly for comfort.
Apply a durable clear coat or paint for protection.
Budget tip: 2×4 lumber works perfectly for beginner versions.
This project builds real confidence because it must safely support body weight.
20. Wooden Utensil Holder Box
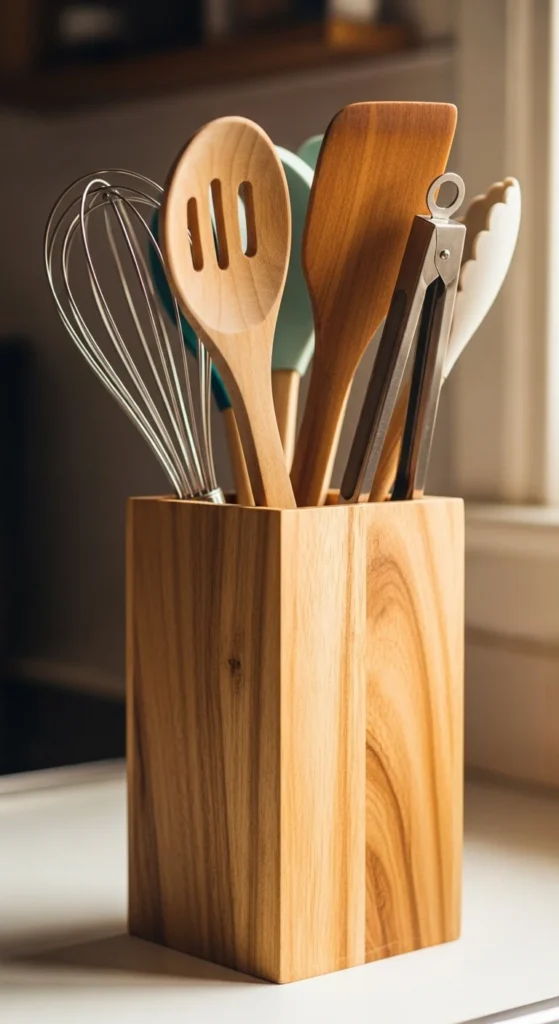
A utensil holder is a quick kitchen project that looks clean and useful.
Build a simple open-top box. Focus on tight corners and smooth edges.
Use glue and small brad nails or screws to hold the sides together. Clamp while drying for best results.
Sand the entire piece thoroughly since it will be handled often.
Apply food-safe finish if it will sit near cooking areas.
Budget tip: this project works well with leftover hardwood pieces.
Keep proportions balanced. A slightly taller box usually looks better than a wide one.
It is a fast build that makes a great handmade gift.
21. Pallet Wood Storage Crate
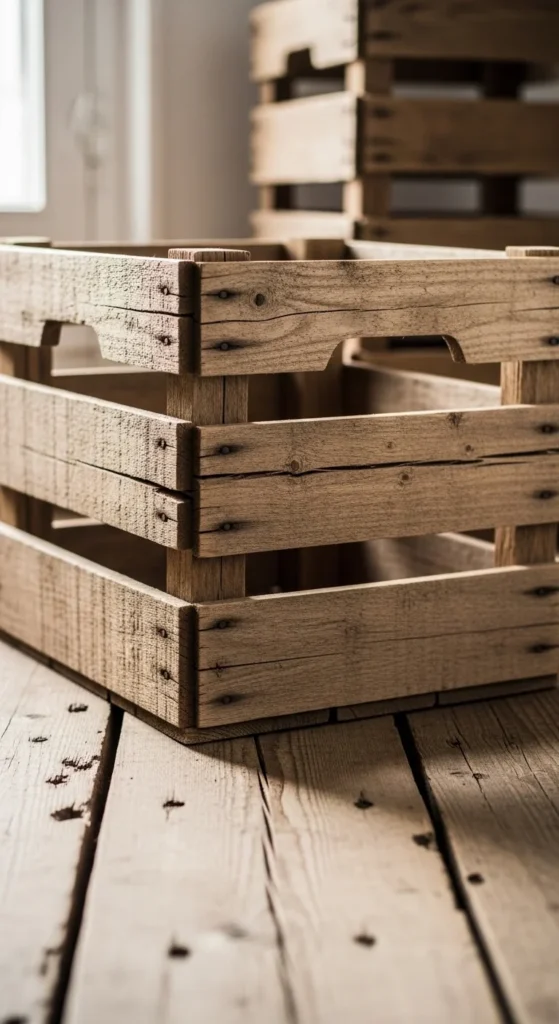
A pallet storage crate is perfect for learning basic box construction using free material.
Break down pallet boards carefully and remove all nails. Safety matters here.
Cut boards to equal lengths and assemble a simple open crate. Butt joints with screws work well for beginners.
Leave small gaps between slats for the classic crate look.
Light sanding keeps the rustic feel while removing rough splinters.
Apply clear sealer if the crate will be used indoors.
Budget tip: pallets often cost nothing, making this a very low-cost build.
These crates are useful for toys, blankets, or pantry storage.
22. Modern Wooden Candle Holder
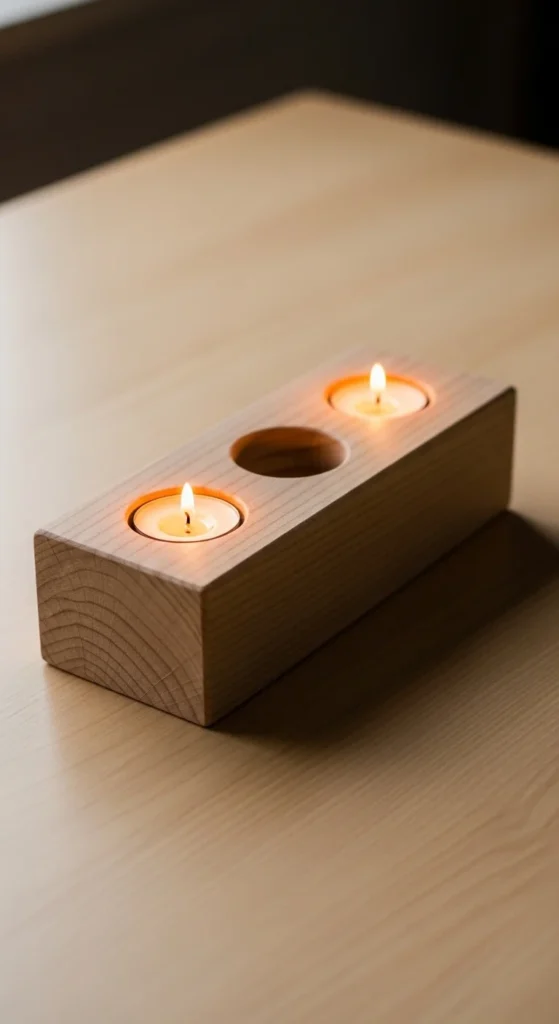
A wooden candle holder is small but teaches careful drilling and layout.
Start with a solid wood block. Mark hole positions evenly before drilling.
Use a drill bit sized correctly for your candle type. Keep holes straight and clean.
Sand all surfaces thoroughly, especially around the openings.
Apply clear finish or light stain depending on your style.
Budget tip: scrap hardwood blocks work great for this project.
Simple geometric designs usually look best for beginners.
This is a fast project that looks polished with very little material.
23. Entryway Shoe Rack

A wooden shoe rack solves everyday clutter and teaches basic shelving skills.
Build two side frames and connect them with horizontal rails. Keep everything square during assembly.
Pre-drill screw holes and use wood glue for stronger joints.
Check level placement on the floor before finishing.
Sand edges lightly and apply protective finish.
Budget tip: 2×2 or ripped 2×4 boards work well for the rails.
Keep spacing wide enough for larger shoes.
This project is very practical and easy to customize in size.
24. Wooden Laptop Stand
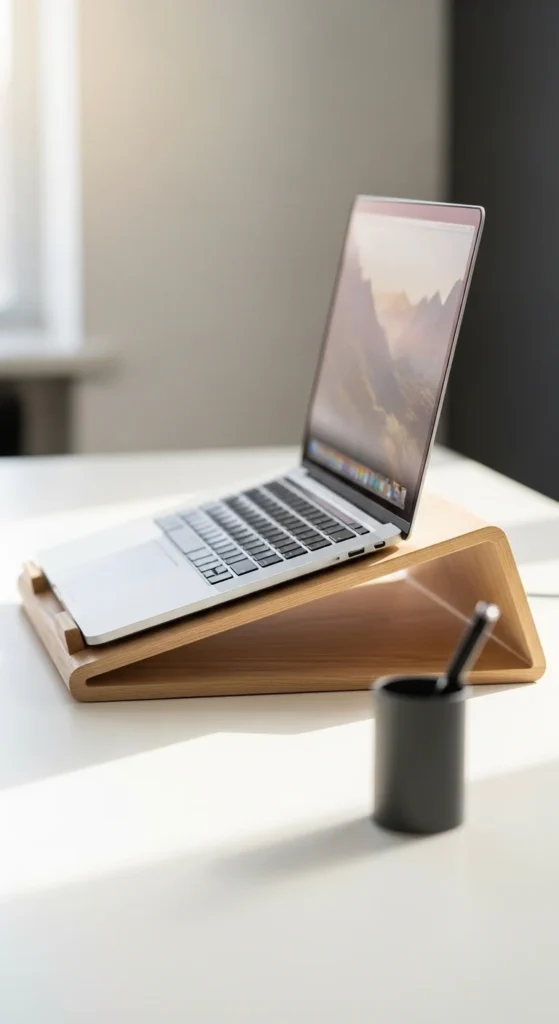
A wooden laptop stand adds a clean modern look to any desk setup.
Cut two angled side pieces and connect them with support rails. Test the viewing angle before final assembly.
Keep cuts smooth and symmetrical so the stand sits flat.
Sand thoroughly and apply a smooth clear coat.
Add small rubber feet underneath to prevent slipping.
Budget tip: plywood works well if edges are sanded clean.
This project is popular because many people want better desk ergonomics.
25. Wooden Picture Frame
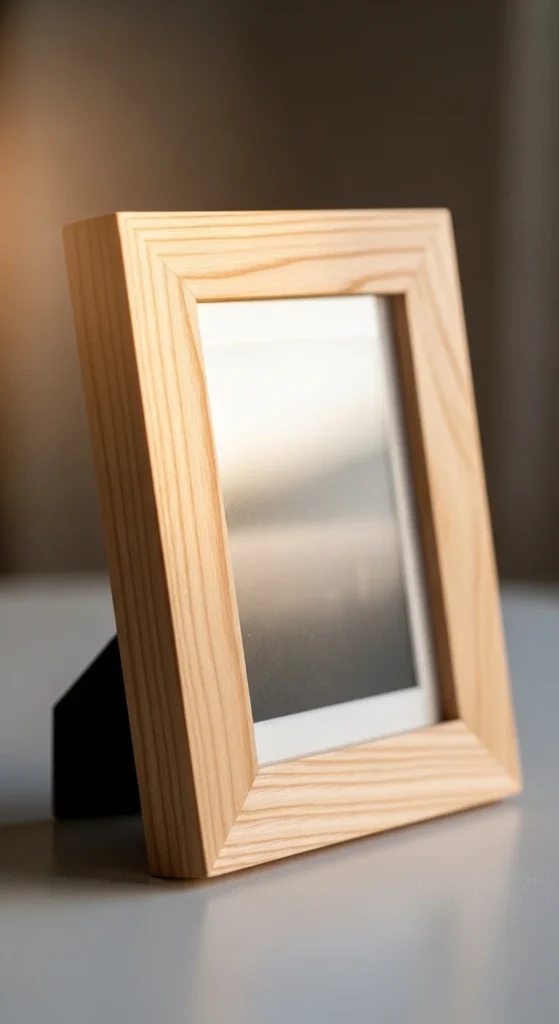
A wooden picture frame is a smart project for practicing clean cuts and tight corners. It looks polished but stays beginner friendly.
Start by cutting four frame pieces to equal width. Use simple miter cuts if you can, but straight butt joints also work for first builds. The key is keeping corners square and flush.
Glue the joints carefully and clamp until fully dry. Small brad nails can add extra strength if you have them. Light sanding along the edges helps the frame feel smooth in the hand.
Add a thin plywood backing and simple clips or tabs to hold the photo. Glass or acrylic can be added later once you are comfortable.
Budget tip: use scrap hardwood strips from previous builds.
This project builds accuracy and creates gift-ready results with very little wood.
26. Small Wooden Spice Rack
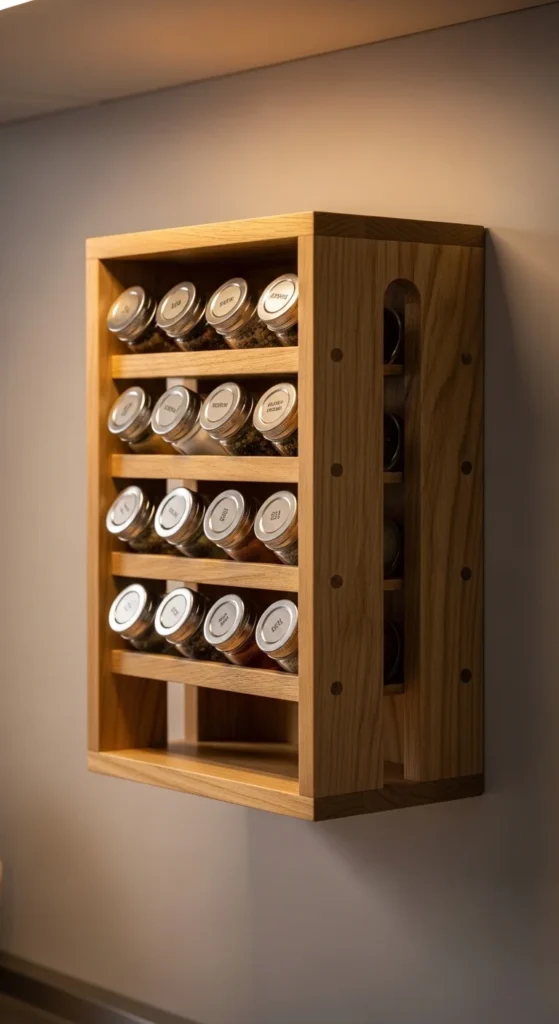
A spice rack is a practical kitchen build that looks more advanced than it is. It helps you practice shelf spacing and wall mounting.
Begin with a flat back board and attach narrow front rails to hold jars in place. Measure jar height before cutting so everything fits well.
Pre-drill holes and use glue plus screws for strong joints. Keep rails level and evenly spaced for a clean look.
Sand all exposed edges carefully. Kitchens highlight rough work quickly.
Finish with a clear coat or light stain that matches other kitchen wood tones.
Budget tip: thin pine boards work perfectly for this project.
This rack saves counter space and makes a great handmade gift.
27. Wooden Desk Organizer
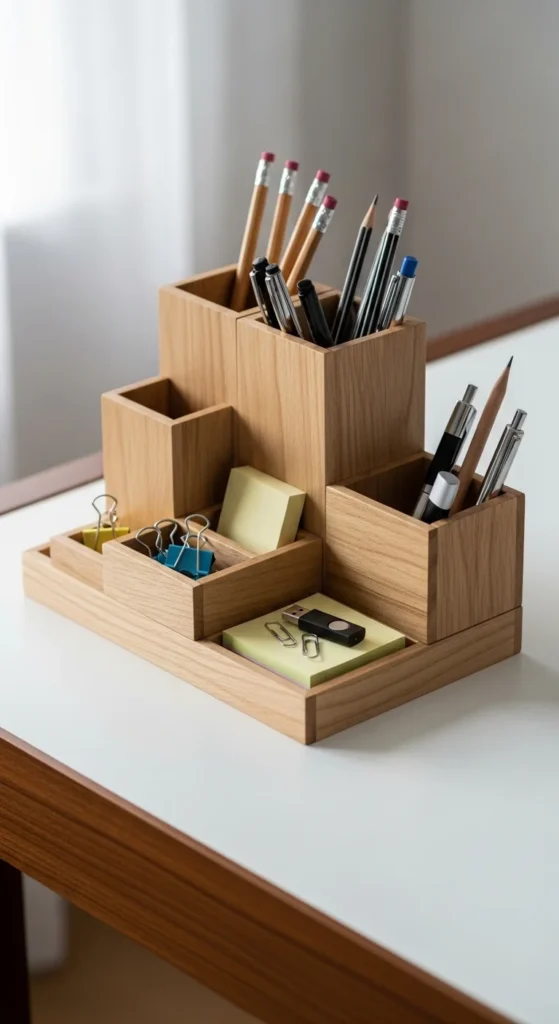
A desk organizer is perfect for turning small scraps into something useful. It also teaches layout planning.
Start with a simple box base, then add divider pieces for pens and small items. Dry-fit everything first to check spacing.
Use wood glue and small nails or screws to secure the dividers. Keep edges aligned so the organizer looks clean.
Sand thoroughly, especially inside compartments where rough spots are easy to notice.
Apply a clear coat or light stain depending on your style.
Budget tip: this project works great with mixed scrap wood pieces.
Keep the design simple. Clean lines usually look more professional than complex layouts.
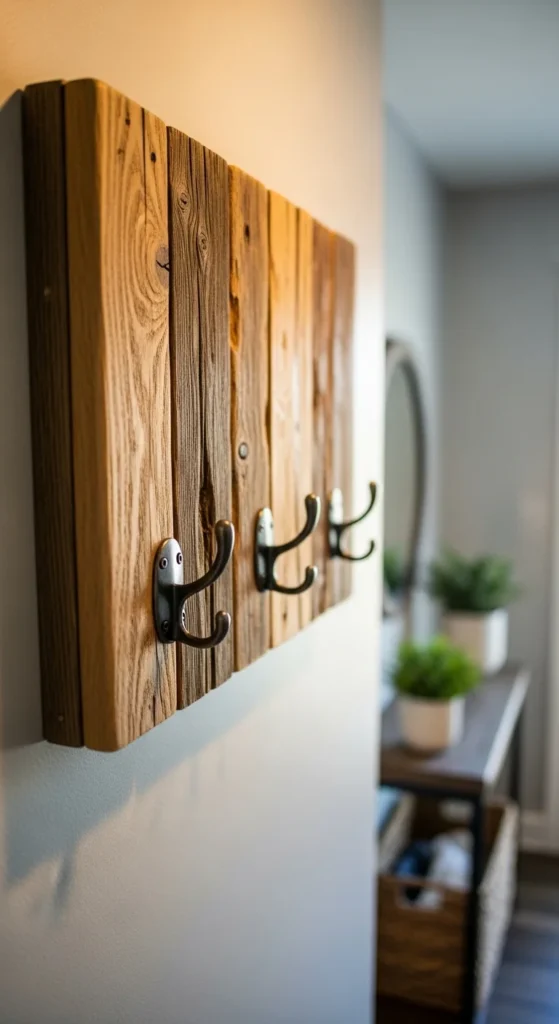
28. Wooden Wall Hook Board
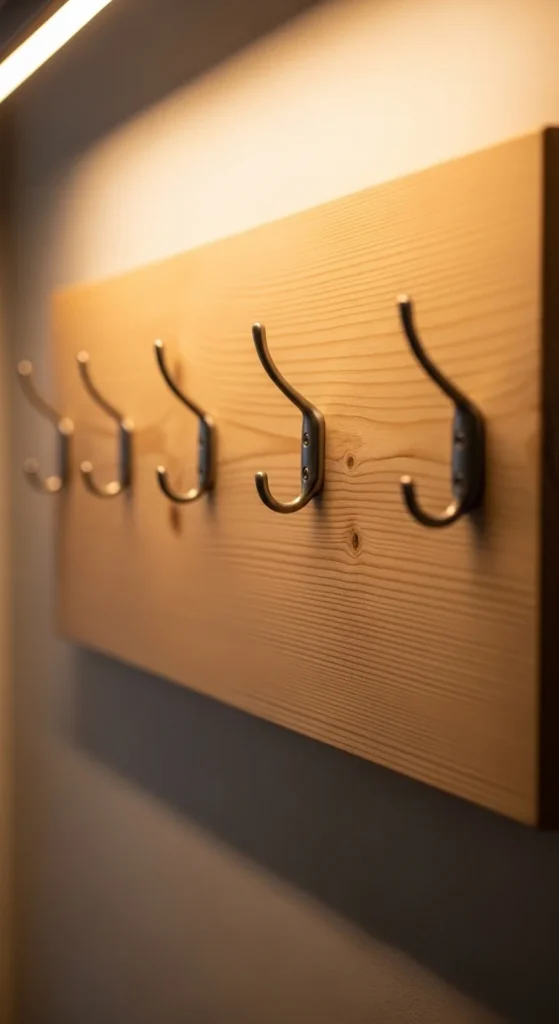
A wall hook board is one of the most beginner-friendly builds that still looks polished. It is fast, useful, and easy to customize.
Choose a straight board and sand it smooth. Rounded corners give a softer, finished look.
Mark hook positions carefully before drilling. Even spacing is what makes this project look shop-made.
Attach hooks securely with short screws. Test each one for firmness.
Add hanging hardware on the back and mount level on the wall.
Budget tip: buy hook multipacks to lower cost per project.
These boards work well in entryways, bedrooms, or closets. They are also popular at local craft markets.
29. Simple Wooden Toy Box
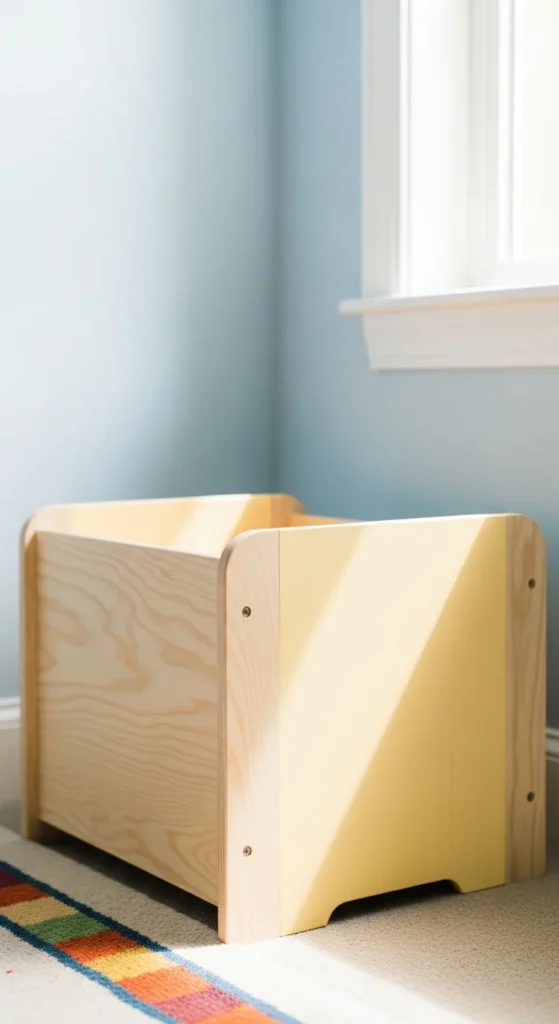
A toy box is a larger beginner project that teaches basic panel assembly. It is practical and very rewarding to finish.
Build a simple rectangular box using solid boards or plywood panels. Focus on square corners and strong joints.
Use glue and screws along the edges for durability. Pre-drill to prevent splitting.
Sand every surface thoroughly. Pay extra attention to edges since this project is handled often.
You can paint or apply clear finish depending on the room style.
Budget tip: plywood panels help keep costs lower on larger boxes.
Keep the lid simple for your first version. Safety hinges can be added later as your skills grow.
30. Compact Wooden Nightstand
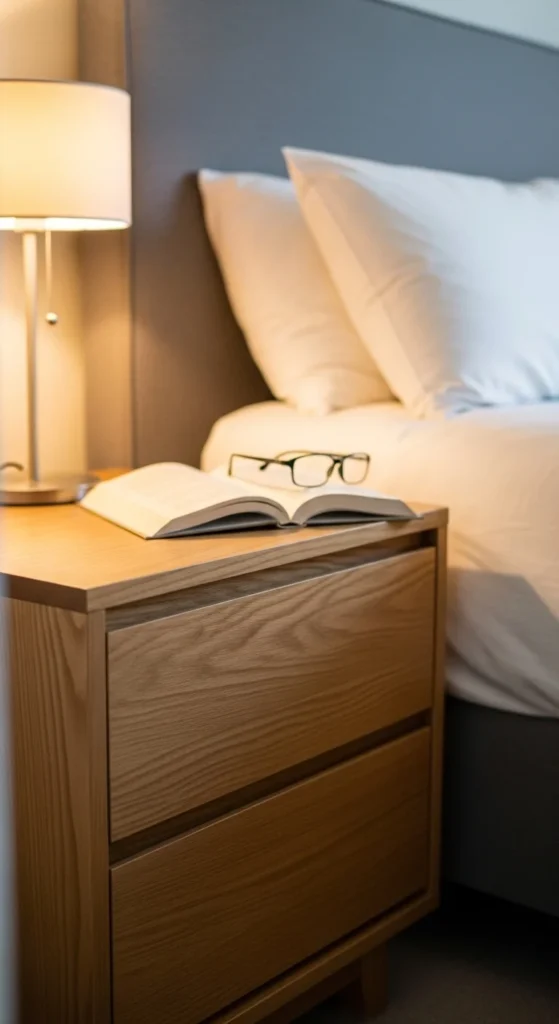
A compact nightstand is a great confidence builder once you have finished smaller projects. It looks like real furniture but uses basic techniques.
Start with a simple box frame and add a lower shelf or small top overhang. Straight cuts and careful measuring are the main focus.
Use glue and screws for the frame. Check for square during assembly so the piece sits flat.
Sand slowly through multiple grits. Furniture pieces show sanding quality very clearly.
Apply stain or clear finish for protection.
Budget tip: build using 2×2 framing with plywood panels to save money.
This project ties together many beginner skills and creates a very useful bedroom piece.
Conclusion
Building with wood gets easier every time you complete a project. Start with small scrap builds, focus on smooth sanding and accurate cuts, and gradually work toward larger furniture pieces. You do not need expensive tools to create pieces that look professionally made. Choose one project from this list, gather your materials, and begin today. Consistent practice is what turns simple builds into impressive results.

DiyVisual is a DIY ideas resource for makers of every level. Our small editorial team researches and curates easy, budget-friendly craft, home decor, and handmade gift projects — explained step by step so anyone can recreate them at home with simple materials.


