
Book page garlands are one of the easiest ways to turn old books into cozy decor you can hang anywhere. You can crumple pages for fluffy texture, cut simple shapes for seasons, or print letters on pages for custom messages. Most styles use just a hole punch, twine, and a little patience. They’re lightweight, cheap to make, and easy to store when the season changes. Here are 24 ideas you can copy for fall, Valentine’s, Halloween, winter mantels, parties, and everyday cottage-style corners.
1. Crumple-Then-Punch Ruffle Garland
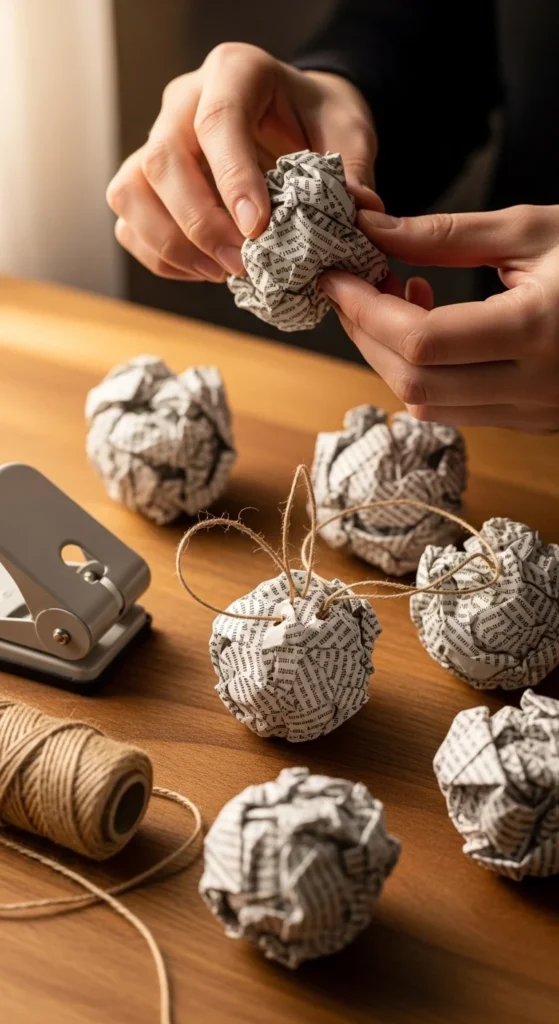
This is the coziest “no-cut” garland. Tear or cut pages into rough rectangles. Crumple each piece into a loose ball. Don’t crush it flat—think ruffled, not tight. Uncrumple slightly so it has volume, then fold once and punch a hole about an inch from the fold.
Thread twine through each piece. Push them close together so it looks full. After stringing, fluff each ruffle by pulling the edges outward. That fluff step changes everything.
If your holes tear, double-fold the punch area or add a tiny piece of clear tape where you punch. You can also use a thicker needle to pull twine through without forcing it.
Budget tip: this uses pages fast, so pick a thick old book or a few damaged paperbacks. Leave long twine tails at both ends so you can tie it to hooks, knobs, or nails.
2. “8 Crumple Levels” Volume Control Garland

Not all crumples look the same. Make a few test ruffles first. Light crumple gives a soft, airy look. Medium crumple gives a classic cozy ruffle. Tight crumple gives a smaller, denser texture.
Mix levels for a more natural garland. Use tighter pieces near the ends and fluffier pieces in the middle. It keeps the garland from looking too uniform.
Threading is the same as the basic ruffle method. Punch near a fold for strength. Slide pieces close together. Then fluff and twist slightly so it doesn’t sit in a straight line.
Budget tip: if you want a longer garland, space ruffles out slightly and add small knots between every few pieces. The knots keep ruffles from sliding and help you control spacing.
3. Twine-Threaded Fold Garland With Clean Spacing
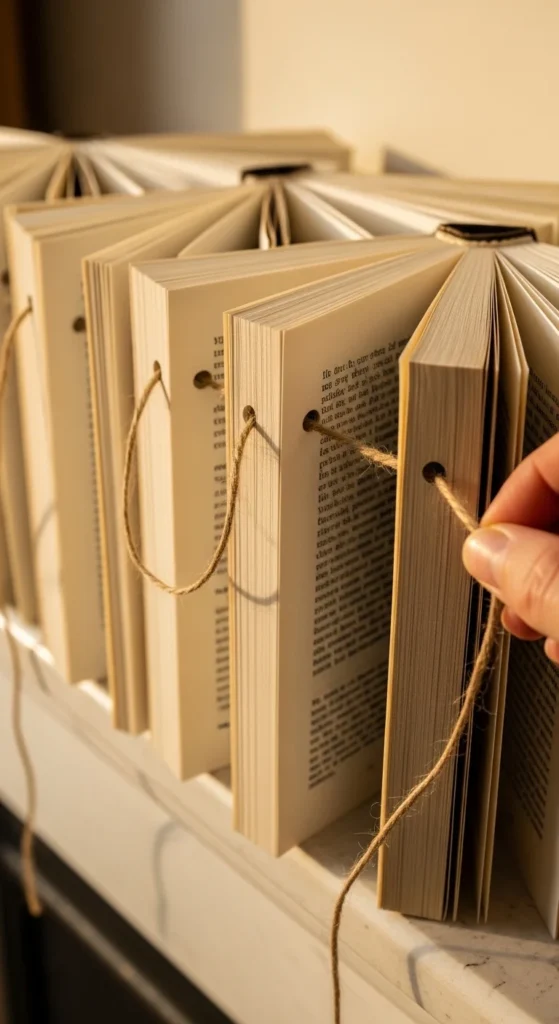
If you like a cleaner look, skip the crumple and use simple folds. Fold each page strip into a small rectangle, punch two holes, and thread twine through like a stitch. This keeps each piece facing forward.
Space pieces evenly for a tidy banner style. It looks great on shelves and mantels where you want calm texture, not big ruffles.
To add a cozy feel, lightly crumple just the edges before folding. You’ll get texture without the messy “puff.”
Budget tip: use thicker twine so it shows as part of the decor. If you only have thin string, double it up so it doesn’t look flimsy.
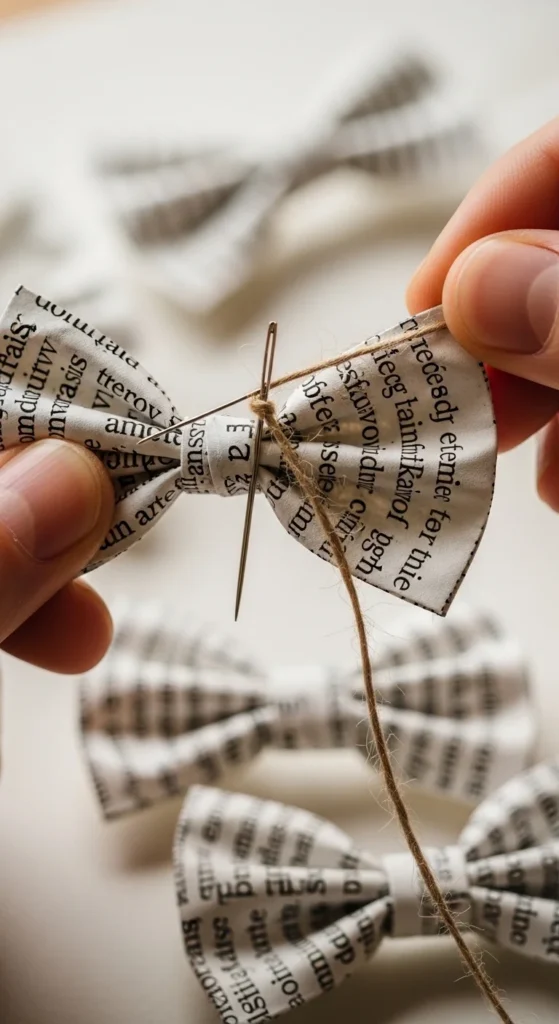
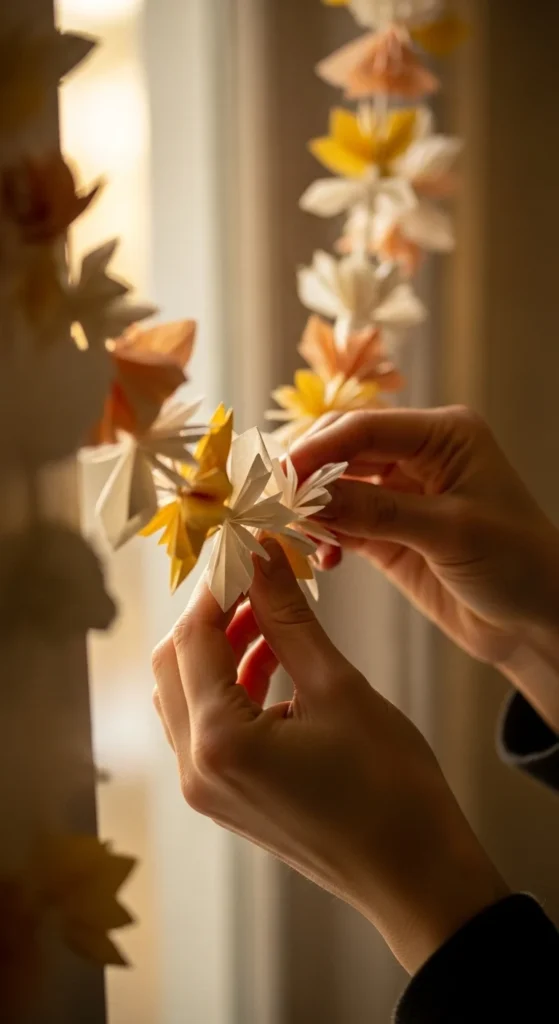
4. Bow-Tie Squares Scrunched Into Flowers

Cut 5×5-inch squares and notch the sides to make a bow-tie shape. Pinch the center and scrunch it into a little flower puff. Thread through the center with an embroidery needle so the paper doesn’t tear.
String them close together for a full “paper flower” garland. It looks cozy and farmhouse-style, especially on wood mantels.
Make about 50 pieces for a shorter garland. Add more for a longer run. After stringing, pull the “petals” outward so each puff looks fuller.
Budget tip: stack 10 pages and cut them at once for speed. If you don’t have an embroidery needle, use a skewer to poke a starter hole, then thread twine through.
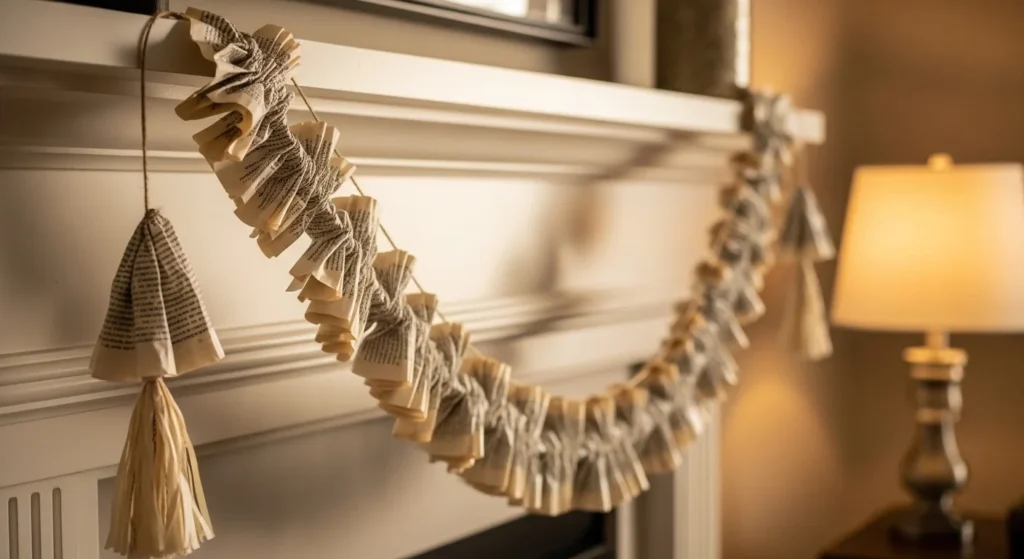
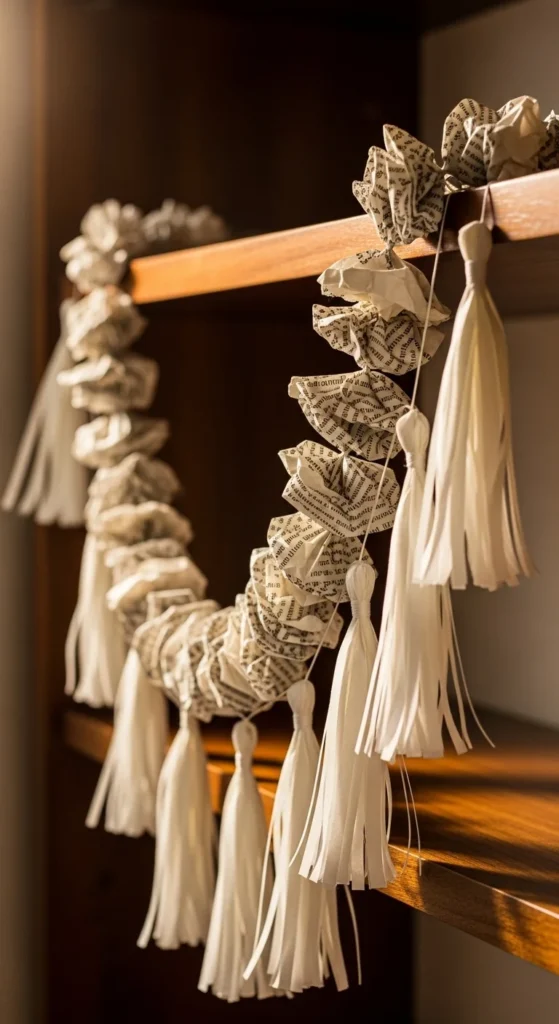
5. Wood Tassel End Garland (Farmhouse Finish)
Add a farmhouse finish by putting tassels or beads on the ends. Make your garland any style, then tie wooden beads near each end and add tassels below.
The ends act like weights, so the garland drapes nicely instead of curling up. It also looks more “finished” in photos.
Budget tip: if you don’t have wood beads, tie big knots and add a simple twine tassel. You can also use paper tassels made from leftover book page strips.
6. Printed Letter Garland on Book Pages

For a custom message, print large letters on book pages (or trace letters with a template). Cut them out and punch two holes at the top of each letter. Thread onto twine.
Keep letters big so they’re readable from a distance. If you want extra texture, back each letter with a second page layer and glue around the edges.
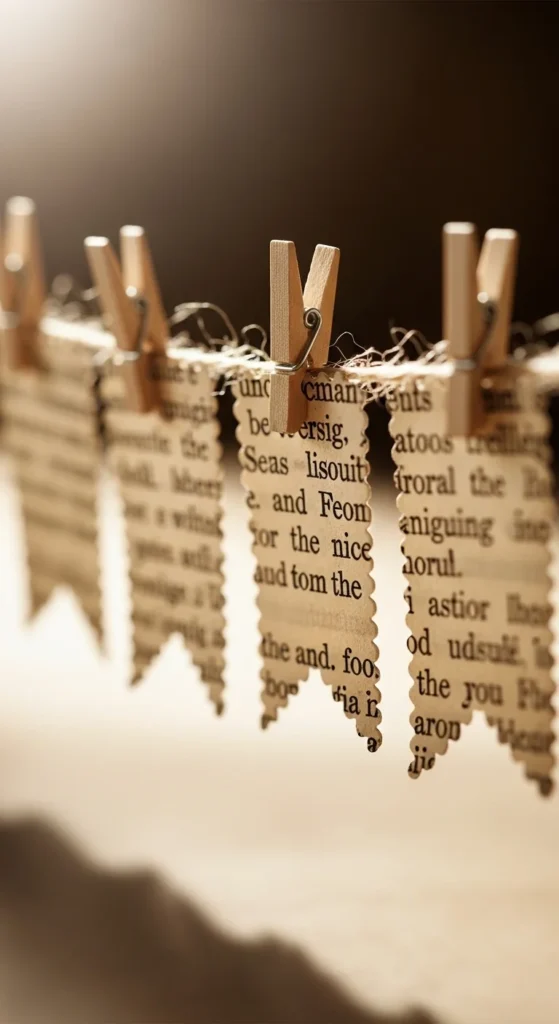
Budget tip: if you don’t want to punch holes, clip each letter to the twine using mini clothespins. It also makes it easy to swap messages for different seasons.
7. Twill Tape Fold-Over Banner

This method uses ribbon as the base. Fold each paper piece over the ribbon like a sandwich. Tape or glue the back. It’s quick and keeps everything facing forward.
You can cut the bottoms into points, scallops, or straight edges. The ribbon makes it feel cozy and soft, especially on mantels.
Budget tip: use any ribbon you already own. Even fabric strips work. If glue makes paper wrinkle, use double-sided tape for a cleaner finish.
8. Scalloped Edge Cozy Banner
Cut rectangles and use a simple round object (like a bottle cap) to trace scallops along the bottom edge. Punch holes at the top corners and string.
Scallops give a gentle, cozy look without being too themed. Add slight crumpling to each piece for texture.
Budget tip: stack multiple pages and cut scallops together to save time. Small imperfections look fine in a rustic garland.
9. Pointed Pennant Book Page Garland
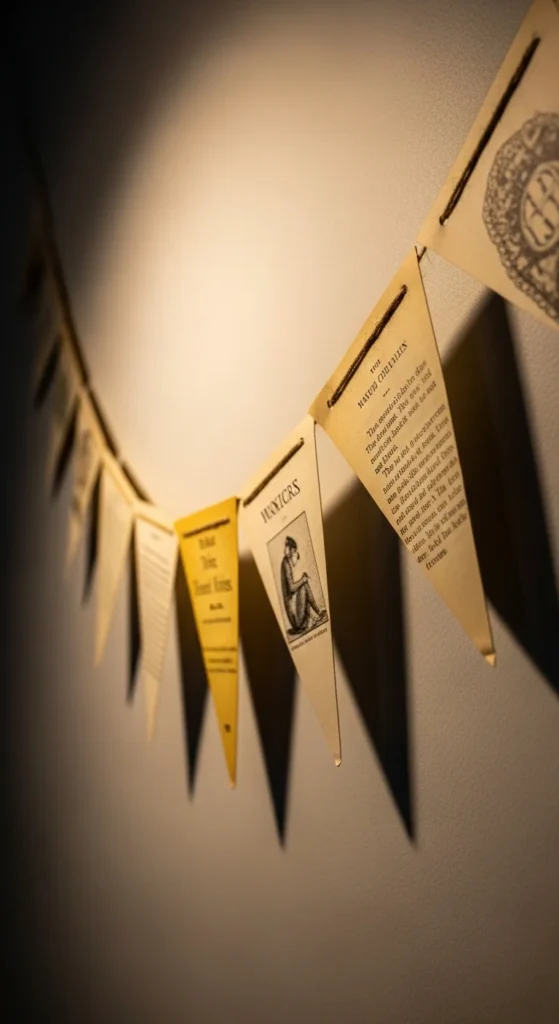
This is the classic party shape. Cut triangles or long pennants. Punch two holes near the top corners and string. Space evenly.
To make it cozier, layer two pennants per flag. Slightly offset them so you see a shadow edge. It adds depth without extra materials.
Budget tip: use a simple cardboard triangle as a cutting template. Once you have one, cutting goes fast.
10. Staggered Stapled Garland for Dimension

For a 3D look, stack two or three folded pieces and staple them slightly offset, like a small layered fan. Then punch holes and string.
Staggering creates shadow and keeps the garland from looking flat. It’s great for mantels and photo backdrops.
Budget tip: staples are faster than glue. Keep staples near the top so they hide behind folds.
11. Fall Leaf Book Page Garland
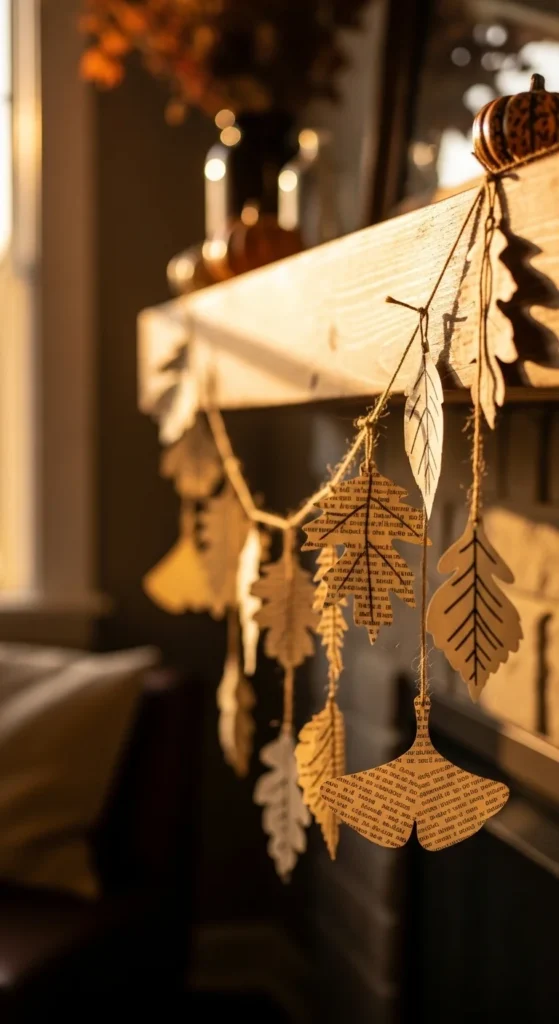
Trace leaf shapes on stacked pages and cut them out. Punch a hole near the stem area and string onto twine. Mix leaf shapes for a natural look.
To add texture, lightly crumple each leaf and flatten it back out. It gives veins and a soft, worn feel.
Budget tip: cut 10 pages at a time with sharp scissors. If you want stronger leaves, glue two cutouts together before punching.
12. Mixed-Leaf Shape “Batch Cut” Garland
Make three leaf templates: small, medium, large. Cut a batch of each. String them in a repeating pattern to make the garland look intentional.
Add tiny knots between leaves so they don’t slide together. It also helps spacing.
Budget tip: use scraps for tiny leaves. They fill gaps and make the garland feel fuller without extra cutting.
13. Heart Template Valentine Garland
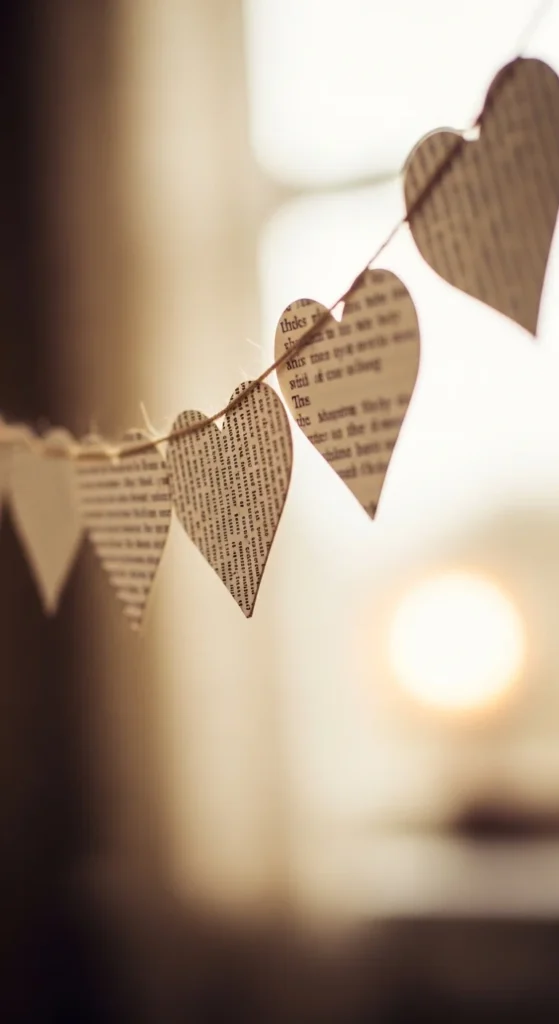
Cut hearts using a template. Punch holes at the top left and right. String onto twine. Mix sizes so it looks playful.
For a cozier look, gently curl the heart edges around a pencil so they pop forward. You can also layer two hearts slightly offset for depth.
Budget tip: if punching tears the paper, reinforce the punch spots with tiny tape squares. Or punch through a small folded tab at the top.
14. Mini Heart “Wedding Table” Garland
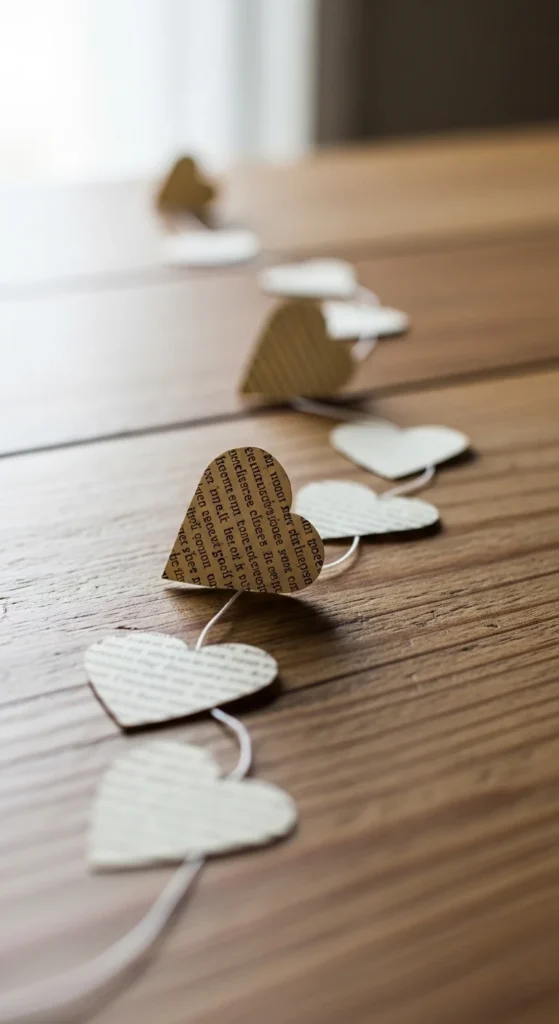
Use smaller hearts and string them closer together. This works for table decor, dessert tables, or shelf styling.
Add a simple ribbon bow at each end to finish. Keep the look neutral and soft.
Budget tip: mini hearts can be cut from page margins and scraps. No waste.
15. Halloween Ghost Book Page Garland

Cut simple ghost shapes with long tails. Punch holes at the top corners and string. If you want faces, keep them subtle—small dots and a tiny mouth shape.
To add movement, curl the tails with scissors like curling ribbon. It makes the garland look playful without extra work.
Budget tip: use darker twine for contrast. If you don’t have it, wrap your twine with a thin strip of black paper.
16. Bat Silhouette Book Page Garland

Bats are easy and look great in a row. Use one bat template and cut a batch. Fold wings slightly so they pop forward.
String them with spacing or cluster them in threes. Both look good.
Budget tip: if your book pages are too light, lightly darken the edges with a marker for a shadowy effect.
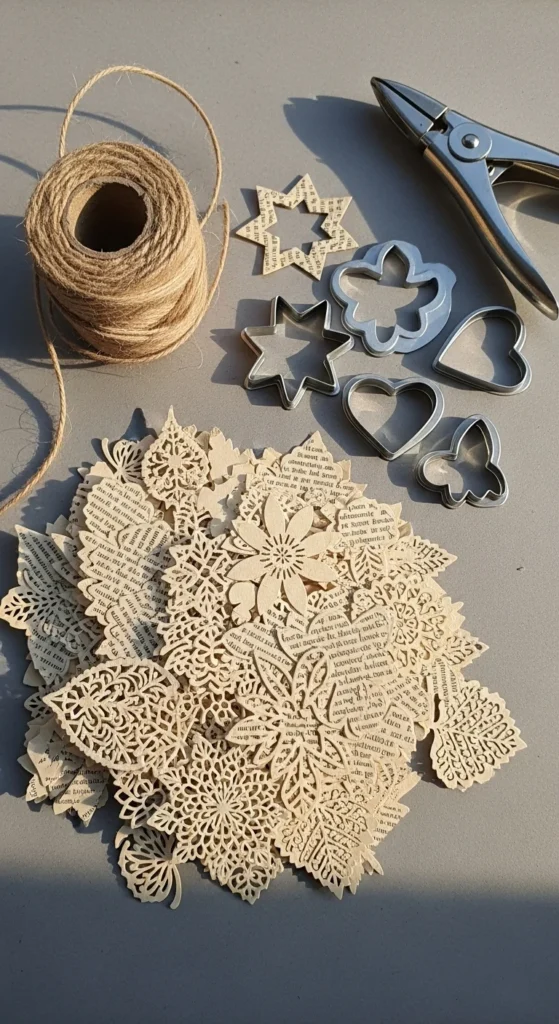
17. Cozy Winter “Snowflake” Cutout Garland
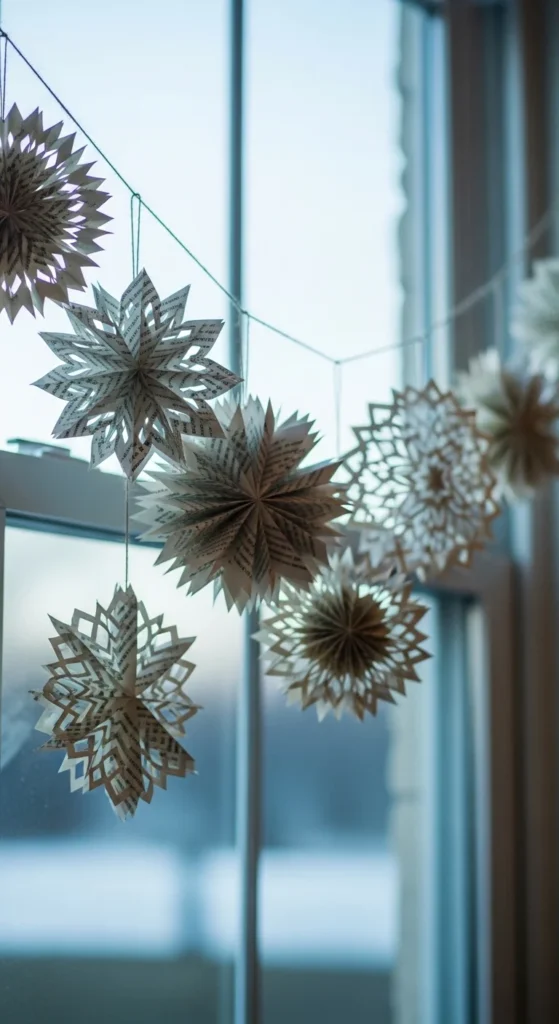
Fold pages and cut simple snowflake shapes. Unfold and punch one hole at the top. String onto twine.
This adds a winter feel without glitter or extra supplies. It also stores flat after the season.
Budget tip: keep cuts simple so they don’t tear when unfolded. If a snowflake rips, layer it over another page cutout and glue lightly.
18. Book Page Loop Chain Garland

Cut strips and make a classic loop chain, like a paper countdown chain. Glue or tape each loop through the last.
It’s fast, lightweight, and great for kids. For a rustic look, use uneven strip widths and mix in a few dictionary strips.
Budget tip: tape is quicker than glue. If you want stronger loops, use double-layer strips.
19. Clothespin Swap-Out Garland Display
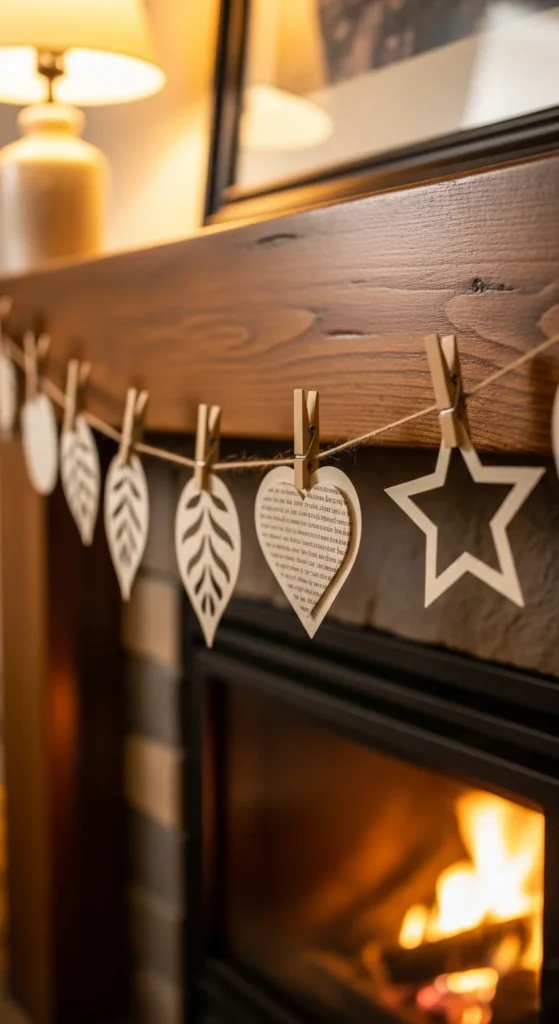
String plain twine first, then clip paper shapes with mini clothespins. This lets you swap seasons without remaking the garland.
Clip ruffles, hearts, leaves, or letters. Mix textures for a layered look.
Budget tip: if you don’t have mini clothespins, use regular ones and clip behind the paper so they’re less visible.
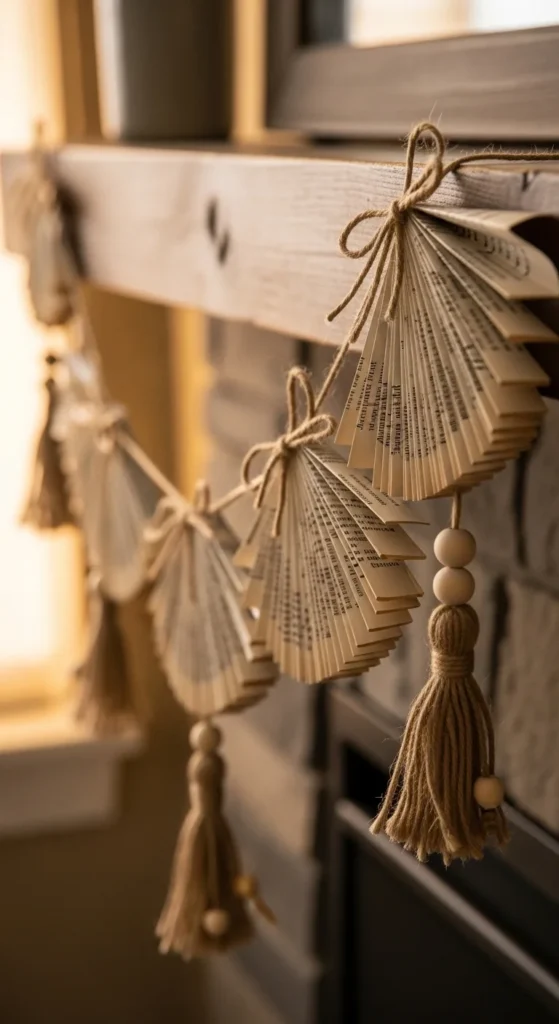
20. Book Page + Paper Tassel Mixed Garland
Alternate ruffles with tassels made from thin strips. Tassels add rhythm and make the garland feel intentional.
Keep tassels short for a cozy look. Tie them onto the twine between ruffles.
Budget tip: tassels are perfect for scraps. Use the extra strips left from trimming pages.
21. Embroidery Needle “No Tear” Threading Garland
If twine keeps snagging, use an embroidery needle. It slides through scrunched paper without ripping.
Poke through the thickest part of your scrunch. Pull twine through slowly. Then slide the piece along the string.
Budget tip: if you don’t have a needle, use a thin skewer to poke a pilot hole first. Then thread twine through easily.
22. Extra-Long Garland From a Thick Book
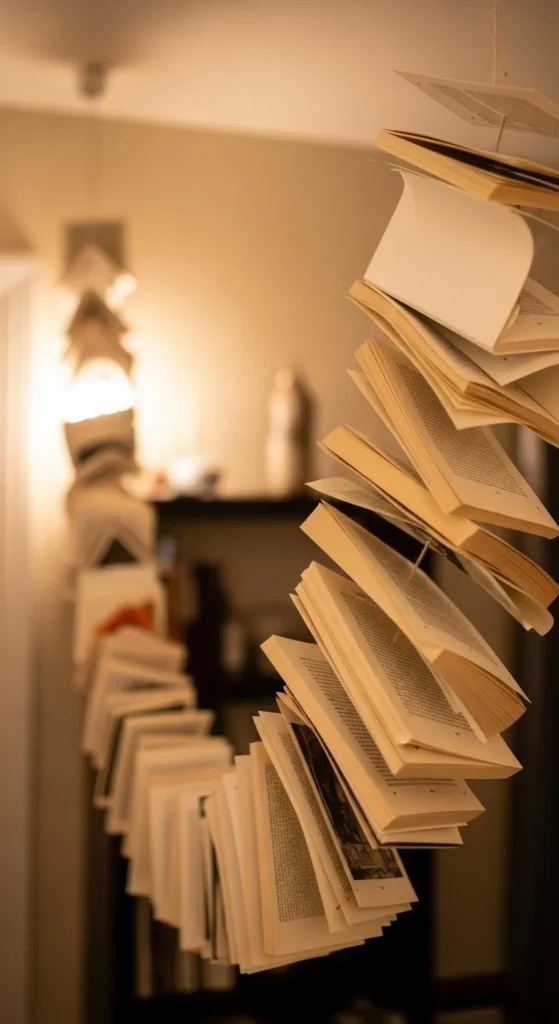
If you want a long strand, start with a very thick book. Crumple-then-punch works best for long runs because it’s fast.
Measure your mantel or wall first. Add extra length for knots and tails. Leave about 12 inches of twine at each end for tying.
Budget tip: don’t pack ruffles too tightly if you want length. Space them slightly and fluff after hanging to fill gaps.
23. RV/Travel-Friendly Lightweight Garland
Garlands are perfect for travel decor because they’re light. Use the crumple method and string on twine, then coil it loosely for storage.
Avoid heavy beads. Keep it simple so it hangs easily in small spaces.
Budget tip: store it in a zip bag with the twine ends tied together. It prevents tangles.
24. Fluff-and-Twist “Not a Straight Line” Finish
The finishing step makes garlands look cozy. After hanging, twist the twine slightly so pieces don’t sit perfectly flat. Fluff ruffles and angle shapes so they catch light.
Add a few tiny knots to lock sections in place if it keeps sliding. For cutout shapes, curl edges around a pencil so they pop forward.
Budget tip: take a quick photo after you hang it. Photos show gaps your eyes miss. Then adjust and fluff until it looks full.
Conclusion
Book page garlands are an easy way to decorate with cozy texture using nothing more than old pages, twine, and a hole punch. Start with a crumple-then-punch ruffle strand for the fastest win, then try seasonal shapes like leaves, hearts, and ghosts for holiday corners. Keep holes reinforced, leave long end tails for tying, and always fluff after hanging. Once you make one, you’ll want a few strands ready to swap through the year.

DiyVisual is a DIY ideas resource for makers of every level. Our small editorial team researches and curates easy, budget-friendly craft, home decor, and handmade gift projects — explained step by step so anyone can recreate them at home with simple materials.


