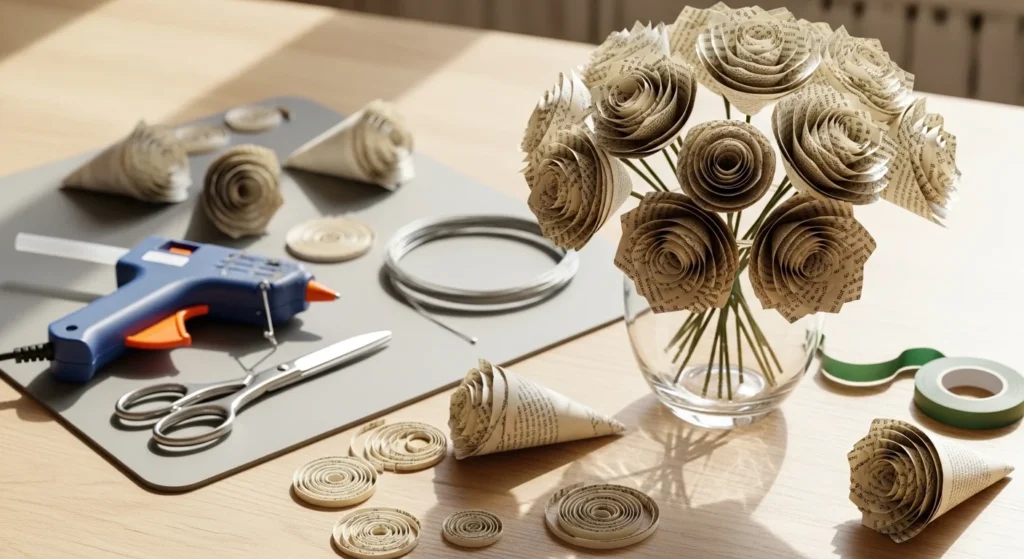
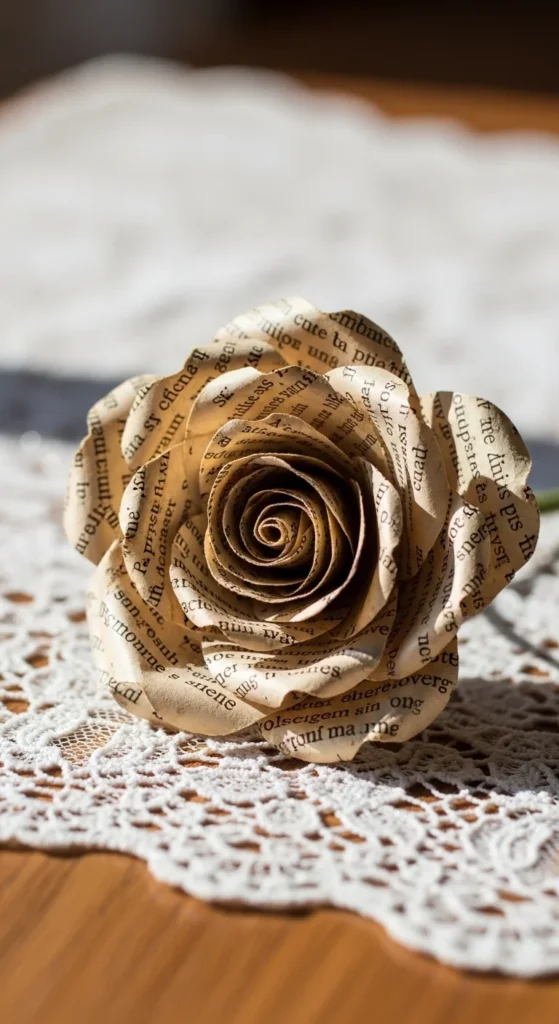
Book page roses are a beautiful way to upcycle worn, yellowed books into keepsake decor. You can go fast with spiral-cut circles, or get a more “florist” look with cone petals layered from small to large. A quick curl with a toothpick or pencil makes petals look more realistic. Add wire or skewer stems, wrap with floral tape, and you’ve got roses for bouquets, centerpieces, gift toppers, and cozy home accents—without spending much.
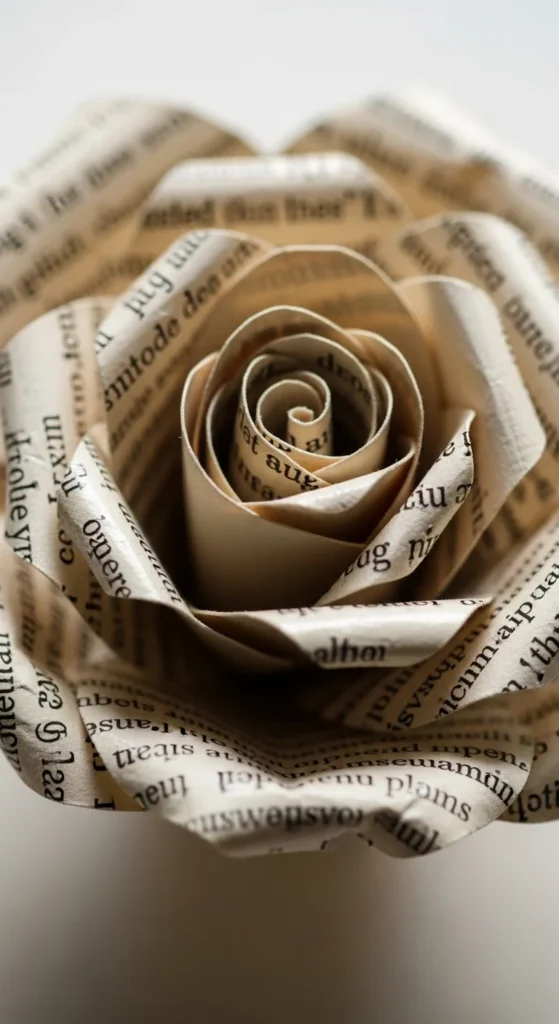
1. Spiral Rose With a Loose, Open Bloom

Cut one large circle from a book page and slice it into a spiral. Roll from the outside edge inward, keeping the first turns tight to form a bud. As you continue, loosen your grip slightly so the outer petals flare.
When you reach the center, let the rose relax in your hand for a few seconds. Then glue the base tab down to lock the shape. A small dot of hot glue is fast, but craft glue works if you clip the base while it dries.
For a romantic look, curl just the outermost edges with a toothpick. Curl outward, not inward. It creates that soft “just opened” feel.
Budget tip: use tatty, yellowed pages. The warm paper tone makes the rose look antique right away. If your page has a white back, use it for practice, then switch to text-heavy pages for the final flowers.
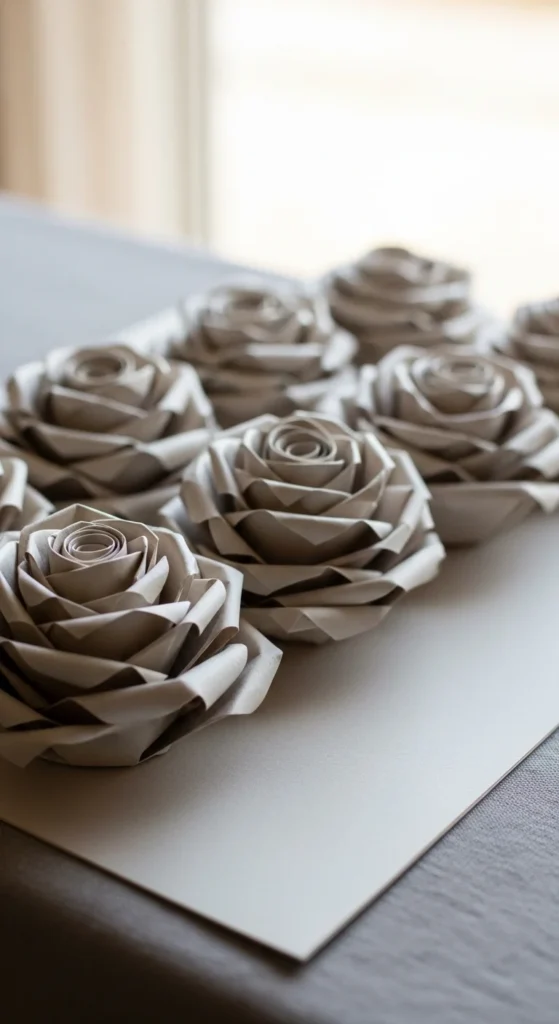
2. Five Spiral Sizes for Bouquet Variety

A bouquet looks more natural when blooms aren’t all the same size. Cut spiral circles in five sizes, from small (bud) to large (full bloom). Make two or three of each size.
Roll small spirals tightly and keep them closed. Roll the medium ones with a looser grip. For the biggest spirals, relax the roll as you go so the petals spread wide.
After gluing the base, shape each rose by gently pulling the outer coils outward. Do it slowly. Paper can tear if you tug fast.
Add a simple leaf behind a few blooms to break up the texture. Leaves also hide glue at the base, which keeps everything looking neat.
Budget tip: trace circle sizes using jar lids or cups. It saves time and keeps your blooms consistent. If your book pages are thin, tape the page to printer paper before cutting so it stays stable while you trace.
3. Folded-Square Petal Rose (Layer Method)
This method starts with squares instead of circles. Cut three to five squares, depending on how full you want the rose. Fold each square into a petal shape and trim the top into a rounded curve.
Create a tight center first. Then add petals in layers, moving from small to larger shapes. Each layer sits slightly lower than the last, so the rose grows outward.
Press each fold with your fingernail to keep edges crisp. If you want softer petals, lightly crumple the paper, then smooth it back out before assembling.
Budget tip: this method is great when you hate spiral cutting. You can cut a stack of squares fast, then fold while watching a show. Use a tiny dab of glue on overlaps so you can reposition petals before the glue sets.
4. Cone-Petal Rose for a “Florist” Shape
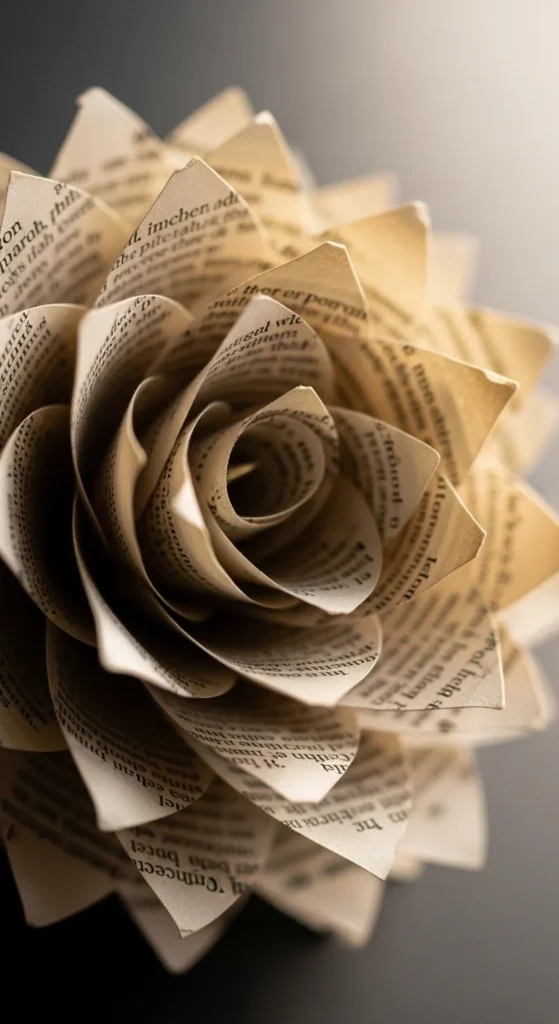
Cone petals create a structured rose that holds its form well. Cut petal shapes in three sizes. Roll each petal edge into a cone with a small overlap, then glue the overlap so it stays curved.
Start with one tight cone as the bud. Wrap the smallest petals around it, one at a time. Stagger the seams so overlaps don’t line up. Then move to medium petals, then large.
Curl petal tips outward with a toothpick before attaching them. That curl adds depth and shadow, which reads as romantic in photos.
Budget tip: use a glue stick for overlap seams when you want less mess. Save hot glue for the base and stem attachment. If the rose looks too stiff, loosen the outer petals by gently opening the cones with your fingers.
5. Tight Rosebuds for Gift Toppers

Small buds are perfect for wrapping gifts, clipping to cards, or adding to a small vase. Use the smallest spiral size you can cut cleanly. Roll it tight and glue the base firmly so it stays closed.
To keep the bud from opening, add a tiny glue dot under the first outer coil. It acts like a hidden anchor. Then pinch the base lightly so the bud sits upright.
Attach the bud to floral wire or a toothpick. Wrap the stem with floral tape. Add one small leaf to make it look finished without extra work.
Budget tip: buds are great for scrap use. Even torn page corners can become small spirals. If your buds look uneven, trim the spiral edge slightly after rolling to smooth the outer petal line.
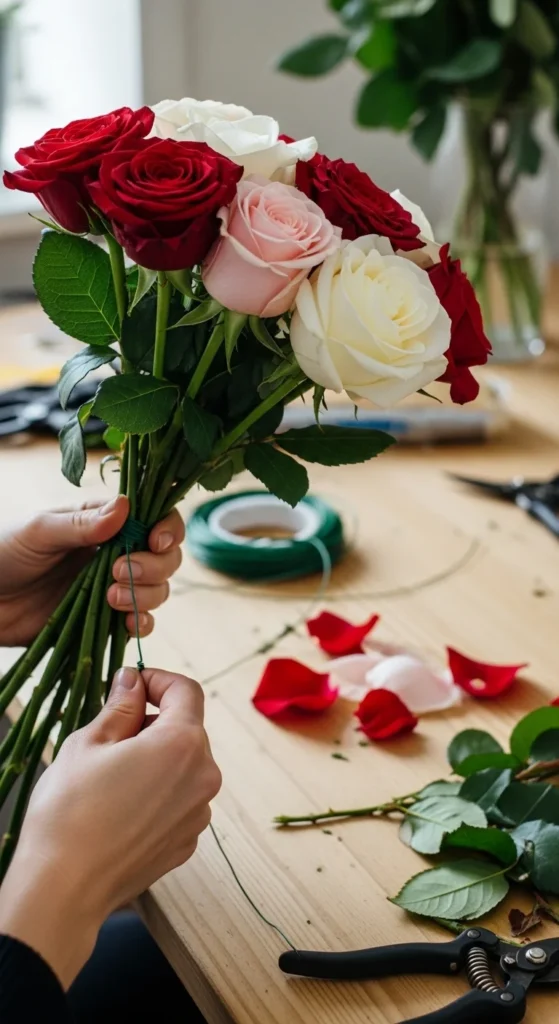
6. Hand-Tied Romance Bouquet With Mixed Blooms
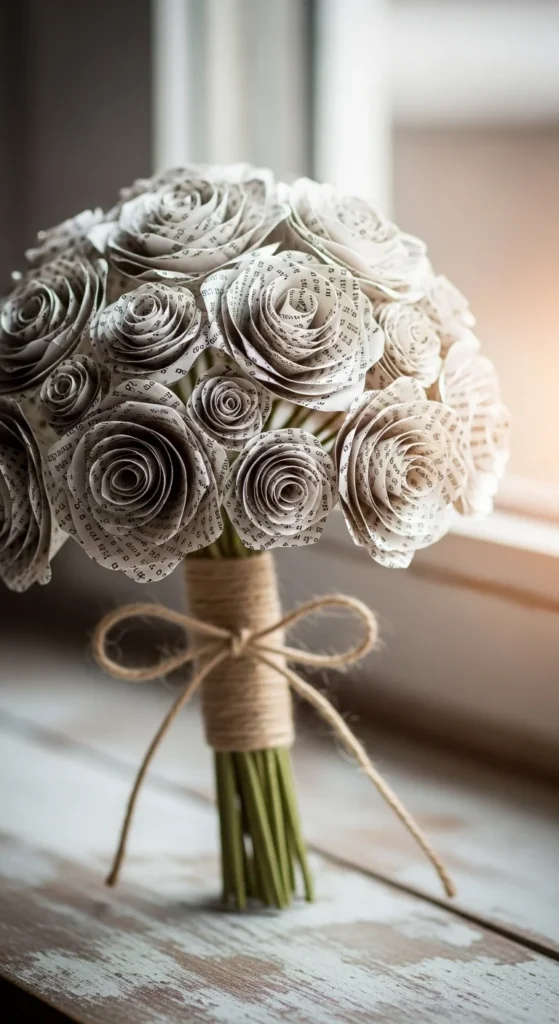
A romantic bouquet looks best with a mix: a few large open roses, several medium blooms, and scattered buds. Make your flowers first, then build the bouquet like a spiral, rotating the stems in your hand as you add each bloom.
Place the biggest roses in the center. Add medium roses around them. Tuck buds in between to fill gaps. Add leaves last to frame the bouquet and hide glue bases.
Wrap stems with floral tape for a clean handle. Then tie twine or ribbon around the grip area. Keep it simple so the paper roses stay the focus.
Budget tip: skewers are an inexpensive stem option. Wrap them with floral tape or thin book-page strips. If your bouquet feels loose, add one extra wrap around the handle, then secure with a pin or small glue dot.
7. Long-Stem Roses for Tall Vases
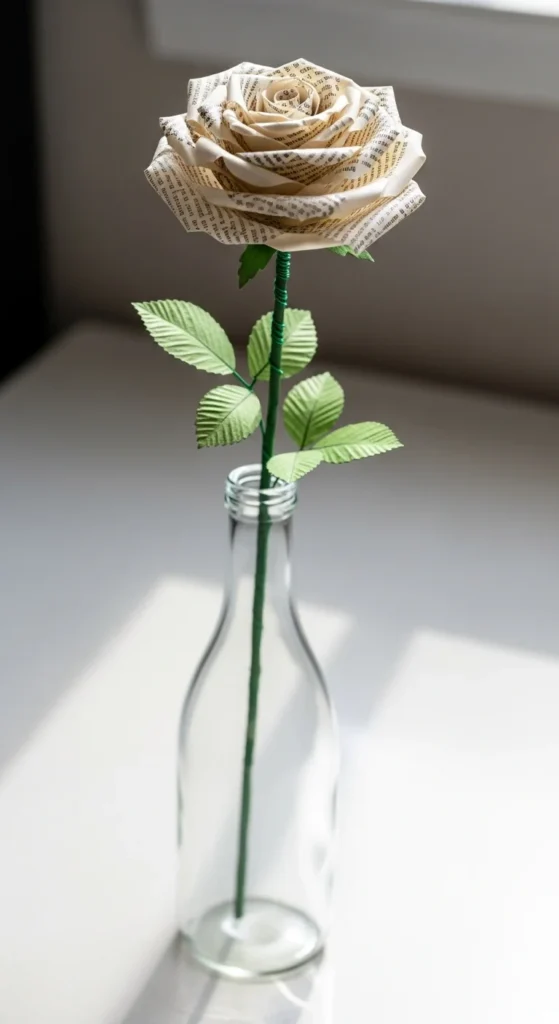
Tall vases look best with long, straight stems. Floral wire makes stems bendable, so you can pose the bouquet. Create a small hook at the wire tip and glue the rose base around it for grip.
Wrap the wire with floral tape from top to bottom. Stretch the tape slightly as you wrap so it sticks smoothly. Add a few leaves along the stem, then wrap over the leaf wires to keep everything neat.
Make three to five roses and vary the bloom size. A tall vase looks romantic when stems are different heights.
Budget tip: use thicker wire for large blooms and thinner wire for buds. If wire feels expensive, use skewers for the main stems and wire only for leaf stems.
8. Toothpick-Curled Petals for Realistic Edges
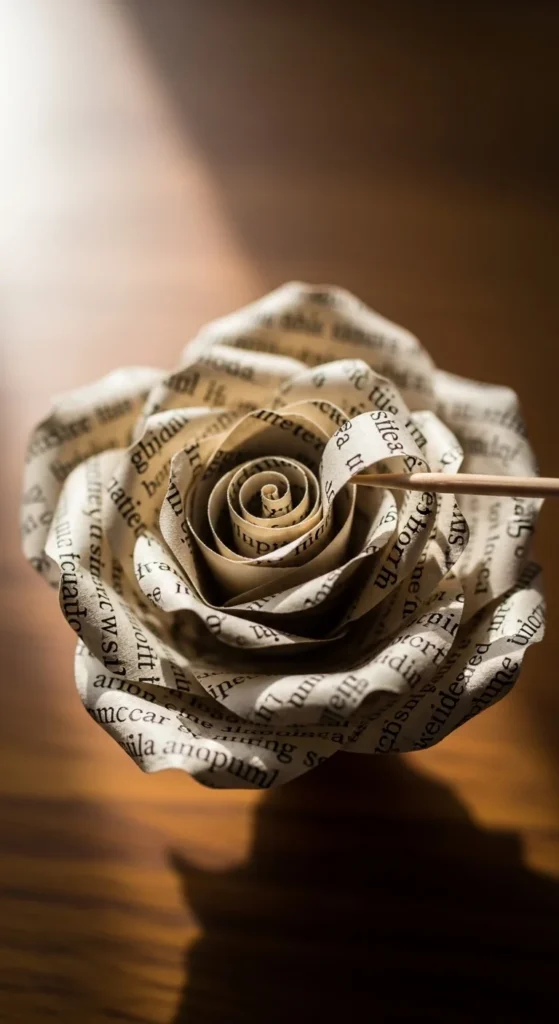
Curling is what takes a rose from “paper craft” to “soft and romantic.” After you roll or assemble the rose, work on the outer edges. Slide a toothpick under the petal edge and roll outward gently.
Curl only some petals. Real roses aren’t uniform. A few curled tips plus a few flatter petals looks more natural.
If the paper tears, use less pressure and curl a wider section instead of a sharp curl. Thin pages curl easily, so go slow.
Budget tip: a pencil works too, especially for bigger petals. Use the pencil for wide curls and the toothpick for small, delicate tips. If you want a slightly aged look, lightly rub the edge with a brown ink pad after curling.
9. Inked Edges for a Soft Antique Look
Edge coloring adds depth without paint-heavy mess. Use a light touch with a marker, ink pad, or watercolor pencil. Focus on the outer petal edges and the tips.
For spiral roses, color the spiral edge before rolling. It’s faster and more even. For cone petals, color after shaping so the color stays on the raised edges.
Keep the shade subtle. Warm brown, dusty pink, or muted red reads romantic without looking bold.
Budget tip: test on one petal first. Some paper absorbs fast. If you accidentally go too dark, rub the edge lightly with a dry tissue to soften it while it’s still fresh.
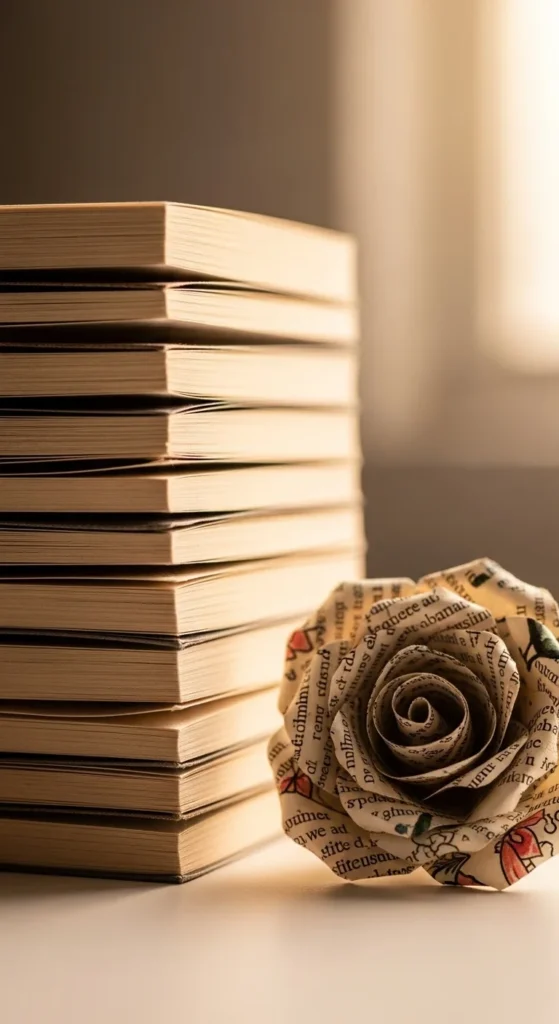
10. Yellowed “Tatty Book” Roses for Vintage Patina
Old, worn books make the prettiest roses. The paper already has warm tone and soft texture, which looks antique right away. Choose pages with dense text so the petals look rich.
Make a few spiral roses and a few cone-petal roses for variety. The mix of shapes looks more like real florals. Add leaves from scraps to finish.
If your pages are very brittle, cut slightly larger petals. Larger pieces tear less while curling. Handle the paper gently and keep glue dots small.
Budget tip: thrift stores often have damaged books cheap. Look for books with yellowed edges and a matte paper finish. Avoid glossy pages for this style because they look modern and don’t curl as smoothly.
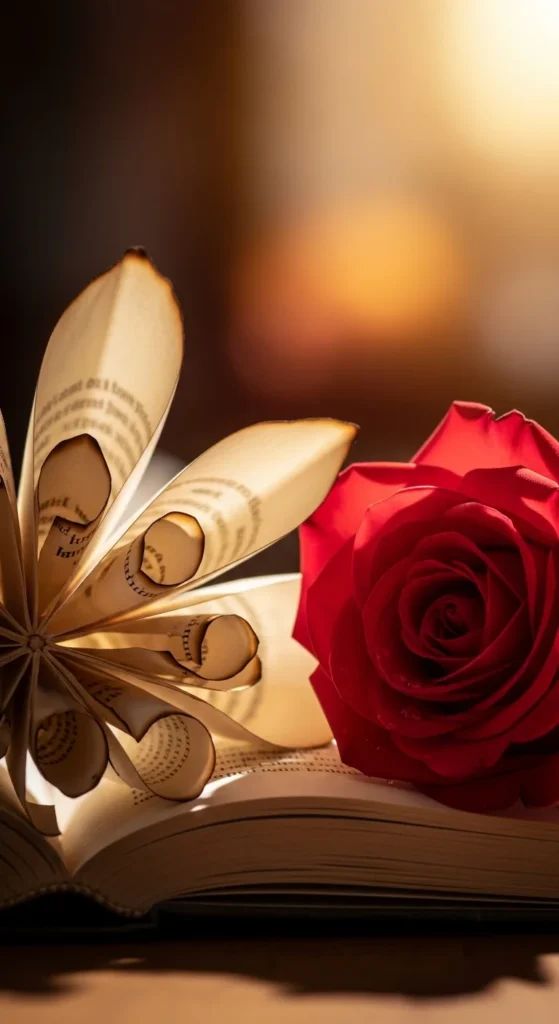
11. Sheet Music Accent Roses
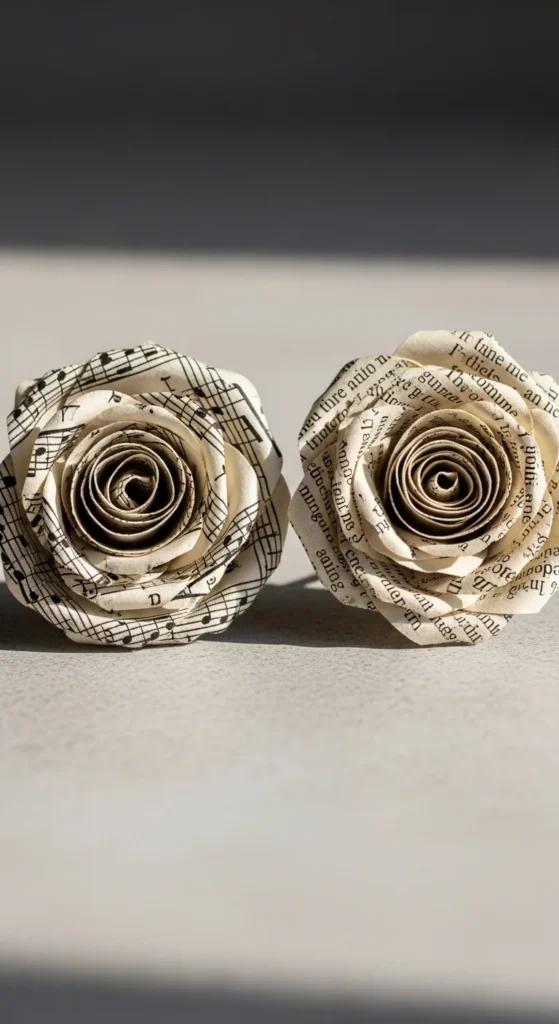
Sheet music adds pattern that reads instantly. Use sheet music for outer petals so the notes show, and use regular book pages for inner petals to keep the center calm.
Roll a spiral rose with sheet music, or make cone petals and place the note-heavy pieces on the outside. Curl the edges so the lines of music curve naturally.
These are great in romantic arrangements for music lovers. A small cluster in a bottle vase looks charming.
Budget tip: mix just a few sheet music roses into a larger book-page bouquet. It adds interest without looking busy. If sheet music paper is stiffer, use it for larger petals and skip tight buds.
12. Map-Page Roses With Subtle Color
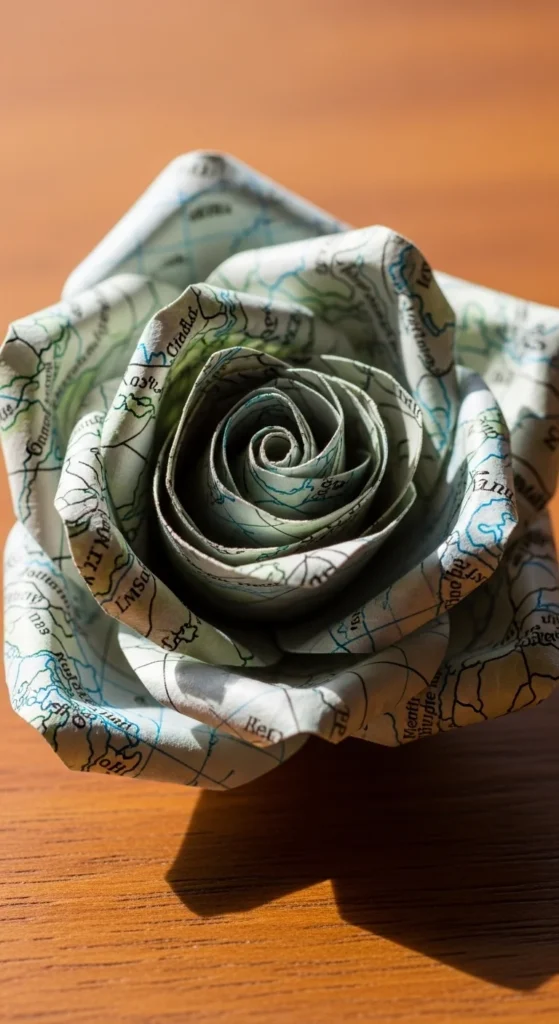
Map paper gives gentle color without painting. Use it as a highlight, not the whole bouquet. Make one or two map roses and surround them with neutral book roses.
Because map paper can be slightly stiff, use larger spiral cuts. Larger petals curl more smoothly and crack less. Keep your curls wide and gentle.
Pair map roses with plain leaves so the color stays controlled. A romantic arrangement looks best when the palette is calm.
Budget tip: cut map petals from the same region color so the rose doesn’t look random. Blues and greens feel softer. Bright red map sections can take over, so use them sparingly.
13. Glue-Stick Assembly for Cleaner Petal Layers
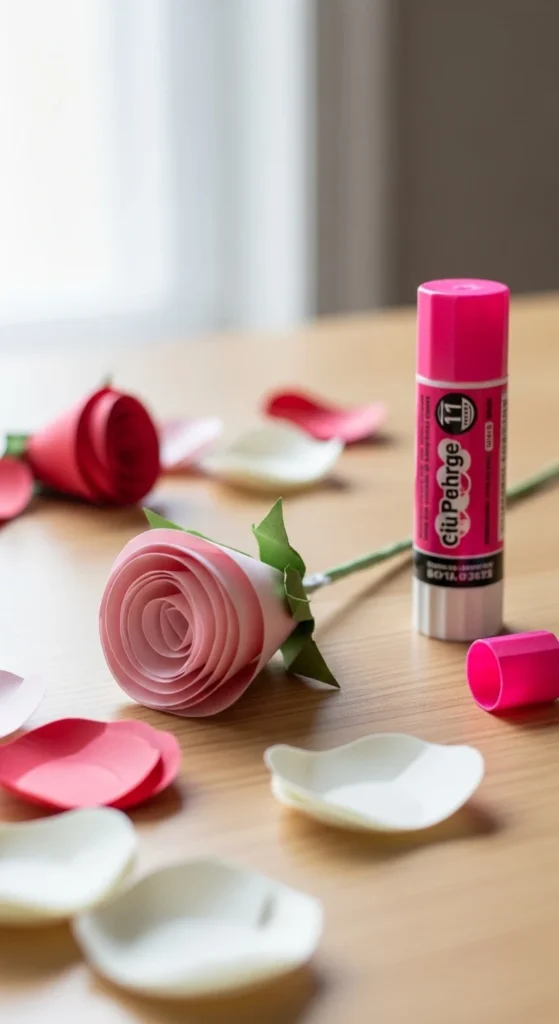
If hot glue feels messy, a glue stick is a calmer option for petal overlaps. Use it to secure cone seams and to place petals temporarily while you adjust the shape.
Once you like the petal placement, add a tiny dot of stronger glue at the base to lock everything. This two-step approach keeps your fingers clean and gives you time to reposition.
This is especially helpful for beginners. Romantic roses look better when petals sit evenly, and repositioning helps you get there.
Budget tip: use paper clips to hold a petal seam while the glue sets. It works like a mini clamp without buying tools.
14. Pointed-Petal Roses for a Dramatic Twist
If you want a rose that feels a bit different, switch petal shapes. Cut petals with a gentle point instead of a rounded top. Roll them into cones and layer as usual.
Pointed petals create a more stylized flower. It still reads romantic, but with a sharper silhouette. Curl the tips outward to soften the look.
Mix pointed roses with classic rounded roses in one bouquet. That contrast makes the arrangement feel more handcrafted and interesting.
Budget tip: use the pointed style for outer petals only. Keep the center rounded for a traditional rose core. It saves time and keeps the flower recognizable.
15. Tab-Base Trick for Roses That Hold Their Shape
Loose roses can unwind if the base isn’t secure. The tab-base method fixes that. When you finish rolling a spiral rose, let it relax slightly so it opens to the shape you like. Then glue the base tab down.
Hold for a few seconds, then set it on the table. If it still tries to open too far, add one more glue dot under the outer coil to anchor it.
This method is perfect for romantic bouquet roses because they keep their bloom shape over time.
Budget tip: low-temp glue guns reduce burn risk. If you only have high-temp, use a silicone finger cover or a small scrap of cardboard to press the tab down.
16. Clean Stem Attachment With a Small Pierced Hole
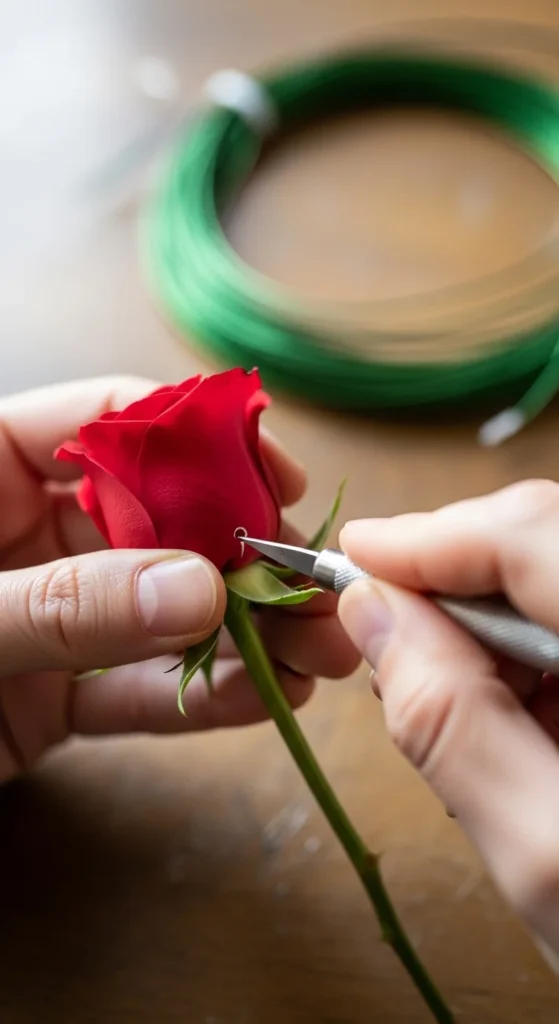
A sturdy stem makes roses look finished. For a clean join, pierce a small hole in the base of the rose. Slide floral wire through and glue around the entry point.
This works well for long-stem roses and bouquet builds. The wire sits inside the rose base instead of only under it, so it’s more stable.
Wrap the wire with floral tape right up to the flower base. It hides glue and makes the stem look continuous.
Budget tip: if you don’t have a craft knife, a thick needle or skewer can make the hole. Twist gently instead of pushing hard, so the base doesn’t tear.
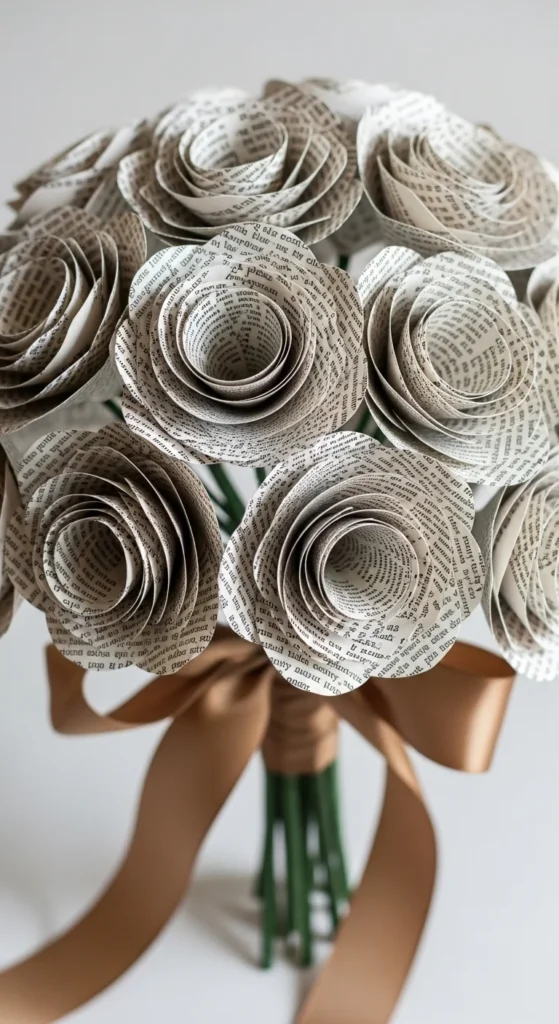
17. Wired Bouquet Bunch for Wedding-Style Builds
For wedding-style bouquets, wire makes the arrangement easier to shape. Build individual long-stem roses first. Then gather them in your hand and rotate as you add each flower.
Secure the bunch with floral tape, then wrap again lower down for stability. Add leaves and buds to fill spaces and soften the outline.
A romantic bouquet looks best when it’s not perfectly round. Let a few blooms sit slightly higher or lower. It feels more natural.
Budget tip: use skewers for some stems and wire for others. Tape them together and you’ll still get a strong bouquet. Finish the handle with ribbon to hide the tape layers.
18. Large-Page Roses for Bigger Blooms
Bigger pages make bigger roses. Cut larger squares and use them for larger petals or larger spiral circles. The bloom will look fuller with fewer layers.
Large petals also show curling more clearly. Use a pencil for wide curls and shape the outer petals gently.
These roses look romantic as statement pieces. One large bloom in a slim vase can look like decor you’d buy.
Budget tip: use larger-page books like textbooks or oversized novels for this. If you only have small books, tape two page sections together before cutting the spiral. Keep the seam near the base so it’s hidden.
19. Sepals and Leaves for “Finished Flower” Detail
Sepals and leaves make a paper rose feel complete. Cut a small star-like sepal shape from scraps and glue it under the rose base. Curl the points slightly downward.
Add two leaves on the stem, staggered so they don’t sit at the same height. Score a center line and fold slightly to give each leaf shape.
These small details add romance because the rose starts to look like a real stem flower, not just a paper bloom.
Budget tip: use darker text pages for sepals. The denser print reads darker and hides glue. If you want extra depth, lightly ink the sepal edges.
20. Light Decoupage Finish for a Soft Sheen
A soft sheen can make roses look polished. Use a very thin coat of decoupage medium. Apply with a small brush and keep it light so paper doesn’t warp.
Let the rose dry fully before touching. Clip it by the stem while it dries so petals don’t stick to the surface.
This finish works best on sturdy petals. If your pages are very thin, test first. Too much moisture can wrinkle the paper.
Budget tip: brush just the outer edges for shine, not the whole petal. It gives a romantic highlight without changing the full bloom.
21. Mini Rose Cluster Gift Topper
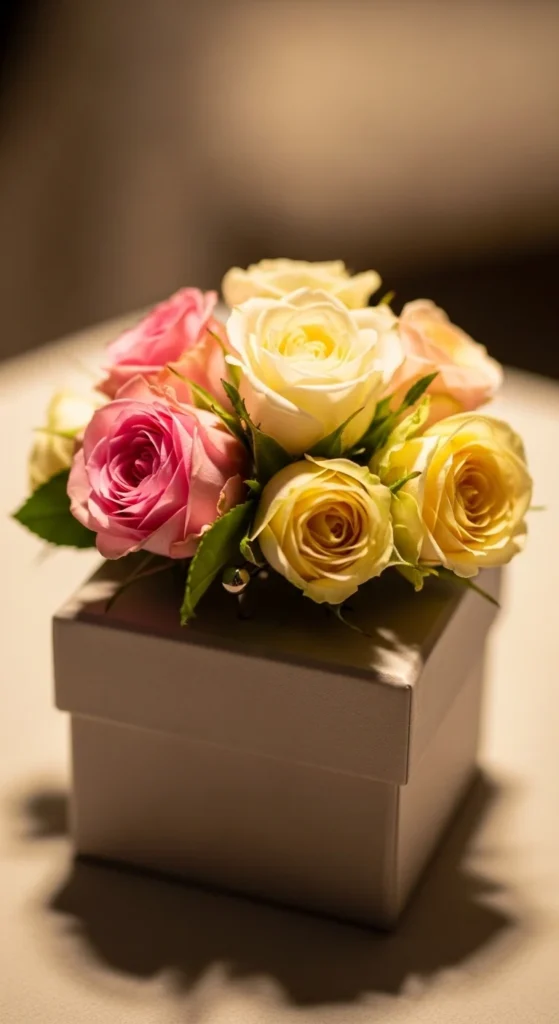
Instead of one big rose, make three mini roses and group them. The cluster looks romantic and detailed, especially on gifts and baskets.
Make each rose slightly different. One tight bud, one medium bloom, one small open rose. Add a tiny leaf behind the group.
Attach the cluster to a tag, a box lid, or a simple ribbon wrap. Keep the colors neutral so the typography stands out.
Budget tip: this is a great way to use scraps. Small spirals cut from page corners work perfectly. If your cluster looks flat, curl just one petal on each rose to add dimension.
22. Rose Garland for Romantic Shelf Decor
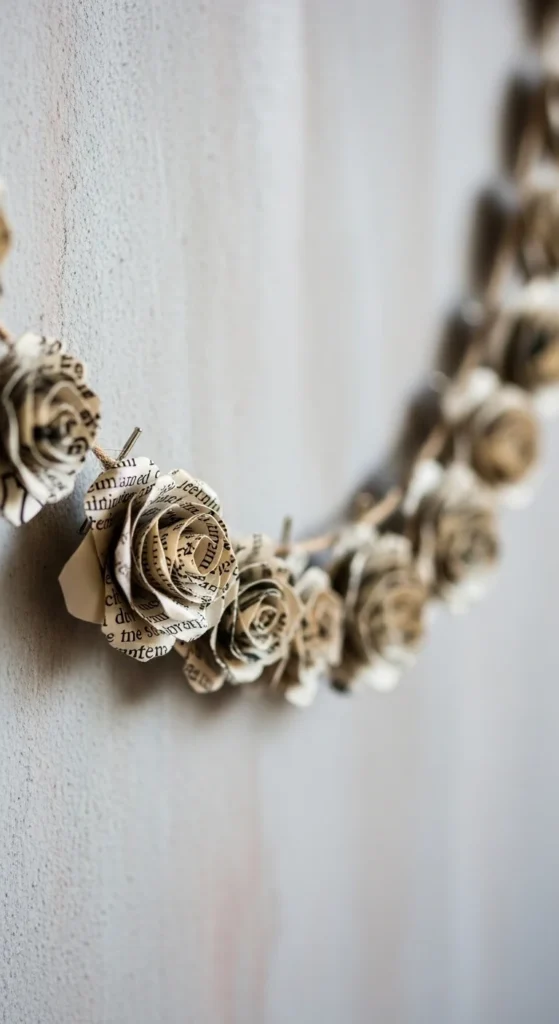
Make a batch of small roses and glue them to a thin twine garland. Keep spacing consistent so it looks neat. Add a few paper leaves between roses to break up the texture.
Hang the garland across a shelf, mirror, or headboard. Side lighting makes the curls and layers show nicely.
Budget tip: use lightweight roses so the twine doesn’t sag. Spiral roses work well here. If you want extra security, tie a small knot in the twine behind each rose so it can’t slide.
23. Shadow Box Rose Keepsake
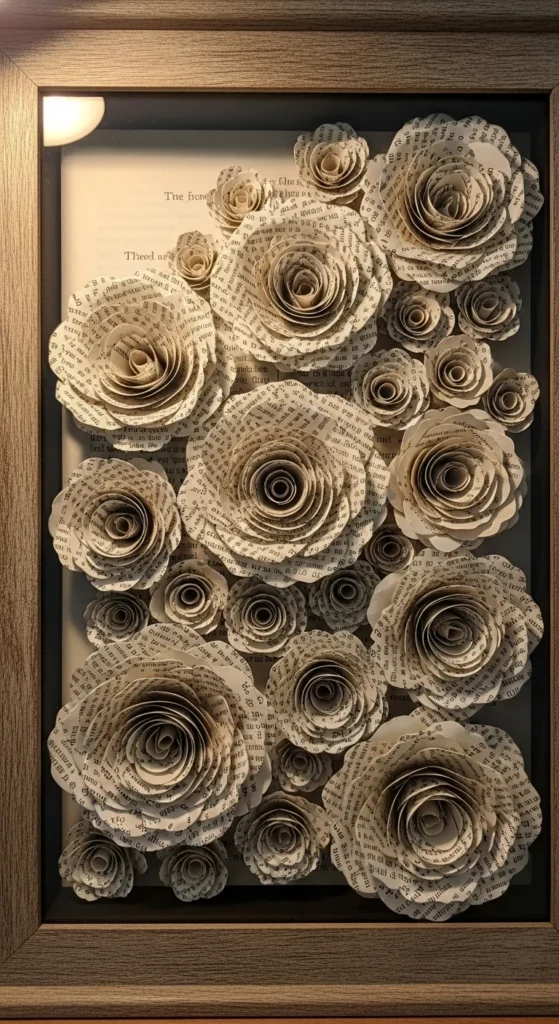
A shadow box turns roses into wall art. Make small and medium roses. Arrange them inside the box like a floral cluster. Add leaves to fill gaps.
Use foam tape behind a few roses so you get depth. That shadow makes it look more like a floral display.
This is a sweet gift idea for anniversaries or book lovers. Use pages from a meaningful book for extra sentiment.
Budget tip: thrift stores often have deep frames. Paint the frame matte if it’s shiny. A calm frame keeps the roses as the focal point.
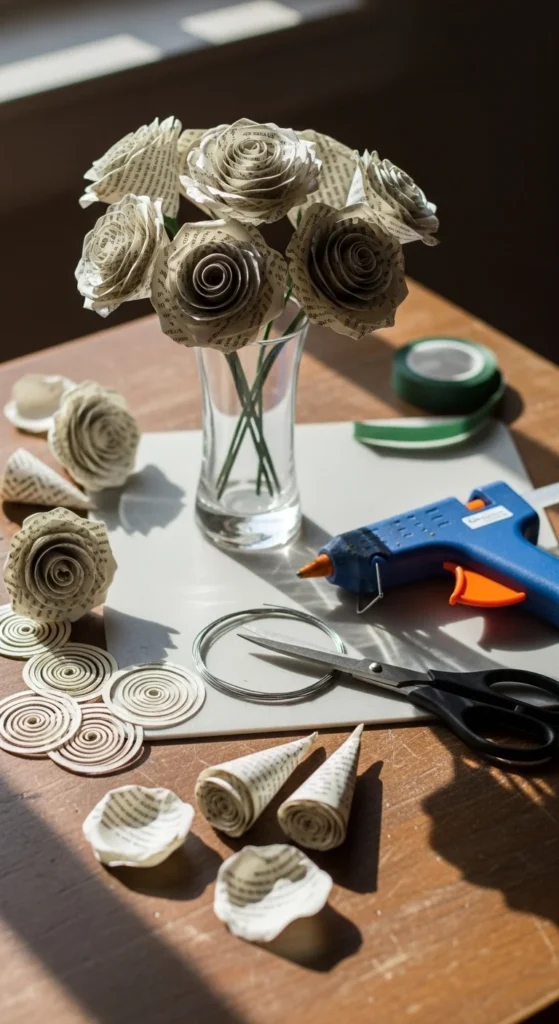
24. Table Centerpiece Jar Arrangement
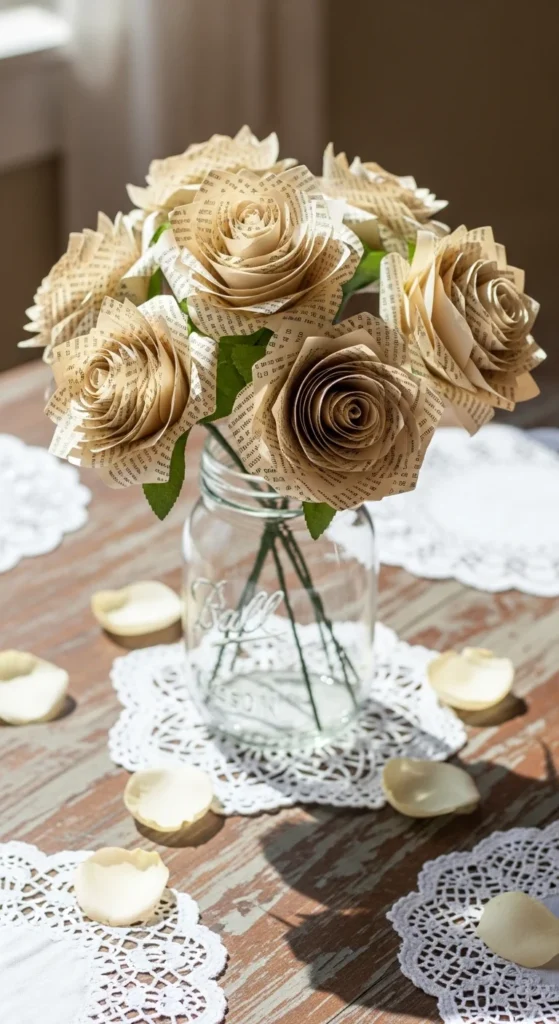
Centerpieces look romantic when they feel soft and simple. Use a jar vase and fill it with a mix of roses and buds. Add eucalyptus-style paper leaves for fullness.
Keep the height moderate so it works on a table. Use skewers or wire stems wrapped in floral tape so everything looks tidy.
For a cozy look, choose yellowed pages and add lightly inked edges to a few petals. It gives subtle depth without bright color.
Budget tip: fill the jar with crumpled paper first. Then insert stems into the filler. It holds them upright and saves you from buying floral foam.
25. Mixed-Text Bouquet With Dense-Page Highlights
Text density changes the look of petals. Mix regular book pages with dictionary pages. Use dictionary pages for outer petals or for a few accent roses.
The dense print reads darker and hides glue. It also adds visual texture from a distance. Keep the mix controlled so the bouquet stays cohesive.
Add leaves from scraps to unify everything. Wrap stems consistently with floral tape so different papers still feel like one set.
Budget tip: if you only have one dictionary, use it for just a few roses and make the rest from novels. A small accent ratio still looks intentional.
26. Thumb-and-Index Rolling Grip for Even Petals

A steady grip is the simplest way to get prettier roses. Hold the spiral strip between your thumb and index finger. Keep the bottom edge aligned as you roll so the base stays flat.
Roll tight at first, then relax slightly as you move outward. That shift creates a natural bloom. If the roll slips, stop and re-align the base edge before continuing.
Once rolled, let it open a little, then glue the base tab. Shape the outer petals by pulling one or two coils outward and curling a few edges with a toothpick.
Budget tip: practice with white-back pages first. When your grip feels steady, switch to text-heavy pages for the final roses. The difference in finish is huge, and your hands will already know the motion.
Conclusion
Book page roses can look romantic with just a few simple steps: choose warm, worn pages, pick a method (spiral roll or cone petals), curl edges gently, and secure a clean stem. Start with a small batch of mixed sizes, then build up to bouquets, garlands, and keepsake frames. With thrifted books and basic supplies, you’ll end up with decor and gifts that feel personal, cozy, and timeless.

DiyVisual is a DIY ideas resource for makers of every level. Our small editorial team researches and curates easy, budget-friendly craft, home decor, and handmade gift projects — explained step by step so anyone can recreate them at home with simple materials.


