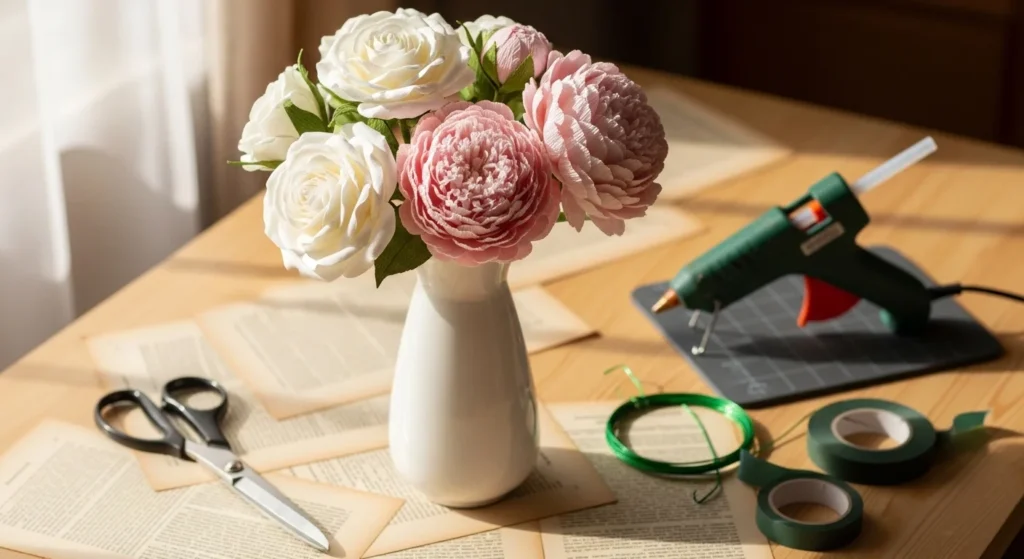

Book page flowers are a simple way to turn thrifted books into decor and gifts that last for years. The charm comes from the printed text, the warm patina of yellowed pages, and the handmade texture you can’t buy in a store. Most designs start with circles or folded squares, then you shape petals into cones and curl edges for a realistic look. You can keep it budget-friendly with lollipop sticks and craft glue, or go sturdier with floral wire and tape for bouquets and centerpieces. Here are 27 ideas to try, from quick single blooms to full arrangements.
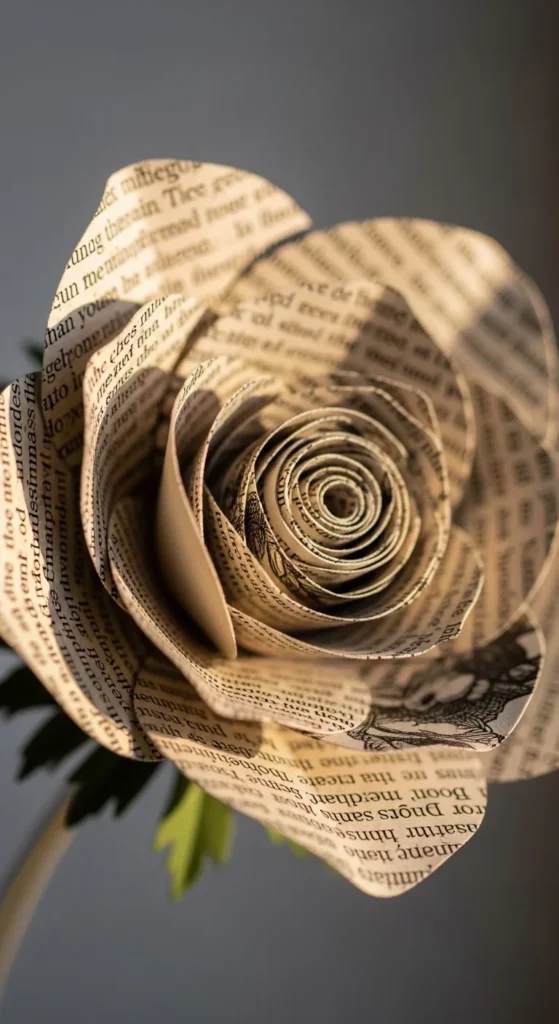
1. Classic Circle-Cut Book Page Rose
This is the go-to flower because it looks impressive without being hard. Cut circles from 4–5 book pages. Make the circles in a few sizes so the rose grows outward naturally. Cut a spiral into each circle, then roll from the outside in. Glue the base to lock it.
For a fuller rose, add five petals per layer by making small cone petals and wrapping them around the center. Curl the edges gently with a toothpick so petals flare instead of looking flat. If the paper tears, curl more slowly and use less pressure.
Stems can be floral wire, skewers, or lollipop sticks. Wrap with floral tape for a clean finish. If you don’t have tape, thin strips of book page work as a wrap when glued carefully.
Budget tip: pick text-heavy pages so you don’t see “white gaps” between petals. Older, yellowed pages look especially warm in a bouquet.
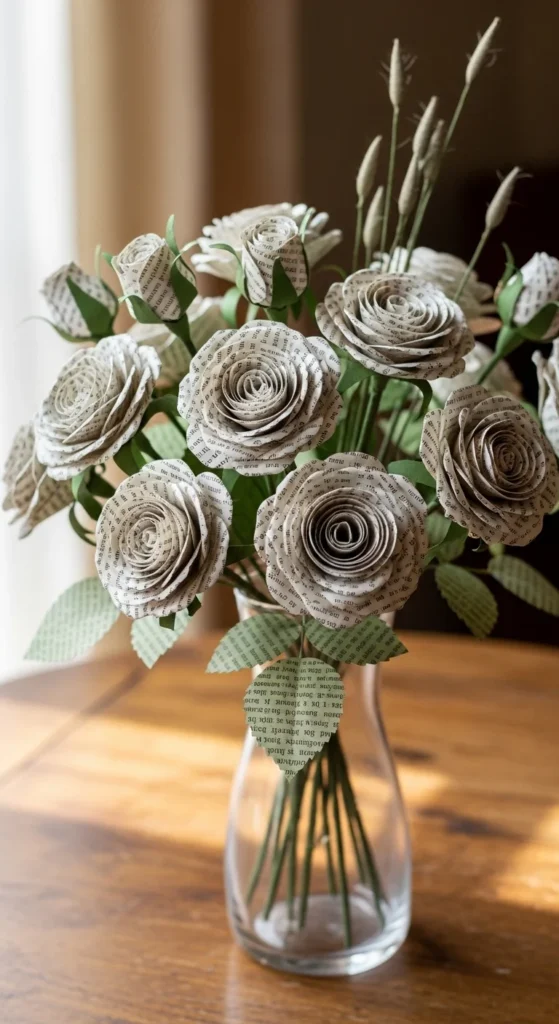
2. Spiral-Rolled Rose (Fast Version)
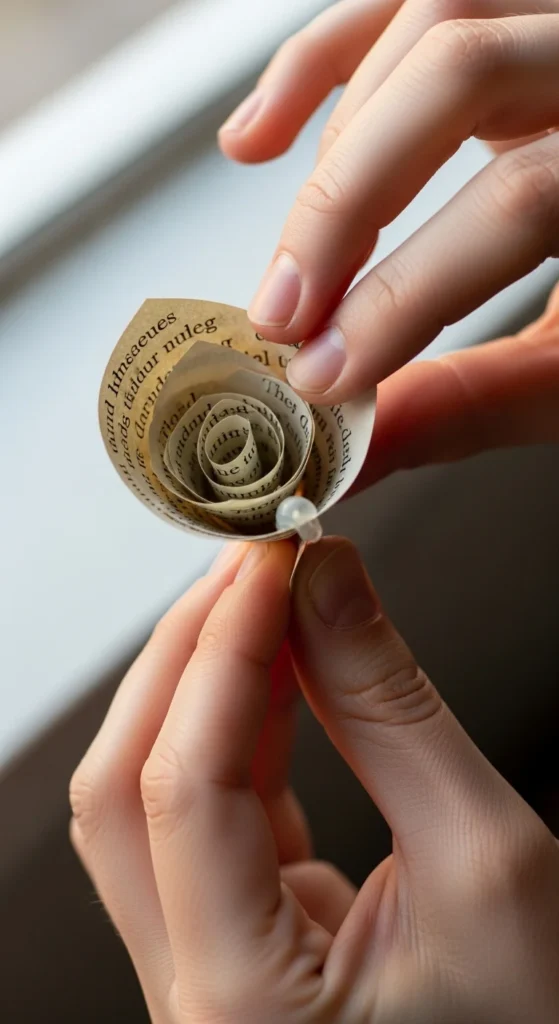
If you want roses fast, spiral rolls are the shortcut. Cut one large circle, then cut a spiral all the way around. Roll the spiral tightly at first for the bud. Then loosen slightly as you keep rolling to create open petals.
Glue the base while it’s still in your hand. Then set it down and let it relax a little. This creates a natural “bloom” shape without extra petal cones.
To make a dozen quickly, cut spirals assembly-line style. Stack several pages and cut circles together, then spiral-cut each circle. Keep scissors sharp so edges don’t crumple.
Add realism with edge curling. Run a toothpick along the outer edge of the spiral. Curl outward, not inward, so it looks like a real rose opening.
Budget tip: use Elmer’s or Mod Podge as glue if you don’t want a hot glue gun. It dries slower, so hold the base with a paper clip while it sets.
3. Cone-Petal Rose (Structured Look)
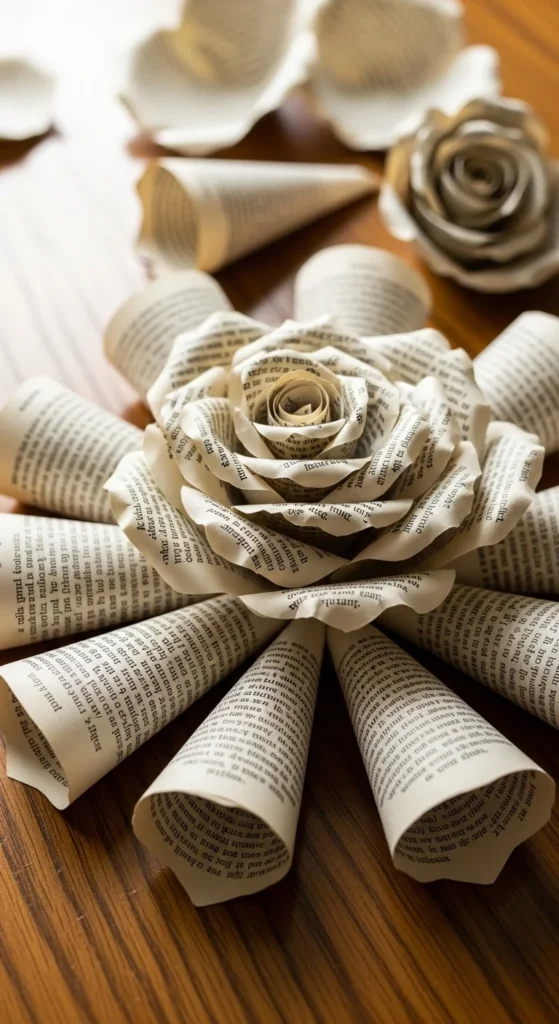
Cone petals create a more “florist-style” rose. Cut petal shapes in three sizes: small, medium, and large. Roll each petal into a cone with slight overlap. Glue the overlap so it holds.
Start with a tight bud cone. Then layer petals around it, small to large. Aim for about five petals per layer. Stagger the seams so you don’t get a straight line of overlaps.
Use a toothpick to curl each petal edge before attaching it. That curl gives depth and shadow. If you want darker edges, lightly rub a marker or ink pad along the petal tips. Keep it subtle.
This rose is great for wedding bouquets because it holds shape well. Use floral wire for stems, then wrap with floral tape. Add a scrap-paper leaf or two to finish.
Budget tip: petal templates save time. Trace one petal shape onto several pages, stack, and cut multiple at once.
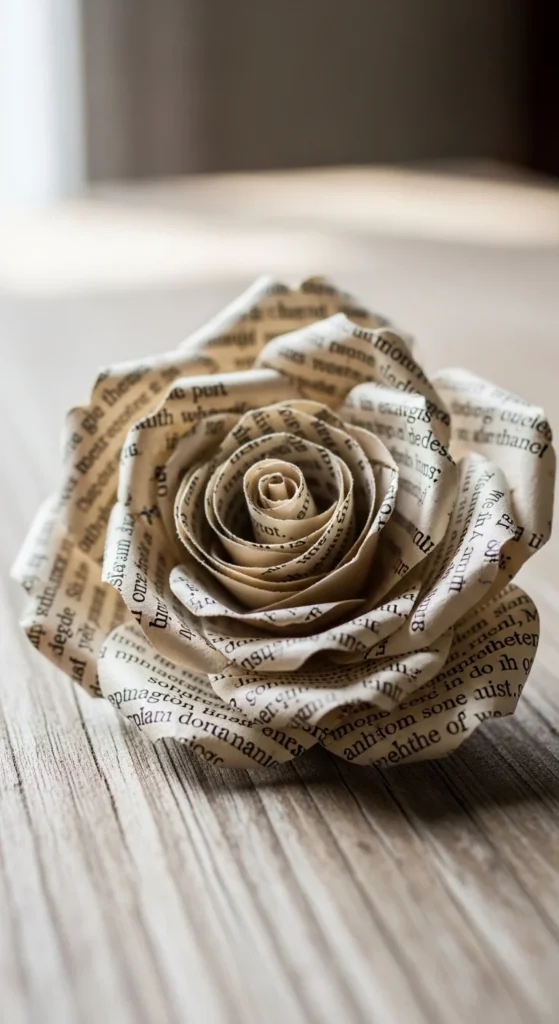
4. Dictionary Page “Wordy” Roses
Dictionary pages give a stronger printed texture because the text is dense. That means petals look richer even from a distance. The smaller font also hides glue spots better.
Make spiral roses or cone-petal roses using dictionary pages only. For extra charm, try keeping all petals from pages in the same letter section. It creates a subtle pattern in the bouquet.
If you want a darker, antique look, lightly ink petal edges with a brown stamp pad. This makes the rose look aged without paint. Curl edges with a toothpick for shape.
Dictionary paper can be thin, so work gently. Don’t over-handle the petals. If you’re using a hot glue gun, use small dots so the paper doesn’t soak and wrinkle.
Budget tip: thrift stores often have damaged dictionaries for very little. One book can make a large bouquet.
5. Sheet Music Roses for Musical Decor
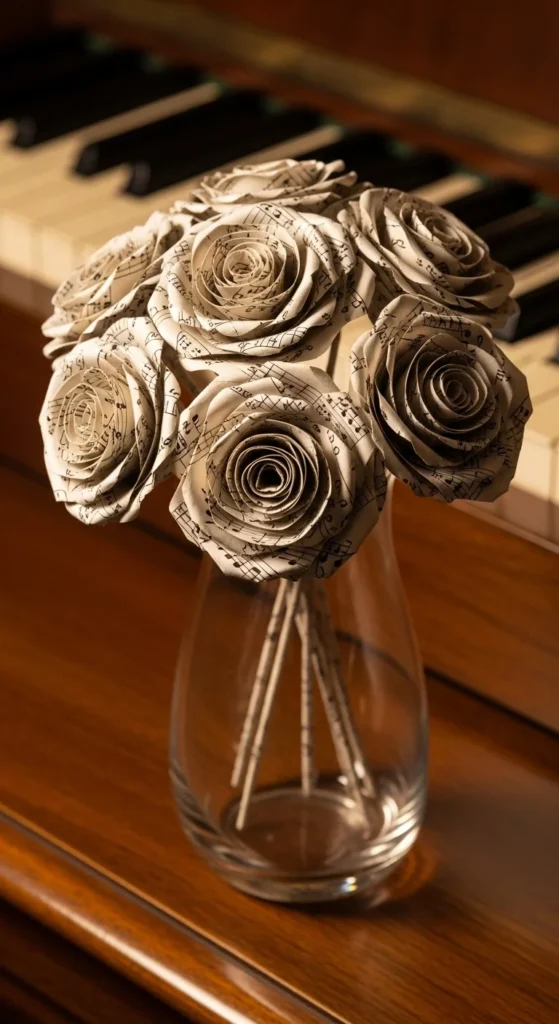
Sheet music roses are perfect for music rooms and recital gifts. The notes create a bold pattern that reads instantly. Use the same rose method you like, but pick pages with clear staffs and wide spacing.
For variation, mix sheet music petals with regular book page petals. Use sheet music for outer petals so the pattern shows more. Or keep the entire rose sheet music for a strong theme.
Stems look best wrapped in floral tape. If you want a softer finish, wrap stems with twine and a thin strip of sheet music over it, glued down smoothly.
Display idea: make three long-stem roses and place them in a narrow bottle vase. Add a ribbon around the vase neck for a finished look.
Budget tip: old music books are common at thrift stores. Look for yellowed paper for a warmer tone.
6. Atlas Page Map Roses

Map roses add color without paint. Use atlas pages for outer petals and book pages for inner petals. That way the rose still looks vintage, but with a playful twist.
Because map paper can be glossy or stiff, test a curl first. If it cracks, curl more gently or use slightly larger petals to reduce stress on the paper.
These roses make fun travel gifts. You can even pick a map section that matches a meaningful location. Keep the palette cohesive by using one color family from the map, like blues and greens.
Stems can be floral wire. Wrap with floral tape so the color doesn’t compete with the petals. Add simple book-page leaves so the rose stays the focus.
Budget tip: old atlases often have torn covers but usable pages. Those are perfect for crafts.
7. Book Page Peony (Layered Ruffles)
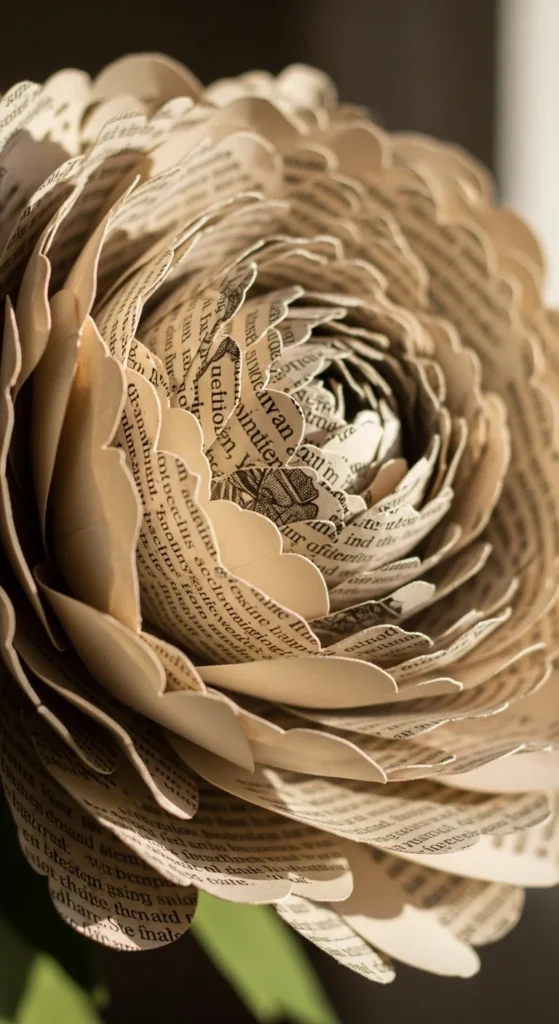
Peonies look lush because they use many petals. Cut lots of rounded petals in small sizes. Crumple each petal lightly, then flatten it again. That wrinkle adds natural texture.
Start with a tight center. Then add petals in rings, increasing size slowly. Keep petals close together so the flower looks full. Curl edges outward with a toothpick.
Peonies work well as vase fillers. They also look great on a wreath or a wall board. Use a sturdy base like cardboard or a felt circle so the glue has something solid to grip.
Budget tip: use pages with a warm patina. The layered petals create depth when the paper tone is slightly varied.
8. Book Page Dahlia (Pointed Petals)
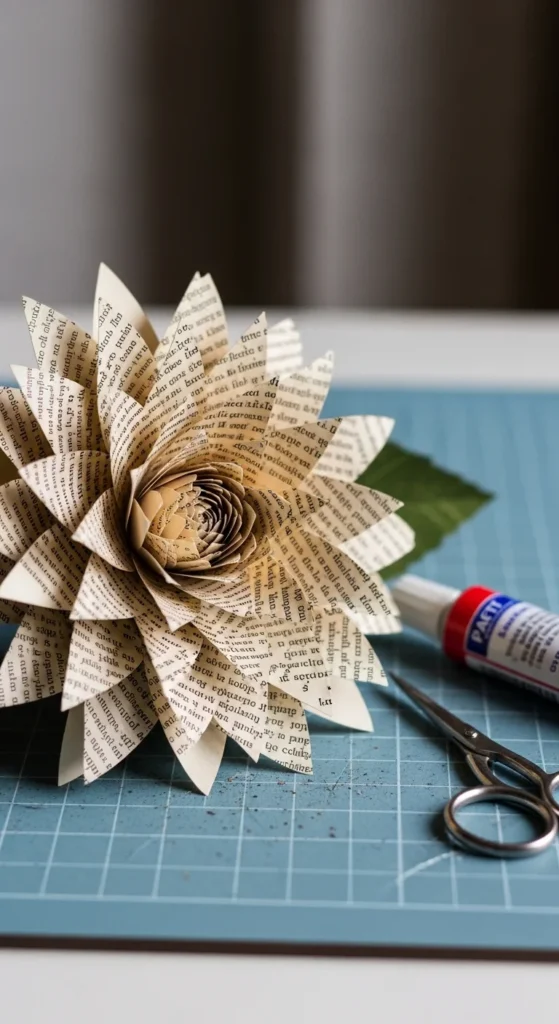
Dahlias are great if you like clean, repeating shapes. Cut many pointed petals, all similar size. Fold each petal slightly down the center to create a ridge. That ridge makes the petals look structured.
Glue petals in rings around a round base, slightly overlapping each other. Keep the points facing outward. Add more rings until the dahlia looks full.
For the center, roll a tight strip of paper and snip the end into fringe. Wrap it into a small circle and glue it in the middle.
Budget tip: make a few dahlias in different sizes and group them in a vase. The repeated pattern looks intentional and “styled” without extra decor.
9. Daffodil-Inspired Book Page Bloom

This shape is a fun twist when you’re tired of roses. Create six outer petals with a gentle point. Then make a small trumpet center by rolling a rectangle into a short tube and flaring the top edge.
Snip tiny cuts around the trumpet rim and curl them slightly outward. Glue the trumpet into the center of the flower. Add a stem and a couple of long, narrow leaves from scraps.
These look great in a spring arrangement. If you want subtle color, lightly ink the trumpet rim. Keep it soft so it still feels vintage.
Budget tip: daffodils use fewer petals than peonies, so they’re faster while still looking special.
10. Tiny Bud Roses for Place Settings
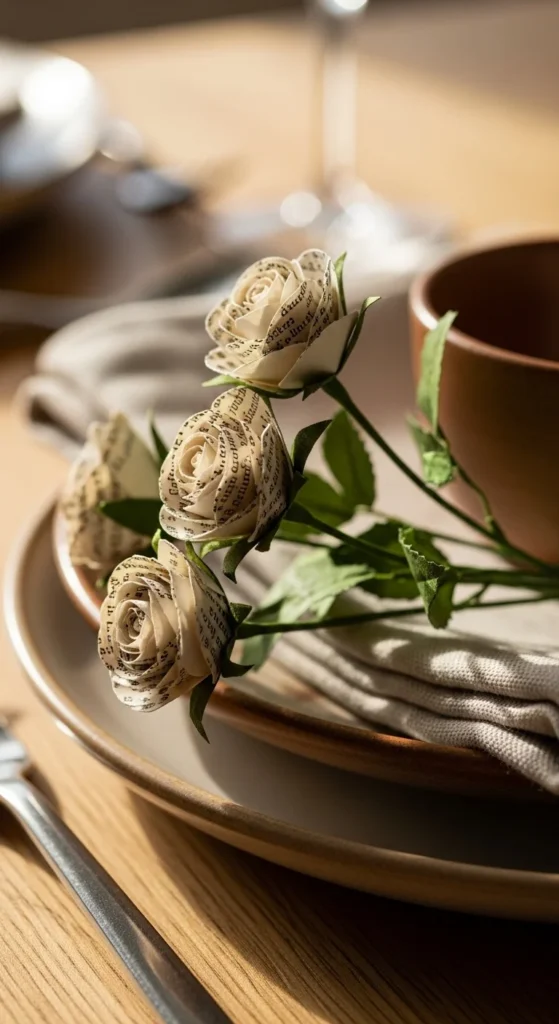
Mini rosebuds are perfect for events. Make tight spiral roses using smaller circles or tighter spirals. Keep the bud closed by gluing the outer edge down firmly.
Attach each bud to floral wire or a toothpick stem. Wrap with floral tape or a thin paper strip. Add a tiny leaf cut from scraps.
Use them as place-setting accents, napkin rings, or small favors. A handful of buds in a small jar also makes a sweet centerpiece.
Budget tip: mini buds are great for scrap paper. Even torn pages can become small spirals.
11. Book Page Flower Crown
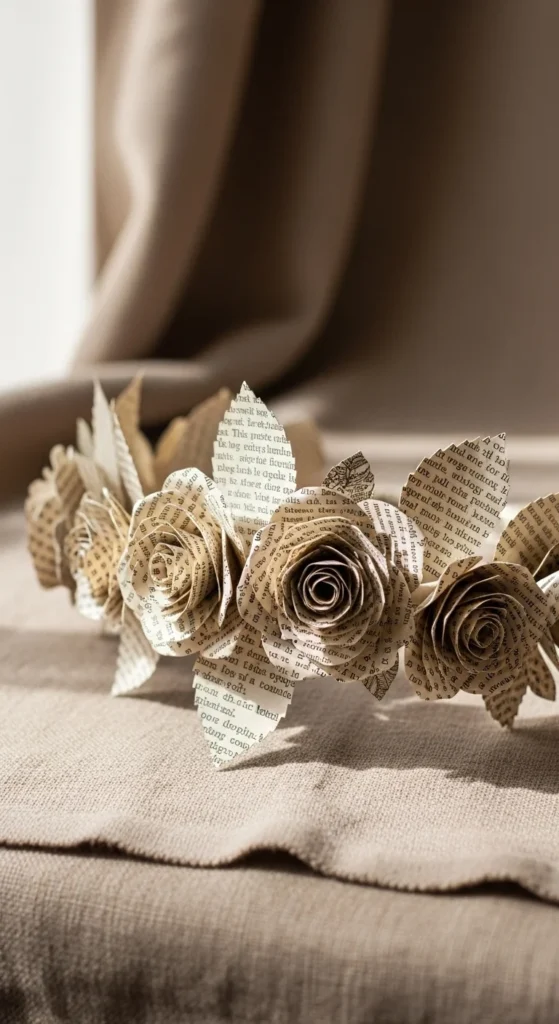
A flower crown looks charming for photos or themed parties. Make several small roses and a few leaf clusters. Attach them to a flexible base like floral wire wrapped in tape.
Keep flowers lightweight. Use smaller blooms so the crown isn’t heavy. Add leaves in between flowers to cover gaps and make it feel fuller.
For comfort, wrap the wire base with floral tape or soft ribbon. Secure ends so nothing pokes.
Budget tip: mix in a few sheet music flowers for pattern variety without adding color.
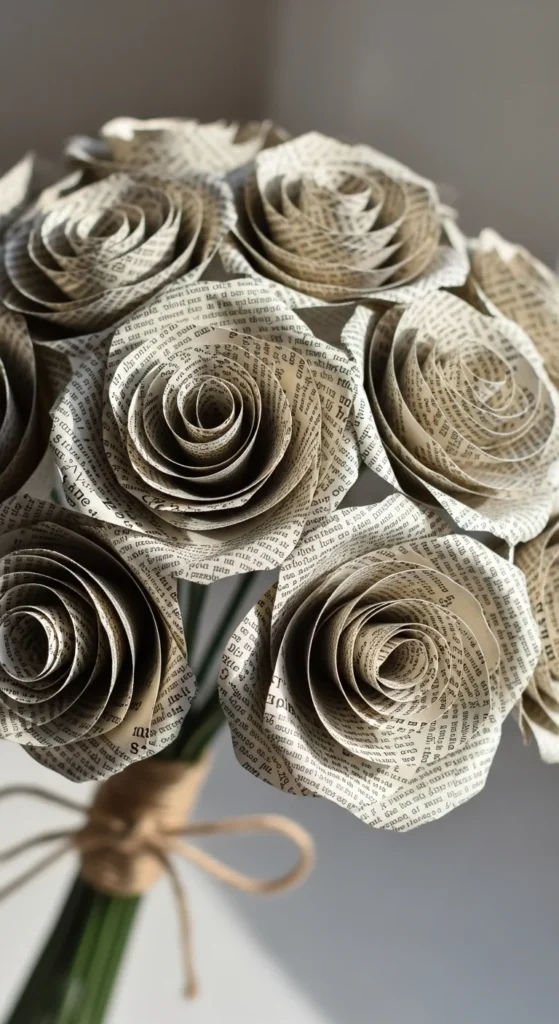
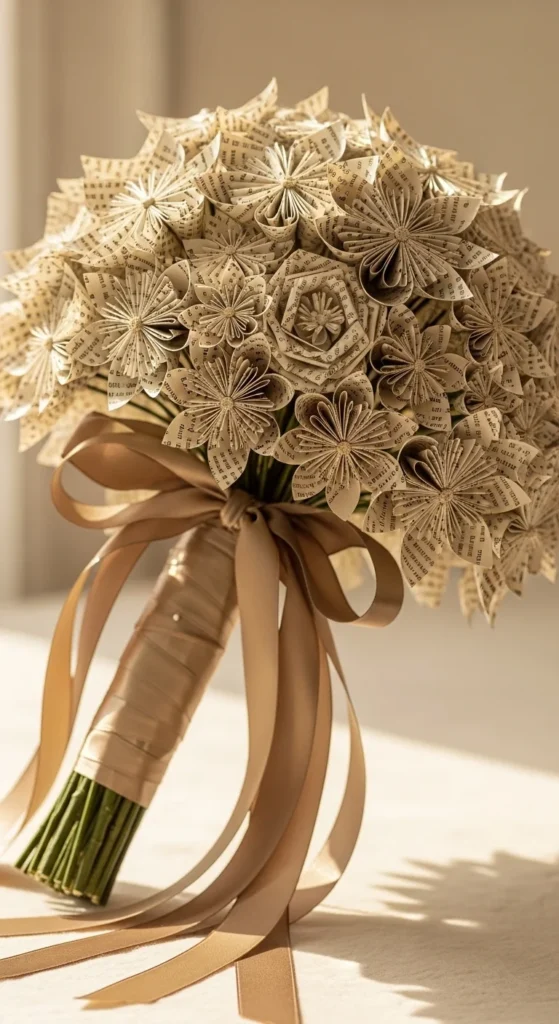
12. Book Page Bouquet with Skewer Stems
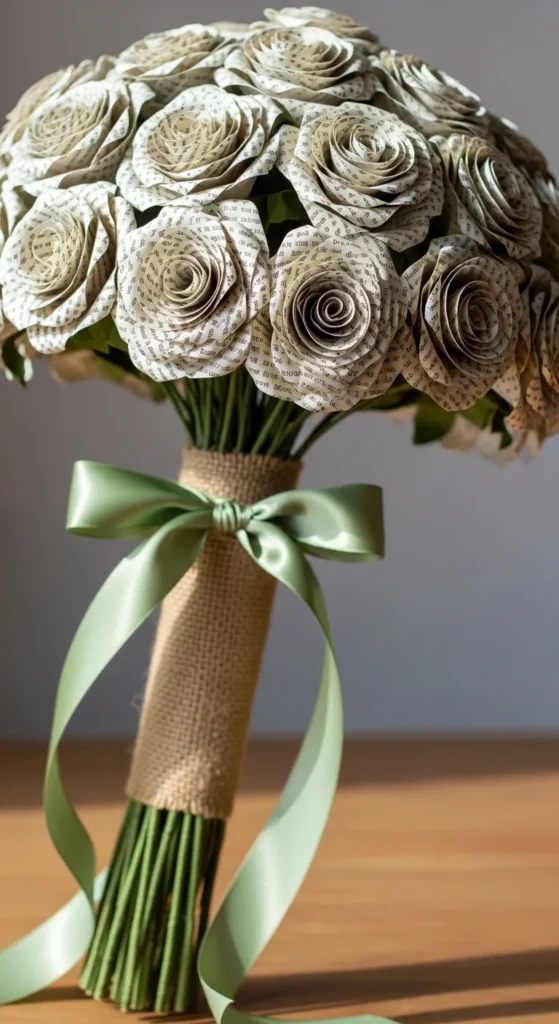
For a sturdy bouquet on a budget, use skewers as stems. Glue the rose base to the skewer tip. Then wrap the skewer with floral tape to hide wood and create a clean finish.
Mix bloom sizes for a natural look. Add a few buds and a few large roses. Fill gaps with leaves cut from scraps.
Tie the bouquet with ribbon and trim the ends neatly. This is a popular wedding project because it looks elegant and holds up well over time.
Budget tip: if floral tape is expensive, wrap stems with thin strips of book page and glue as you go. It takes longer but costs less.
13. Floral Wire Long-Stem Roses
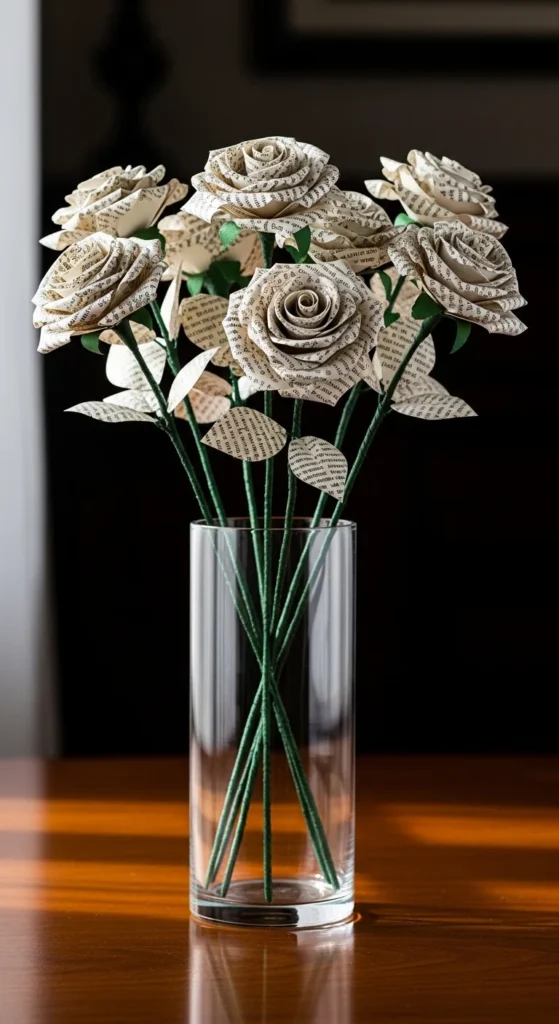
If you want flexible stems that can be posed, floral wire is the best choice. Make a small hook at the top of the wire and glue the rose base around it for grip. Wrap the entire stem with floral tape.
Add leaves by gluing them to the stem, then wrapping over the leaf wire with tape. This keeps everything neat and strong.
Long-stem roses look great in tall vases. They also photograph well because stems look clean and uniform.
Budget tip: buy wire in a multipack and save thicker wire for larger flowers. Use thinner wire for buds.
14. Book Page Carnation (Fringe Petals)

Carnations are easy because the petal texture hides mistakes. Cut several circles. Fold each circle into quarters. Then cut small fringe along the rounded edge.
Unfold the circle. It becomes a fluffy, fringed layer. Stack several fringed circles and glue them from smallest to largest around a stem.
Gently fluff the fringe with your fingers. This makes the carnation full and soft-looking. You can ink the fringe tips lightly for depth.
Budget tip: carnations use simple cuts and can be made quickly in batches, which is great for party decor.
15. Book Page Sunflower with Text Center
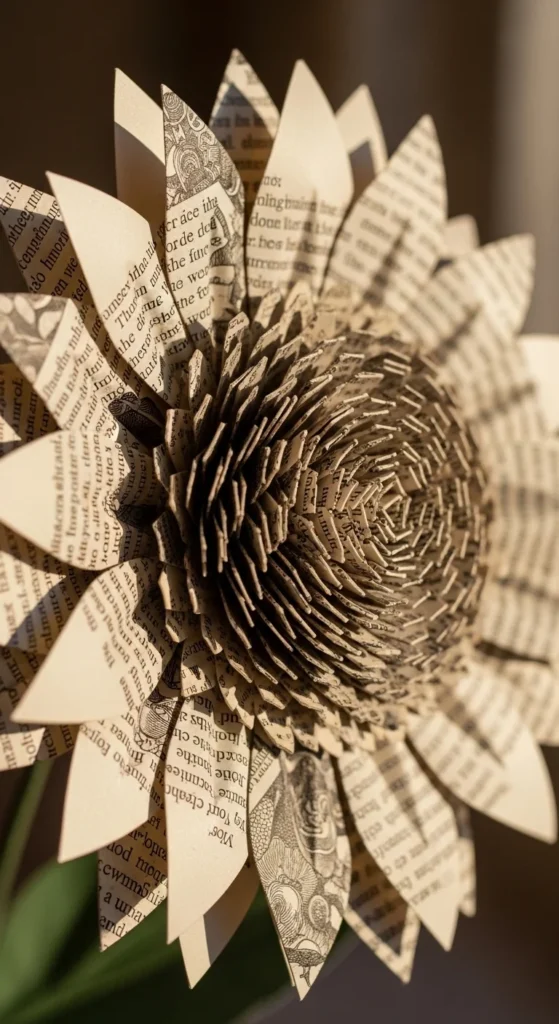
Sunflowers look cheerful and bold. Cut long petal shapes for the outer ring. For the center, roll a strip of text-heavy paper into a tight coil. Glue it down to a base circle.
Add petals around the center in two layers. Stagger the second layer so petals sit between the first layer. Curl petal tips outward a little.
These look great on a wall board or as a single statement bloom in a vase. If you want a darker center, use dictionary paper.
Budget tip: use a cardboard circle from packaging as your base. It makes the flower sturdier without extra cost.
16. Book Page Hydrangea Cluster
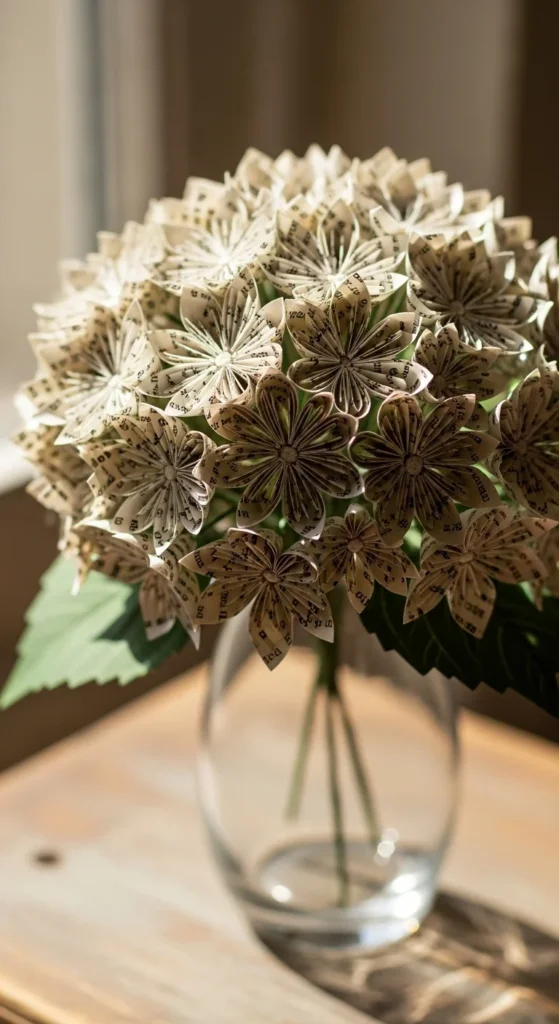
Hydrangeas are made of many tiny blooms, so they’re perfect for scrap use. Cut small four-petal shapes. Curl each petal slightly upward.
Glue 10–20 tiny blooms into a tight cluster on a wire stem. Make several clusters, then group them together in a vase to form a “hydrangea head.”
Add a few larger leaves to ground the shape. This looks beautiful in a centerpiece because it’s full and rounded.
Budget tip: if you don’t have wire, use toothpicks for small clusters, then tape the toothpicks together into one stem bundle.
17. Book Page Lavender Stems
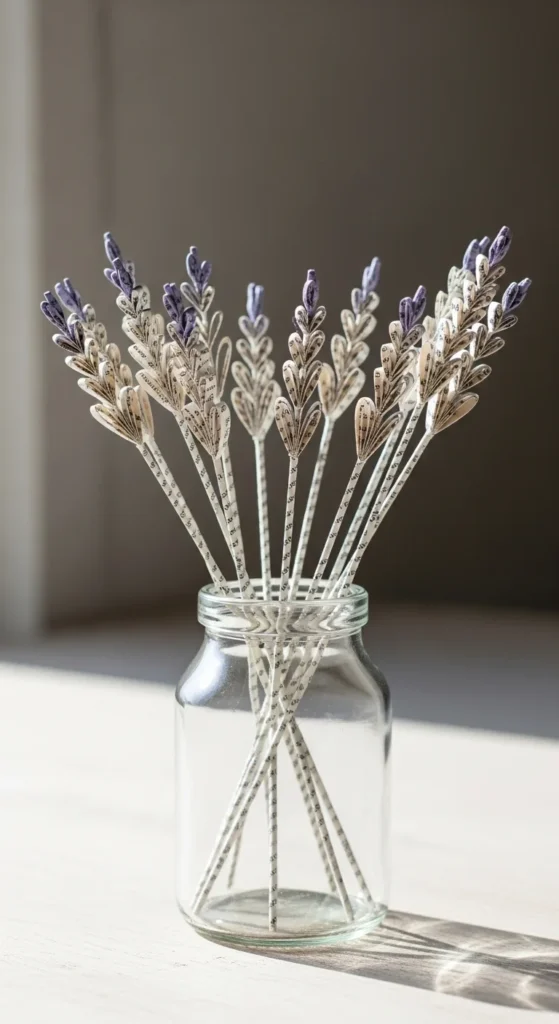
Lavender is simple and looks elegant. Cut thin strips of paper and roll them around floral wire. For the flower part, snip fringe into a narrow strip, then wrap it around the top of the stem.
Roll tightly at the top, then slightly looser as you go down. This creates the lavender shape. Wrap with floral tape to secure.
Make a bunch and tie with twine. It looks great in small jars and works well as a gift topper.
Budget tip: lavender uses very little paper per stem, so it’s a great “leftover page” project.
18. Book Page Eucalyptus Leaves
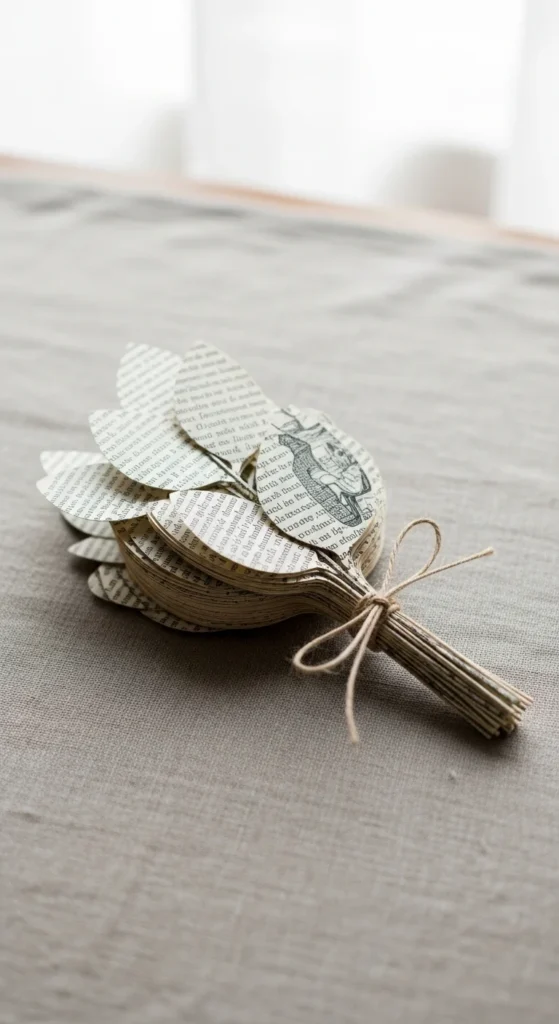
Not every floral idea needs a bloom. Eucalyptus-style leaves look great in vases and bouquets. Cut oval leaves in two sizes. Score a light center line and fold slightly to give shape.
Glue leaves along a wire or skewer stem. Stagger placement so it looks natural. Wrap the stem with floral tape.
Add these to book page rose bouquets to make them look fuller. Leaves also hide glue spots around the bloom base.
Budget tip: make a “leaf stash” from scraps. Having leaves ready makes every bouquet easier.
19. Book Page Anemone (Dark Center Look)
Anemones are known for their strong center. Make rounded petals in one or two layers. Then create a tight center from dictionary paper or a darkened strip.
For the center, fringe a narrow strip and roll it tightly. Glue it in place. Add petals around it with slight curl.
This flower looks great in modern decor because the center contrast creates a graphic look even without bright color.
Budget tip: use the densest text pages you can find for the center. It reads darker and hides glue.
20. Book Page Flower Wall Hoop
Use an embroidery hoop as a simple wall display. Make a cluster of flowers in one corner of the hoop. Add leaves and small buds to fill gaps.
Wrap the hoop with twine or leave it natural wood. Attach flowers with hot glue. Keep the cluster slightly asymmetrical for a relaxed look.
Hang it with ribbon. This works well in bedrooms, nurseries, and reading corners.
Budget tip: thrift stores often have embroidery hoops. Even slightly scratched hoops look fine when decorated.
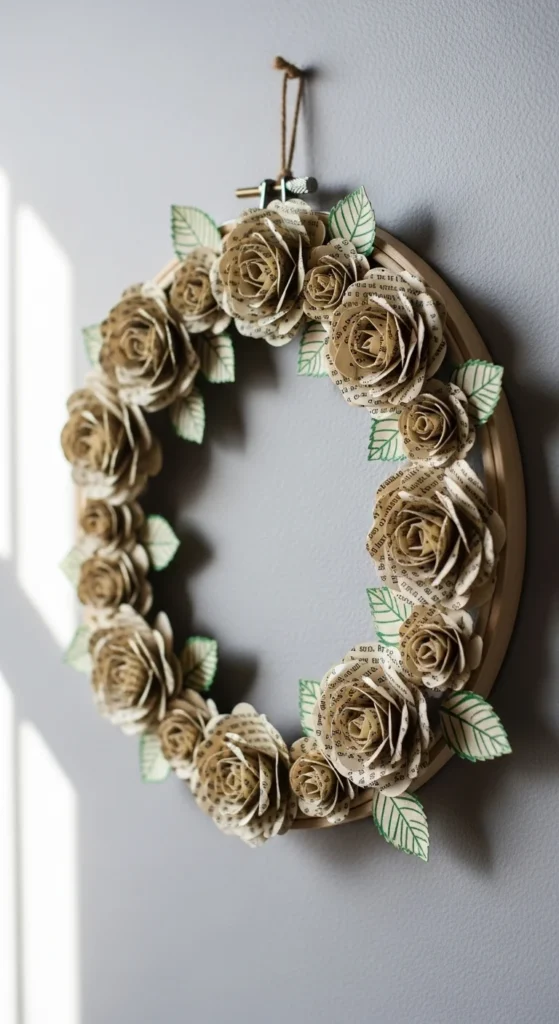
21. Book Page Flower Wreath
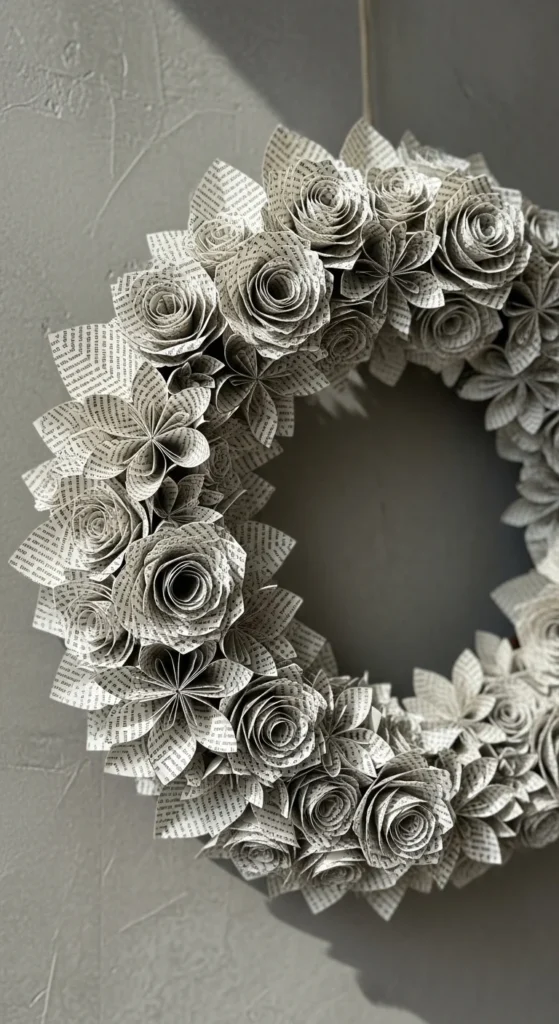
Make a wreath form from cardboard or a foam ring. Cover it with roses, buds, and leaves. Start on one side and work around so spacing stays even.
Mix flower sizes so it looks natural. Add leaves to cover gaps. Tie a ribbon at the top for hanging.
This looks great on doors or interior walls. It also makes a strong wedding decor piece because it photographs well and lasts.
Budget tip: use mostly small blooms to reduce paper use. Add more leaves for fullness without making more roses.
22. Book Page Bouquet Wrap with Ribbon Loop
The wrap makes the bouquet feel finished. After you build your bouquet, wrap stems with floral tape. Then add ribbon loops around the handle area, securing with pins or glue.
Keep the ribbon neutral so the paper stays the focus. Add a simple twine bow if you prefer a rustic look.
This style is popular for literary weddings. Pair it with a meaningful book theme by using pages from a favorite novel.
Budget tip: you can wrap the handle with strips of book page first, then cover with ribbon. It saves ribbon and keeps the look cohesive.
23. Book Page Corsage or Boutonniere

Make one small rose or bud and add two leaves. Attach to a small wire base. Wrap with floral tape so it’s neat.
This is perfect for weddings or themed parties. It’s also a fun gift add-on. Keep the flower small so it sits flat.
Budget tip: use a lollipop stick stem for quick builds, then trim it short for a boutonniere base.
24. Mixed Paper Bouquet (Book + Sheet Music + Map)
Mixing paper types adds depth without paint. Use book pages as the base. Add sheet music roses for pattern. Add a few map petals for soft color.
Keep the mix balanced. Too many paper styles can look busy. Try a 70/20/10 split: mostly book pages, some sheet music, a few map accents.
Use matching stems and leaf shapes to unify the bouquet. Wrap all stems with the same floral tape color.
Budget tip: this is perfect when you have small scraps of specialty paper and lots of regular book pages.
25. Oversized Statement Rose (Single Bloom)
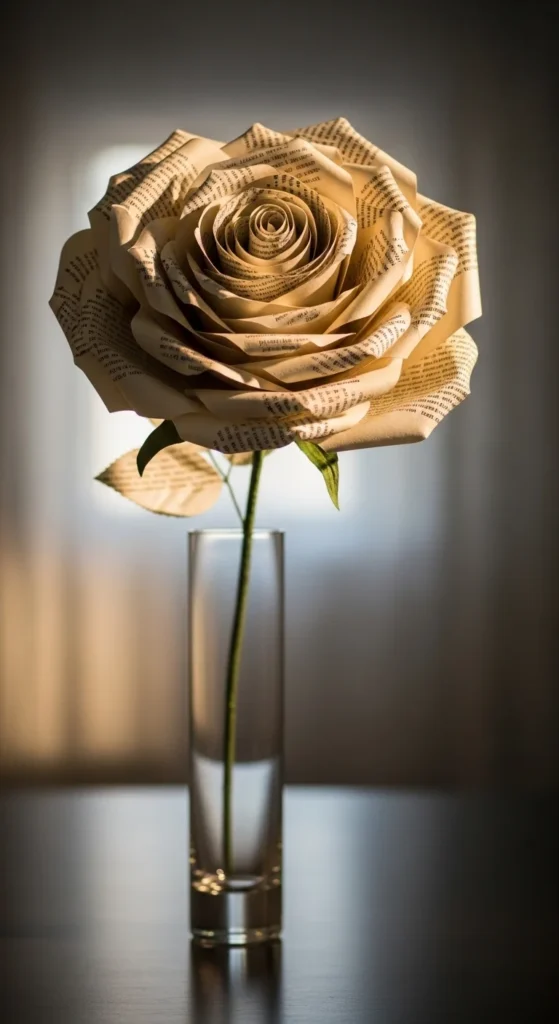
A giant rose makes a statement without needing a full bouquet. Cut much larger petals and build the flower in layers. Use a strong base circle and plenty of glue.
Curl edges outward with a dowel or thick marker. Large petals show curling more clearly, so take your time shaping them.
Use a thick skewer or sturdy wire for the stem. Wrap tightly with floral tape for strength. Add two or three large leaves.
Budget tip: oversized flowers use more paper, so choose a cheap thrifted book. The payoff is big for photos and room decor.
26. Book Page Flowers in a Shadow Box Display
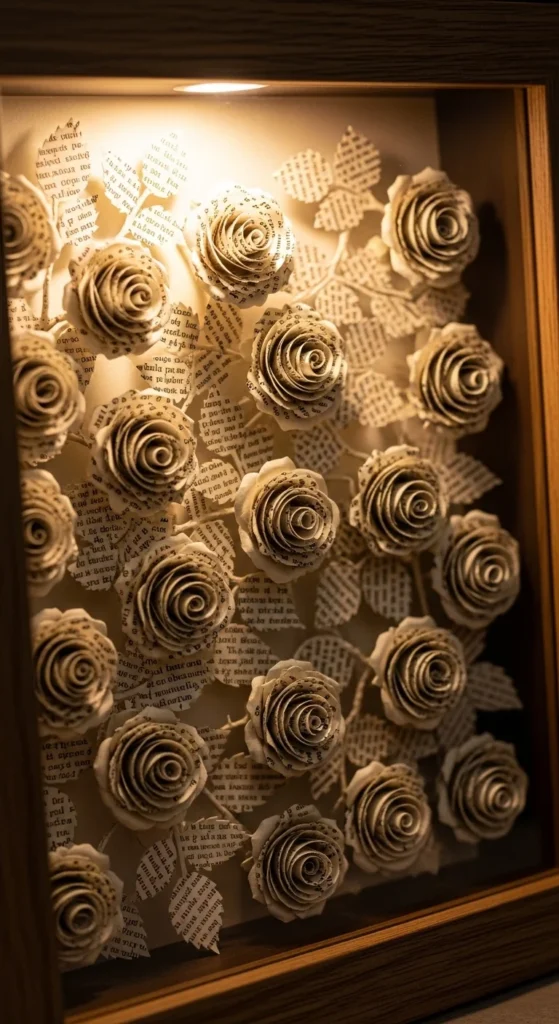
Shadow boxes protect flowers and turn them into wall art. Arrange small blooms inside a deep frame. Use foam tape under some flowers so you get depth.
Add leaves between blooms to hide glue spots. Keep the layout slightly uneven so it feels natural. You can also cluster flowers in one corner for a modern look.
This is a great keepsake idea for weddings, anniversaries, or gifts. Use pages from a meaningful book to make it personal.
Budget tip: thrift stores often have deep frames. Paint the frame neutral if it’s too shiny.
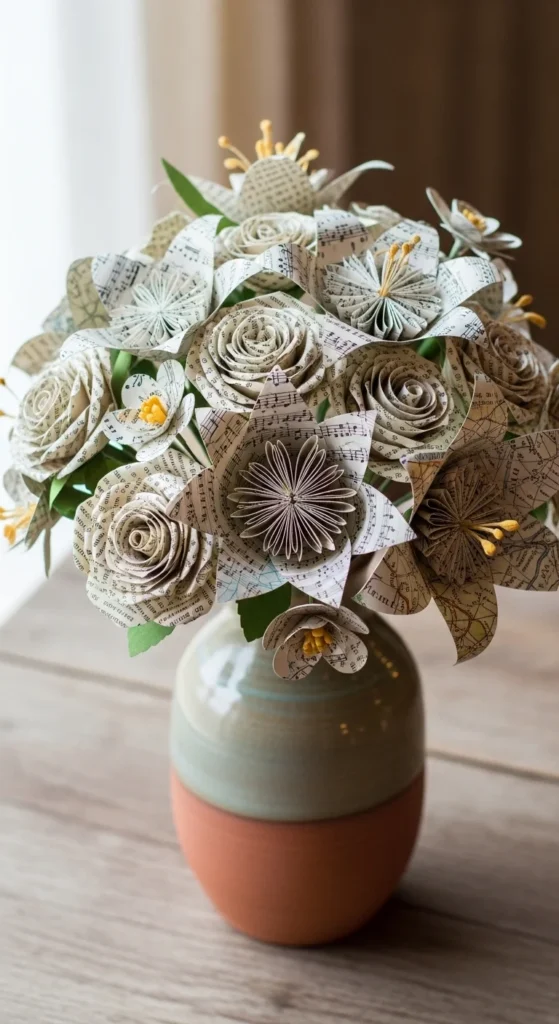
27. “Book Garden” Vase Filler Mix
Vase fillers make your arrangement look full without extra big blooms. Mix roses, buds, eucalyptus leaves, lavender stems, and small scrap blossoms. The variety creates a natural look.
Start with taller stems in the center. Add medium blooms around them. Then fill gaps with leaves and small buds. Turn the vase as you work so it looks balanced from all angles.
This is perfect for shelves, entry tables, or centerpieces. It also lets you use every scrap from your book pages.
Budget tip: keep a box for cutoffs. Small scraps become buds, leaves, and filler stems, so nothing goes to waste.
Conclusion
Book page flowers are a budget-friendly craft that works for everyday decor, gifts, and event styling. Start with simple spiral roses, then try structured cone petals for bouquets. Add leaves from scraps, wrap stems neatly, and use text-heavy pages to avoid pale gaps. Whether you make one statement bloom or a full arrangement, these paper flowers bring cozy, literary charm that lasts year after year.

DiyVisual is a DIY ideas resource for makers of every level. Our small editorial team researches and curates easy, budget-friendly craft, home decor, and handmade gift projects — explained step by step so anyone can recreate them at home with simple materials.


