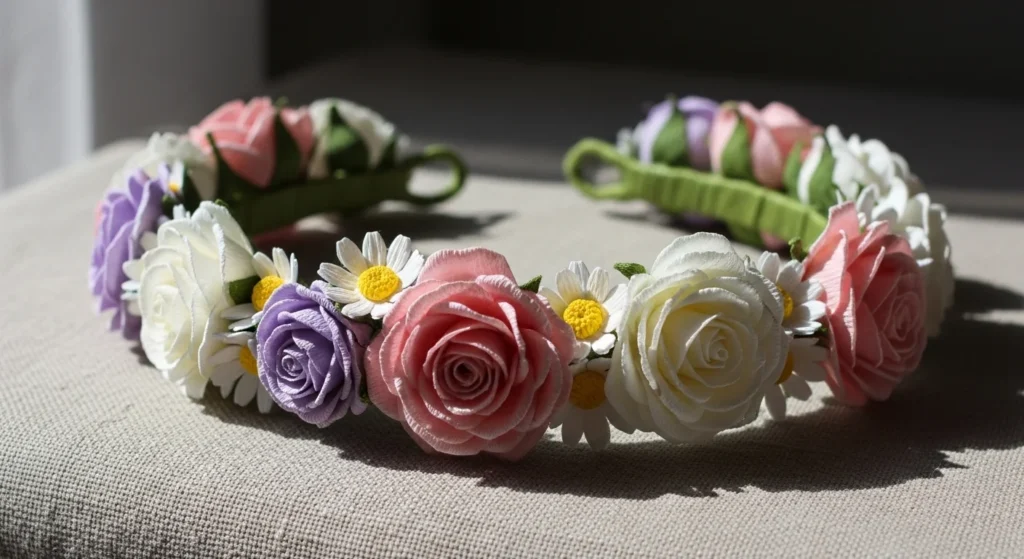
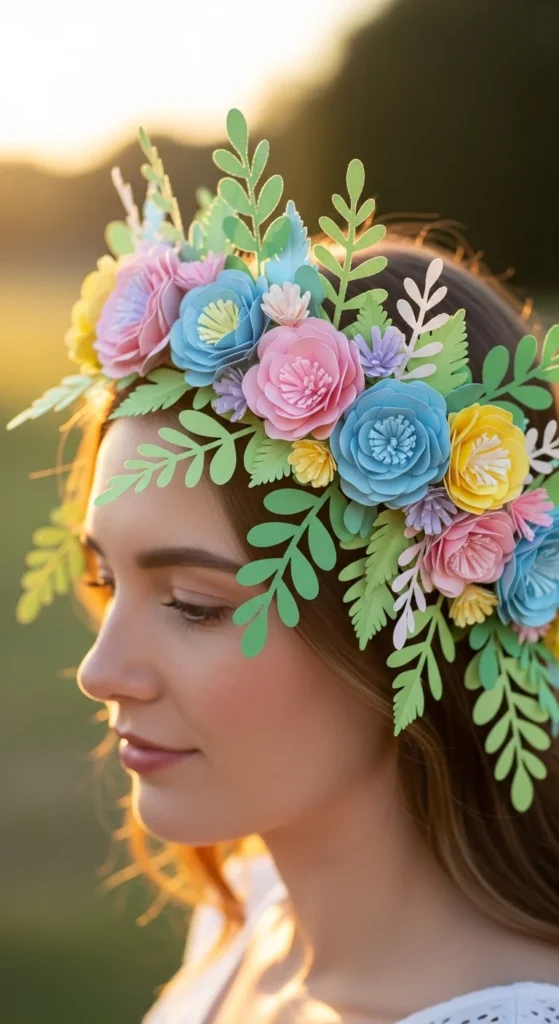
A paper flower crown turns any event into a photo moment. It’s light, customizable, and easy to match with party colors. You can make one for birthdays, school functions, festivals, bridal showers, or family photos — even if you’re not a “crafty” person.
The secret is a comfy base that fits your head, plus a mix of big flowers, small fillers, and leaves. Once you learn the simple pattern, you can remake it in any color theme.
Pick a Crown Style That Matches Your Event
Before you cut anything, decide the look.
Popular event styles
- Full halo crown: flowers all the way around (cute for kids, festivals)
- Front-heavy crown: flowers only across the front (great for photoshoots)
- Side cluster crown: a big floral cluster on one side (easy and light)
Quick sizing tip
- Measure around your head where the crown will sit (usually just above the ears).
- Add 1–2 cm so it’s not tight.
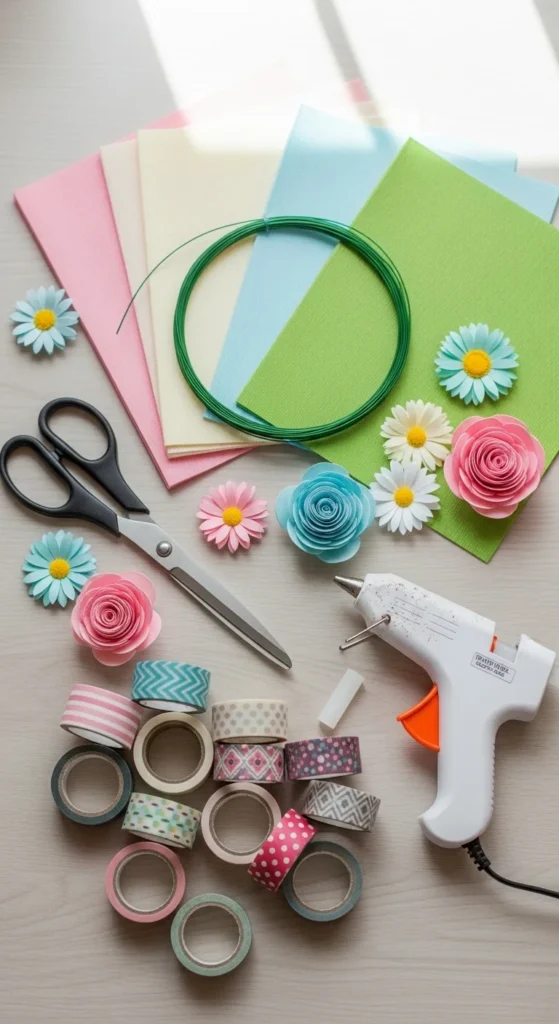
Gather Supplies (Budget-Friendly)
You can make a strong crown with simple supplies.
Base options
- Floral wire (easy to shape)
- Pipe cleaners (kid-friendly)
- Cardstock strip (no wire tools)
Flower materials
- Crepe paper (most realistic)
- Tissue paper (fast and fluffy)
- Cardstock (clean, bold shapes)
Tools
- Hot glue gun (or strong tacky glue)
- Scissors
- Tape (washi tape or masking tape)
- Wire cutters (if using wire)
- Optional: pencil or brush handle for curling petals
Make a Comfortable Crown Base
A good base keeps the crown stable and comfy.
Option A: Wire circle base (best for adults)
- Cut wire to 50–55 cm (adjust for your measurement).
- Form a circle and twist the ends together.
- Wrap the full circle with tape to cover sharp spots and add grip.
Option B: Cardstock headband base (best for kids)
- Cut a long strip of cardstock (3–4 cm wide).
- Wrap around the head, overlap, and glue or staple.
- Add a second strip for extra strength if your flowers are heavy.
Comfort check
- It should sit snug, not squeeze.
- If it slips, add a thin ribbon tie at the back.
Make Fast Flowers (Choose One Method)
If you already have paper flowers made, skip ahead. If not, here are quick options.
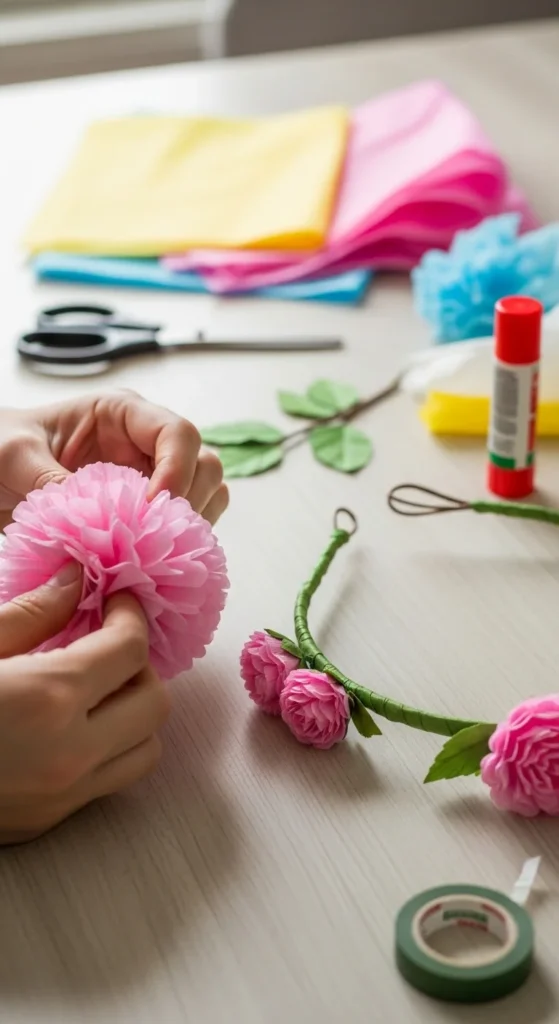
Tissue pom-pom flowers (fastest)
- Stack 5–8 tissue squares.
- Accordion fold the stack.
- Tie the center with thread or a small wire.
- Round the ends and fluff each layer gently.
Simple crepe flowers (more realistic)
- Cut petals in 2 sizes (small + medium).
- Curl petal edges around a pencil.
- Glue petals around a small rolled center.
Easy flower count for one crown
- 3–5 large flowers
- 6–10 small flowers
- 6–10 leaves
Prep Leaves and Fillers for a “Full” Look
Leaves make the crown look balanced and hide glue spots.
Quick leaf method
- Cut green paper ovals.
- Fold each leaf down the center.
- Curl the tips slightly outward.
Mini filler ideas
- Tiny paper buds (rolled scraps)
- Small daisies
- Paper lavender sprigs
Keep fillers small so the crown doesn’t feel bulky.
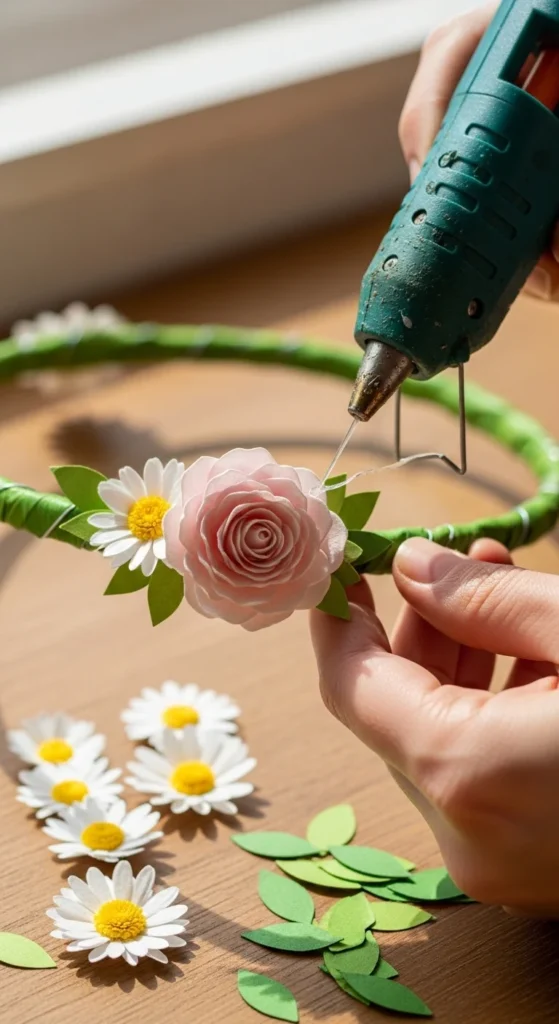
Attach Flowers in the Right Order
This step makes the crown look professional.
Step-by-step placement
- Place your crown base on the table.
- Add your biggest flower first (center front or side).
- Add 2–4 large flowers around it, spacing evenly.
- Tuck small flowers into gaps.
- Add leaves last to soften edges and cover glue.
How to attach
- For wire bases: wrap flower stems around the base, then add a tiny glue dot.
- For cardstock bases: glue flower bases directly, then cover with leaves.
Glue tip
- Use small dots, not long glue lines.
- Press for a few seconds so it locks in place.
Make It Event-Ready (Secure + Lightweight)
A crown can look amazing but still fail if it’s heavy or loose.
Keep it light
- Put big flowers only on the front half if it’s for long wear.
- Use fewer layers on flowers for kid crowns.
Make it stable
- Add extra tape around heavy flower stems.
- If the crown slides, glue a thin felt strip inside (soft and grippy).
Transport tip
- Carry it in a shallow box with tissue paper padding.
- Don’t stack items on top.
Quick Theme Ideas for Parties and Photos
Match your crown to the vibe.
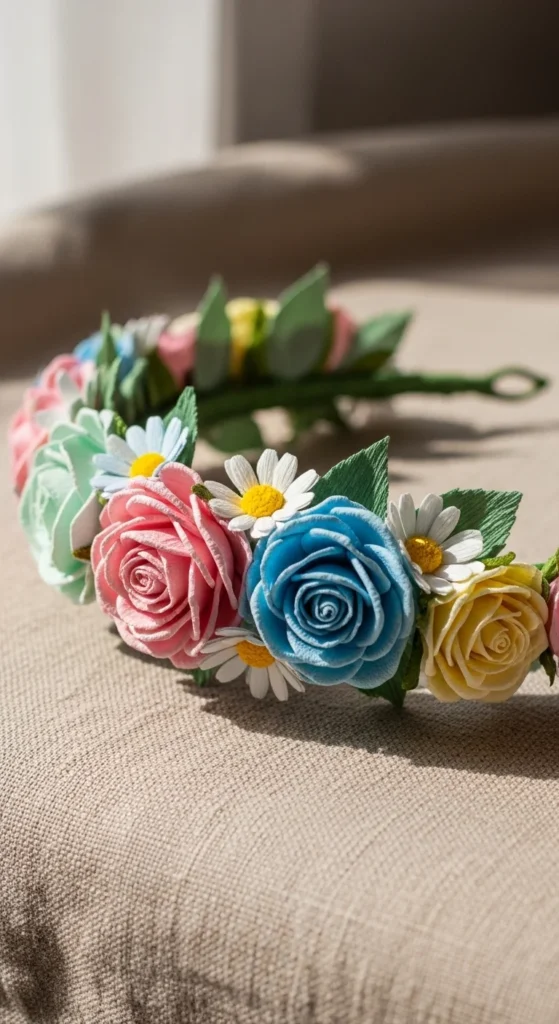
Color themes that photograph well
- Pastels (birthday, baby shower)
- White + green (simple and clean)
- Bright rainbow (kids’ parties)
- Pink + red (Valentine events)
- Yellow + white (summer festivals)
If you’re unsure, pick two main colors and one green for leaves.
Conclusion
A paper flower crown is an easy event accessory that looks handmade in the best way. Start with a comfy base, use a mix of big flowers and small fillers, and attach in layers so everything looks balanced.
Make one today, then save your leftover flowers for matching corsages or table decor. Save this tutorial for later and build a crown for your next celebration!

DiyVisual is a DIY ideas resource for makers of every level. Our small editorial team researches and curates easy, budget-friendly craft, home decor, and handmade gift projects — explained step by step so anyone can recreate them at home with simple materials.


