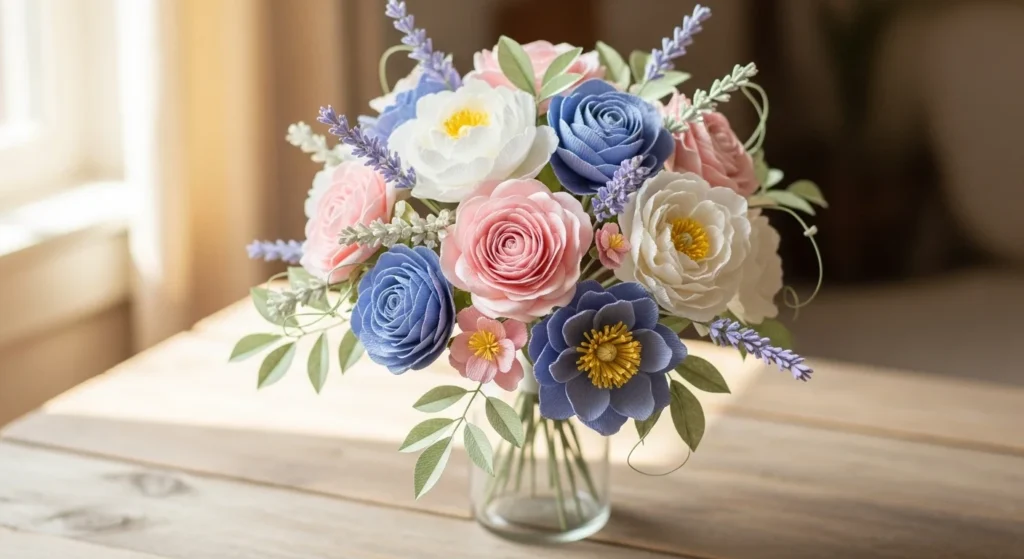
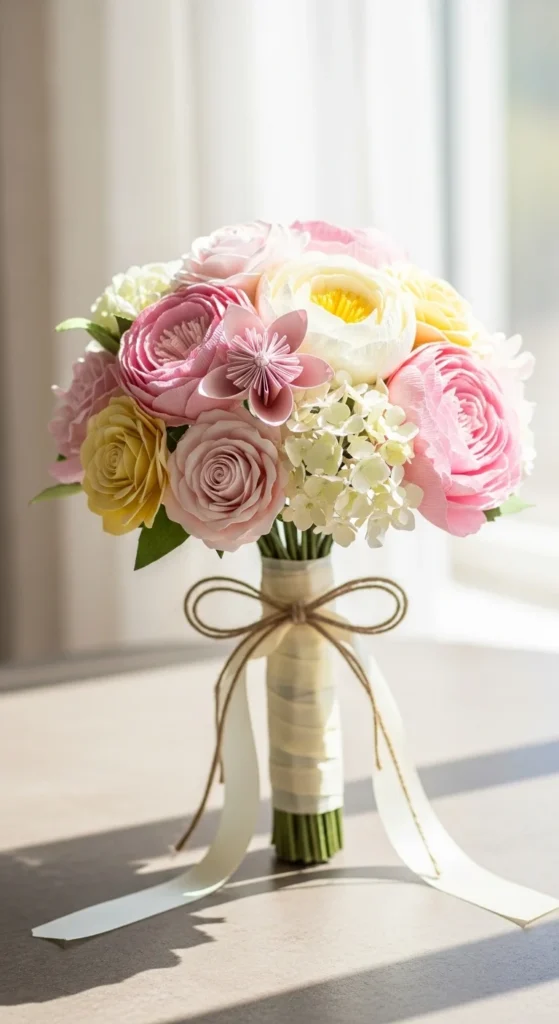
A paper flower bouquet is one of the prettiest DIY gifts you can make — and the best part is it never wilts. Whether you’re crafting for birthdays, home decor, or special occasions, a well-arranged paper bouquet looks surprisingly realistic when built with the right mix of blooms and structure.
The key is layered flowers, sturdy stems, and smart arrangement in floral foam. Follow this simple step-by-step guide to create a bouquet that looks full, balanced, and gift-ready.
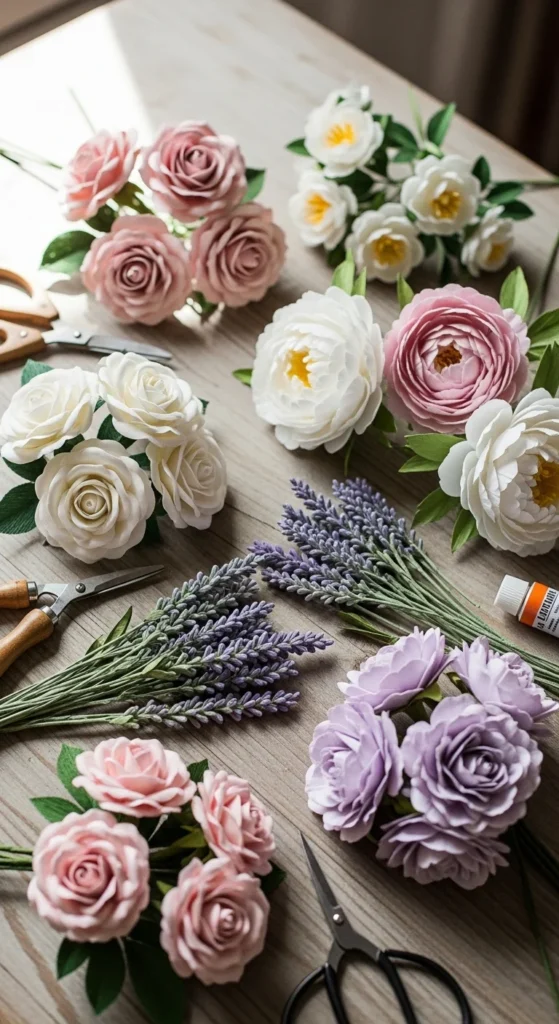
Choose Your Flower Mix
A natural-looking bouquet uses variety. Mixing flower types creates depth and realism.
Great beginner combo
- Paper roses (main focal flowers)
- Paper peonies (soft volume)
- Paper lavender (texture filler)
- Optional: tulips or daisies
Easy rule
- 3–5 flower types per bouquet
- Odd numbers look more natural
- One dominant flower (usually roses)
Quick tip: Use 6–12 total stems for a medium bouquet.
Gather Your Bouquet Supplies
Before assembling, prepare your tools and base materials.
Must-have supplies
- Finished paper flowers with wire stems
- Floral foam (block or hemisphere)
- Wire cutters or scissors
- Hot glue gun
- Floral tape or green crepe paper
- Ribbon or twine for wrapping
- Small vase or paper vase (optional)
Budget swaps
- Drinking straws can extend short stems
- Styrofoam can replace floral foam
- Rolled cardstock can act as a vase
Having everything ready makes arranging much smoother.
Prepare the Floral Foam Base
Floral foam keeps your bouquet stable and full.
If using a vase
- Cut foam to fit snugly inside
- Press gently into place
- Keep the top slightly below the rim
If making a hand-tied bouquet
- Use a small foam ball or half block
- Hold in your hand while arranging

Important: Don’t force the foam. A snug but gentle fit works best.
Trim and Prep Your Stems
Before inserting flowers, even out your stems.
Steps
- Trim wires to different heights
- Wrap stems with floral tape if bare
- Add a small glue dot at sepal base if loose
Height guide
- Center flowers = tallest
- Middle ring = medium
- Outer flowers = shortest
This layering creates that professional bouquet shape.
Arrange the Main Flowers First
Start with your focal blooms.
Step-by-step
- Insert the largest flower in the center.
- Add 2–3 roses around it.
- Rotate the bouquet as you work.
Keep spacing slightly loose. Tight clusters can look artificial.

Pro tip: Step back every few stems to check the shape.
Fill Gaps with Secondary Flowers
Now add peonies, tulips, or medium blooms.
Placement tips
- Tuck between roses
- Vary the angles
- Avoid lining flowers in a circle
You’re aiming for a rounded dome shape, not a flat top.
If the bouquet looks sparse, add more mid-size flowers before moving to fillers.
Add Lavender and Small Fillers
This is what makes the bouquet look full and natural.
Best filler choices
- Paper lavender
- Small daisies
- Tiny buds
- Green paper leaves
How to place
- Insert into visible gaps
- Angle slightly outward
- Use fewer than you think — a little goes far
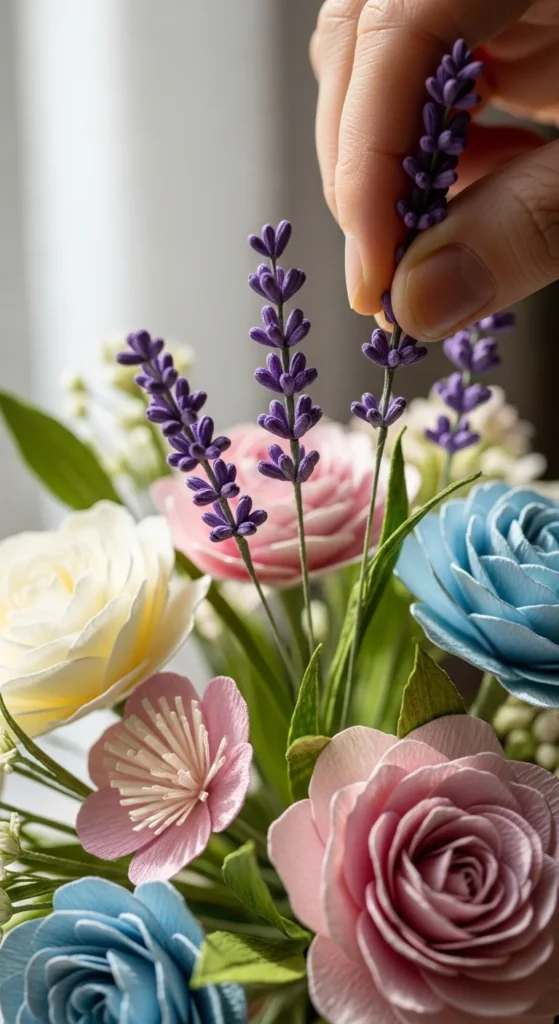
Texture tip: Lavender works best near the outer edges.
Shape and Balance the Bouquet
Now refine the overall look.
Rotate and check
- Look from the front
- Look from the top
- Check the silhouette
Fix common issues
If bouquet looks flat:
- Raise the center flower.
If it looks uneven:
- Add a small filler to the empty side.
If stems wobble:
- Add a tiny glue dot where stems enter foam.
Take your time here. Small tweaks make a big difference.
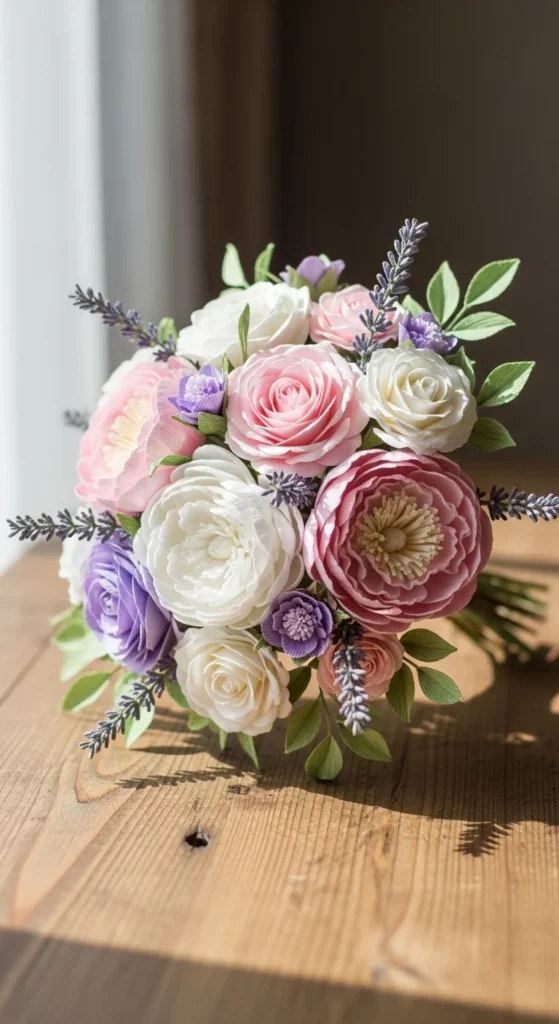
Wrap the Bouquet for a Gift Finish
The final wrap turns your arrangement into a gift-ready piece.
For hand-tied bouquets
- Gather stems tightly
- Wrap with floral tape
- Cover with ribbon or twine
- Trim stem ends evenly
For vase bouquets
- Add decorative paper wrap around vase
- Tie a ribbon bow
- Fluff flowers one last time
Styling idea: Neutral ribbons give a soft, elegant look.
Seasonal Theme Ideas
Want your bouquet to stand out? Try themed color palettes.
Popular combinations
- Pink + cream for romantic gifts
- Purple + green for spring decor
- Red + blush for Valentine themes
- Soft pastels for birthdays
- White + greenery for minimalist style
Mixing 3 shades of the same color often looks more realistic than using one flat tone.
Takeaway
A paper flower bouquet is a beautiful project that stays bright year-round. By mixing flower types, using floral foam for structure, and layering stems thoughtfully, you can create an arrangement that looks full and polished.
Start with a small bouquet today, then experiment with colors and flower mixes as you get more confident.
Save this guide for later and build your forever bouquet whenever inspiration hits. 🌸

DiyVisual is a DIY ideas resource for makers of every level. Our small editorial team researches and curates easy, budget-friendly craft, home decor, and handmade gift projects — explained step by step so anyone can recreate them at home with simple materials.


