Paper orchids look luxurious and detailed, yet they’re very doable when you break the process into simple steps. The key to that Phalaenopsis (moth orchid) look is proper petal shaping, a well-built center, and neat wiring.
In this guide, you’ll learn an easy but realistic method using templates and simple tools. Take your time with shaping, and your orchids will look beautifully polished.
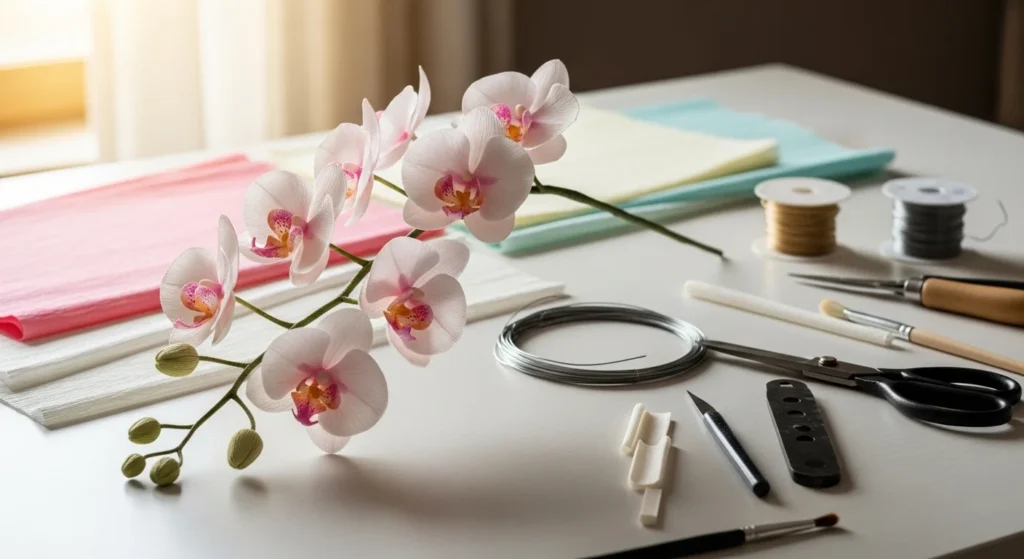
Supplies You’ll Need
Before starting, gather your materials. Having everything ready makes the process smoother.
Paper options
- Crepe paper (most realistic)
- Cardstock (structured look)
- Wafer paper (for delicate projects)
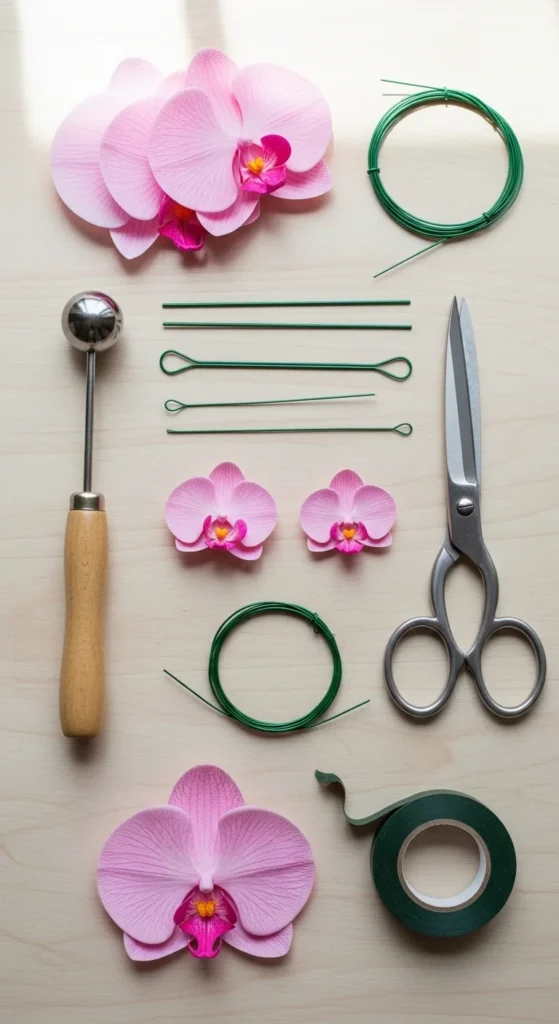
Tools
- Floral wire (18–26 gauge works well)
- Ball tool or rounded stylus
- Scissors
- Hot glue gun
- Green floral tape
- Pencil or small brush handle (for curling)
Optional extras
- Soft pastels or colored pencils for shading
- Foam pad for shaping
Budget tip: If you don’t have a ball tool, the back of a paintbrush works surprisingly well.
Step 1: Cut the Classic Orchid Petal Set
Phalaenopsis orchids use a 3 + 2 petal structure.
What to cut
- 3 larger rounded petals (bottom layer)
- 2 slightly smaller petals (top layer)
- 1 detailed center piece (lip/tongue)
Use templates if possible to keep shapes consistent.
Quick cutting tips
- Cut along the paper grain if using crepe paper.
- Keep edges smooth.
- Prepare multiple sets if making a spray.
Neat cutting now makes assembly much easier later.
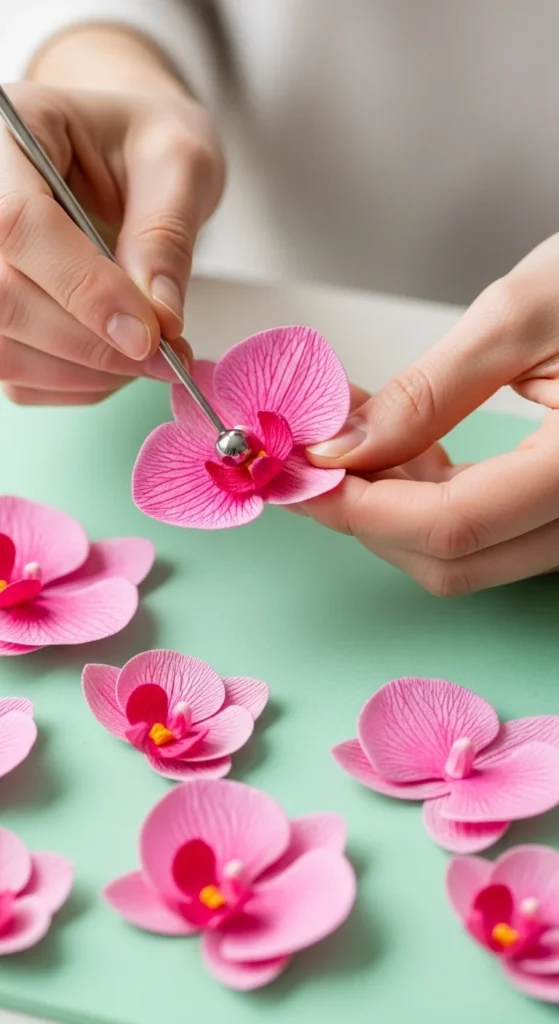
Step 2: Shape the Petals for a Natural Curve
Flat petals look artificial. Gentle shaping makes all the difference.
Using a ball tool
- Place petal on a foam pad.
- Roll the ball tool in small circles from center outward.
- Lightly thin the edges.
Add curl
- Use a pencil to roll petal tips outward.
- Keep the curve soft, not tight.
Pro tip
Outer petals should be slightly more open than inner ones for depth.
Step 3: Build the Orchid Center
The center (lip) is what gives orchids their fancy look.
Basic center method
- Fold the center piece along marked lines.
- Gently curl the tongue outward.
- Add tiny dots with a marker if desired.
Optional upgrade
- Lightly shade the center with colored pencil.
- Blend softly for a natural gradient.
Take your time here. A well-shaped center makes the flower look much more realistic.
Step 4: Create a Secure Wire Base
A strong wire anchor keeps everything aligned.
Make the loop
- Bend a small loop at the tip of floral wire.
- This prevents slipping.
Attach the center
- Glue the center piece around the wire loop.
- Let it set firmly.
Add bottom petals
- Glue the 3 large petals evenly around the center.
- Space them like a triangle.
Add top petals
- Place the 2 smaller petals between the gaps.

Alignment tip
Look from the front often to keep the flower symmetrical.
Step 5: Wrap the Stem for a Clean Finish
Now turn your bloom into a display-ready orchid.
Wrap with floral tape
- Start just under the flower.
- Stretch tape slightly as you wrap.
- Move downward in smooth spirals.
For longer stems
- Add extra wire length first.
- Then wrap the full stem.
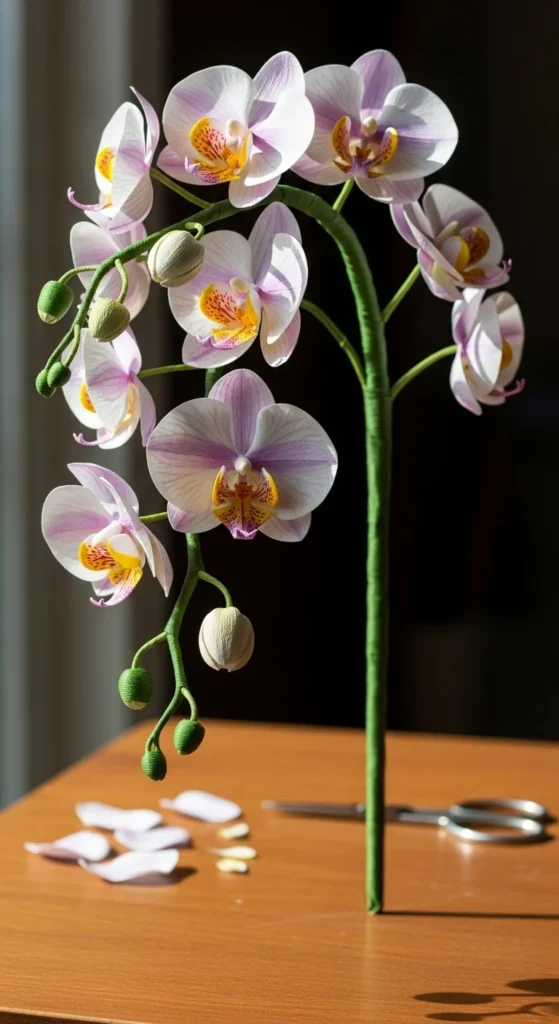
Optional buds
- Roll tiny tissue balls.
- Tape to thin wires.
- Attach along the main stem for a realistic spray.
Easy Ways to Make Orchids Look More Real
Want that high-end handmade look? Try these simple upgrades.
Add soft color variation
- Lightly dust petal centers with pastel.
- Blend outward gently.
Shape leaves
- Cut long green leaves.
- Curl tips slightly backward.
- Glue in pairs near the stem base.
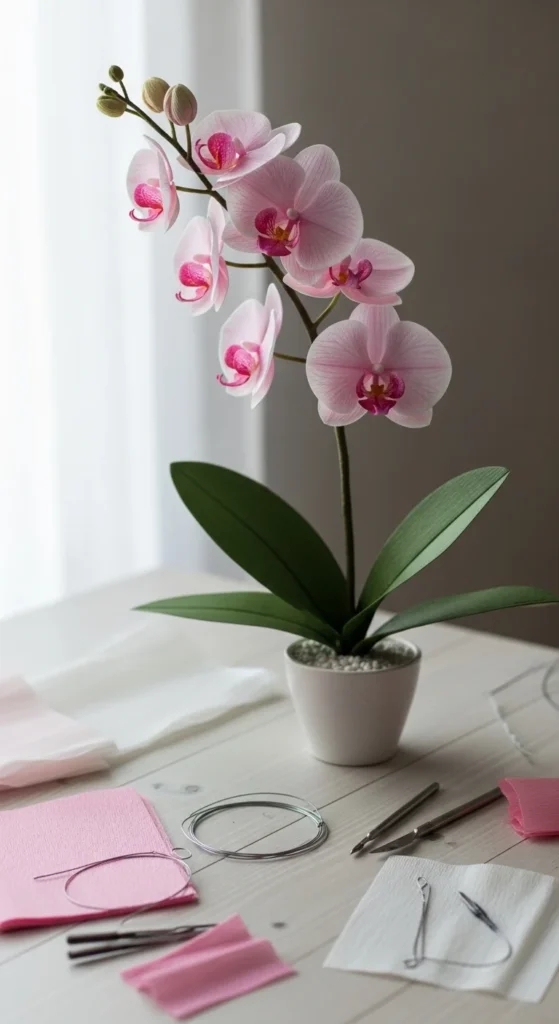
Create a potted orchid
- Insert stems into floral foam.
- Cover with moss.
- Use a simple white pot.
Make a full spray
- Combine 3–7 flowers on one wired stem.
- Add small buds near the top.
Small details create a much more polished result.
Fixing Common Problems
Petals won’t stay in place
- Make sure the wire loop is fully glued inside the center.
Flower looks flat
- Increase petal cupping with the ball tool.
Glue looks messy
- Use tiny dots only.
- Let each layer set before adding the next.
Leaves flatten over time
- Add a light center fold before attaching.
Spray looks uneven
- Vary flower angles slightly along the stem.
Takeaway
Paper orchids may look intricate, but the process becomes simple when you focus on clean templates, gentle shaping, and secure wiring. Once you make your first bloom, the rest come together quickly.
Try making a small orchid spray this weekend and display it in a simple pot. Save this tutorial for later — your future craft session will thank you. 🌸

DiyVisual is a DIY ideas resource for makers of every level. Our small editorial team researches and curates easy, budget-friendly craft, home decor, and handmade gift projects — explained step by step so anyone can recreate them at home with simple materials.


