Paper carnations are one of the easiest flowers to make, yet they look wonderfully full and ruffled. With just a few folds and some gentle fluffing, you can create blooms perfect for bouquets, party decor, or classroom crafts. The magic behind realistic carnations is simple: accordion folding, soft ruffling, and careful fluffing.
This step-by-step guide focuses on the beginner-friendly tissue paper method, with optional upgrades if you want a more polished look. Once you try one, you’ll be able to make a whole bunch quickly.
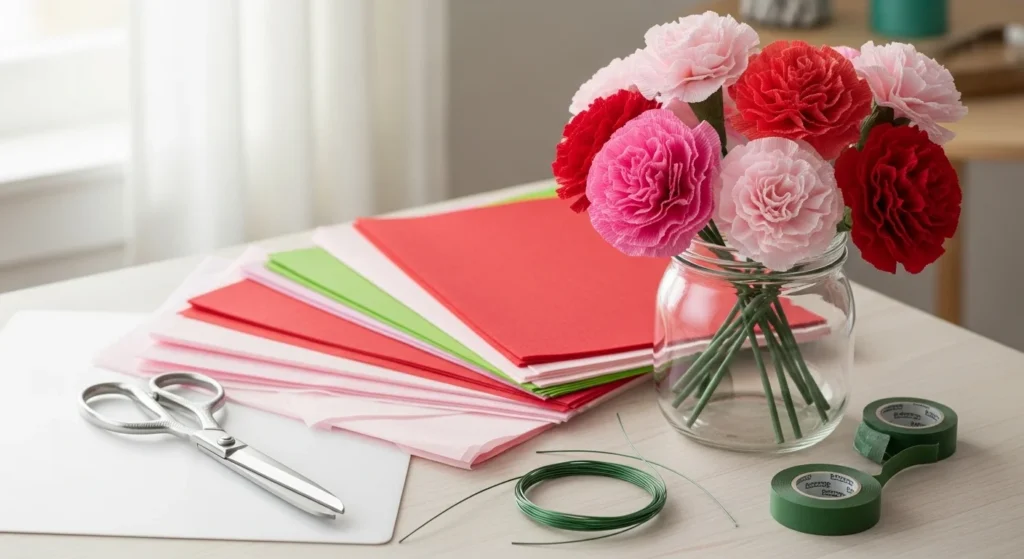
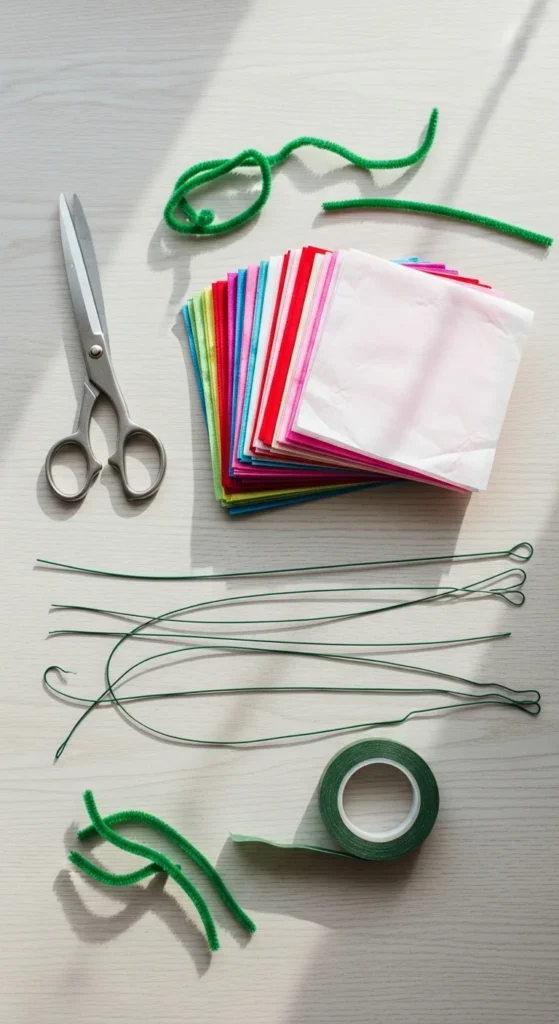
Supplies You’ll Need
Keep it simple. Most of these are inexpensive and easy to find.
Paper options
- Tissue paper (best for soft, fluffy carnations)
- Crepe paper (for more texture)
- Cardstock (for structured versions)
Tools
- Scissors
- Floral wire or pipe cleaners
- Green floral tape or green paper strips
- Hot glue gun (optional but helpful)
- Pencil or marker (optional for edge tinting)
Budget tip: Pipe cleaners work perfectly as stems for kids’ crafts.
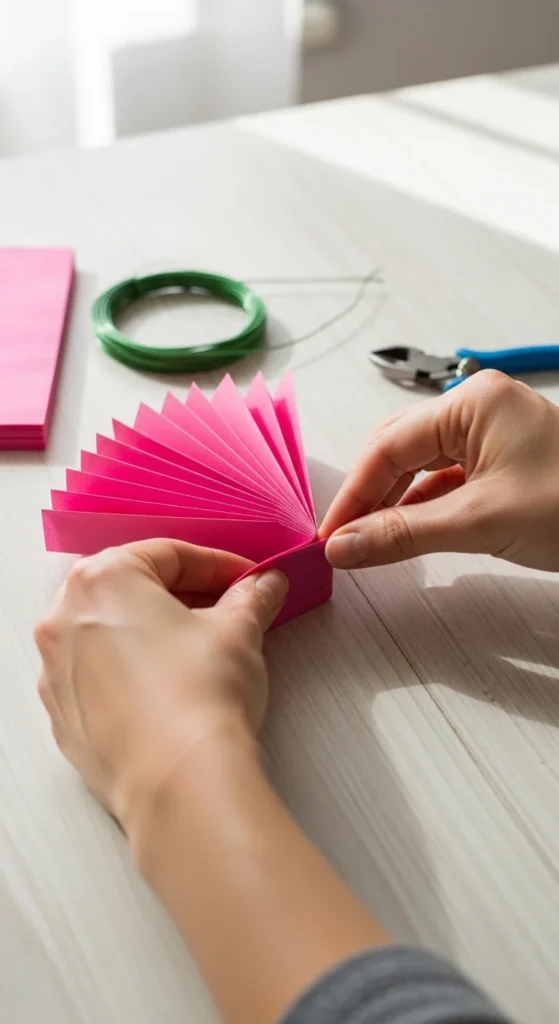
Step 1: Stack and Accordion Fold the Paper
This is the classic carnation method and the easiest place to start.
Cut your paper
- Stack 4–8 sheets of tissue paper.
- Cut into rectangles about 6 x 4 inches for medium flowers.
Accordion fold
- Fold back and forth like a paper fan.
- Each fold about ½ inch wide.
- Keep folds neat and even.
Secure the center
- Wrap floral wire or a pipe cleaner tightly around the middle.
- Twist firmly so it holds.
Shape the ends
- Round the corners with scissors for classic carnation edges.
- Or cut into soft points for a slightly spiky look.
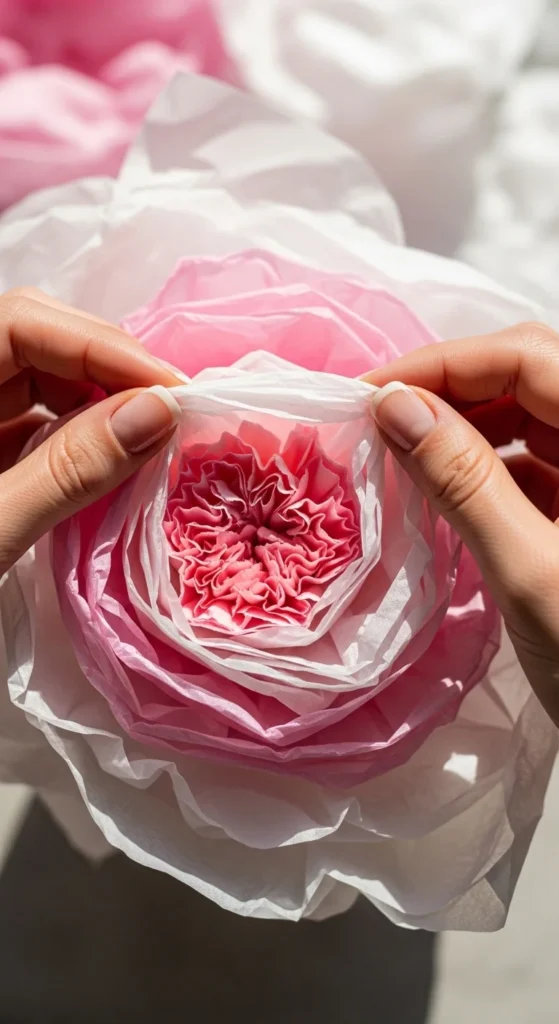
Step 2: Gently Separate and Fluff the Layers
This step transforms the folded paper into a flower.
How to fluff
- Start on one side of the fan.
- Carefully pull up the top tissue layer toward the center.
- Repeat one layer at a time.
- Flip and do the other side.
Important: Pull slowly. Tissue tears easily.
Volume tip
- The more sheets you start with, the fuller the carnation looks.
- 6–8 sheets usually give the best fluffy effect.
If the flower looks uneven, gently rotate and adjust layers until it looks round.
Step 3: Shape the Bloom for a Natural Look
Right now your carnation is fluffy, but a little shaping makes it look more realistic.
Quick shaping tricks
- Lightly scrunch the edges inward with your fingers.
- Gently rotate the bloom while fluffing.
- Press the center slightly tighter for a rounded form.
Optional edge tint
- Lightly brush marker color along petal edges.
- Soft pink or deeper red adds depth.
Avoid this mistake
Don’t crush the bloom flat while adjusting. Always fluff outward, not downward.
Step 4: Create and Wrap the Stem
Now turn your fluffy bloom into a proper flower stem.
If using floral wire
- Use the wire already tied at the center.
- Twist the ends together to form a stem.
If using pipe cleaners
- Simply twist and straighten downward.
Wrap the stem
- Use green floral tape.
- Start just under the flower.
- Stretch slightly as you wrap down.
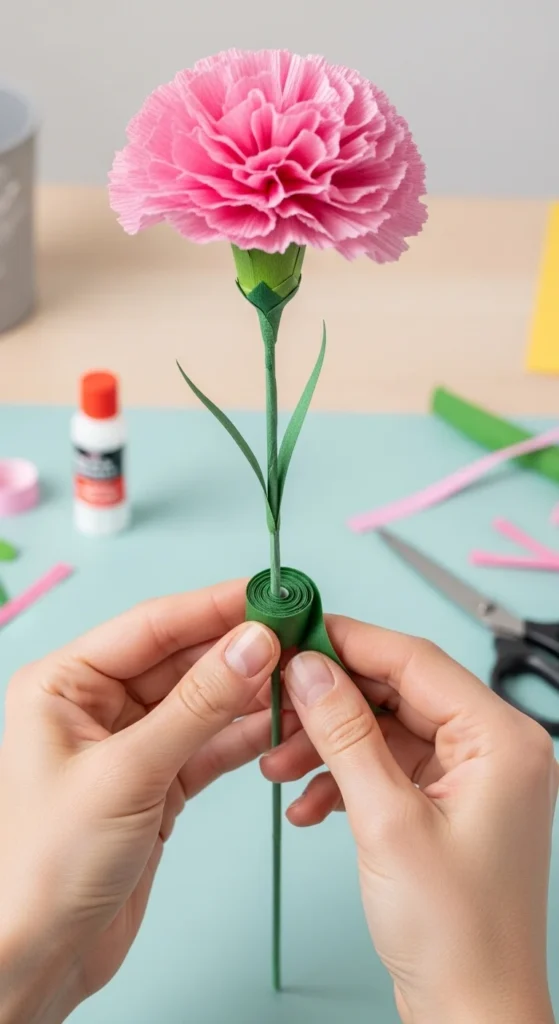
Clean finish tip
Wrap slowly and overlap slightly so the stem looks smooth.
Step 5: Add Simple Leaves (Optional but Pretty)
Carnations look more complete with a couple of slim leaves.
Leaf steps
- Cut narrow leaf shapes from green paper.
- Fold lightly down the center.
- Glue to the stem about halfway down.
- Wrap that spot with floral tape.
Quick alternative
Cut thin green strips and tape them directly to the stem for a faster look.
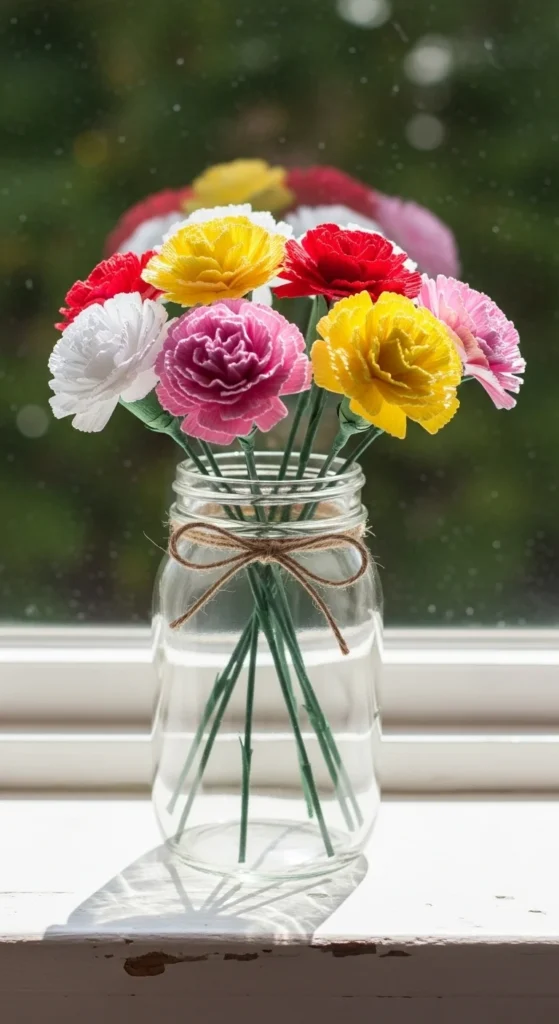
Easy Variations to Try
Once you master the basic carnation, experiment with these fun ideas.
Mini carnations
- Use smaller tissue rectangles.
- Great for gift toppers.
Two-tone carnations
- Stack two colors of tissue together.
- Creates a soft color mix when fluffed.
Rolled cardstock carnations
- Cut long petal strips.
- Ruffle edges with scissors or a quilling tool.
- Roll into a spiral for a tighter bloom.
Kid-friendly version
- Use pipe cleaners.
- Skip hot glue entirely.
- Let kids fluff the layers themselves.
Quick Fixes for Common Problems
- Tissue keeps tearing: Use slower, gentler pulls when fluffing.
- Flower looks flat: Start with more tissue layers.
- Bloom looks messy: Trim edges evenly before fluffing.
- Stem feels loose: Twist wire tighter and wrap firmly with tape.
- Layers clump together: Separate one sheet at a time, not in groups.
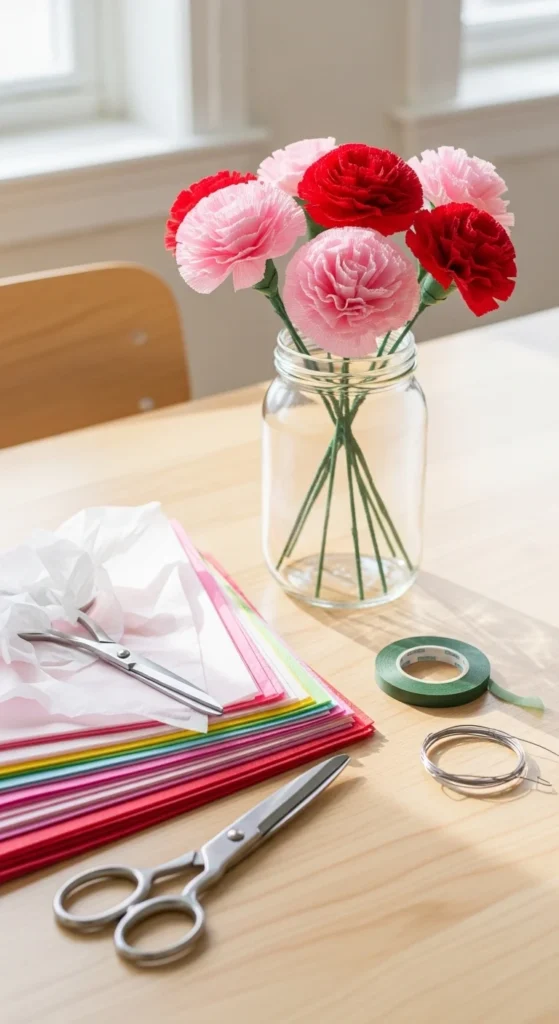
Takeaway
Paper carnations are perfect when you want maximum fluff with minimal effort. Focus on neat accordion folds, careful layer separation, and gentle shaping. After a few tries, you’ll be able to make a full bouquet quickly and cheaply.
Save this tutorial for later and try a colorful bunch this weekend — they brighten any space and never wilt. 🌸

DiyVisual is a DIY ideas resource for makers of every level. Our small editorial team researches and curates easy, budget-friendly craft, home decor, and handmade gift projects — explained step by step so anyone can recreate them at home with simple materials.


